
How to Pattern a Mature Buck With Trail Cameras
Getting a mature buck on your trail camera is exciting. Getting him in front of your stand in daylight is a different job. The gap between those two is patterning: using your cameras to learn where he beds, how he travels, and when and under which conditions he moves in shooting light. This guide shows how to pattern a buck with trail cameras, step by step.
Start with a wide camera grid on food, funnels and scrapes to find the buck. Identify him in every photo by his rack and body. Log the time, camera, direction, wind and temperature of each photo. When you see repeat daylight visits at one spot, move a camera closer to his bedding along that route. Once he shows up in daylight at the same spot two or more times, hunt it on the same wind and time window, and go in only when conditions are right.
- Starting grid
- About 1 camera per 80–100 acres
- Best early spots
- Food edges, funnels, scrapes, mineral (where legal)
- ID a buck by
- Rack shape, body, scars, ear marks
- Log
- Time, camera, direction, wind, temperature
- Hunt when
- 2+ daylight visits at the same spot
- Check cameras
- Mid-day, every 7–10 days, or cellular
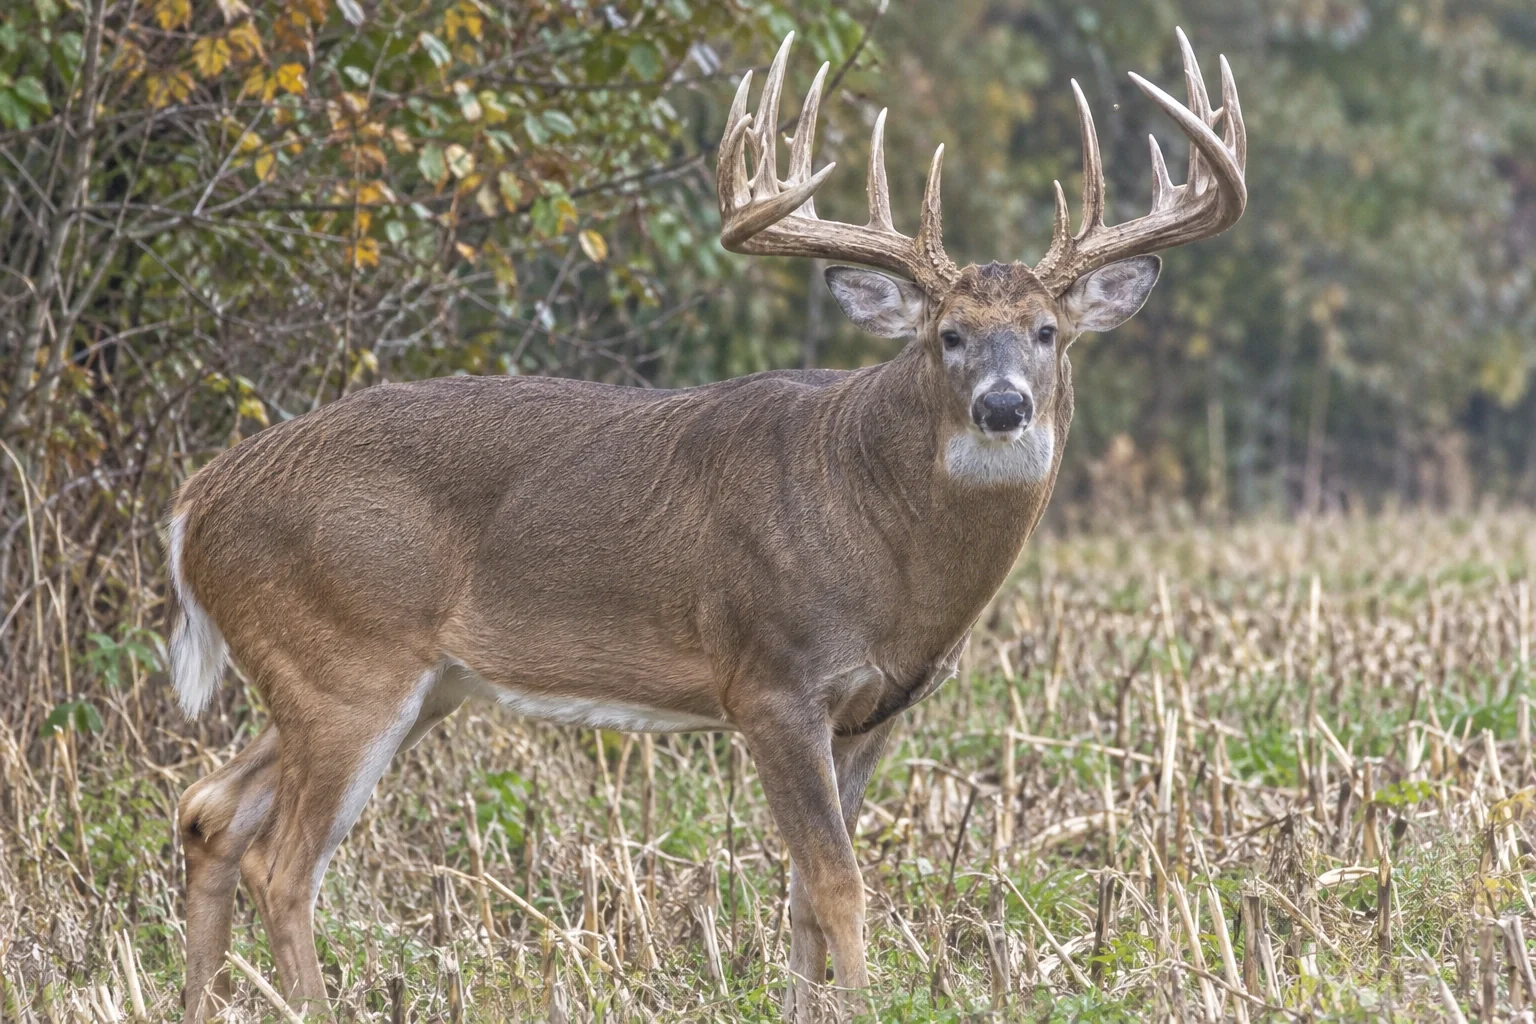
What “Patterning” a Buck Really Means
Patterning does not mean knowing exactly where a buck will be at 4:47 p.m. Mature bucks are not that predictable. It means knowing enough about his habits to put the odds on your side:
- Where he lives: the general area of his bedding cover.
- How he travels: the trails, funnels and edges he uses between bedding, food and does.
- When he moves in daylight: the time window and the spot closest to his bed where he shows up before dark or after first light.
- Under what conditions: which wind directions, temperatures and times of season bring him out.
Older bucks often move in daylight only within a few hundred yards of their bed. That is why the last step of patterning is almost always moving cameras closer to bedding cover, not farther out on the food.
Step 1: Set Up a Camera Grid to Find Him
Early on, your goal is to find out which bucks live on or pass through your property. Spread your cameras out to cover the most likely spots:
- Food sources: field edges, food plots and oak flats, especially the corners and inside edges where trails come out of cover.
- Funnels: creek crossings, fence gaps, saddles and narrow strips of cover.
- Scrapes and rub lines in the fall. See deer scrape vs rub for which sign deserves a camera.
- Mineral sites or bait in summer, only where it is legal.
A common starting point is about one camera per 80 to 100 acres, more in thick cover or rough terrain. Our guide on how far apart to place trail cameras covers spacing in more detail.
Step 2: Identify the Same Buck Across Photos
You cannot pattern a buck if you are not sure which photos are him. Give each buck you are interested in a nickname and keep a folder of his best photos. Use more than one feature to ID him:
- Rack shape: number of points, tine length, split brow tines, drop tines, kickers, how wide the rack is compared to his ears.
- Body: sagging belly, thick neck, swayback, how long the face looks.
- Marks: torn ears, scars, a limp, a unique patch of hair.
Body features help most at night and after bucks shed their antlers. Side-on photos make IDs much easier, so angle your cameras across trails rather than straight down them. For tips on getting better photos of bigger deer, see how to get big bucks on trail camera.
Step 3: Log Time, Wind and Direction for Every Photo
This is the step most hunters skip, and it is the one that turns photos into a pattern. For every photo of your target buck, write down:
- Date and exact time
- Camera location
- Direction he was traveling (toward food, toward bedding, along an edge)
- Wind direction and speed
- Temperature, and whether a front was moving through
A simple spreadsheet works well. Our deer movement chart guide includes the column layout and how to turn it into a chart by hour and camera.
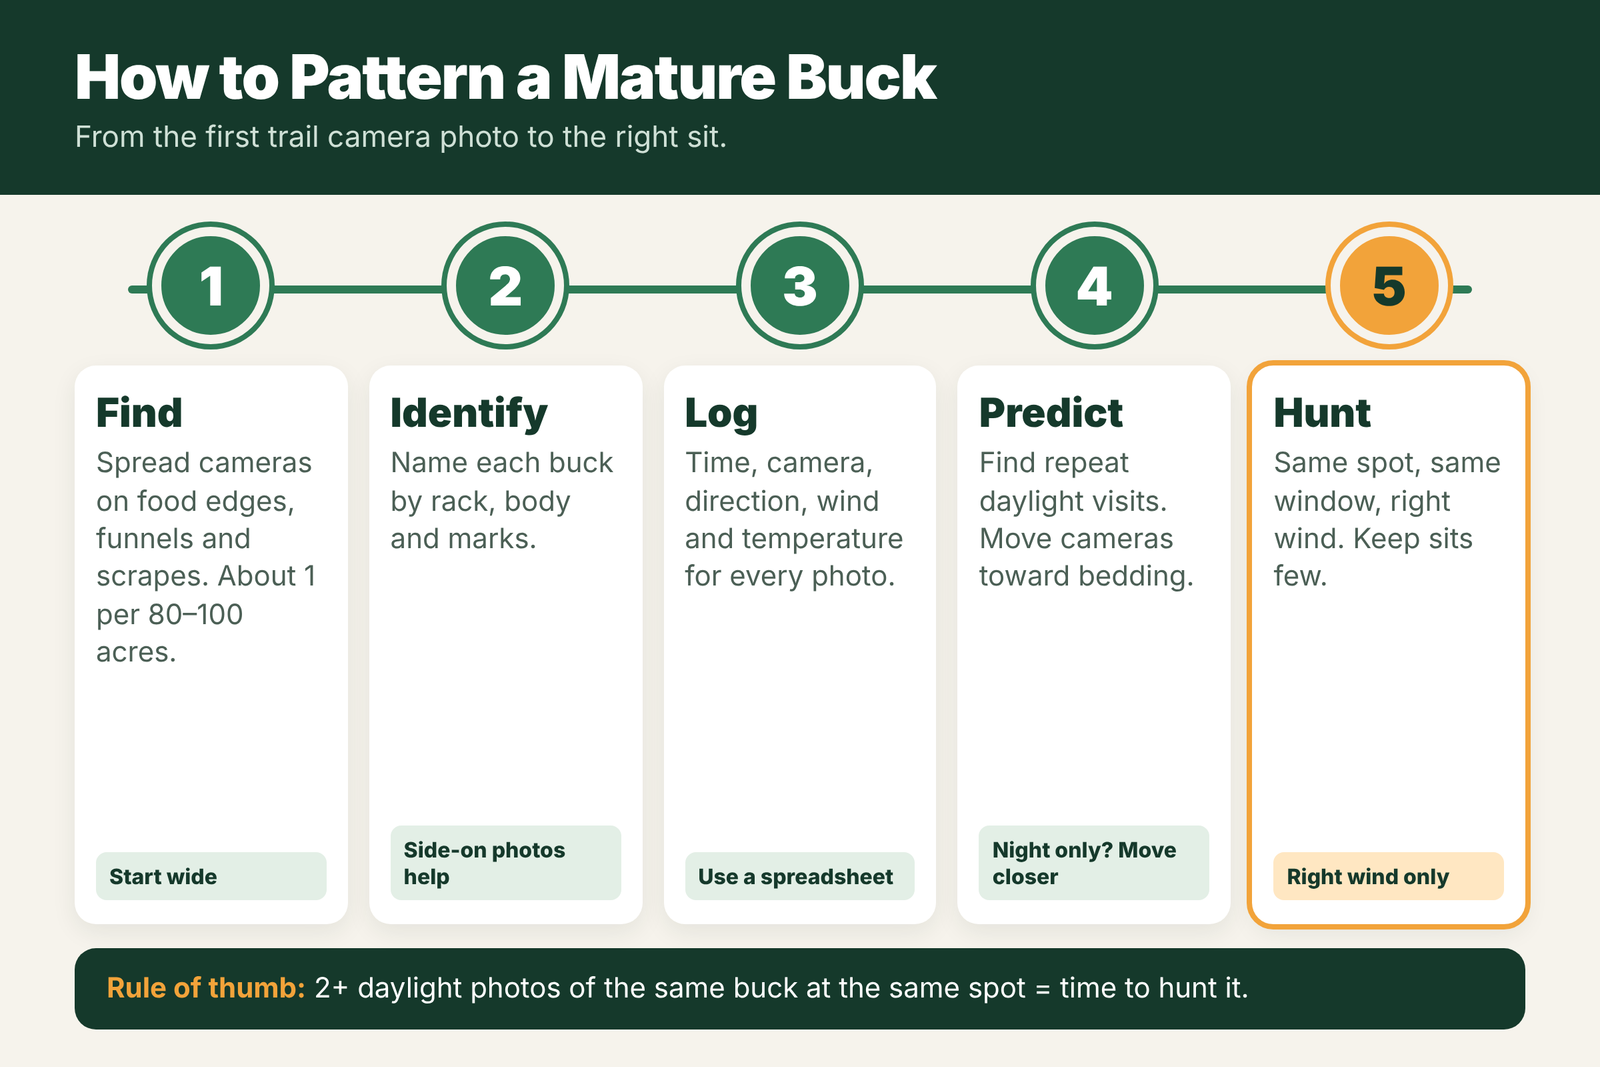
Step 4: Predict His Movement and Tighten the Cameras
After a few weeks, look at the log for patterns:
- Night photos on food, early morning photos on a trail: he is heading back to bed along that trail. Follow it toward cover and put a camera there.
- Evening photos on one side of the property only: his bed is likely within a short walk upwind of that side.
- He shows up on one wind direction more than others: bucks often travel with the wind in their face or quartering, so they can smell danger ahead.
- Visits jump after cold fronts: plan to hunt the first cold day after a warm spell.
Move one or two cameras step by step toward his bedding along the route he uses. The goal is to find the spot where his photos change from night to daylight. That is your stand location.
Step 5: When to Move In for the Hunt
A good rule of thumb: when you have two or more daylight photos of the same buck at the same spot, and you know the wind he was moving on, it is time to hunt.
- Wait for the right wind. Only hunt the stand when the wind blows your scent away from where he comes from and where he beds.
- Plan a clean entry and exit. Use a route he will not cross or smell, such as a creek bed or the downwind side of a field.
- Hunt it fresh. Your first one to three sits in a spot are the best. Each sit after that raises the risk he figures you out.
- Keep the cameras running. If he shows up again in daylight on a day you were not there, you know your read is right.
Mistakes That Ruin a Buck Pattern
- Checking cameras too often. Every visit leaves scent and noise. Go every 7–10 days in the middle of the day, or use cellular cameras near bedding. See how to use a trail camera without spooking deer.
- Putting cameras right in his bedding area. Stay on the edges. Bumping a mature buck from his bed can push him off your land.
- Hunting on the wrong wind just because the photos look good.
- Sticking to an old pattern. Patterns change from summer to early fall, again at the rut, and again in the late season. Keep logging and moving cameras. Our rut camera strategy explains where to shift them in November.
- Trusting a single photo. One daylight photo could be a fluke. Two or three at the same spot are a pattern.
Frequently Asked Questions
How do you pattern a buck with trail cameras?
Find him with a wide camera grid, identify him in each photo, log the time, place, wind and direction for every photo, then move cameras toward his bedding along the routes he uses until you get repeat daylight photos at one spot.
How long does it take to pattern a mature buck?
Usually a few weeks of steady camera data. It can be faster in early season or the late season, when bucks are on predictable food patterns, and harder during the rut, when they roam.
How many trail cameras do I need to pattern a buck?
A common starting point is about one camera per 80 to 100 acres. Once you know which area he uses, two or three cameras on his routes near bedding are usually enough.
Why do I only get night photos of a big buck?
Mature bucks often move in daylight only close to their bedding area. Move a camera step by step toward his bed along the route he uses until the photo times shift into daylight.
When should I hunt a buck I have on camera?
When you have two or more daylight photos of him at the same spot and you know the wind he moves on. Hunt that spot on the right wind and keep the number of sits low.