
How to Get Big Bucks on Trail Camera (and Actually Use the Photos)
Every hunter knows the feeling. Your cameras are full of does, fawns, and young bucks, but the big one, the buck you know is out there, never shows. Or worse, he shows up once at 2:47 a.m. and then vanishes for three weeks.
Mature bucks did not get old by being careless. They move less in daylight, avoid human pressure, and often travel just outside the places most hunters hang cameras. The good news: with smarter placement and less disturbance, you can get far more big bucks on trail camera, and turn those photos into a real hunting plan.
Quick answer: Move cameras off main food sources and onto the trails, scrapes, and staging areas closer to cover. Check them as little as possible, use cellular cameras if you can, and run enough cameras to cover the side trails mature bucks prefer. Expect mostly night photos until cold fronts and the rut bring bucks out in daylight.
Why You Are Not Getting Big Bucks on Camera
- Wrong trail. If four or five trails lead into a food source, a big buck may use only one or two of them. Outdoor writer Mike Hanback, in a Union Sportsmen’s Alliance article, advises moving cameras to nearby trails when you get plenty of does but not your target buck.
- Too much pressure. Frequent visits leave scent and noise. Mature bucks notice.
- Limited coverage. Field & Stream warns that a camera only shows a glimpse of a buck’s home range, and recommends moving cameras around or running more of them for a fuller picture.
- Wrong time of year. Some bucks change patterns or ranges between summer and fall.
Where to Place Cameras for Mature Bucks
Back off the food
Big fields and feeders are great for inventory but often only show bucks after dark. Hanback suggests slipping 60 to 100 yards back into the timber where bucks enter and exit a field, and hanging a camera on a well-used trail there.
Scrapes and licking branches
Scrapes are community signposts. Mature bucks often check them, especially in October and November. A camera on a fresh scrape is one of the best ways to inventory the bucks in an area.
Staging areas and funnels
Look for the cover just off a food source where bucks pause before stepping out, plus pinch points such as creek crossings, saddles, fence gaps, and narrow strips of timber between fields.
Near, but not in, bedding
The closer you get to where a buck beds, the better your odds of daylight photos, and the higher the risk of spooking him. Use edges of bedding cover and enter only with good wind.
Keep the Pressure Low
- Check cameras midday, when deer are bedded.
- Play the wind going in and out.
- Wear rubber boots and gloves to limit scent.
- Visit less. Every two to three weeks is plenty for SD-card cameras. See how often to check trail cameras.
- Go cellular. Photos come to your phone with no walk-in at all. See how cellular trail cameras work.
- Use no-glow IR. Read can deer see trail camera flash.
What to Do About Night-Only Photos
Night-only photos of a big buck are frustrating, but they are normal. A Georgia hunter profiled by GON had hundreds of trail camera pictures of a mature 9-pointer, all at night. The first major cold front of November finally got the buck moving in daylight, and the hunter took him with a bow. The same article points out that most mature bucks are nocturnal to some extent because they rarely meet people at night.
Field & Stream, drawing on National Deer Association biologist Kip Adams, notes that bucks are rarely truly nocturnal. They are moving in daylight, just somewhere you are not watching, often close to bedding cover.
Use night photos as clues:
- Photos late at night suggest the buck is traveling a long way to reach the camera. Move closer to cover.
- Photos just after dark or just before dawn mean he is close. A camera a little nearer his bedding may catch daylight movement.
- Note weather, wind, temperature, and moon phase for each photo. Patterns often emerge.
When Big Bucks Move in Daylight
- Cold fronts, especially the first big drop of fall
- The pre-rut and rut, when bucks search for does
- Following an estrous doe, which GON calls the factor that gets the most mature bucks killed
- Low-pressure areas with little human traffic
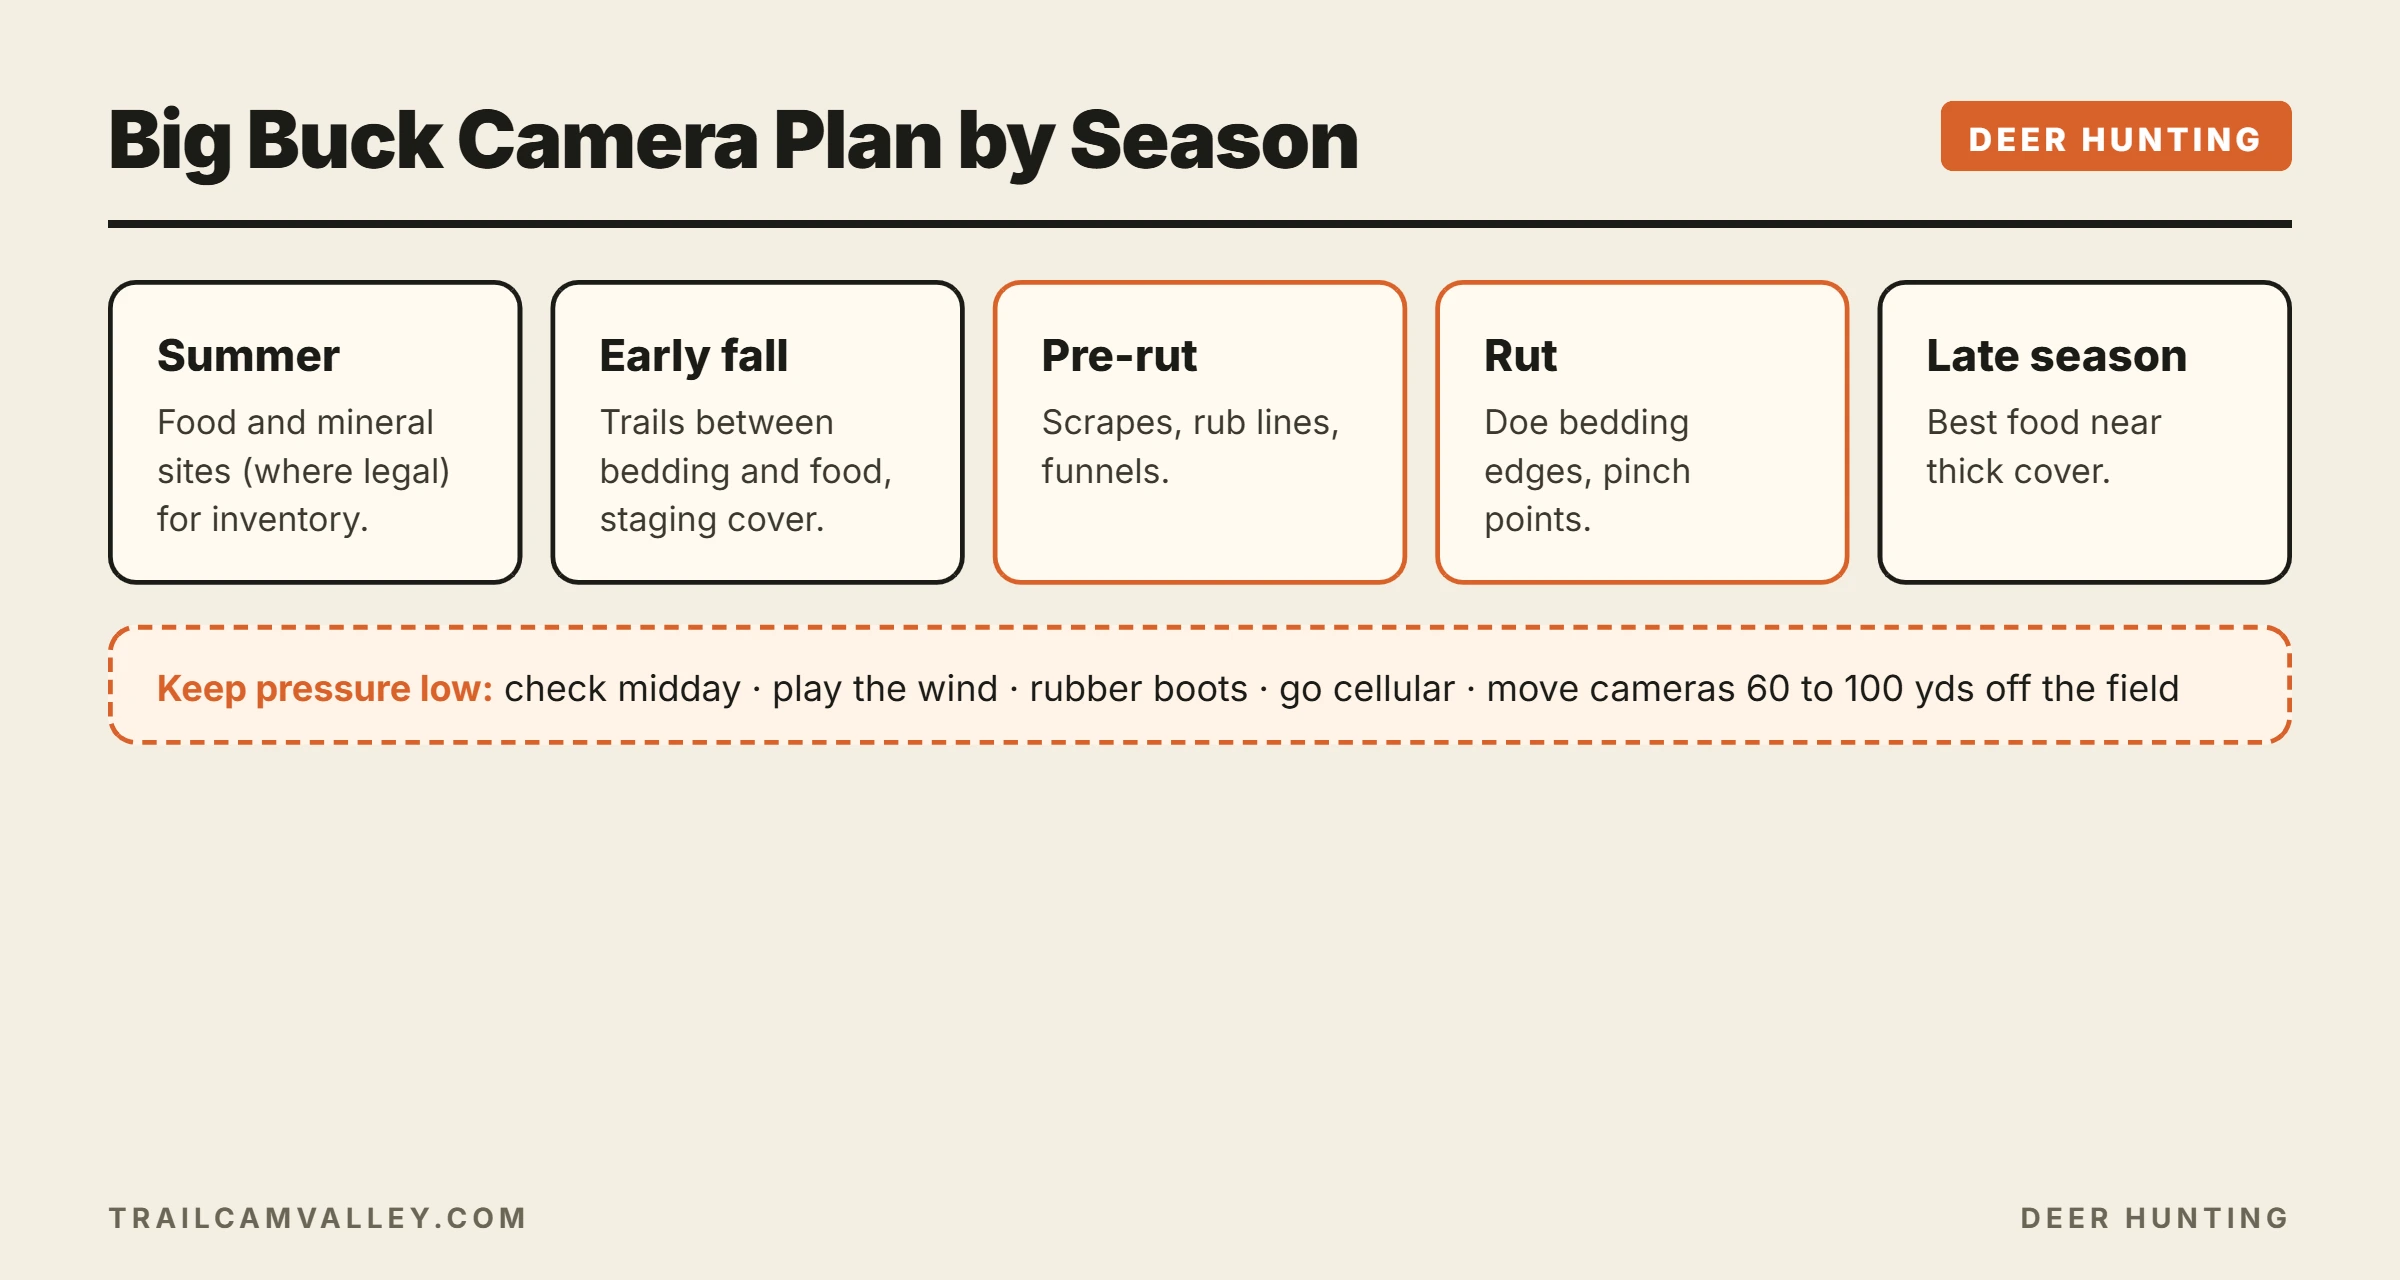
Season-by-Season Camera Plan
| Period | Camera focus |
|---|---|
| Summer | Food sources and mineral sites (where legal) for inventory |
| Early fall | Trails between bedding and food, staging areas |
| Pre-rut | Scrapes, rub lines, funnels |
| Rut | Doe bedding edges, pinch points, travel corridors |
| Late season | Best remaining food sources near thick cover |
Settings That Help
- Photo bursts of 3 to judge antlers from different angles.
- Short videos on scrapes show behavior.
- Time-lapse on big fields catches deer beyond detection range. See trail camera time-lapse explained.
- High resolution where it matters. See best megapixel setting.
Reading Your Photos Like a Pro
Trail camera photos are data, and the hunters who kill mature bucks treat them that way. Start by giving each buck a name or number so you can track him across cameras. Then log every photo of him with the date, time, camera location, wind direction, and temperature. After a few weeks, patterns often appear: a buck that only shows up on a north wind, or one that hits a scrape every third night.
Pay attention to direction of travel, too. A buck heading toward a food source at dusk tells you where he is bedding. The same buck heading the other way at dawn confirms the route. Field & Stream points out that still photos rarely reveal a buck’s personality, so short videos can help you judge whether he is relaxed, cautious, or just passing through. Combine all of this with what you know about the land, and your camera photos turn into a hunting plan instead of just a gallery.
Using Cellular Cameras for Big Bucks
Cellular cameras are especially useful for mature bucks because they let you react in real time. When a target buck shows up in daylight on a scrape, you know right away, instead of finding out two weeks later when you pull a card. You can also leave sensitive spots near bedding completely alone. Just keep in mind that cellular cameras cost more to run, so many hunters use one or two on their best spots and SD-card cameras elsewhere. Compare options in Wi-Fi vs cellular trail cameras.
Quick Facts
- A big buck may use only one or two of several trails into a food source (Mike Hanback via Union Sportsmen’s Alliance).
- A single camera reveals only part of a buck’s home range (Field & Stream).
- Most mature bucks are nocturnal to some extent (GON).
- Bucks are rarely truly nocturnal; daylight movement often happens near cover (Field & Stream, citing NDA’s Kip Adams).
- Cold fronts and the rut are prime times for daylight movement (GON).
Frequently Asked Questions
How many cameras do I need?
More cameras give a fuller picture, but placement matters more than count. One camera per 40 to 80 acres is a common starting point for inventory.
Should I use bait or minerals?
Where legal, they help with summer inventory. Check your state’s rules, since many restrict baiting.
Do big bucks avoid trail cameras?
Some notice cameras, especially with visible flash. Human scent and visits usually matter more.
How do I age a buck from photos?
Body shape helps more than antlers: a deep chest, sagging belly, and thick neck suggest maturity.
Is a cellular camera worth it for big bucks?
Often yes, because it cuts pressure and shows patterns in real time. Compare trail camera plan costs.
Where do I put a camera on public land?
Away from main trails and access points, high and angled down to reduce theft. See how to lock a trail camera.
Final Thoughts
Getting big bucks on trail camera is less about the camera and more about where you put it and how quietly you check it. Move off the main food, watch the side trails, scrapes, and funnels, keep pressure low, and read your night photos as clues. When the cold fronts and rut arrive, those clues can turn into a daylight encounter.