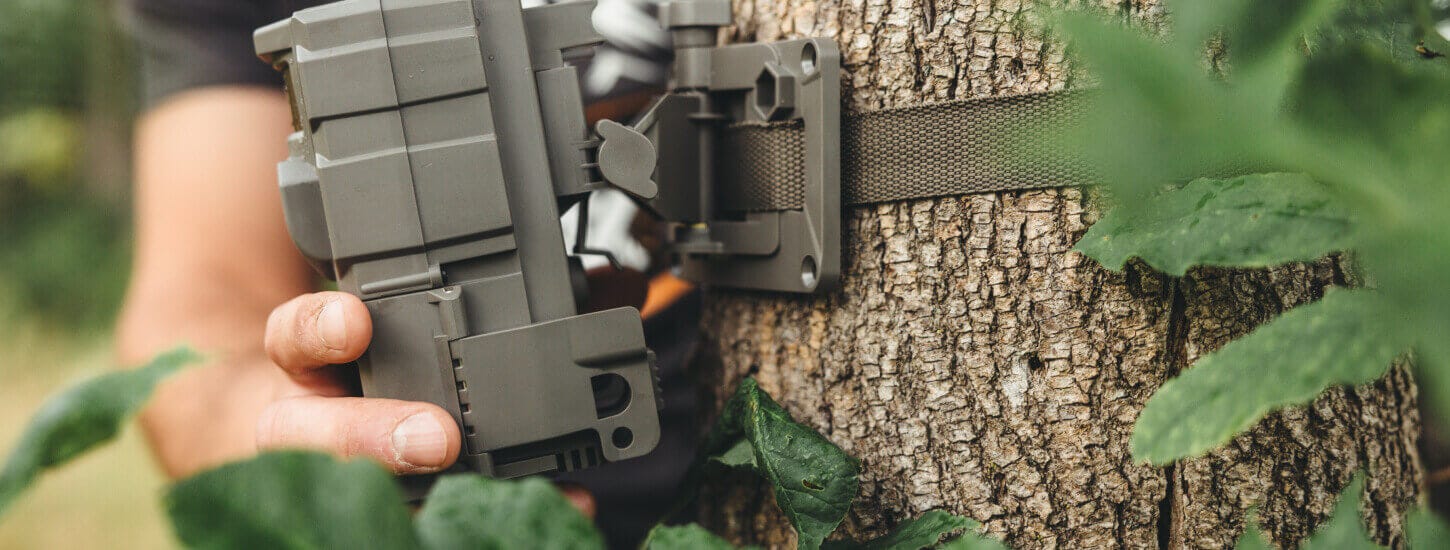
Place trail cameras 20–100 yards apart for coverage; adjust by terrain, purpose, and camera range.
I’ve placed and tested dozens of trail cameras over the years, and I can tell you exactly how far apart to place trail cameras for hunting, scouting, security, and wildlife research. This guide breaks down rules of thumb, step-by-step planning, real-life tips, and sample layouts so you can set up reliable coverage fast. You’ll learn how detection range, funneling, density, and behavior shape spacing, plus mistakes I made and how to avoid them. Read on to set up smarter camera networks that get more photos and fewer gaps.
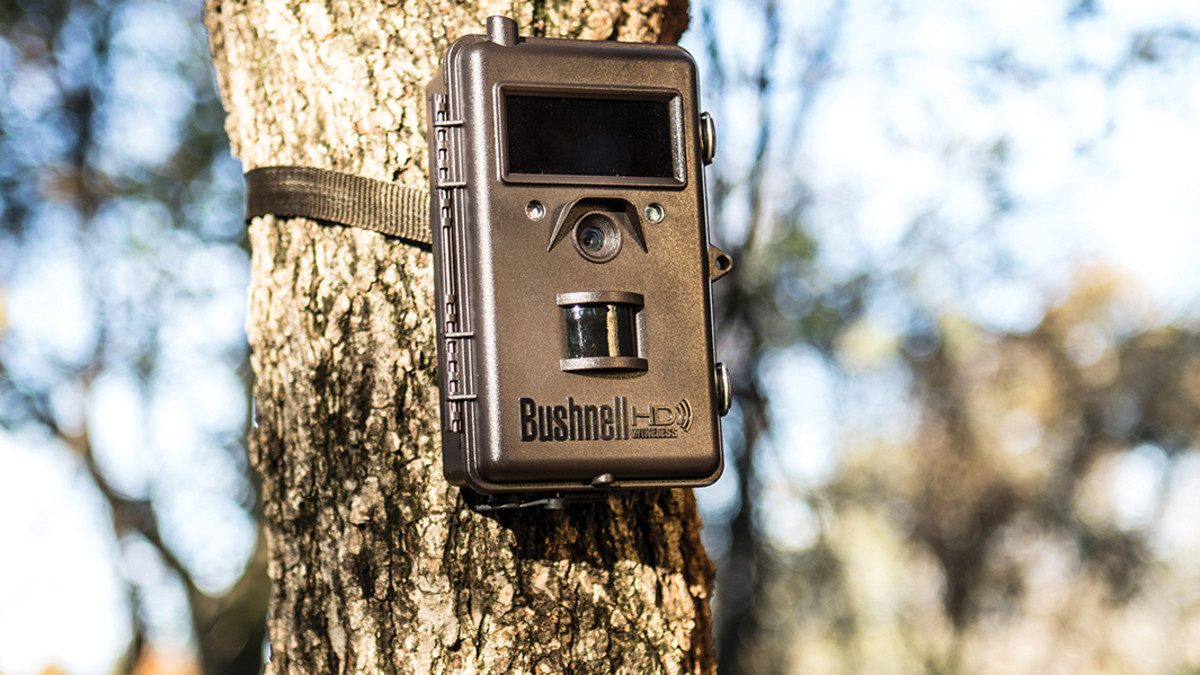
Why spacing matters for trail camera success
Spacing decides what animals you see and how useful your photos are. Put cameras too close and you waste effort and miss the larger area. Put them too far and you risk blind spots and missed activity.
Good spacing balances coverage and effort. It fits your goal—scouting deer, watching a mineral site, or securing a shed. Knowing how far apart to place trail cameras makes your work efficient and builds reliable data.

Recommended distances by purpose
Every use case needs a different layout. Below are simple ranges you can use today.
- Scouting large properties and patterning deer
- Place cameras 100–300 yards apart across travel corridors to sample different areas.
- Use a tighter grid near known funnels or food sources.
- Monitoring a specific trail or funnel
- Place cameras 20–50 yards apart along separate approach routes and trail junctions.
- Aim to cover each approach to a funnel from different angles.
- Bait, mineral, or food plots
- Position a camera 15–25 yards from the bait to capture full animal profiles and behavior.
- If you need two views, place the second camera on the opposite side 20–30 yards away.
- Property security and small-area surveillance
- Space cameras 30–60 feet apart to maintain overlapping views of structures and gates.
- Increase density for high-value targets.
- Small mammals, birds, or feeders
- Use 10–20 feet spacing around concentrated activity spots to capture close details.
These ranges reflect common detection zones and my field tests. Adjust for camera specs and site layout when deciding how far apart to place trail cameras.
How detection range and camera specs change spacing
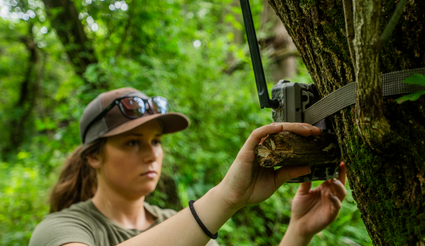
Camera specs are core to spacing decisions. Know these three key specs before you plan.
- Detection range
- Many trail cameras detect 40–80 feet. Use half that as a reliable trigger zone in dense cover.
- Field of view and angle
- Narrow FOV needs closer spacing for full coverage. Wide FOV lets you space cameras farther.
- Trigger speed and recovery time
- Slow trigger speeds can miss rapid passes. Place cameras so animals pass through a camera’s zone fully.
Vegetation, weather, and temperatures also cut effective range. On a rainy day or in thick brush, the same camera will trigger at shorter distances. Factor those changes when deciding how far apart to place trail cameras.

Step-by-step: plan spacing for any property
Follow these steps to get practical spacing that fits your goals.
- Map your land
- Sketch property features, trails, food, water, and funnels. Mark high-traffic routes first.
- Pick your goal
- Scouting, patterning, research, or security changes spacing needs.
- Check camera specs
- Note detection range, FOV, and flash type for each model.
- Choose a baseline spacing
- Use the recommended ranges above as starting points.
- Field test one camera
- Set one camera in the planned spot and test detection at different distances.
- Deploy and monitor
- Use cards and batteries for two weeks and adjust spacing or angle based on captures.
From my experience, mapping first and testing one camera saves hours of re-deploying. If a camera misses the expected range, move it 10–20% closer and retest.

Camera placement tips that affect spacing
Small changes in height, angle, and background improve coverage more than tiny distance tweaks.
- Height and angle
- Mount at 3–4 feet for deer and 1–2 feet for small mammals. Slight downward angle reduces sky false-triggers.
- Angle to trail
- Position cameras perpendicular to travel when possible. This maximizes trigger chance and image quality.
- Avoid thick brush in front of lens
- Clear a small window so the camera sees animals at maximum range.
- Use multiple angles
- Two cameras placed 20–40 yards apart and aimed from opposite sides give reliable ID shots.
These tips help when you decide how far apart to place trail cameras for the best returns.

Common spacing mistakes and how to avoid them
Learn from my errors so you don’t repeat them.
- Mistake: Placing cameras too close
- Results in duplicate photos and wasted battery life. Space them wider to cover more ground.
- Mistake: Relying on a single camera for an area
- You miss approaches. Add a second camera on the opposite side of a funnel.
- Mistake: Ignoring camera specs
- Assume a camera sees farther than it does. Test in the field and adjust spacing.
- Mistake: Not changing with seasons
- Movement patterns change with crops, mast, and snow. Re-space cameras seasonally for better results.
A lesson I learned was to always test a camera at dusk. Many triggers fail at low light, and that showed me to move some cameras closer.

Sample layouts and camera density examples
Use these quick plans as templates for common property sizes.
- Small backyard (0.5–2 acres)
- 2–4 cameras spaced 30–60 feet apart to cover entry points and sheds.
- 10-acre woodlot
- 4–6 cameras placed 50–150 yards apart along trails and water.
- 100-acre property
- 8–12 cameras spaced 150–300 yards apart for broad sampling, with clusters near funnels.
- Edge and food plot setup
- Place one camera 15–25 yards from the plot center and a second 20–30 yards to capture approach patterns.
These layouts show practical ways to decide how far apart to place trail cameras based on property size and purpose.
People Also Ask — quick answers
What is the best distance between trail cameras for deer scouting?
Place cameras 100–300 yards apart for broad scouting and 20–50 yards apart when you want multiple angles on a funnel.
How close should trail cameras be to a bait or mineral site?
Set a camera 15–25 yards from the center of the bait or mineral site for clear, full-body images.
Can I space cameras farther on open land?
Yes. On open land with few obstructions you can space cameras 200–300 yards apart because detection ranges stay consistent.
Frequently Asked Questions of how far apart to place trail cameras
How far apart should trail cameras be on a small property?
On small properties, place cameras 30–60 feet apart to cover entry points and activity spots. This ensures overlapping views and quick detection.
Should I place cameras at trail intersections or along the trail?
Place cameras at trail intersections and funnels first, then add along trails if gaps remain. Intersections capture more unique passes.
Do different animals require different spacing?
Yes. Large animals need cameras spaced farther for sampling. Small animals need denser spacing and lower mounting heights.
How often should I move cameras to find the best spacing?
Move cameras every 2–3 weeks while scouting. After you find patterns, leave them in place for monitoring and data collection.
Will weather or season change how far apart to place trail cameras?
Yes. Thick summer vegetation shortens detection, so reduce spacing. In winter, open sightlines let you increase spacing between cameras.
Conclusion
Good spacing is a mix of science and field sense. Start with clear goals, map your land, test a few cameras, and use the ranges here as a baseline to decide how far apart to place trail cameras. Try one layout, check results, and tweak distance, height, and angle until your network works reliably. Take action today: map a simple plan, set two cameras, and compare photos in two weeks. If you found this useful, leave a comment with your setup or subscribe to get more practical tips.
As an Amazon Associate, I earn from Qualifying Purchases.