
Trail Camera Antenna Placement: 7 Ways to Get Better Signal
A cellular trail camera needs a good connection to send photos, and the small antenna on top does a lot of that work. Where you mount the camera, how high, and which way the antenna faces can be the difference between instant photos and a camera that never checks in. Here are seven simple trail camera antenna and placement tips that add signal without buying anything.
To get better signal: mount the camera higher, place it where it has a clearer line of sight to the nearest cell tower, keep the antenna straight up and tight, avoid thick cover and low ground, put the camera on the side of the tree facing the tower, and test signal in the app before you strap it down. Aim for about 2 bars or more. If you still cannot get that, a camera on a different carrier or an extension antenna may help.
- Biggest factor
- Height and line of sight
- Antenna angle
- Straight up (vertical)
- Target signal
- About 2 bars or more
- Signal killers
- Hollows, pines, wet leaves
- Before mounting
- Test bars at a few spots
- Still weak?
- Other carrier or extension
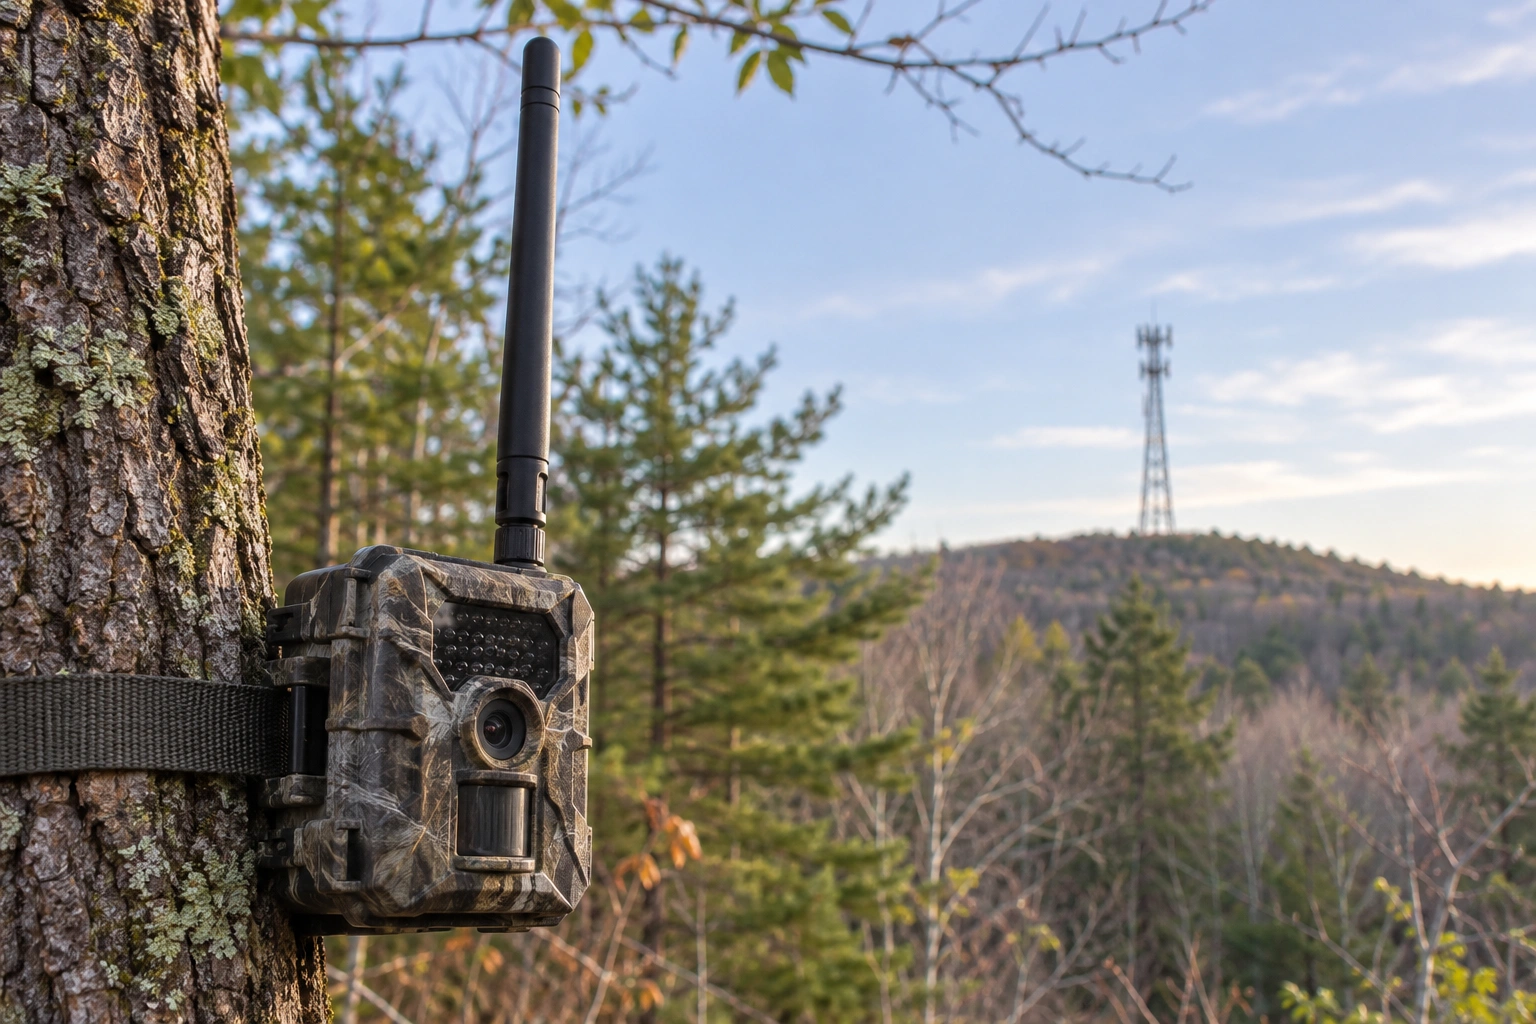
1. Height and Line of Sight
Cell signal travels best in a straight line. Hills, ridges and lots of trees between the camera and the tower weaken it. Moving the camera higher, or a few yards toward a ridge or field edge, is often the single biggest improvement. If you need the camera low for photos, mount it higher and angle it down, or use an extension antenna that sits above the camera.
2. Find the Tower and the Strongest Carrier
- Use the carrier’s coverage map or a tower-finder app to see which direction the nearest tower is.
- Remember that coverage maps are often optimistic in the woods.
- Check your own phone at the spot, if it is on the same carrier as the camera.
- If your camera’s carrier is weak at your property, a camera on another network may work far better. See what cell provider Spypoint uses for an example of how brands differ.
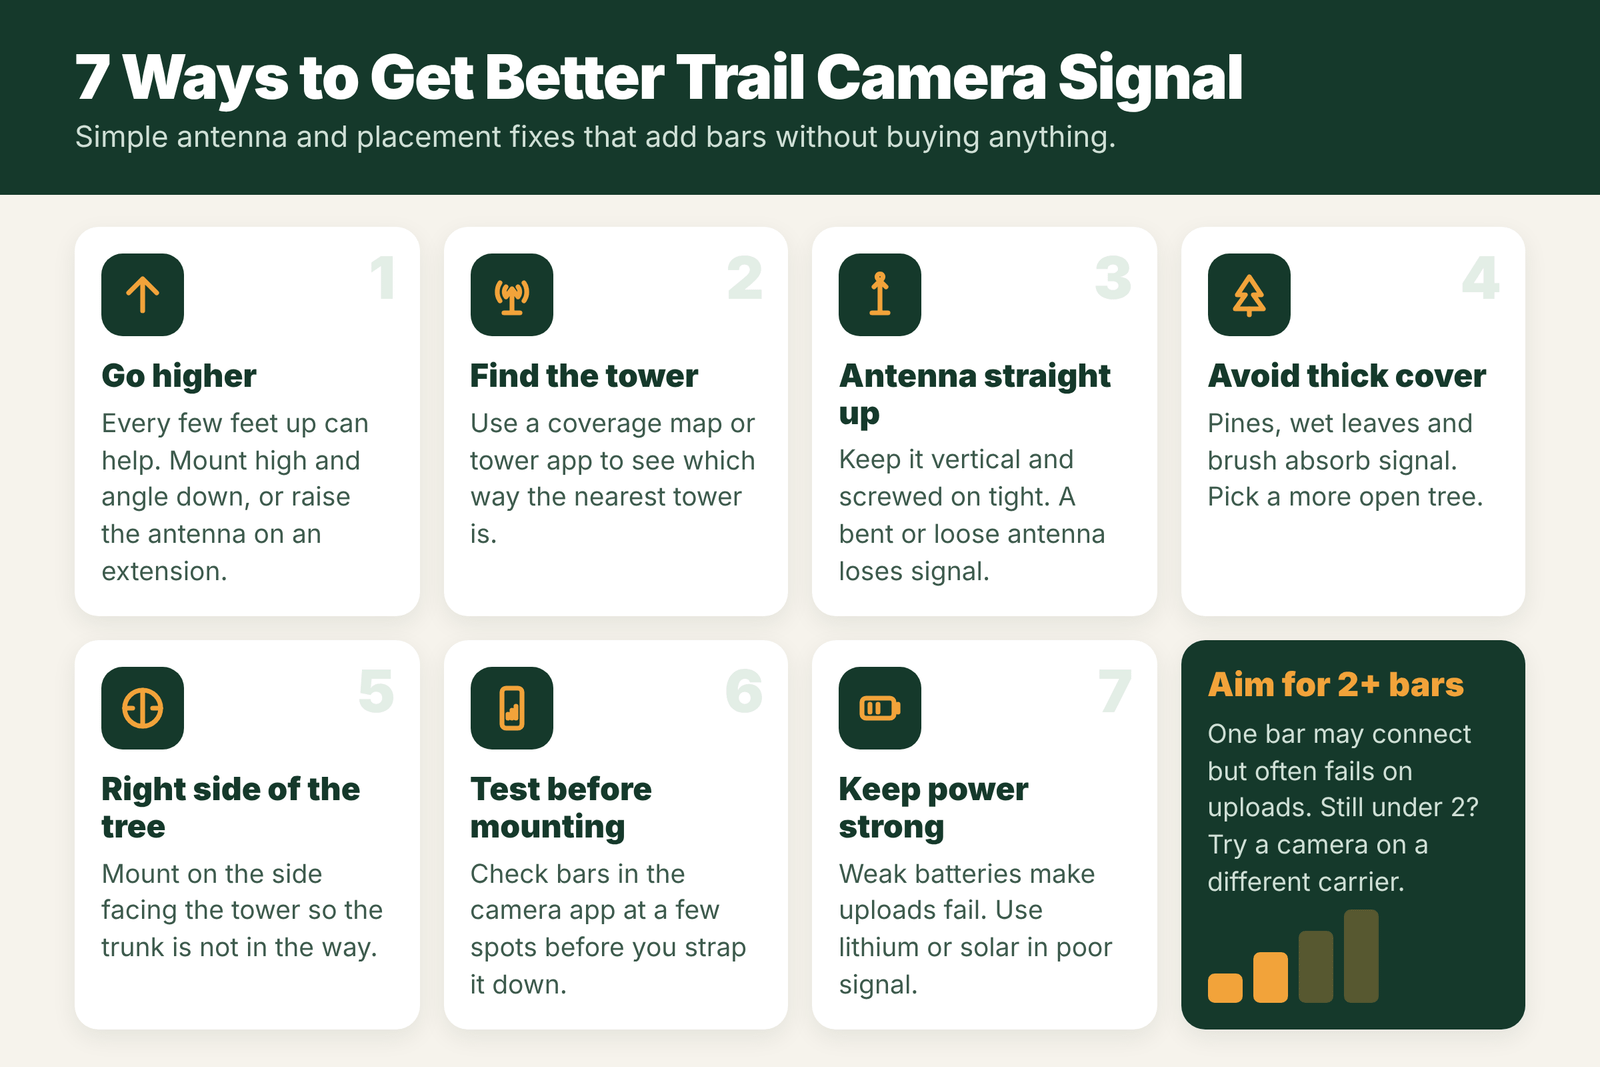
3. Antenna Orientation
- Keep it vertical. Most trail camera antennas work best pointing straight up.
- Screw it on firmly. A loose antenna can lose signal or let water in.
- Check for damage. A bent or chewed antenna should be replaced.
- Do not tilt the camera so far that the antenna ends up leaning sideways.
4. Avoid Dense Cover and Low Ground
- Creek bottoms and hollows are often dead zones. Even a small rise can help.
- Pines, cedars and thick brush absorb signal all year.
- Wet leaves weaken signal, so a spot that works in winter may struggle in summer or rain.
- Pick a tree on the edge of cover, not deep inside it, when you can.
5. Mount on the Right Side of the Tree
A big tree trunk can block part of the signal. When you can, mount the camera on the side of the tree that faces the tower, as long as that still gives you a good view of the trail and does not put the camera facing straight into the rising or setting sun.
6. Test Signal Before Mounting
- Turn on the camera and let it connect.
- Check the signal bars in the app or on the camera’s screen at a few possible trees.
- Hold it at the height you plan to mount it.
- Pick the best spot that still has a good view, then mount and send a test photo.
A few minutes of testing saves weeks of missed photos.
7. Keep Power Strong
A camera in weak signal works harder and longer to send each photo, which drains batteries faster. Low batteries then cause more failed uploads. Use lithium batteries or a solar panel at low-signal sites, and lower the number of photos sent per trigger.
When Placement Is Not Enough
- Extension or high-gain antenna: can add about a bar in weak spots. See do trail camera signal boosters work.
- Different carrier: often the real fix when one network is weak at your property.
- Low-signal cameras: some models handle weak signal better. See the best trail cameras for low signal areas.
Signal Bars and What to Expect
| Bars in the app | Typical result | What to do |
|---|---|---|
| 0 | No uploads | Move the camera; consider another carrier or a standard camera |
| 1 | Uploads may be slow or fail; battery drains faster | Raise the camera, clear line of sight, try a better antenna |
| 2 | Usually reliable for photos | Good enough for most setups |
| 3 to 4 | Fast, reliable uploads, video more likely to work | Ideal |
Bars are a rough display. Two cameras on different brands can show different bars for the same signal. Watch real upload reliability over a few days.
How to Find the Nearest Cell Tower
- Check your carrier’s coverage map for the area. It shows general coverage, not your exact spot.
- Use a tower-finder website or app to see where towers are. Many list towers by carrier.
- Look for clues on the ground: towers are often near highways, towns and on high hills.
- Use your phone on the same carrier as your camera. Walk the area and note where signal is strongest.
- Pick a spot facing the tower, with as few hills and thick trees between as possible.
Height vs Signal: A Simple Example
Signal often improves a lot with just a few feet of height, especially in rolling or wooded ground. A camera at 3 feet on the side of a draw may show 1 bar. The same camera 8 to 10 feet up the tree may show 2 bars, simply because it clears the brush and the bank between it and the tower. Mount it higher and angle it down to keep your photos on the trail. If you are worried about reaching it, a small step or a mounting pole helps.
Field Examples
The wrong side of the tree: a camera on the east side of a large oak shows 1 bar. The tower is to the west, and the trunk blocks part of the signal. Moving the camera to the west side gives 2 bars with no other change.
The bent antenna: a camera that worked all fall stops uploading after a snowstorm. A heavy branch bent the antenna sideways and loosened the connector. Straightening and tightening it restores signal.
The summer slump: a field-edge camera drops from 3 bars in April to 1 in July. Leaves and tall corn between the camera and the tower are to blame. It improves again after harvest.
Antenna Care in the Field
- Check that it is tight on every visit. A loose antenna can cut signal sharply.
- Keep it vertical unless your camera’s manual says otherwise.
- Protect it from chewing animals and falling branches.
- Do not paint over it with metallic paint, and keep metal security boxes from covering it.
- Inspect the connector for corrosion or water. Some hunters add a little dielectric grease to protect it.
Mistakes That Kill Signal
- Putting a metal box around the antenna. Most security boxes leave a hole for it. Use it.
- Hanging cameras in creek bottoms without testing signal first.
- Using weak batteries. Low power can make a camera fail to register or upload, which looks like a signal problem.
- Choosing the wrong carrier camera for your area. See Verizon vs AT&T vs T-Mobile for trail cameras.
Why Signal Changes From Day to Day
It is common to see a camera bounce between 1 and 3 bars over a week. Several things cause it. Towers carry more traffic at busy times, which can slow uploads in the evening. Weather changes how radio waves travel, and wet leaves absorb more signal than dry ones. Wind sways the tree and moves the antenna. Even the camera’s battery level can change how strongly the modem transmits. Because of this, judge a spot by its average over several days, not by a single reading. If the app shows a signal history, use it. A camera that averages 2 bars with brief dips is usually fine. One that averages 1 bar with long gaps needs a better spot.
Signal and Battery Life
Weak signal does not just slow uploads. It drains batteries. When the signal is poor, the modem boosts its power and keeps trying to send, sometimes several times for one photo. A camera with 1 bar can use far more power than the same camera with 3 bars. If your batteries die much faster than expected, poor signal is a likely cause. Improving the spot, sending thumbnails instead of full-size photos, or adding a solar panel can all help. See how to extend battery life on a trail camera.
Quick Pre-Mount Checklist
- Signal checked at the exact spot, at the planned height
- Camera on the side of the tree facing the tower
- Antenna tight and vertical
- Clear view with few hills or thick trees toward the tower
- Fresh lithium batteries or external power
- Test photo sent and received in the app before you leave
Frequently Asked Questions
How can I improve my trail camera signal?
Mount the camera higher, move it out of low ground and thick cover, keep the antenna straight up, face it toward the tower, and test bars before mounting.
Which way should a trail camera antenna point?
Straight up in most cases. Keep it vertical, tight and undamaged for the best signal.
How many bars does a cellular trail camera need?
About 2 bars or more is a good target. With 1 bar, uploads often fail or take a long time.
Does mounting a trail camera higher improve signal?
Usually, yes. Height gives a clearer line of sight to the tower and gets the antenna above brush, which often adds a bar.
What if my trail camera still has weak signal?
Try an extension or high-gain antenna from the brand, or switch to a camera on a carrier that has better coverage at your spot.
Does a security box block trail camera signal?
A metal box can weaken signal if it covers the antenna. Most boxes have an opening so the antenna sits outside.
Can weather affect trail camera signal?
Heavy rain, snow and ice on the antenna can weaken signal a little, and leaves in summer can block more than bare winter trees.
How do I find the nearest cell tower to my trail camera?
Check your carrier’s coverage map, use a tower-finder site or app, and walk the area with a phone on the same carrier.