
Trail Camera Winter Tips: 12 Ways to Keep Cameras Working in Snow and Cold
Winter is one of the best times to run trail cameras. Snow shows every track, deer gather around food, and you can take stock of which bucks made it through the season. But cold and snow are also hard on cameras. Batteries die early, lenses frost over, and snow blocks the view or sets off hundreds of empty photos. These trail camera winter tips will keep your cameras working until spring.
To keep a trail camera working in winter, use lithium batteries (alkalines lose power fast below freezing), stop fog and frost with silica gel packs, mount the camera higher and angle it down so snow does not bury the view, clear branches that bend under snow, face north to avoid glare off the snow, use a good-quality SD card, and check cameras after big storms. For cellular cameras, add a solar panel and keep an eye on signal strength.
- Best batteries
- Lithium AA
- Fog and frost
- Silica gel, let it adjust to the cold
- Mounting height
- Above the deepest snow, angled down
- Facing
- North, to avoid sun glare off snow
- False triggers
- Falling snow, loaded branches, glare
- Check
- After every big storm
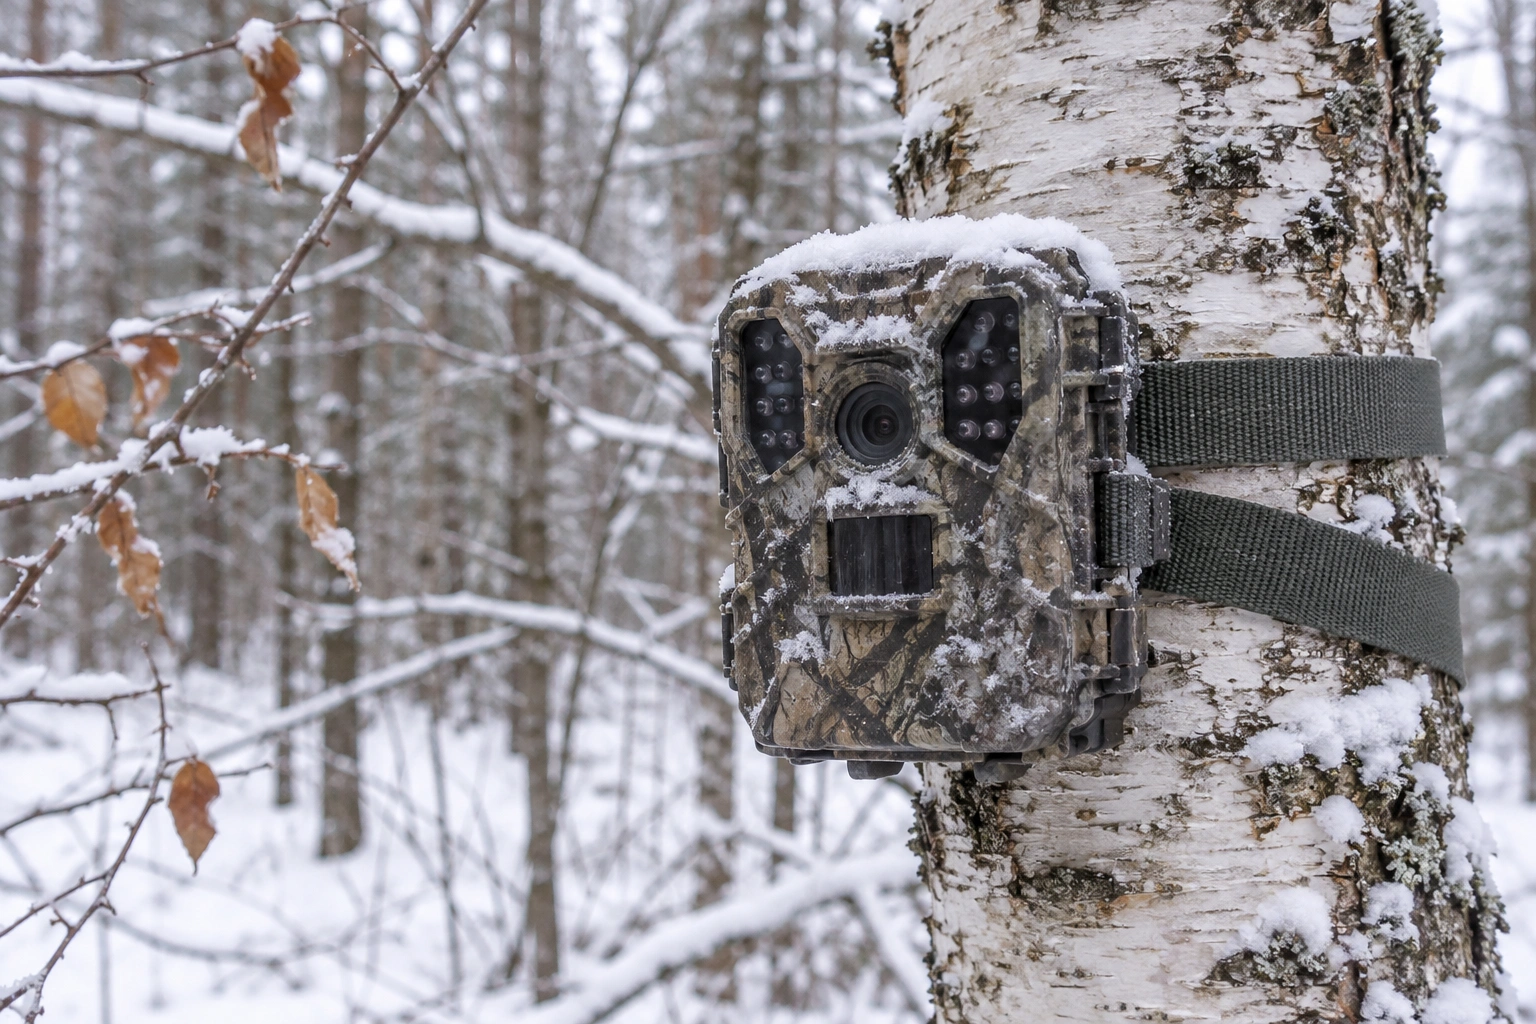
Batteries for Freezing Temperatures
- Use lithium AA batteries. Alkaline batteries lose much of their power in the cold and can quit well before they are empty. Lithium batteries keep a steady voltage in freezing weather and last much longer. Read are lithium batteries good for a trail camera.
- Start the winter with a fresh set. A half-used set that worked fine in October may die in the first cold snap. Do not mix old and new batteries.
- Add outside power for cellular cameras. Sending photos uses a lot of power, and short winter days mean less sun. A solar panel with a built-in battery, or an external battery pack, keeps cellular cameras running. Keep the panel clear of snow and angled toward the southern sky.
Most trail cameras are rated to work down to about -4°F (-20°C) or colder, but battery life drops long before the electronics fail. See how cold is too cold for trail cameras for the details.
Preventing Frost and Fog
- Stop fog and frost on the lens. Moisture trapped inside the case condenses when the temperature drops. Put a small silica gel pack inside the camera and swap it when it is full. When you bring a camera from a warm truck or house, let it sit outside for a while before you close it up, so the air inside matches the outside air. Our guide on how to keep a trail camera from fogging up has more fixes.
- Wipe snow and frost off the lens gently. Use a soft lens cloth, not your glove or sleeve, which can scratch the lens or smear it. Do not breathe on it to clear frost, because that adds moisture that freezes again.
Snow and False Triggers
- Mount higher and angle down. A camera at knee height can end up buried, or with its detection zone full of snow. Mount it above the deepest snow you expect, usually 4 to 6 feet in snow country, and tilt it down slightly with a wedge or adjustable mount so it still covers the trail.
- Clear the view. Branches sag under heavy snow and swing back up when it falls off, which sets off the camera. Trim branches and brush in front of the lens before winter.
- Avoid sun on snow. Bright snow reflects sunlight and heat, which can cause false triggers and washed-out photos. Face the camera north, or at least away from the low winter sun.
- Adjust your settings. Falling snow and blowing snow can fill a card with empty photos. Use a short delay between triggers, and lower the PIR sensitivity at windy or open sites.
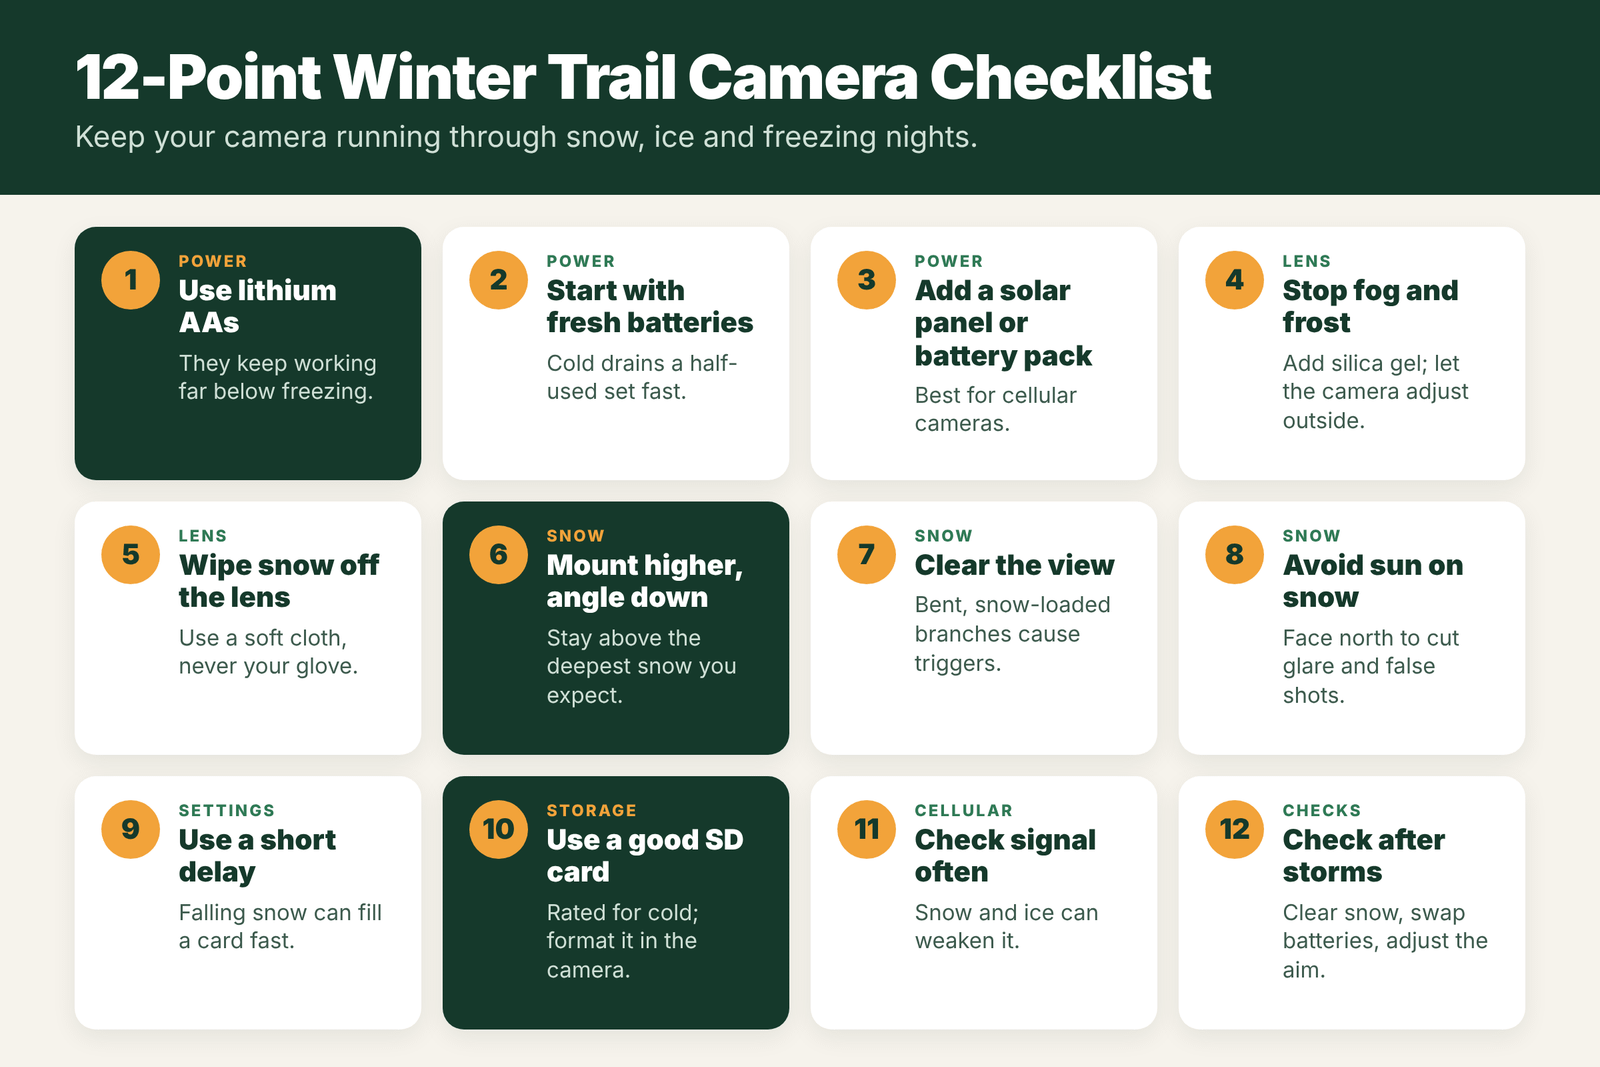
SD Card and Memory Care
- Use a good SD card and format it in the camera. Cheap cards can fail in the cold. Choose a name-brand card rated for a wide temperature range and the size your camera supports. Format it in the camera, not on your computer, each time you clear it. Carry a spare so you can swap cards in the field instead of fumbling with cold fingers.
Cellular Signal in Winter
- Check signal strength often. Snow and ice on the antenna, and heavy snow on the trees around the camera, can weaken a signal that was fine in fall. Keep the antenna clear and pointed up, and watch the signal bars in your app. If photos stop arriving, check the battery and signal before you walk in.
Checking Cameras in Winter
- Check after big storms. After heavy snow, brush snow off the camera, clear the lens, swap batteries if needed, and fix the aim if the strap slipped. In cold weather, straps shrink and trees can move, so make sure the camera is still tight.
A few more winter habits help too:
- Walk in on existing deer trails or your own old tracks, so you leave fewer new trails in the snow.
- Move cameras to winter food sources like standing crops, food plots and fresh browse, where deer spend most of their time.
- Lock the camera. Your tracks in the snow lead straight to it, so use a lock box or cable lock.
Winter Trail Camera Checklist
- Fresh lithium batteries installed
- Solar panel or battery pack on cellular cameras
- Silica gel pack inside the case
- Lens clean and clear
- Mounted above snow depth, angled down
- Branches and brush cleared
- Facing north or away from the sun
- Delay and sensitivity set for snow
- Good SD card, formatted in the camera, plus a spare
- Cellular signal checked
- Strap tight and lock on
- Plan to check after each big storm
Battery Types in the Cold
| Battery type | Cold performance | Notes |
|---|---|---|
| Lithium AA (primary) | Best; works well far below freezing | Higher cost, longest life, light weight |
| Alkaline AA | Poor; voltage drops fast in the cold | Cheap, but cameras may shut off early |
| NiMH rechargeable | Fair to good with low self-discharge types | Lower voltage; some cameras show low battery sooner |
| 12V external or lithium pack | Good with a lithium pack; SLA weakens in cold | Great for cellular cameras, add solar |
| Solar panel with battery | Depends on sun; short days and snow cover cut charging | Keep the panel clear and angled to the south |
Step-by-Step: Setting a Camera for Winter
- Swap to fresh lithiums and a freshly formatted SD card at home.
- Add a silica gel pack inside the case to soak up moisture.
- Check the door seal for dirt or cracks, and close every latch.
- Choose a solid tree out of the worst wind, and mount the camera about 4 feet up, angled slightly down.
- Clear branches and tall grass that can bend under snow and fill the frame.
- Face north if you can, to cut glare from snow and low winter sun.
- Lower sensitivity one step in open, windy spots to cut false triggers.
- Walk-test the camera before you leave, and note the date on your calendar to check it.
Best Winter Camera Spots
- Food sources: standing crops, food plots, oak flats and browse in clearcuts pull deer in winter.
- Packed trails: in deep snow, deer use the same trails over and over between cover and food.
- South-facing slopes: deer bed and feed where the sun warms the ground.
- Conifer edges: thick pines, cedars and hemlocks give shelter from wind and snow.
- Predator routes: field edges and creek bottoms. See deer predators in winter.
Late-Season Inventory and Shed Hunting
Winter cameras are not just for hunting. They show which bucks made it through the season, which is valuable for planning next year. From late December into March, cameras also show when bucks start dropping antlers. When you see bucks without antlers on camera, it is time to start looking for sheds near food and bedding. Remember that many states have rules on shed hunting dates on public land, so check before you go.
Winter Camera Mistakes
- Leaving alkaline batteries in. They often die within days in deep cold.
- Bringing a cold camera into a warm truck or house and opening it. Moisture condenses inside. Let it warm up in a sealed bag first.
- Mounting too low. A camera at 2 feet can be buried by one storm.
- Forgetting the cellular plan. Weak signal in cold weather uses more power. Check signal bars and add a solar panel if needed.
- Checking too often. Winter deer need to save energy. Every check that pushes them costs them calories.
Cellular Cameras in Winter: Extra Tips
Cellular cameras work hard in winter. Every upload uses power, and a weak signal makes the modem work even harder, so batteries drain faster in the cold. A few steps help a lot. Cut the number of uploads by using thumbnail photos instead of full size, and turn off video uploads. Set operation hours so the camera skips the middle of the night if you do not need it. Add a solar panel or external lithium pack, and clear snow off the panel after storms. Check the signal strength in the app every week. If it drops, ice on the antenna or a bent antenna from snow load is a common cause. Finally, keep an eye on your plan. Snowy, windy days can create lots of false triggers that eat into your monthly photo limit.
Frequently Asked Questions
Do trail cameras work in the cold?
Yes. Most trail cameras work in freezing weather and are rated to about -4°F or colder. The biggest problem is battery life, so use lithium batteries in winter.
What batteries are best for trail cameras in winter?
Lithium AA batteries. They keep a steady voltage in freezing weather and last much longer than alkaline batteries, which can quit early in the cold.
How do I stop my trail camera from fogging up in winter?
Put a silica gel pack inside the case, let the camera adjust to the outside air before closing it, and avoid breathing on the lens. Replace the silica gel when it is full.
How high should I mount a trail camera in snow?
Above the deepest snow you expect, often 4 to 6 feet in snowy areas, with the camera angled slightly down so it still covers the trail.
Why does my trail camera take empty pictures in winter?
Falling snow, branches dropping snow and sunlight reflecting off snow can all trigger the sensor. Clear the view, face the camera north and lower the sensitivity.
Can a trail camera freeze?
Most are rated to work well below freezing, often to around -4 F or lower, but check your model. Batteries usually fail before the camera does.
Should I bring my trail camera inside for winter?
You can leave it out with lithium batteries and a good seal. If you store it, remove the batteries and let it dry first.
Where should I put a trail camera in winter?
Near food, on packed trails between cover and food, on south-facing slopes, and along conifer edges.