
Trail Camera and Snow: Field of View, False Triggers and Fixes
Your trail camera worked fine all fall. Then a foot of snow came down, and suddenly you are getting washed-out night photos, hundreds of empty frames, or deer with no legs at the bottom of the picture. Snow changes how a trail camera sees and senses the world in front of it. Here is what the trail camera and snow field of view problem really is, and the simple fixes that get your camera back on track.
Snow raises the ground in front of your camera, so the detection zone shrinks and deer appear higher in the frame. Bright snow also reflects the infrared flash at night, causing whiteout, and reflects sunlight and heat in the day, causing glare and false triggers. Falling snow and branches dropping snow set off the sensor too. Fix it by mounting the camera above the snow depth and angling it slightly down, aiming past open snow toward a trail, facing north, lowering PIR sensitivity, adding a trigger delay, and clearing the camera after each storm.
- Detection zone
- Shrinks as snow builds up
- Night photos
- IR bounces off snow and whites out
- Day photos
- Sun glare off snow
- False triggers
- Falling snow, dropping branches, glare
- Main fix
- Mount higher, angle down
- Settings
- Lower sensitivity, add delay
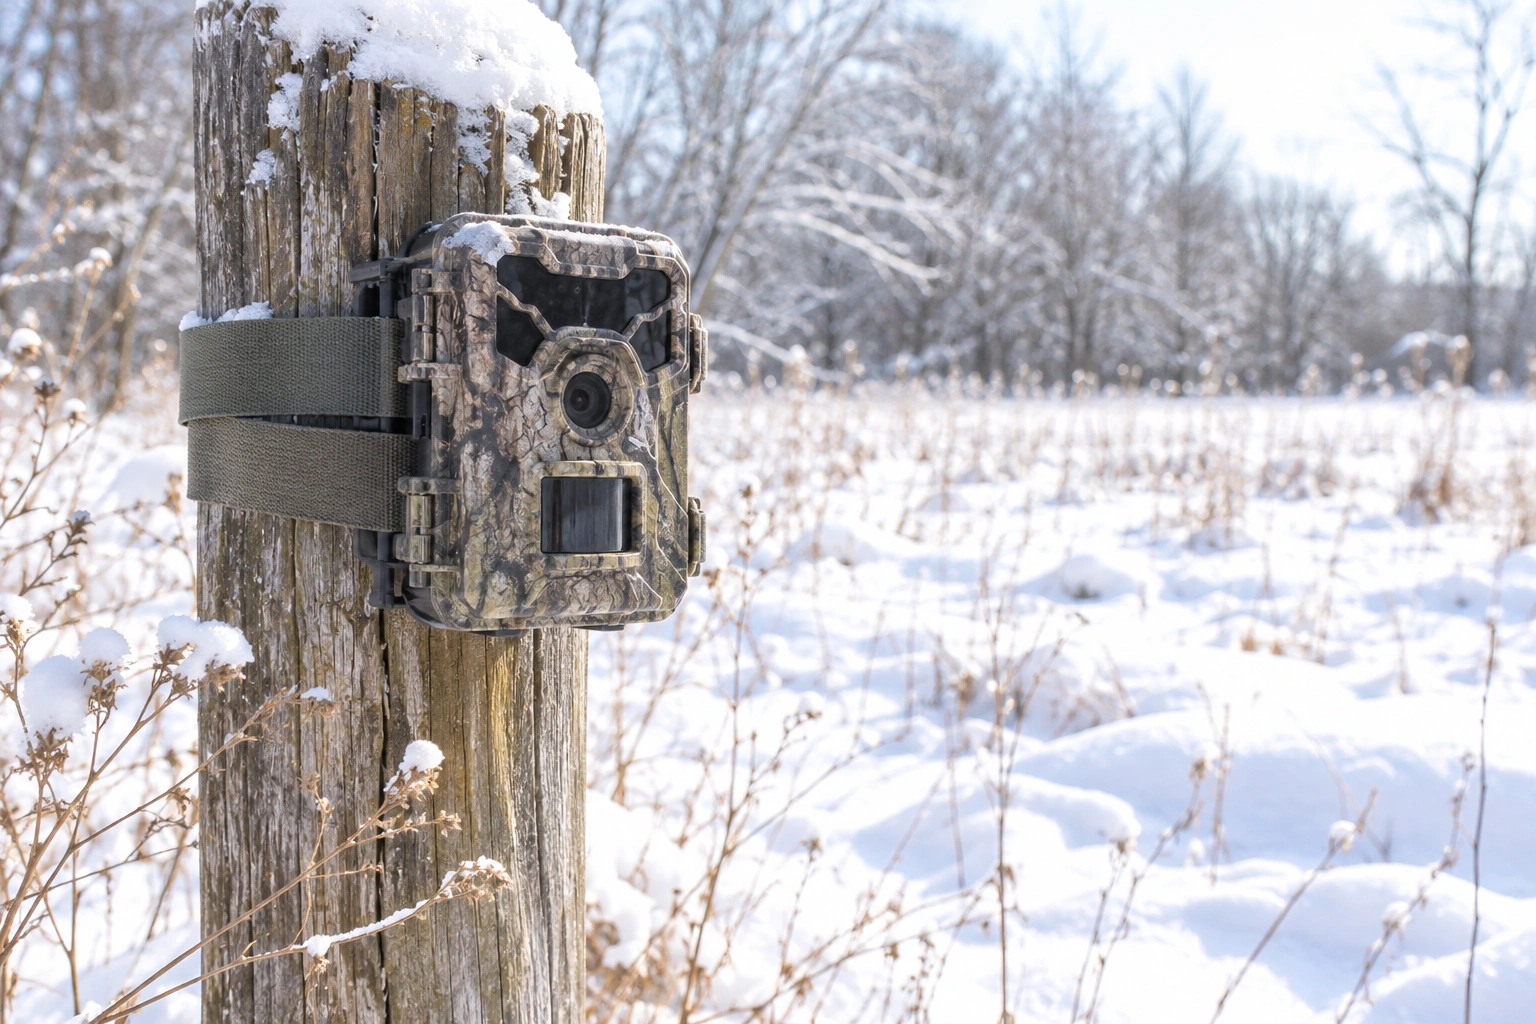
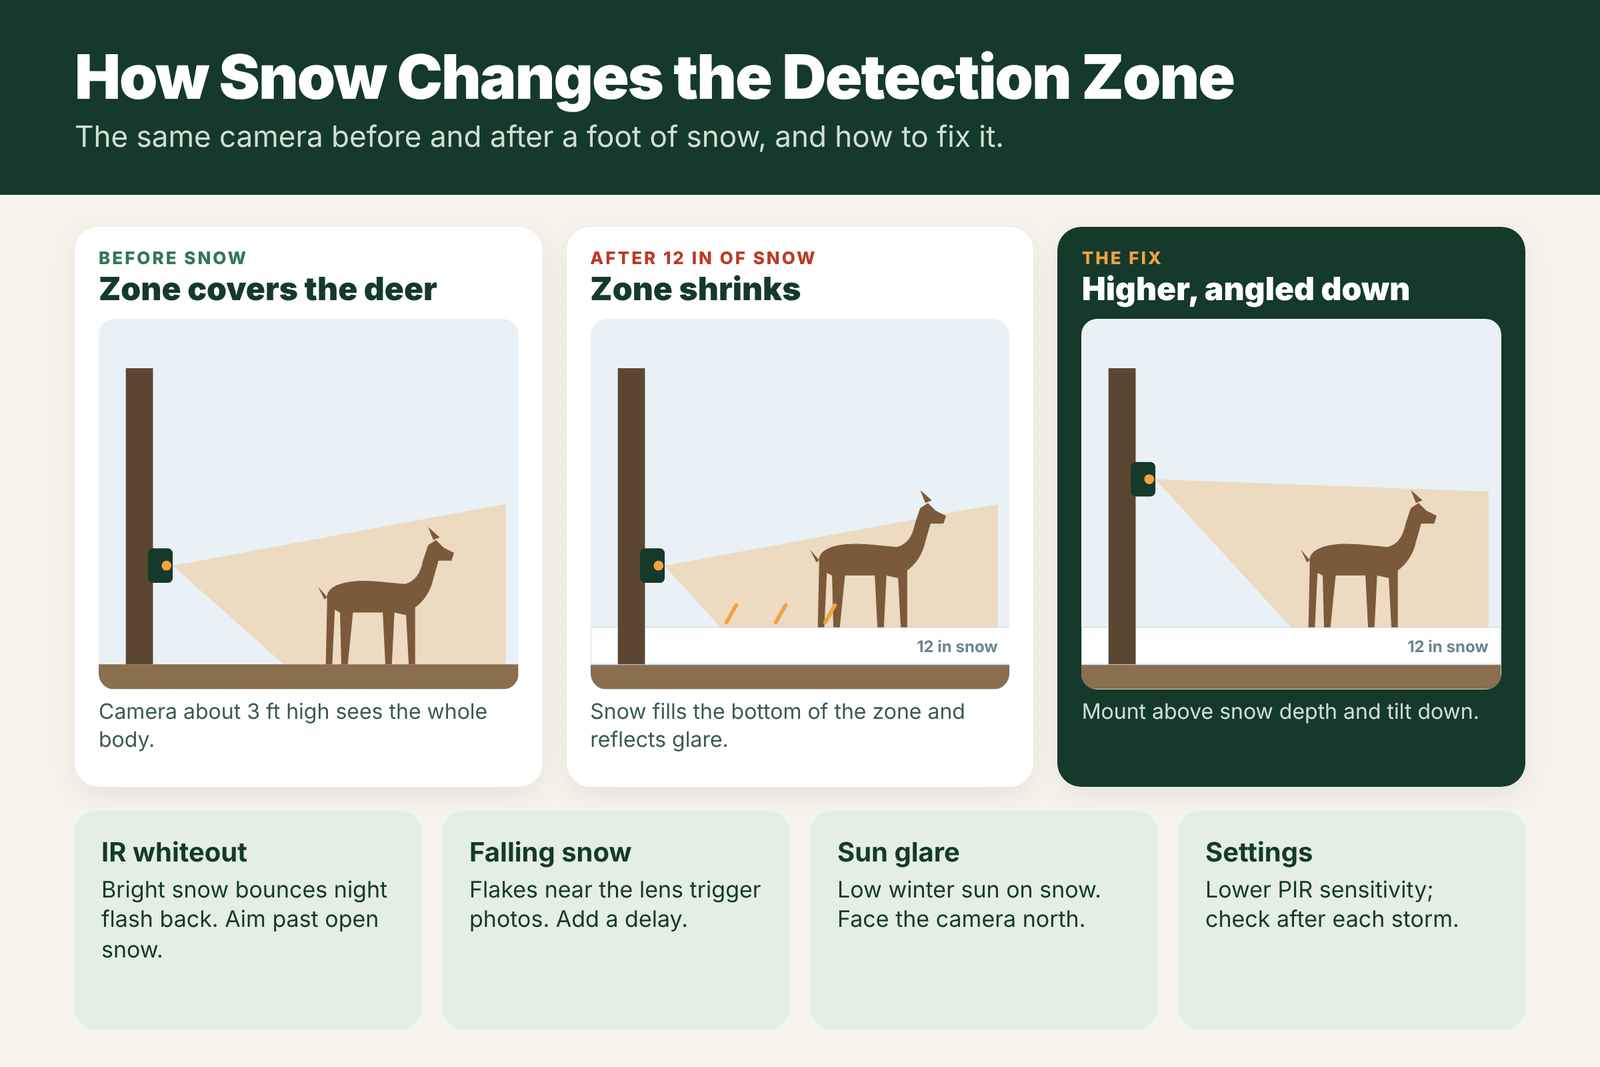
How Snow Changes the Detection Zone
A trail camera’s PIR (passive infrared) sensor watches a cone-shaped zone in front of it. It triggers when something warmer than the background moves through that zone. When you set the camera at about 3 feet high on bare ground, the zone covers a deer’s whole body as it walks by.
Add a foot or two of snow and three things change:
- The ground moves up. The bottom of the detection zone now hits snow closer to the camera, so the useful zone is shorter and shallower.
- The camera is effectively lower. A camera 3 feet off the ground is now only 1 or 2 feet above the snow. Deer walking past may fill the frame too closely, or their legs may be hidden in snow.
- The background changes. Cold snow behind a warm deer actually makes the deer stand out more to the sensor, which is good. But sun-warmed snow and bright patches can confuse it on clear days.
Learn more about how the sensor works in our guide to trail camera PIR sensitivity settings.
Reflections and IR Whiteout
At night, your camera lights the scene with infrared LEDs. Snow is a near-perfect reflector, so a lot of that light bounces straight back into the lens. The result is whiteout: a bright, washed-out foreground and dark, underexposed deer farther back.
To cut IR whiteout:
- Aim past open snow toward a trail or edge 15 to 30 feet away, instead of at a flat snowfield right in front of the camera.
- Angle the camera slightly down so the brightest snow is not right in front of the lens.
- Use a lower flash setting or “short range” IR mode if your camera has one.
- Keep the lens clean. Frost or water droplets scatter the IR light and make whiteout worse.
Our full guide on fixing trail camera night picture whiteout covers more settings.
Falling Snow and False Triggers
Snow causes empty photos in several ways:
- Falling snow close to the lens reflects the IR flash and can trigger photos or video.
- Branches dropping snow spring back up and move through the zone.
- Sun on snow heats patches of ground and brush unevenly, and low winter sun can shine straight into the lens.
- Snow on the camera melting and dripping in front of the sensor.
A few empty photos during a storm are normal. Hundreds every day mean the setup needs to change.
Height and Angle Fixes
- Mount above the snow depth. In snow country, 4 to 6 feet high keeps the camera above the snow and out of drifts.
- Angle slightly down. Use a tilting mount or a small wedge so the zone still covers deer at body height on the trail.
- Face north to keep the low winter sun out of the lens and off the snow in front of it.
- Pick a trail, not a snowfield. Point the camera along or across a packed deer trail with brush or trees behind it.
- Clear the view of small branches that will load with snow.
- Add a hood or brim above the lens to keep snow from sticking to it. See our guide on a trail camera rain hood.
Settings to Change in Winter
- Lower PIR sensitivity at sites with a lot of falling snow, glare or moving branches.
- Add a trigger delay of 30 seconds or more so one burst of snow does not fill the card.
- Use photo mode instead of long video during storms to save battery and storage.
- Set the correct time and date after battery swaps, since cold can reset some cameras.
- Check after each big storm to clear snow and fix the aim. See our trail camera winter tips for a full checklist.
How Much Snow Changes Your Setup
A few inches of snow barely matter. A foot or more changes how your camera sees. Use this as a rough guide when you plan a winter setup.
| Snow depth | Effect on the camera | What to change |
|---|---|---|
| Under 3 inches | Small; brighter scene, a bit more glare | Face north, check the night photos |
| 3 to 12 inches | Detection zone shifts; deer look higher in frame | Re-aim slightly lower, raise the camera a little |
| 12 to 24 inches | Close range shrinks; small animals vanish in snow | Mount 4 to 5 feet up, angle down, aim at packed trails |
| Over 24 inches | Risk of burying the camera; deer stick to packed trails | Mount high on a sturdy tree, check after each storm |
| Fresh snow on branches | Falling clumps trigger the camera | Trim or avoid overhanging branches |
Step-by-Step: Re-Aiming a Camera After a Big Snow
- Visit midday when deer are bedded, and walk in on your old track if you can.
- Brush snow off the case gently with a glove. Do not scrape the lens; let snow on the lens melt or blow it off.
- Look at the ground, not the tree. The ground in front of the camera is now higher. If the old aim point was 20 feet out at ground level, it may now be 15 feet out.
- Raise or re-angle the camera so the center of the frame lands where a deer’s body will be, about 2 to 3 feet above the new snow level.
- Walk-test it in the snow at the distance you expect deer to pass.
- Check the night settings. If photos have been white, lower the flash power or move the aim point farther out.
Real-World Examples
The disappearing deer: a camera set at 2 feet high in October shows nothing but white after a 14-inch storm. The snow is now only 10 inches below the lens, so the camera sees a close white wall. Raising it to 4 feet and angling it down brings deer back into the frame.
White ghosts at night: a camera aimed at a feeder 8 feet away shows bright white deer with no detail after snow falls. The flash is bouncing off the snow and the deer. Moving the camera back to 15 feet and setting the flash to low or auto fixes most of it.
Hundreds of empty frames: a camera under a heavy hemlock branch fills its card in two days. Each time wind knocks snow off the branch, the camera fires. Moving it to a tree with a clear canopy solves it.
Winter Mistakes With Snow
- Setting the camera for the ground you had in fall. Re-check aim after every big storm.
- Pointing across an open, sunny field. Snow glare plus low winter sun is a recipe for washed-out photos and false triggers.
- Using high sensitivity in blowing snow. Drop it one step on windy, snowy days.
- Ignoring the battery. Cold drains alkaline batteries fast. Use lithiums. See trail camera winter tips.
Best Spots for a Camera in Snow
Once snow piles up, deer travel on packed trails between cover and food, and they use the same paths day after day. That makes winter one of the easiest times to choose a camera spot: find the most-used trail, set the camera at an angle to it, and you will see nearly every deer that passes. South-facing slopes, conifer edges and late-season food sources like standing crops and brassicas are also strong choices. See where do deer go when it snows.
Night Photos in Snow: Settings That Help
Snow is one of the hardest scenes for an infrared flash. The white ground reflects far more light than dirt or leaves, so the camera’s auto exposure often gets fooled. Many cameras offer a flash power or night mode setting, such as low, medium, high or auto. On snow, start with low or auto, and set the camera so deer pass at least 12 to 15 feet away. If your camera has a “fast motion” or “short exposure” night mode, it can reduce blur, but it may also make the background darker, which on snow often looks better anyway. Take a few test photos of a friend or a decoy at night and check them before you leave the camera for a week.
Frequently Asked Questions
Why does my trail camera act weird after snow?
Snow raises the ground in front of the camera, shrinks the detection zone, reflects infrared light at night and sunlight in the day, and falling snow can trigger the sensor. These cause whiteout, glare and empty photos.
Why are my trail camera night pictures white in the snow?
Snow reflects the camera’s infrared flash back into the lens. Aim past open snow toward a trail, angle the camera slightly down and use a lower flash setting if available.
Does falling snow trigger trail cameras?
It can, especially when flakes are close to the lens and reflect the IR flash at night. Lower the sensitivity and add a trigger delay during snowy periods.
How high should a trail camera be in snow?
Above the deepest snow you expect, often 4 to 6 feet in snow country, angled slightly down so the detection zone still covers deer on the trail.
Which way should a trail camera face in winter?
North, if possible. That keeps the low winter sun out of the lens and reduces glare and false triggers from sunlit snow.
Should I lower my trail camera sensitivity in winter?
In open, windy spots with blowing snow, drop it one step. In calm woods, normal sensitivity is fine, since cold weather makes warm deer stand out.
Can snow damage a trail camera?
Snow itself rarely hurts a sealed camera, but melting snow can get past a worn seal, and ice can bend antennas or straps. Check seals and latches.
Why do deer look so high in my trail camera photos after snow?
The snow raised the ground level, so the camera’s aim point is now closer to the animal’s body or above it. Re-aim the camera.