Trail cameras usually fail below about -10°F, though batteries and models differ.
As someone who has set trail cameras across snowy mountains and frozen marshes, I know the real-world limits and fixes. This guide explains How Cold is Too Cold for Trail Cameras with clear limits, why cold matters, battery tips, camera choices, field-tested strategies, and step-by-step troubleshooting. Read on for practical advice you can use the next time you head into winter woods.
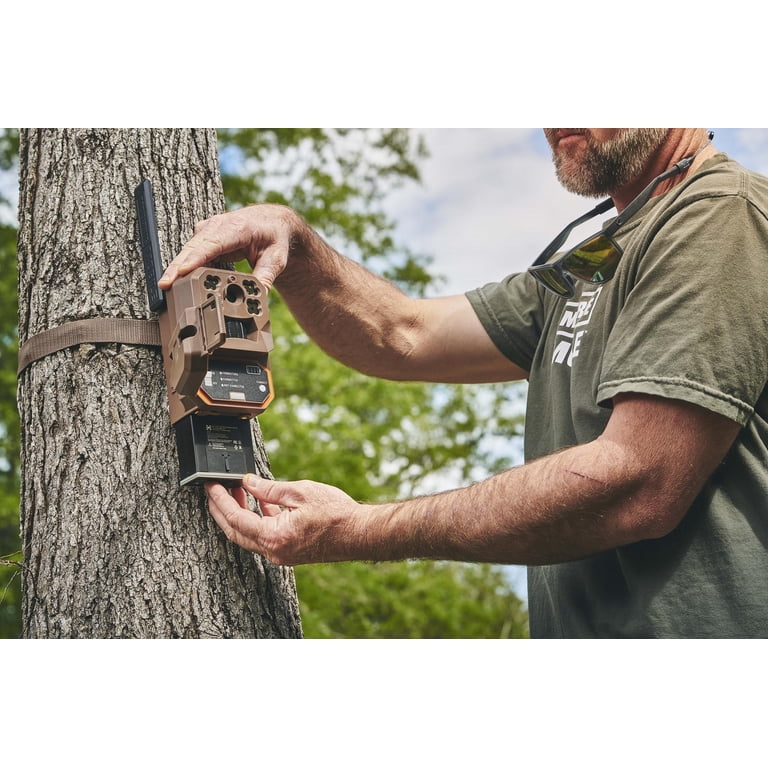
Understanding temperature limits for trail cameras
Most trail cameras list an operating temperature range on the box. Typical consumer models rate down to about -4°F to 14°F. Rugged or “extreme” models sometimes go lower, often to -22°F or -31°F.
How Cold is Too Cold for Trail Cameras depends on two things:
- The camera electronics and housing ratings.
- The battery chemistry and how you manage power.
Manufacturer specs are a starting point. Field performance can be worse because cold drains batteries faster and condenses moisture. I recommend checking both the camera rating and the battery rating before winter use.

Why cold affects trail cameras
Cold impacts trail cameras mainly in two ways:
- Batteries lose capacity as temperature falls, reducing trigger and recording time.
- Electronics can behave oddly when components contract or when condensation freezes.
Cold can cause slower boot times, missed triggers, blank images, or total shutdown. Infrared flash units also become less efficient in deep cold. In my testing at -10°F, a camera that otherwise worked fine at 32°F cut its active time by more than half. That taught me to treat low-temperature operation as both an electronics and a power problem.

Battery and power strategies
Batteries are the weak link in low temperatures. Here’s what I use and recommend:
- Use lithium AA batteries over alkaline. Lithium retains capacity much better in the cold.
- Consider a rechargeable lithium-ion external pack in an insulated battery box for longer deployments.
- Keep spare batteries warm in an inside pocket. Swap them during visits to the site.
- Use a solar panel only if daylight and sun angles are reliable; solar struggles when panels are covered with snow or ice.
Practical tip from experience: at -5°F, alkaline cells were nearly dead after one week. Lithium cells kept a camera running for several weeks under the same conditions. When you plan long-term cold deployments, budget for lithium batteries.
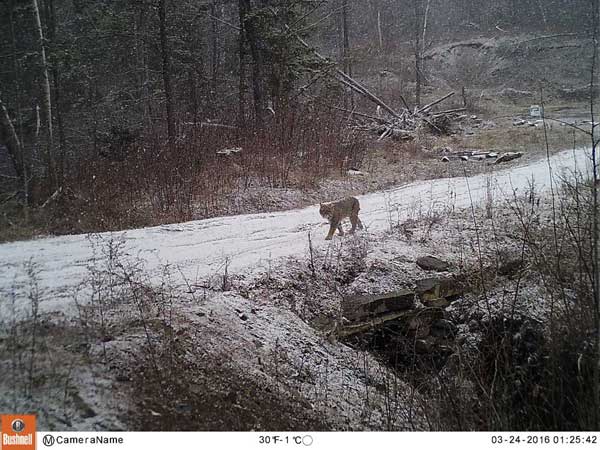
Camera components and cold tolerance
Different parts of a trail camera respond differently to cold:
- Image sensor: works in cold but may show increased noise. Low temperatures usually help sensor noise, but condensation on lenses is a risk.
- IR flash: some passive infrared (PIR) sensors slow down in the cold, causing missed triggers.
- Display and SD cards: screens can go sluggish; SD cards may operate slower but usually still work.
- Housing and seals: plastic can become brittle; rubber seals may harden and lose effectiveness.
Choose cameras with metal or reinforced cases and proven cold ratings. Look for models marketed for cold-weather use and read field reviews. A camera rated to a lower temperature usually includes components and design choices to handle thermal stress.

Practical tips to operate in cold
Simple, low-cost adjustments often solve cold-weather problems:
- Insulate the camera with closed-cell foam or an insulated wrap while leaving sensors unobstructed.
- Position the camera facing east where morning sun can warm it and reduce frost.
- Use a small desiccant pack inside the housing to limit moisture buildup.
- If you expect extreme cold, shorten the interval between visits so you can swap batteries more often.
When I left a camera on a game trail at -15°F, wrapping the camera with a foam pad and tucking batteries into an insulated compartment extended life dramatically. Small changes can yield big results.
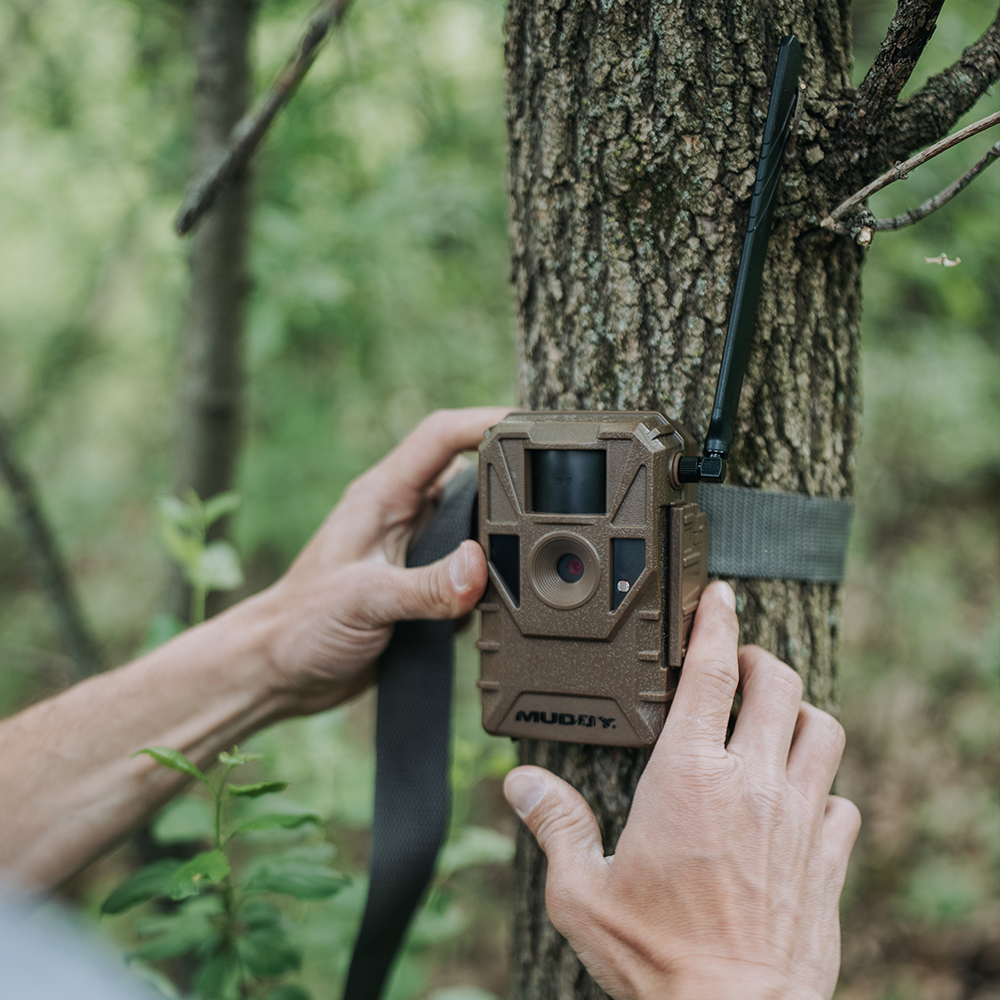
Testing, maintenance, and troubleshooting
Field checks and simple tests save time and lost footage:
- Test the camera at home in a freezer for an hour to see how it behaves before you deploy.
- Log battery voltage on each visit to detect rapid drops.
- If the camera blanks or reboots, try fresh lithium batteries and a formatted SD card.
- Watch for frost on the lens or inside the housing; remove and dry the camera when possible.
Troubleshooting steps to try when cold causes failures:
- Replace batteries with known-good lithium cells.
- Remove and dry the SD card; reformat if needed.
- Move the camera to a slightly different angle or add insulation to reduce direct wind chill.
I once diagnosed repeated blank images as frozen seals allowing condensation. Replacing the gasket and adding silica gel fixed the issue. Small maintenance visits pay off in reliable winter data.

Recommended settings and accessories
Settings and add-ons increase success in cold conditions:
- Use low-resolution or timed video settings to conserve battery.
- Set a longer delay between triggers if animal traffic is light.
- Enable time-lapse as a backup when PIR triggers fail.
- Add an external battery pack, insulated battery case, or a heated enclosure for extreme cold.
Accessories I trust from testing:
- High-quality lithium AA batteries.
- Insulated battery sleeves and foam wraps.
- Small USB power banks rated for low temperatures.
- Weatherproof enclosures with passive vents.
Adjust settings and gear to balance data needs and battery life. Short clips and photos with lower resolution can give longer coverage when it's cold.

Frequently Asked Questions of How Cold is Too Cold for Trail Cameras
What temperature will most trail cameras stop working?
Most consumer trail cameras begin to show problems below -4°F; rugged models can work near -22°F, but results vary by battery and model.
Can I use rechargeable batteries in cold weather?
Rechargeable NiMH batteries perform poorly in severe cold; lithium-based rechargeables are much better and are the recommended choice.
Will insulation over the camera block motion sensors?
Insulation works if you avoid covering the PIR window. Wrap around the body and leave sensor and lens clear to keep motion detection reliable.
How often should I check cameras in winter?
Check more often than in mild seasons—every 1 to 3 weeks depending on expected temperatures and battery strategy.
Can I heat a camera to keep it running?
Active heating works but draws power. Small thermostatic heaters in enclosures can help, but they need reliable power and add weight and cost.
Conclusion
You can run trail cameras through most winters if you plan for battery limits, use cold-rated gear, and add simple insulation and maintenance routines. Understanding How Cold is Too Cold for Trail Cameras helps you pick the right model, batteries, and placement to get reliable footage. Try a small field test at home, use lithium power, and check gear regularly to avoid surprises. If you found this guide helpful, try one winter deployment with the tips above and share your results or questions in the comments.
As an Amazon Associate, I earn from Qualifying Purchases.