To reset a trail camera, locate the reset button in the battery compartment or use the menu settings.
After spending years in the woods tracking wildlife, I have learned that even the most expensive gear can act up when you least expect it. Whether it is a frozen screen, corrupted SD card data, or simply a stubborn setting that won’t change, learning how to reset trail camera units is a vital skill for every outdoorsman. I remember once waiting weeks for a trophy buck only to realize my camera had locked up due to a firmware glitch. By following the systematic steps outlined below, you can save your scouting season and ensure your equipment remains in peak working condition.
Source: com.au
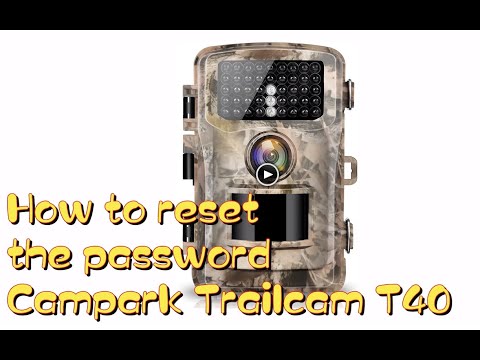
Standard Methods to Reset Your Trail Camera
Knowing how to reset trail camera devices properly can save you from a frustrating trip back to the store. Most modern cameras offer a few ways to resolve technical issues without needing professional repair.
The most effective approach is the soft reset. This involves navigating to the settings menu on your device. Look for an option labeled Factory Reset or Default Settings. This action wipes custom configurations but rarely touches the footage on your SD card. I always suggest backing up your photos before performing this step, just to be safe.
If your screen is unresponsive, you should perform a hard reset. Start by removing all batteries and the SD card from the housing. Leave the device completely powered down for at least ten minutes. This allows the internal capacitors to drain fully. Once the time has passed, reinsert the batteries and see if the system reboots normally.
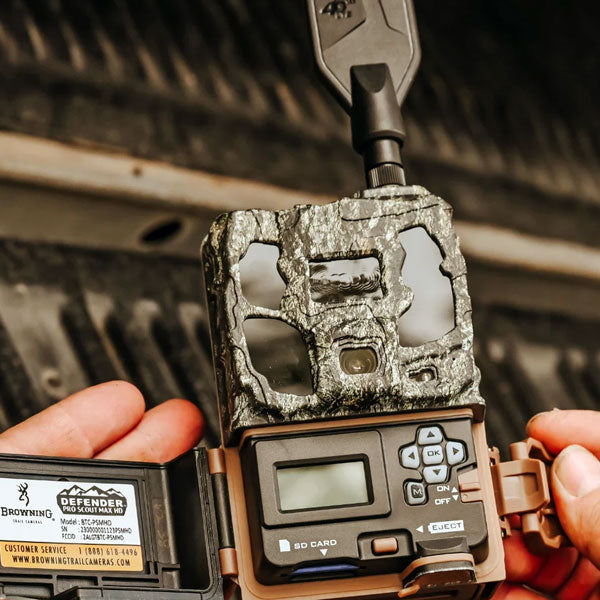
Sometimes, manufacturers hide a tiny reset button inside the battery tray. You will typically need a paperclip or a specialized tool to press it. If you are struggling to find it, consult your manual, as every model has a slightly different layout. When you reset trail camera hardware this way, it acts as a total system flush, bringing the device back to its original factory state.

Source: youtube.com
Why Trail Cameras Require Regular Resets
Maintenance is the secret to a long camera life. Over time, digital devices accumulate cache files and minor errors that can lead to slow performance. When you reset trail camera settings periodically, you effectively clear out these digital cobwebs.
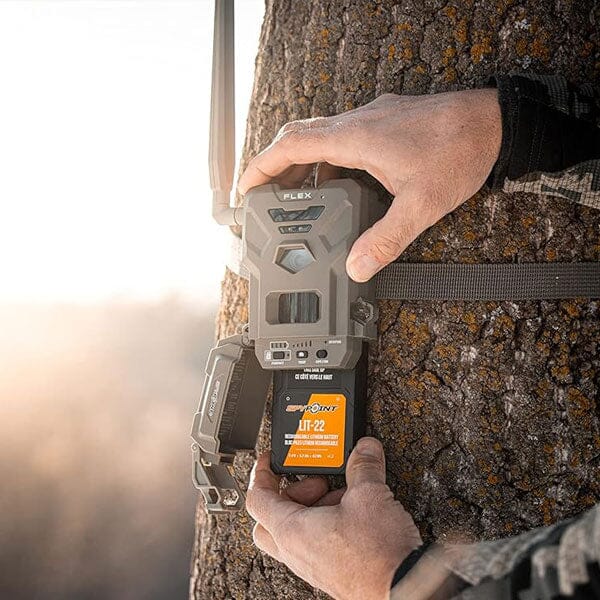
Frequent field use exposes gear to extreme temperatures, moisture, and debris. These elements can cause electrical components to act erratically. I have found that a quick reset during battery changes keeps the internal clock accurate and the sensor functioning smoothly.
Another common issue is SD card compatibility. If your camera starts failing to write images, it might not be the camera itself but a conflict with the card formatting. Performing a reset combined with reformatting the SD card inside the camera menu usually solves the problem instantly. Always ensure your firmware is up to date, as many manufacturers release patches that make the reset process more stable.
Source: com.au
Common Troubleshooting Tips for Success
When you learn how to reset trail camera gear, you should also adopt a proactive approach to troubleshooting. If the camera still fails after a reset, check the voltage of your batteries. A low battery often mimics the symptoms of a broken device, such as a flickering screen or an inability to save images.
Avoid using cheap batteries in high-drain devices. In my experience, using high-quality lithium batteries provides a consistent voltage that prevents the camera from crashing unexpectedly. I once spent an hour trying to fix a faulty unit only to realize the cheap alkaline batteries were losing charge in the cold air.
Cleaning the battery contacts is another overlooked step. Corrosion or moisture buildup prevents a clean electrical flow. Use a soft cloth and a little bit of vinegar to gently scrub the contacts if you notice any white, crusty residue. A clean connection ensures that every time you reset trail camera systems, the power cycle completes successfully.

Source: youtube.com
Frequently Asked Questions of How to Reset Trail Camera
Does resetting my camera delete my photos?
A standard menu-based reset usually only affects configuration settings and not the files on your SD card. However, formatting your SD card during the reset process will permanently erase all stored images.
How often should I reset my trail camera?
You only need to reset your camera if it is malfunctioning or behaving erratically. There is no benefit to resetting it during every battery change if the device is performing well.
What if the reset button does not work?
If a physical button reset fails, your camera may have an internal hardware failure or corrupted firmware. Contact the manufacturer support team to see if a manual firmware update is available for your specific model.
Can cold weather cause a camera to need a reset?
Yes, extreme cold can lower battery voltage, causing the internal processor to lock up. When this happens, a power-off reset is often required once the device returns to a warmer environment.
Do I need special tools to reset my trail camera?
Most models only require a small object like a paperclip or a SIM card tool to reach the recessed reset buttons. Always check your user manual to see the exact requirements for your specific device brand.
Conclusion
Understanding how to reset trail camera hardware is a fundamental skill that every hunter and nature enthusiast should possess. By keeping these simple steps in your back pocket, you avoid unnecessary downtime and ensure that you never miss that perfect shot of a lifetime. Whether you are dealing with a software glitch or a frozen screen, a methodical reset often brings your gear back to life.
Take a moment this weekend to check your cameras, perform any necessary updates, and ensure your settings are optimized for your next trip to the woods. If you found this guide helpful, feel free to share it with your hunting buddies or leave a comment below with your own experiences! For more tips on managing your outdoor gear, subscribe to our newsletter for regular maintenance updates.
As an Amazon Associate, I earn from Qualifying Purchases.