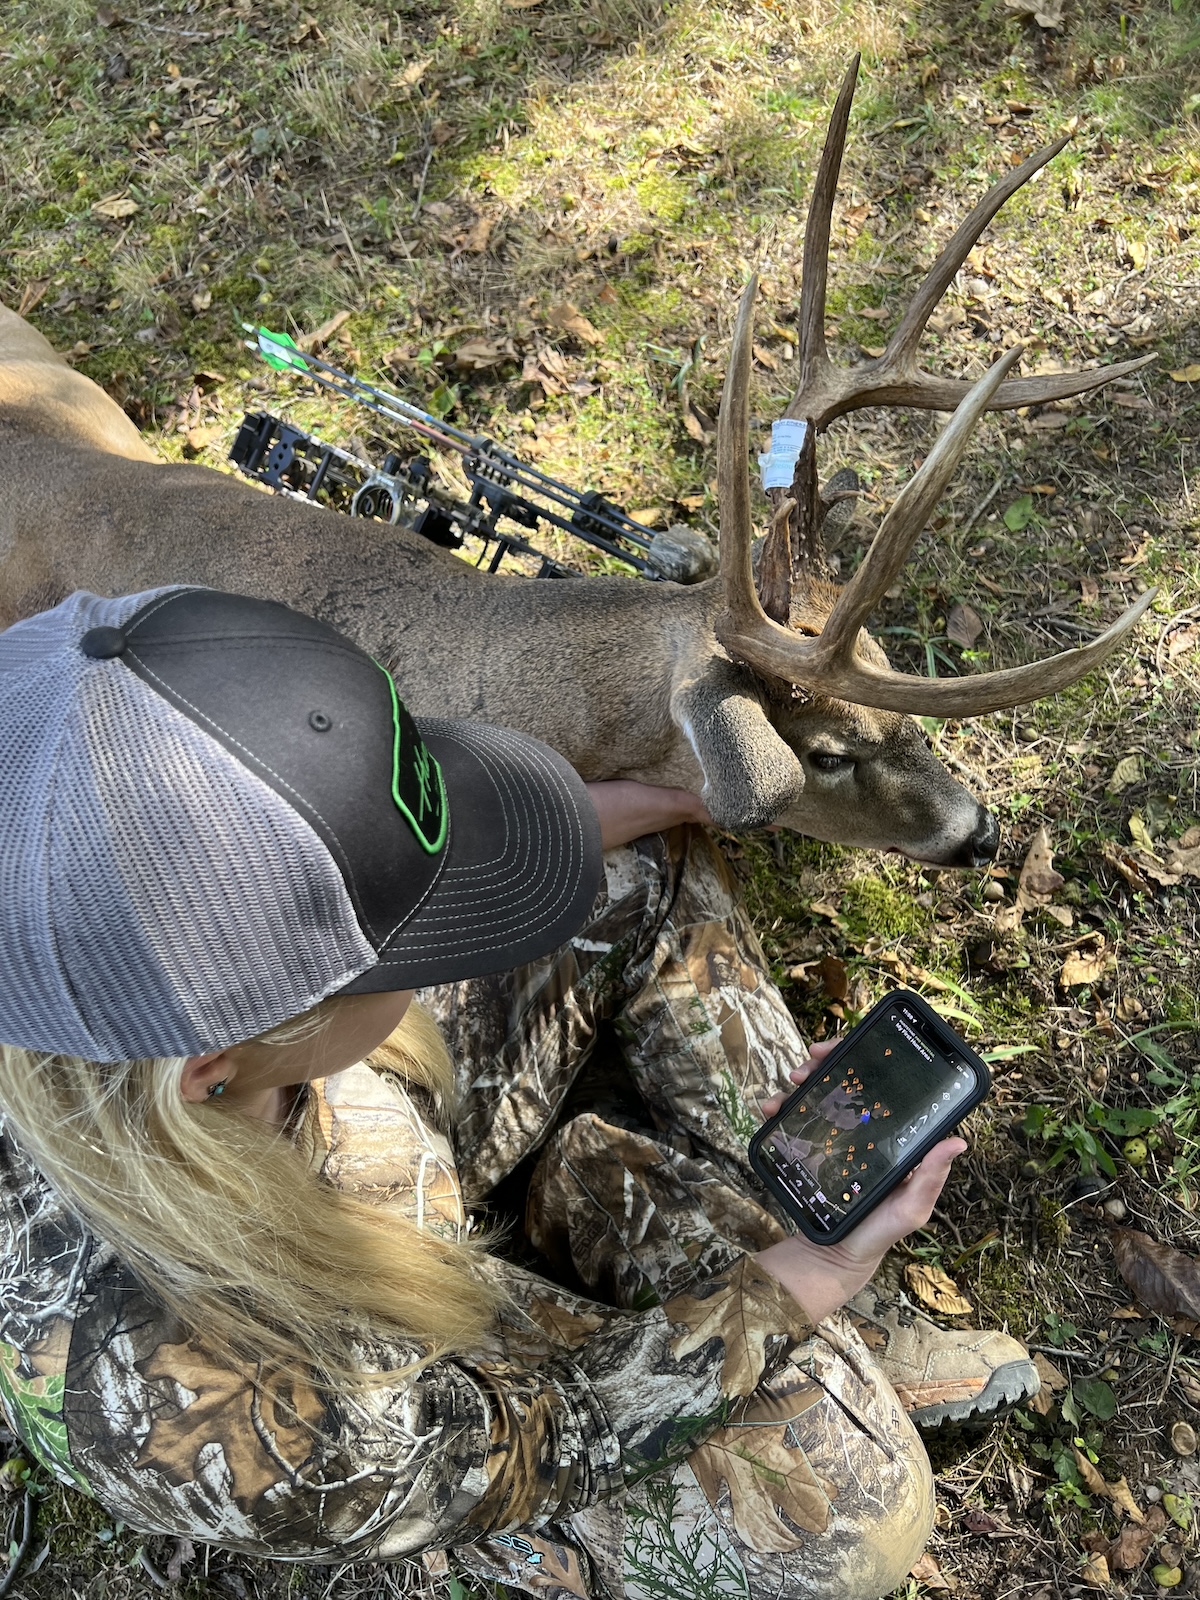
Point the camera at the trail, set it level at chest height, and avoid direct sun or glare.
I have placed and tested trail cameras for over a decade on private land and field studies. This guide explains exactly how to aim trail camera correctly so you get sharp photos, accurate triggers, and fewer wasted batteries. Read on for step‑by‑step methods, real-world tips, and mistakes I've learned to avoid.
Why aiming your trail camera correctly matters
A properly aimed camera records the right animal at the right distance. Poor aiming yields empty frames, blurred subjects, or animals too close for the lens to focus. When you know how to aim trail camera correctly you save time, battery life, and memory space. That improves data quality and makes monitoring or scouting much more useful.

Essential gear and placement basics
Use the right gear before you set the angle. Keep this checklist in mind.
- Trail camera with adjustable mount and wide-angle or standard lens options.
- Sturdy strap or mount that keeps the camera steady.
- Small bubble level or built-in level to keep the unit square.
- Measuring tape to set height and distance from the trail.
- Handheld tester or phone to preview the scene when possible.
Placement rules to follow.
- Place the camera where animals naturally travel, like game trails, funnels, or scrape sites.
- Aim across the trail, not straight down it, so animals cross the field of view.
- Keep the camera at chest to shoulder height for most deer and similar animals.
- Avoid facing sunrise or sunset to reduce backlight and false triggers.
Step-by-step guide: how to aim trail camera correctly
Follow these steps for reliable results.
- Scout the spot first. Look for tracks, droppings, or worn paths that show regular use.
- Set the camera height to the target species. For deer set 3.5 to 4 feet high. For coyotes and smaller animals lower the camera to 2 to 3 feet.
- Mount the camera securely. Use a strap, tree mount, or bracket and make sure it can’t tilt easily.
- Angle across the trail at about 15 to 30 degrees. This gives a side view as animals move through the trigger zone.
- Position the camera so the main activity zone is in the center to lower partial frames. Leave space near the edges for animals to move into the frame.
- Check the detection zone. Walk through the area at normal speed and observe where the camera triggers. Adjust distance if animals trigger too early or too late.
- Avoid pointing at shiny objects. Metal, water, or wet leaves cause false night reflections.
- Lock down settings. Use appropriate trigger sensitivity, burst shots, and recovery time for the species and traffic level.

Common mistakes and how to avoid them
Knowing common errors saves time in the field.
- Mounting too low or too high. If the camera is off target the lens will miss the animal’s vital area.
- Facing the camera directly down a trail. This causes animals to appear too small in the frame and miss details.
- Ignoring sun paths. Cameras facing sunrise or sunset will have blowouts and reduce night accuracy.
- Using maximum sensitivity without testing. That invites false triggers from wind and heat.
- Skipping a walk test. If you don’t test you won’t know the actual trigger zone.
Fixes are simple. Re-mount at chest height. Angle across the trail. Do a walk test and tweak the sensitivity. Re-check after a few days and adjust for seasonal changes.

Advanced tips for different scenarios
Hunting stands and scouting
Mount cameras to show the animal’s flank. That reveals antler details and body condition. Place the camera 10 to 20 feet from the trail for clear ID shots.
Farm or property security
Aim to cover choke points like gates or driveways. Use slightly elevated mounts to capture faces. Keep lighting consistent to avoid false positives.
Nighttime and infrared concerns
Avoid near bright lights and reflective surfaces. For infrared models, keep the animal’s target area 10 to 30 feet from the camera to reduce overexposure. Test at night during setup.
Windy, leafy, or rainy sites
Trim close vegetation from the detection area. Use a shorter recovery time to avoid constant re-triggers in wind. Consider a protective case to reduce false motion from rain.
People also ask
How high should I mount my trail camera for deer?
Mount most deer cameras about 3.5 to 4 feet high. This height targets chest and head areas for identification.
Should I point the trail camera straight at the trail?
No. Angle the camera 15 to 30 degrees across the trail. That gives a better side view and improves clear shots.
How far from the trail should my camera be placed?
Place the camera 8 to 20 feet from the main track. Adjust distance for your camera’s detection and lens range.

Personal tips and lessons from experience
I once set a camera facing a clear trail and got only blurry sky shots for two weeks. I learned to do a walk test every time. Another time I mounted too low and missed antler detail. Now I always measure height first. I also tag each camera with a note showing the set height and angle. This saves confusion on return visits.
Practical tips I use often.
- Label each unit with its height and angle.
- Take a phone photo of the setup for future reference.
- Re-check the camera after storms and seasonal vegetation growth.
- Use quiet straps to avoid creak sounds that startle wildlife during setup.

Frequently Asked Questions of how to aim trail camera correctly
How do I know my camera’s trigger zone?
Walk the area at normal walking speed while watching the camera’s LED test or using a preview feature. Adjust distance until your test walk triggers consistent shots.
Can I aim a camera at a bait or feeder?
Yes. Place the camera so the bait is centered and at the correct height for your target species. Ensure the camera is far enough to capture approaching animals before they reach the bait.
How often should I check or adjust camera aim?
Check cameras every 1 to 3 weeks, depending on traffic and weather. Seasonal foliage changes often require re-aiming.
What angle is best for antler or facial shots?
A cross-angle of 15 to 30 degrees works well. For antler detail, place the camera 10 to 15 feet away and slightly angled to the animal’s side.
Will vegetation cause false triggers?
Yes. Moving leaves and grass can trigger the sensor. Trim vegetation and test sensitivity to reduce false events.
Conclusion
Aiming your trail camera correctly is a small effort that yields much better images and data. Use chest-height mounts, a slight cross-angle, and regular walk tests to find the sweet spot. Apply the step-by-step method and the advanced tips here, then make small tweaks based on what you see. Try these ideas on your next setup and share your results or questions below to keep improving.
As an Amazon Associate, I earn from Qualifying Purchases.