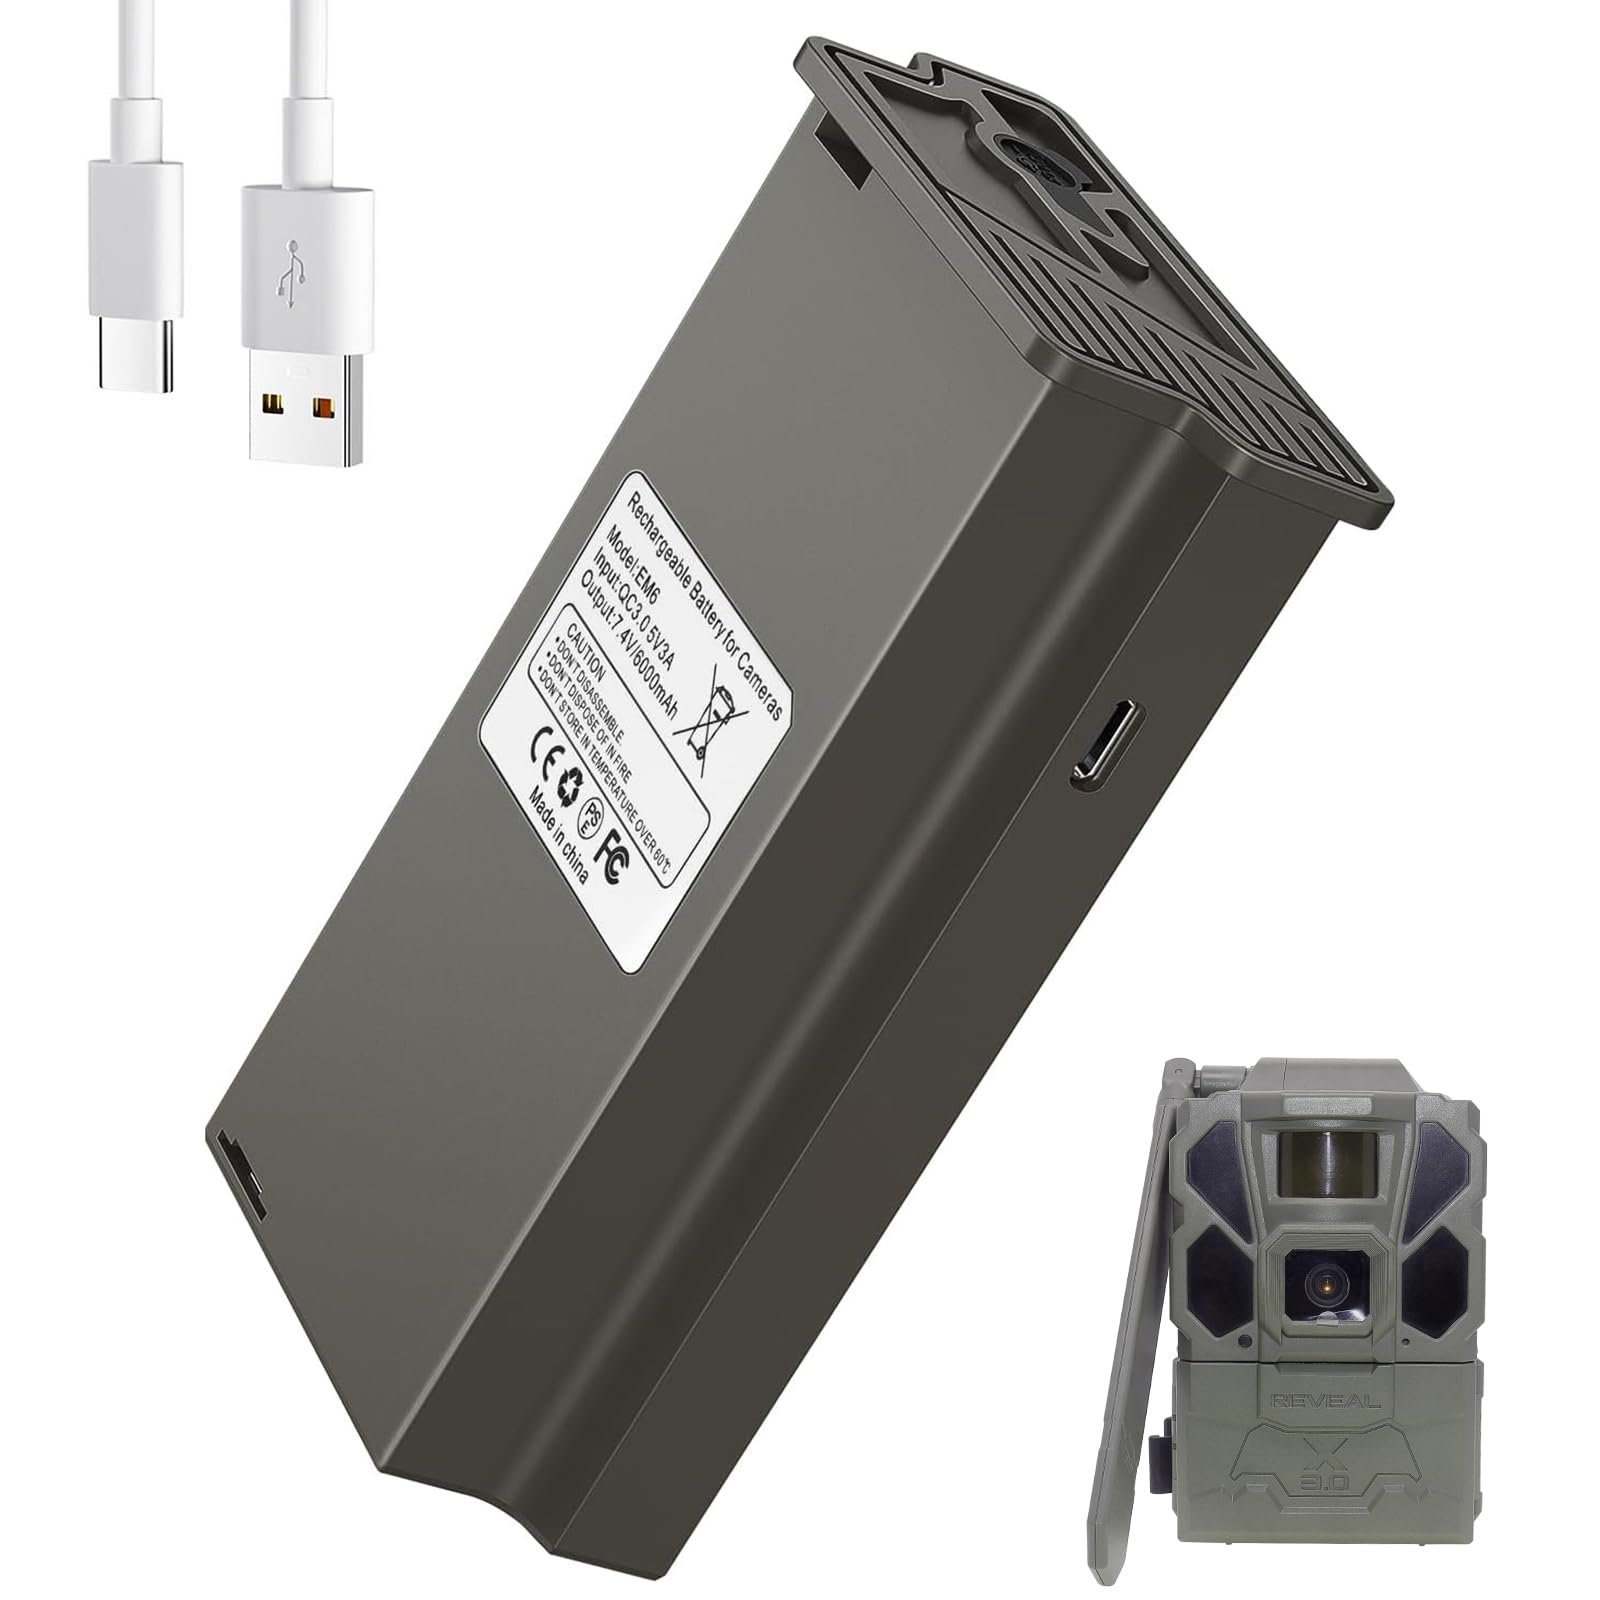
Open the camera, remove old cells, swap in correct batteries, and test power.
I’ve fixed dozens of trail cameras and written for gear guides for years. This post breaks down how to replace trail camera battery step by step. You will learn which batteries work best, the tools to carry, safety checks, and quick fixes I use in the field. Read on to save time and avoid common mistakes when you replace trail camera battery.
Why timely battery replacement matters
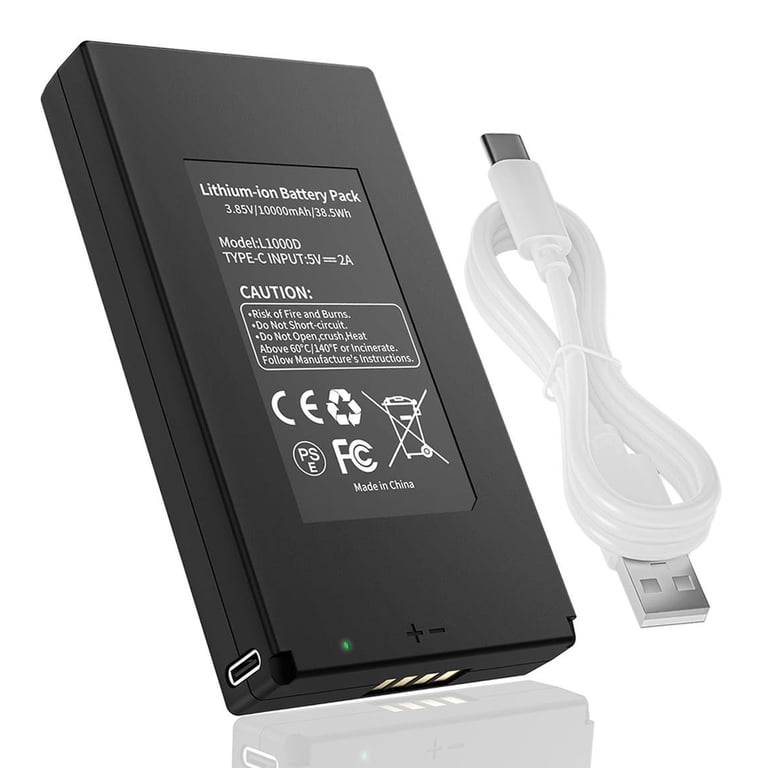
A dead battery means missed images and wasted time. Replacing batteries on schedule keeps your camera collecting photos and video when it matters most. Knowing how to replace trail camera battery reduces downtime. It also protects the camera from leaks and poor contacts.
Types of batteries and which to choose
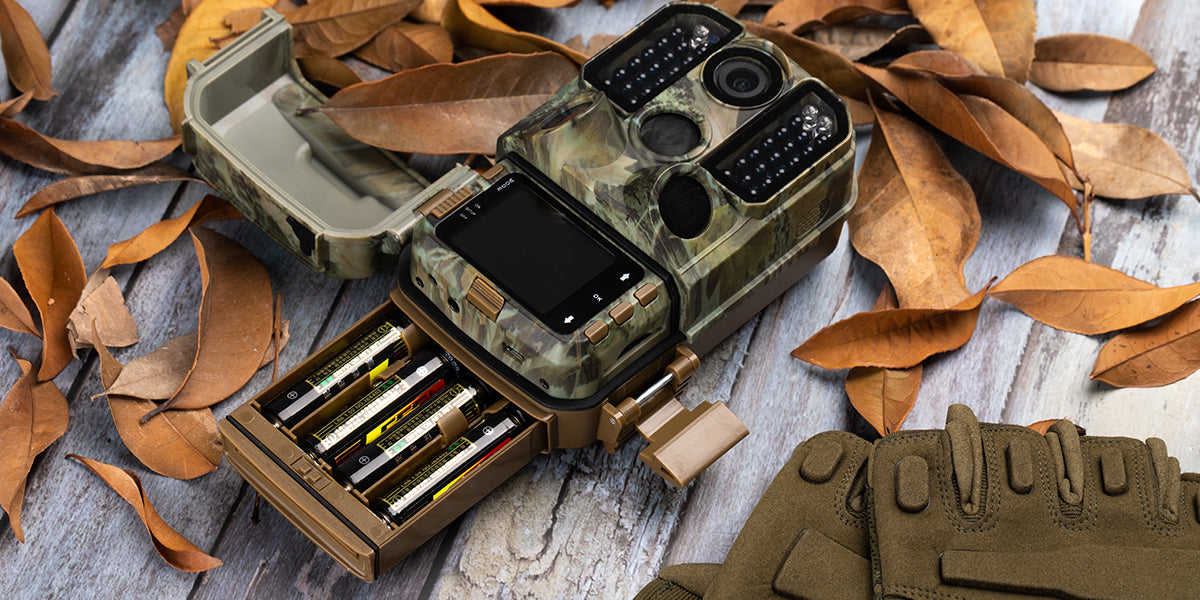
Choose the right battery type before you replace trail camera battery. Battery type affects run time, reliability, and cost.
- Alkaline AA
- Cheap and easy to find.
- Shorter life in cold weather.
- Lithium AA
- Long life and great cold-weather performance.
- More expensive but often worth it for long deployments.
- NiMH rechargeable AA
- Good for frequent checks and eco-friendly use.
- Lower voltage than fresh alkalines; some cameras need fresh cells for reliable triggers.
- External battery packs
- High capacity and extended runtime.
- Must be weatherproofed and wired correctly.
- 6V or proprietary packs
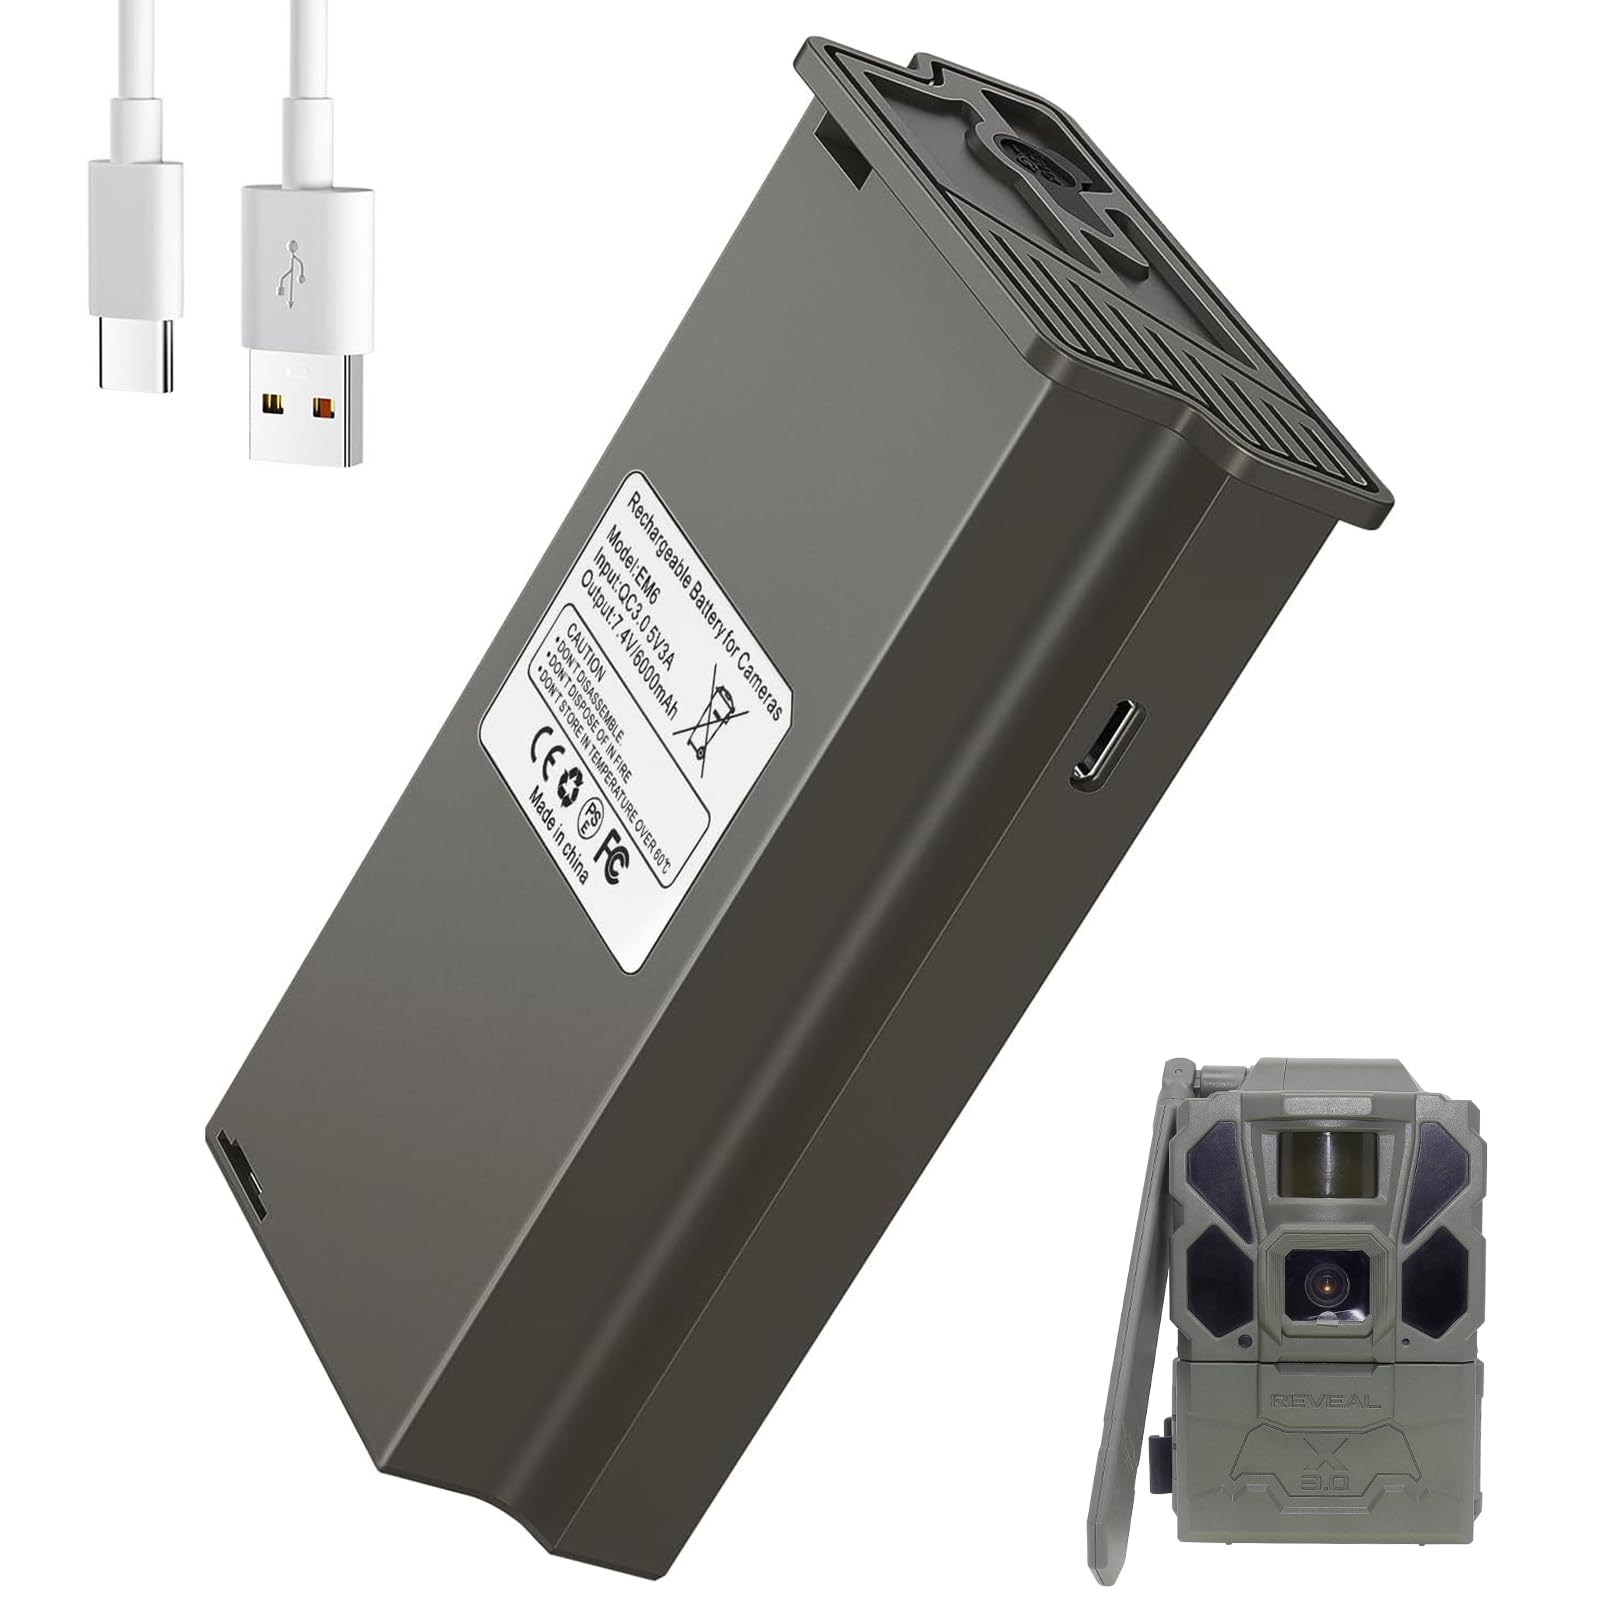
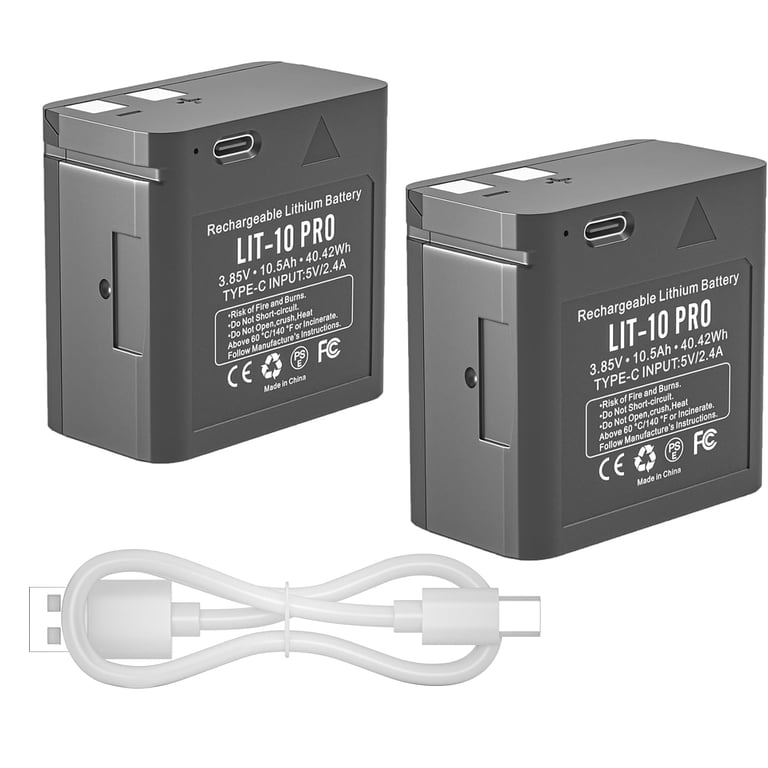
- Some cameras use 6V sealed packs. Check compatibility before you replace trail camera battery.
From my field tests, lithium AA cells lasted longest in winter. I once left a camera on a remote ridge for three months with lithiums and got consistent captures.
Tools and safety checklist before you replace trail camera battery
Bring a small kit to every camera visit. This helps you replace trail camera battery quickly and safely.
- Tools to bring
- A fresh set of batteries of the correct type.
- Small screwdriver for battery door screws.
- Soft cloth and contact cleaner wipes.
- Small plastic bag for old batteries.
- Gloves to protect hands and contacts.
- Safety tips
- Turn the camera off before swapping batteries.
- Note the battery orientation before removing cells.
- Keep old batteries away from children and animals.
- Clean any corrosion with a soft brush and a tiny vinegar or baking soda solution if needed.
- Field note
- I carry a zip-lock with labeled cells. This prevents mixing weak cells with fresh ones.

Step-by-step: How to Replace Trail Camera Battery
This step-by-step guide shows how to replace trail camera battery safely and efficiently.
- Power down the camera
- Turn the camera off using the power switch.
- If there is no switch, remove batteries one at a time.
- Open the battery compartment
- Unscrew or unlatch the door.
- Keep screws in a small pocket so you don’t lose them.
- Check battery orientation
- Note + and – markings.
- Take a photo of the orientation if needed.
- Remove old batteries
- Remove cells one at a time.
- Inspect for corrosion or leakage.
- Clean contacts if needed
- Use a dry cloth or contact cleaner wipe.
- Gently remove grime with a soft brush.
- Install fresh batteries
- Insert cells in the correct orientation.
- Use new cells from the same brand and batch where possible.
- Re-seat the door and secure it
- Ensure the seal or O-ring sits properly.
- Tighten screws just enough to be snug.
- Power on and test
- Turn the camera on and check battery status on the screen.
- Trigger a test photo to confirm operation.
A quick tip from my experience: always test the camera for a minute before leaving. Once I forgot to close the door properly and water damaged the unit overnight. Testing would have caught that.

Battery maintenance and storage tips
Good habits extend battery life and prevent damage when you replace trail camera battery.
- Rotate batteries
- Use older cells for short runs or home practice.
- Keep fresh batteries sealed until use.
- Store batteries right
- Store in a cool, dry place.
- Avoid extreme heat and damp basements.
- Remove batteries for long storage
- If you won’t use the camera for months, remove batteries to avoid leakage.
- Track runtime
- Log install dates and camera trigger rates.
- This helps predict when to replace trail camera battery next.
I keep a simple notebook with dates and battery types. That log saved me from swapping cells too early or too late.

Troubleshooting common issues when you replace trail camera battery
If the camera does not power on after you replace trail camera battery, try these checks.
- Check orientation again
- A single reversed cell can stop the camera.
- Inspect contacts and springs
- Bent springs or corroded contacts block power flow.
- Verify battery type and voltage
- Some cameras need fresh alkaline or lithium cells.
- Test with fresh known-good batteries
- Swap with batteries you used in another working camera.
- Watch for firmware or menu errors
- If power is fine, reset the camera or update firmware.
People also ask:
What if my camera shows battery low right after replacement?
- If the camera shows low power immediately, check battery voltage and contacts. Replace with new fresh lithium cells to see if the reading clears.
Can a single bad battery ruin the whole pack?
- Yes. One weak cell can pull down the pack voltage. Replace the entire set for best results.
How long should batteries last in a trail camera?
- Runtime varies by battery type and trigger rate. Lithium AAs can last months in low-activity sites.

PAA-style quick questions (People also ask)
Why should I use lithium batteries in cold weather?
- Lithium cells keep higher voltage in cold and last longer than alkaline. They reduce missed events in freezing temperatures.
Can I mix rechargeable and non-rechargeable batteries?
- Do not mix types. Mixing causes uneven discharge and may damage the camera or shorten battery life.
Is it OK to leave the camera on while replacing batteries?
- Turn it off first. Removing or inserting cells while live can cause short circuits or corrupt settings.
Frequently Asked Questions of how to replace trail camera battery
How often should I replace batteries in a trail camera?
Replace batteries based on trigger rate and season. For heavy use or winter, check monthly; for light use you can wait longer.
Can I use rechargeable batteries in my trail camera?
Yes, rechargeable NiMH cells work well if your camera accepts lower voltage. Test in the field to ensure reliable triggering.
What should I do with old batteries?
Recycle old batteries at a proper drop-off. Do not throw them in household trash to avoid leaks and environmental harm.
How do I know if contacts are corroded?
Look for white, green, or brown residue on springs and contacts. Clean gently and replace parts if corrosion is severe.
Will using the wrong battery void my camera warranty?
Possibly. Check your camera manual for approved battery types. Using incompatible packs may void warranty or cause damage.
My camera reads full but won’t take pictures. What next?
Check the camera settings and SD card. A full battery does not fix a full memory card or wrong motion settings.
Conclusion
Replacing trail camera battery is a quick task with big rewards. Use the right batteries, follow the steps, and test the camera before you leave. Small checks now mean more photos later. Try a checklist on your phone and log battery changes to avoid surprises. Share a tip or question below, or subscribe for more hands-on gear guides.
As an Amazon Associate, I earn from Qualifying Purchases.