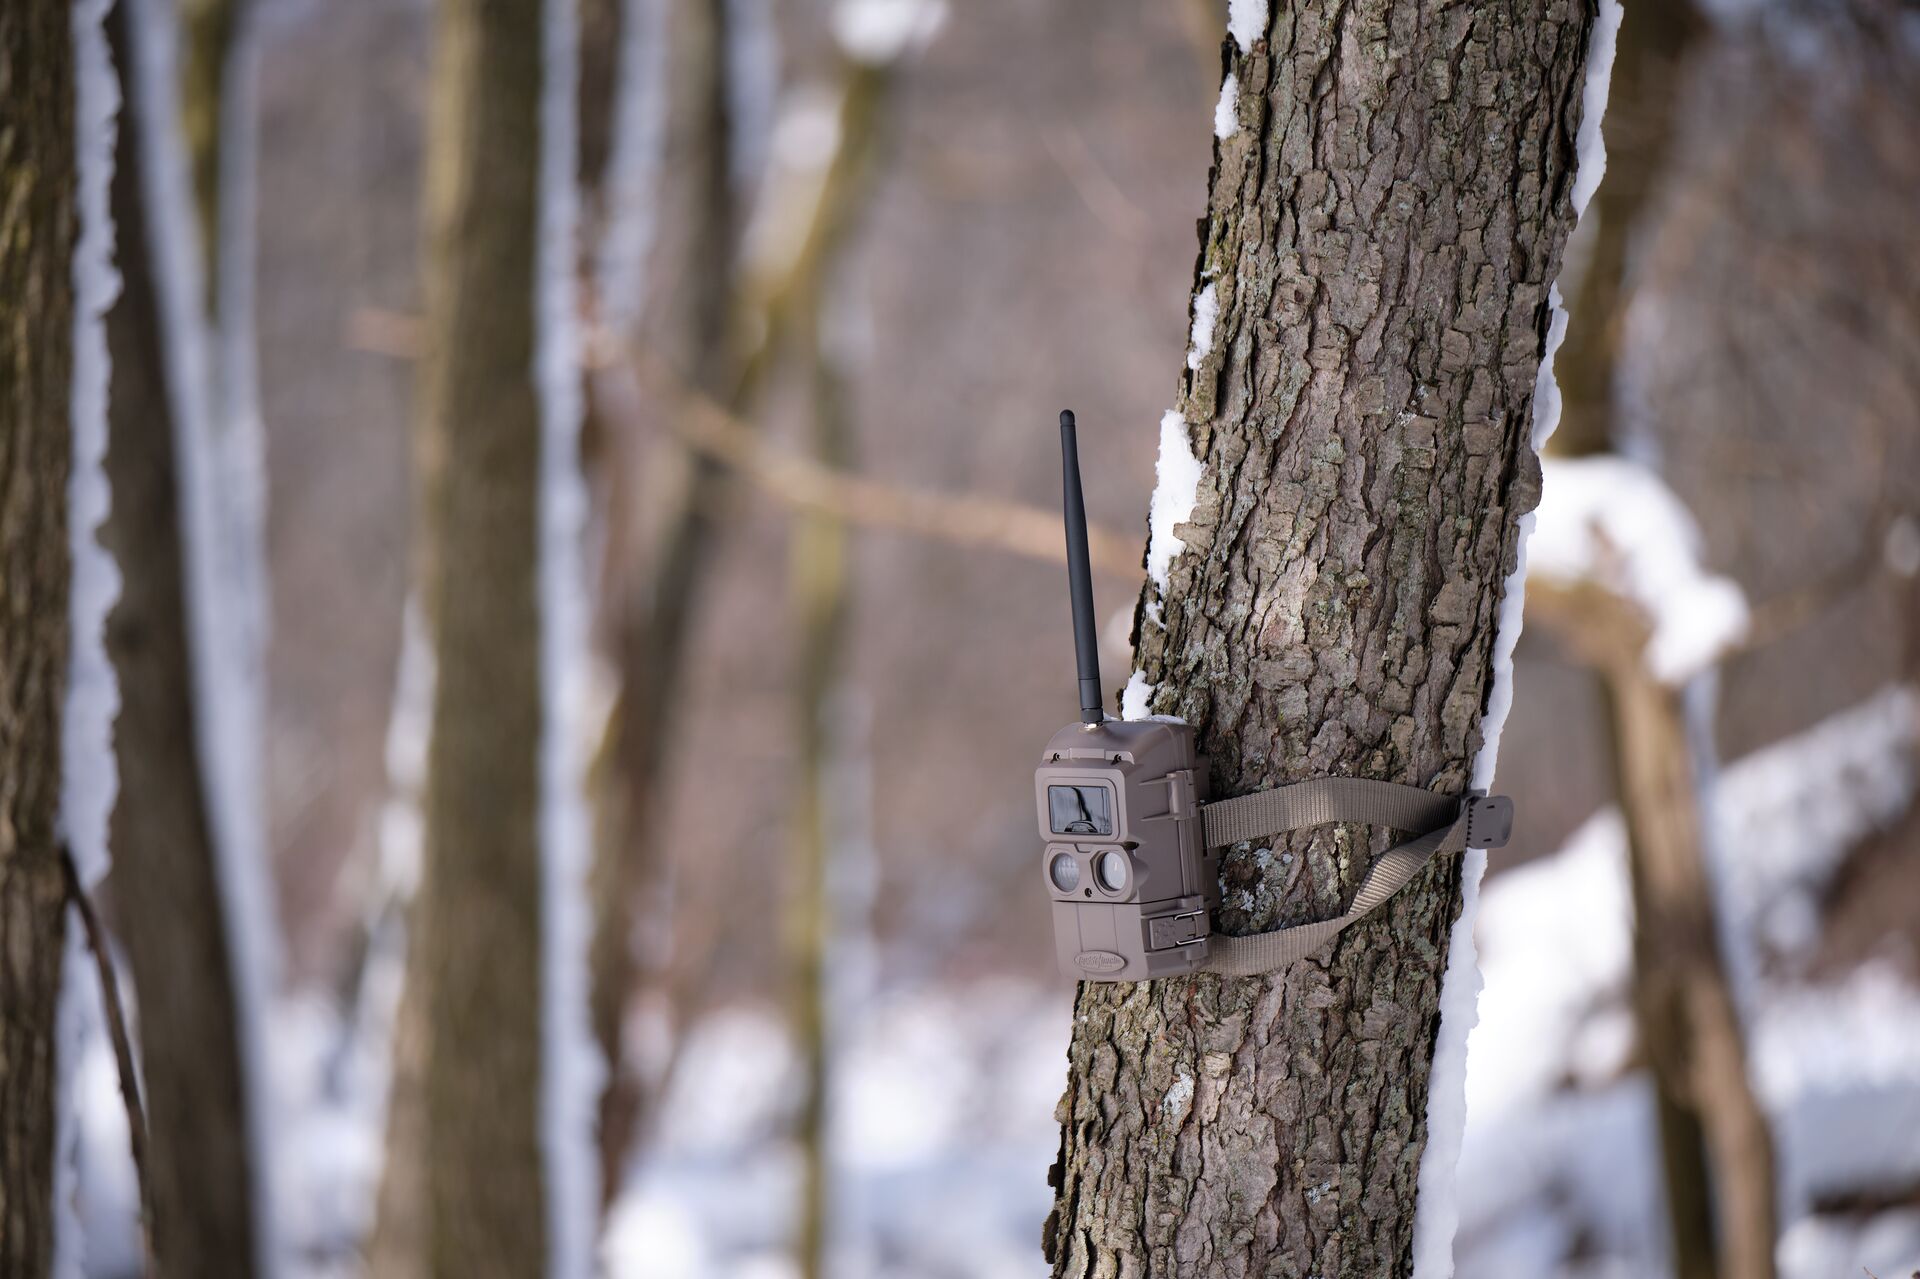
Place your trail camera at game trails, set the right angle, and check often for best results.
I have spent years setting and testing trail cameras in forests for wildlife study and hunting. In this guide I share clear steps on how to use trail camera in forest, from picking gear to reading images. You will get practical tips, common mistakes, and simple checklists you can use on your first trip. I write from real field work and aim to make setup fast and reliable so you capture the animals you want to study or watch.
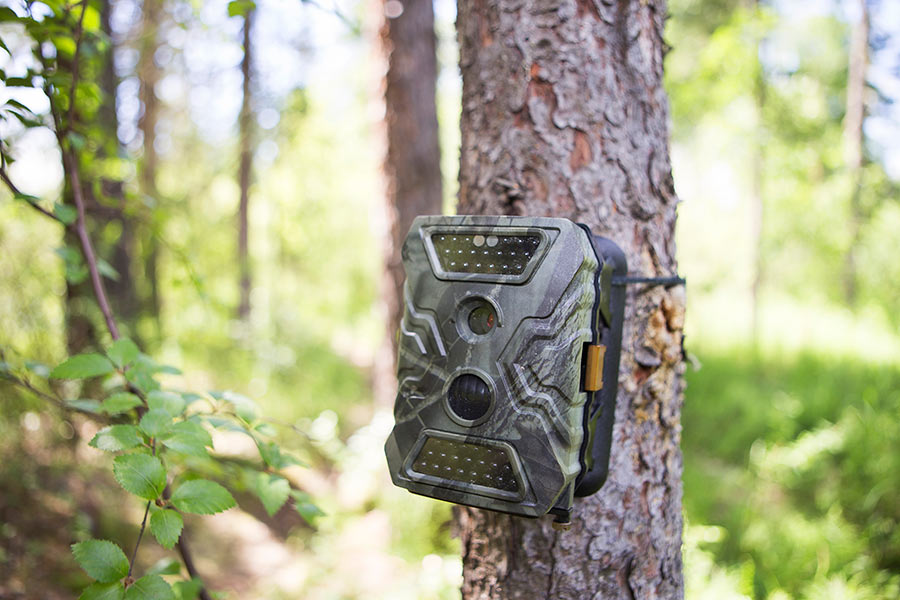
Why use a trail camera in the forest?
Trail cameras let you watch wildlife without being there. They collect photos and video around the clock. Using a trail camera in forest helps you learn animal routes, times of activity, and species present. You can track changes over weeks or seasons. This is useful for research, hunting prep, property monitoring, and wildlife enjoyment.
Key benefits of using a trail camera in forest
- Passive observation: Cameras do the watching for you while you stay hidden.
- Timed data: See when animals are most active.
- Long-term records: Build a photo log across months.
- Low cost: One camera can cover many forest areas over time.
Choosing the right trail camera
Pick a camera that fits your forest type and your goals. Look at trigger speed, detection range, photo quality, battery life, and durability. Count on needing a camera with good night vision if you plan night monitoring. For dense forest, a wide detection angle helps capture passing animals.
What to consider when choosing
- Trigger speed and recovery time: Faster means fewer missed shots.
- Detection range: Match the range to your planned mounting distance.
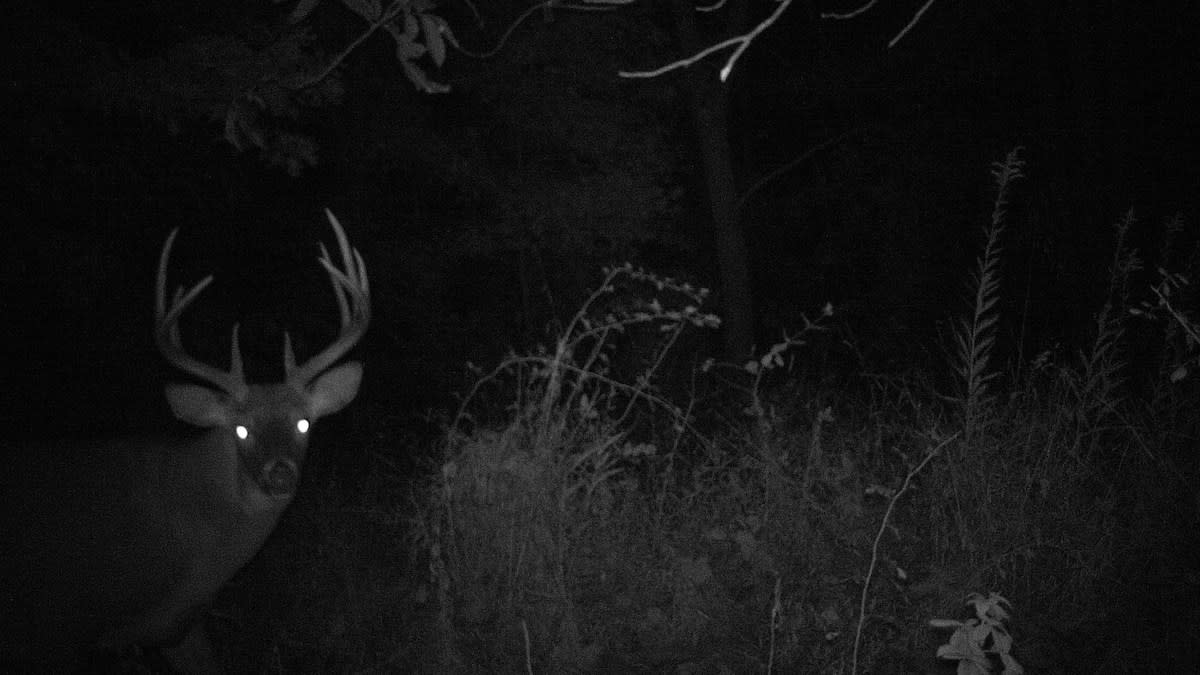
- Image quality and IR flash: Choose no-glow infrared for stealth.
- Power options: Long battery life or external power for long deployments.
- Build and weather sealing: Look for solid housing and anti-fog features.
I once tested three models over a month in mixed woods. The camera with faster trigger speed caught more deer and fewer empty frames. That taught me to value trigger speed over megapixels for forest work.
Best placement and mounting strategies
Placement is the heart of how to use trail camera in forest. Small changes in height and angle change what you capture.
Where to place the camera
- Game trails and tight funnels: Mount at 2 to 3 feet height to capture most mammals.
- Water sources: Place near edges where animals drink.
- Clearings and ridge lines: Aim at open spots where animals pause.
- Feeding areas or salt licks: Keep a steady watch on regular stops.
Mounting tips
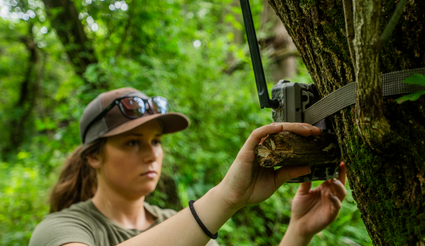
- Face the camera along the trail, not directly at it, to increase triggers.
- Avoid pointing at the rising or setting sun to reduce glare.
- Use a strap or lock box to secure the camera to a tree.
- Keep the lens clean and free of leaves or spider webs.
Try small moves: shift the camera an inch or two if shots are mostly sky or ground. This simple tweak helped me turn blank images into dozens of clear animal photos.
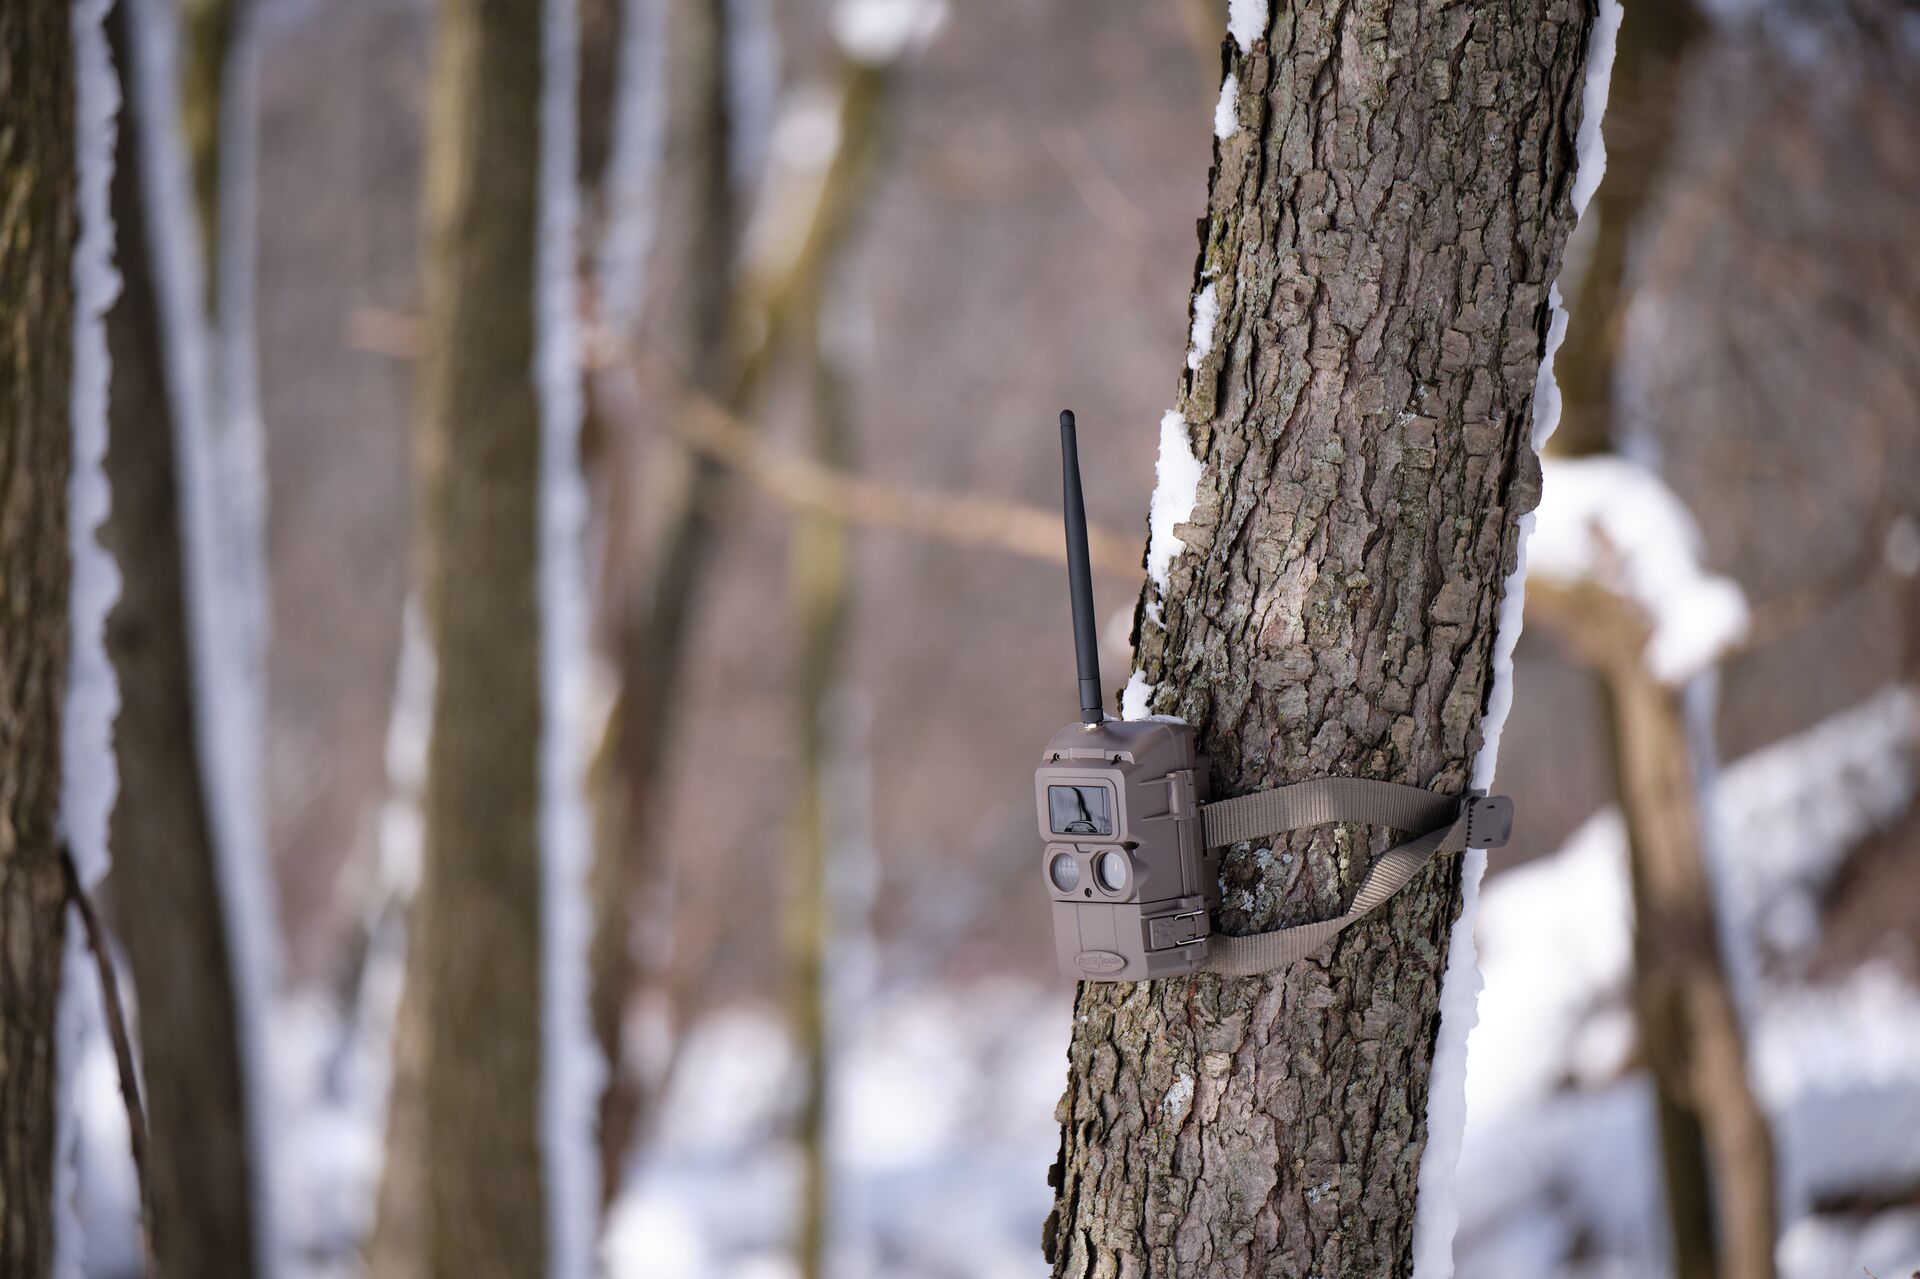 settings and power management”
style=”max-width: 100%; height: auto; border: 2px solid black; border-radius: 10px; display: block; margin: 0 auto;”
loading=”lazy”
/>
Camera settings and power management
Good settings keep battery use low and photos useful. Learn your camera menu before leaving home.
Recommended settings for forest use
- Photo mode with short burst (2–3 images) to capture movement.
- Medium photo resolution to save space and battery.
- Infrared night mode for low-light stealth photos.
- Time-lapse mode for wide-area monitoring if motion triggers fail.
Power management tips
- Use high-quality lithium batteries for longer life in cold weather.
- Consider an external battery pack or solar panel for long deployments.
- Turn off nonessential features like GPS if you need battery savings.
- Check time stamp and set correct time to analyze animal patterns.
I once left a camera for two weeks with cheap batteries and lost most night captures. Since then I only use lithium batteries for field runs.
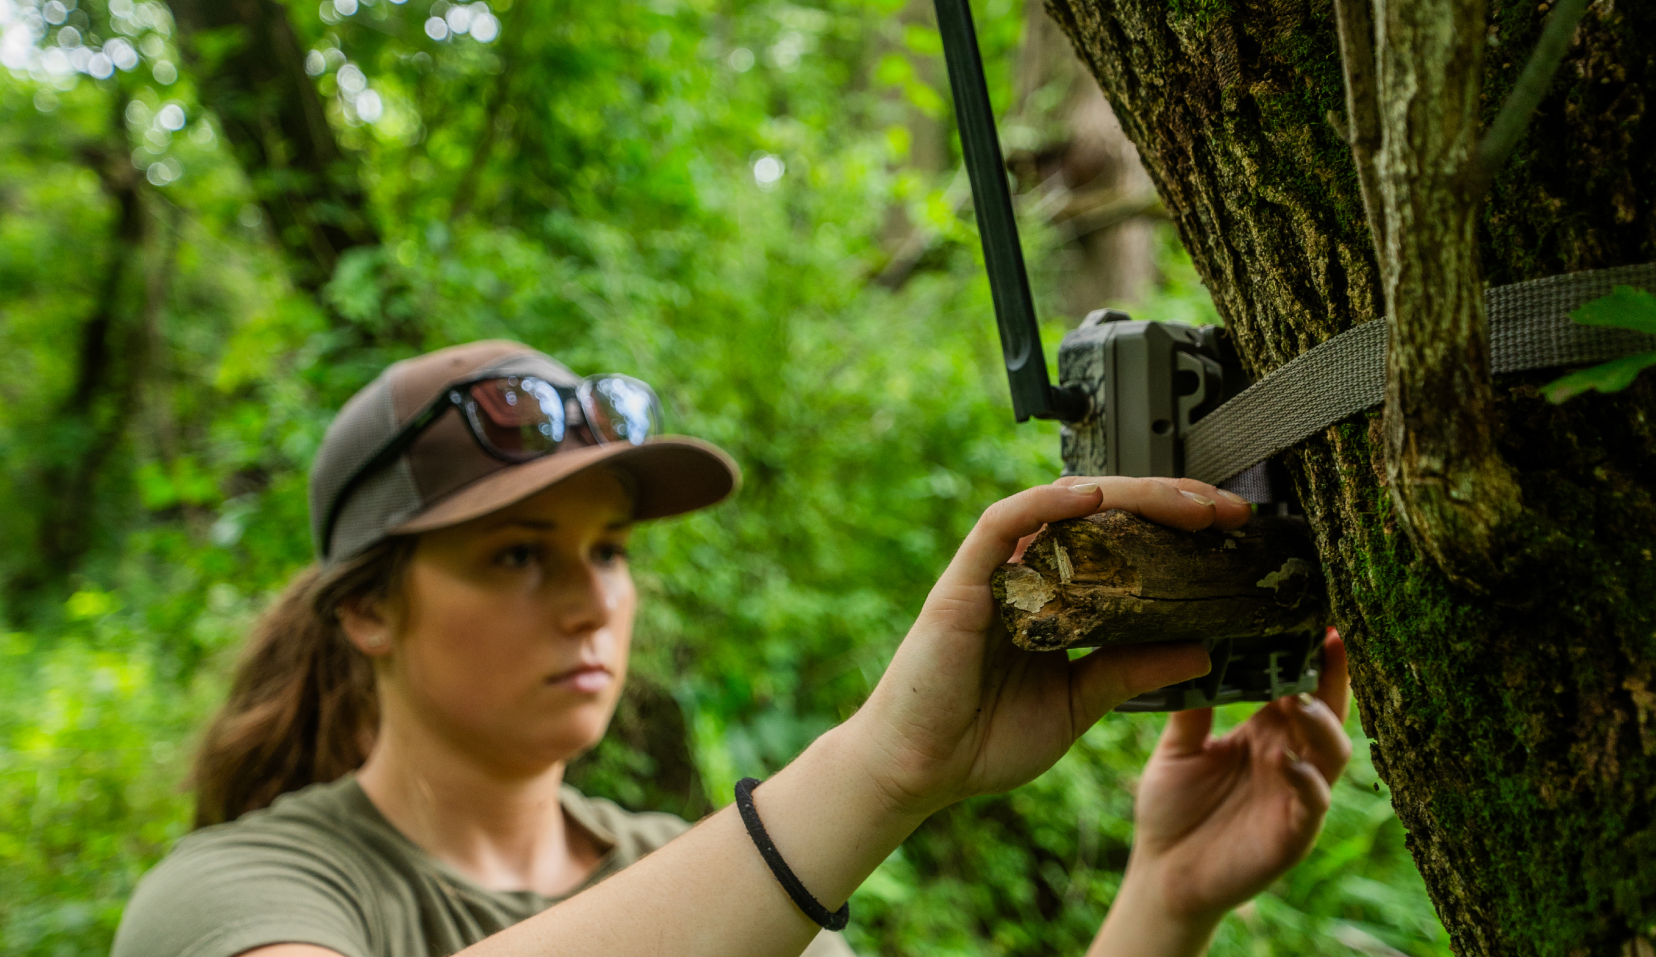
Maintenance, data management, and security
Caring for gear keeps data safe and useful. Plan routine checks and data backups.
Routine maintenance
- Inspect seals and lenses at each visit.
- Clean lens with a soft cloth to remove dirt and dew.
- Replace batteries and empty full SD cards regularly.
- Clear spider webs and insect nests that trigger false shots.
Data workflow
- Label cards with location and date to track sites.
- Back up photos to two devices or cloud storage.
- Keep a log of camera settings and changes for each visit.
Security and theft prevention
- Use a lock or security case for visible trees.
- Hide the camera’s strap and face it away from trails used by people.
- Use tamper alarms if your camera supports them.

Legal and ethical considerations
Know the rules before placing a trail camera in forest. Laws differ by land type and region.
Basic legal points
- Private land: Get permission from the owner.
- Public land: Check local rules for camera use and restrictions.
- Hunting seasons: Follow rules on baiting and surveillance in your area.
Ethical practices
- Do not invade neighbor privacy with cameras near homes.
- Remove cameras after study periods if required by land rules.
- Respect wildlife: avoid placing cameras where they stress animals.
When in doubt, contact local land managers to confirm rules. Transparency avoids fines and conflicts.

Common problems and troubleshooting
Expect a few bumps and learn quick fixes. Here are common issues and what to do.
False triggers
- Cause: Moving brush, wind, or sun glare.
- Fix: Trim small branches and adjust angle. Use sensitivity settings.
Blank or dark images at night
- Cause: Low IR range or wrong placement.
- Fix: Move closer, choose a no-glow IR model, or add an external light if legal.
Low battery or dead camera
- Cause: Cold weather or high trigger rate.
- Fix: Use lithium batteries and reduce photo burst. Consider solar options.
Missing animals
- Cause: Wrong height or angle.
- Fix: Mount at 2–3 feet and face along travel paths. Try time-lapse if needed.
Camera stolen or tampered
- Cause: Visible placement or unsecured strap.
- Fix: Use lock boxes, camouflage, and fewer obvious straps.

Practical tips from experience
Simple habits improve results. These are tips I use in the field.
Field-tested tips
- Scout first: Walk the area and watch signs before mounting a camera.
- Use scent control: Minimize smoke or soap smells when handling cameras.
- Rotate cameras: Move units every few weeks to new spots.
- Keep a notebook: Note weather, moon phase, and recent activity at each site.
Mistakes I learned from
- I once placed a camera too low during rut season and missed bucks. Now I adjust height by species.
- I once forgot to lock a camera. I lost it. Now I always use a steel cable lock.
Frequently Asked Questions of how to use trail camera in forest
How high should I mount my trail camera in forest?
Mount most cameras between 2 and 3 feet above ground for deer and similar mammals. For coyotes or foxes, lower placement can help, and for bears mount higher and secure well.
How often should I check a trail camera in forest?
Check every 2 to 4 weeks to swap cards and batteries when possible. In high-use areas or bad weather, check more often to prevent data loss.
Can trail cameras in forest run on solar power?
Yes, many models accept solar panels or external battery packs to run longer. Ensure the panel gets sunlight and is placed where it won’t be shaded.
Will cameras scare wildlife in forest?
Most animals ignore well-hidden cameras if they are quiet and placed correctly. Use no-glow IR models and avoid human scent to reduce disturbance.
Do I need a memory card with large capacity for forest work?
Yes, using 32GB to 128GB cards is common for long deployments, especially for video or time-lapse. Backup photos after each visit to avoid data loss.
Conclusion
You now have a clear, practical path for how to use trail camera in forest. Choose the right camera, place it with care, set sensible options, and keep a steady maintenance routine. Start small, learn from your first setups, and refine placement and settings over time. Try one new tip on your next trip and track how the results change. Leave a comment with your experiences, subscribe for more field tips, or share your favorite trail camera photo.
As an Amazon Associate, I earn from Qualifying Purchases.