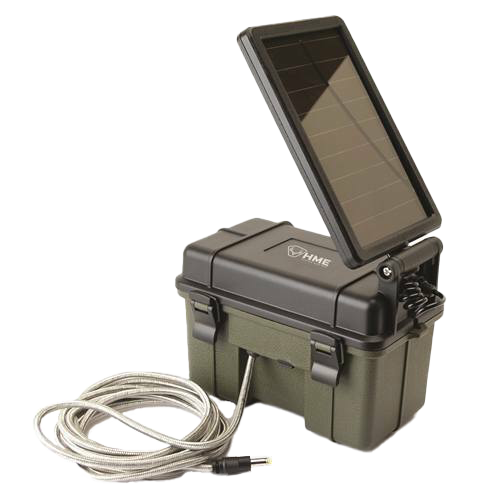
Use a small, weatherproof panel and a charge controller to power your trail camera reliably.
I’ve set up and tested many trail cameras with solar power. This guide explains exactly how to use solar panel for trail camera systems. You’ll learn which panels and batteries work best, how to wire and mount everything, and how to avoid common mistakes. I write from hands-on experience and clear research, so you can install a reliable, low-maintenance setup that captures more photos and spends less time off-grid.

How solar power works with trail cameras
Solar power converts sunlight into electricity. A solar panel makes small DC current. A charge controller protects the battery from overcharge. The battery stores power. The trail camera draws power from the battery. This simple chain keeps the camera running day and night.
How to use solar panel for trail camera means matching panel output, battery capacity, and camera draw. If any link fails, the camera will lose power. Learn the math, parts, and setup steps to avoid that.
Choose the right solar panel and kit
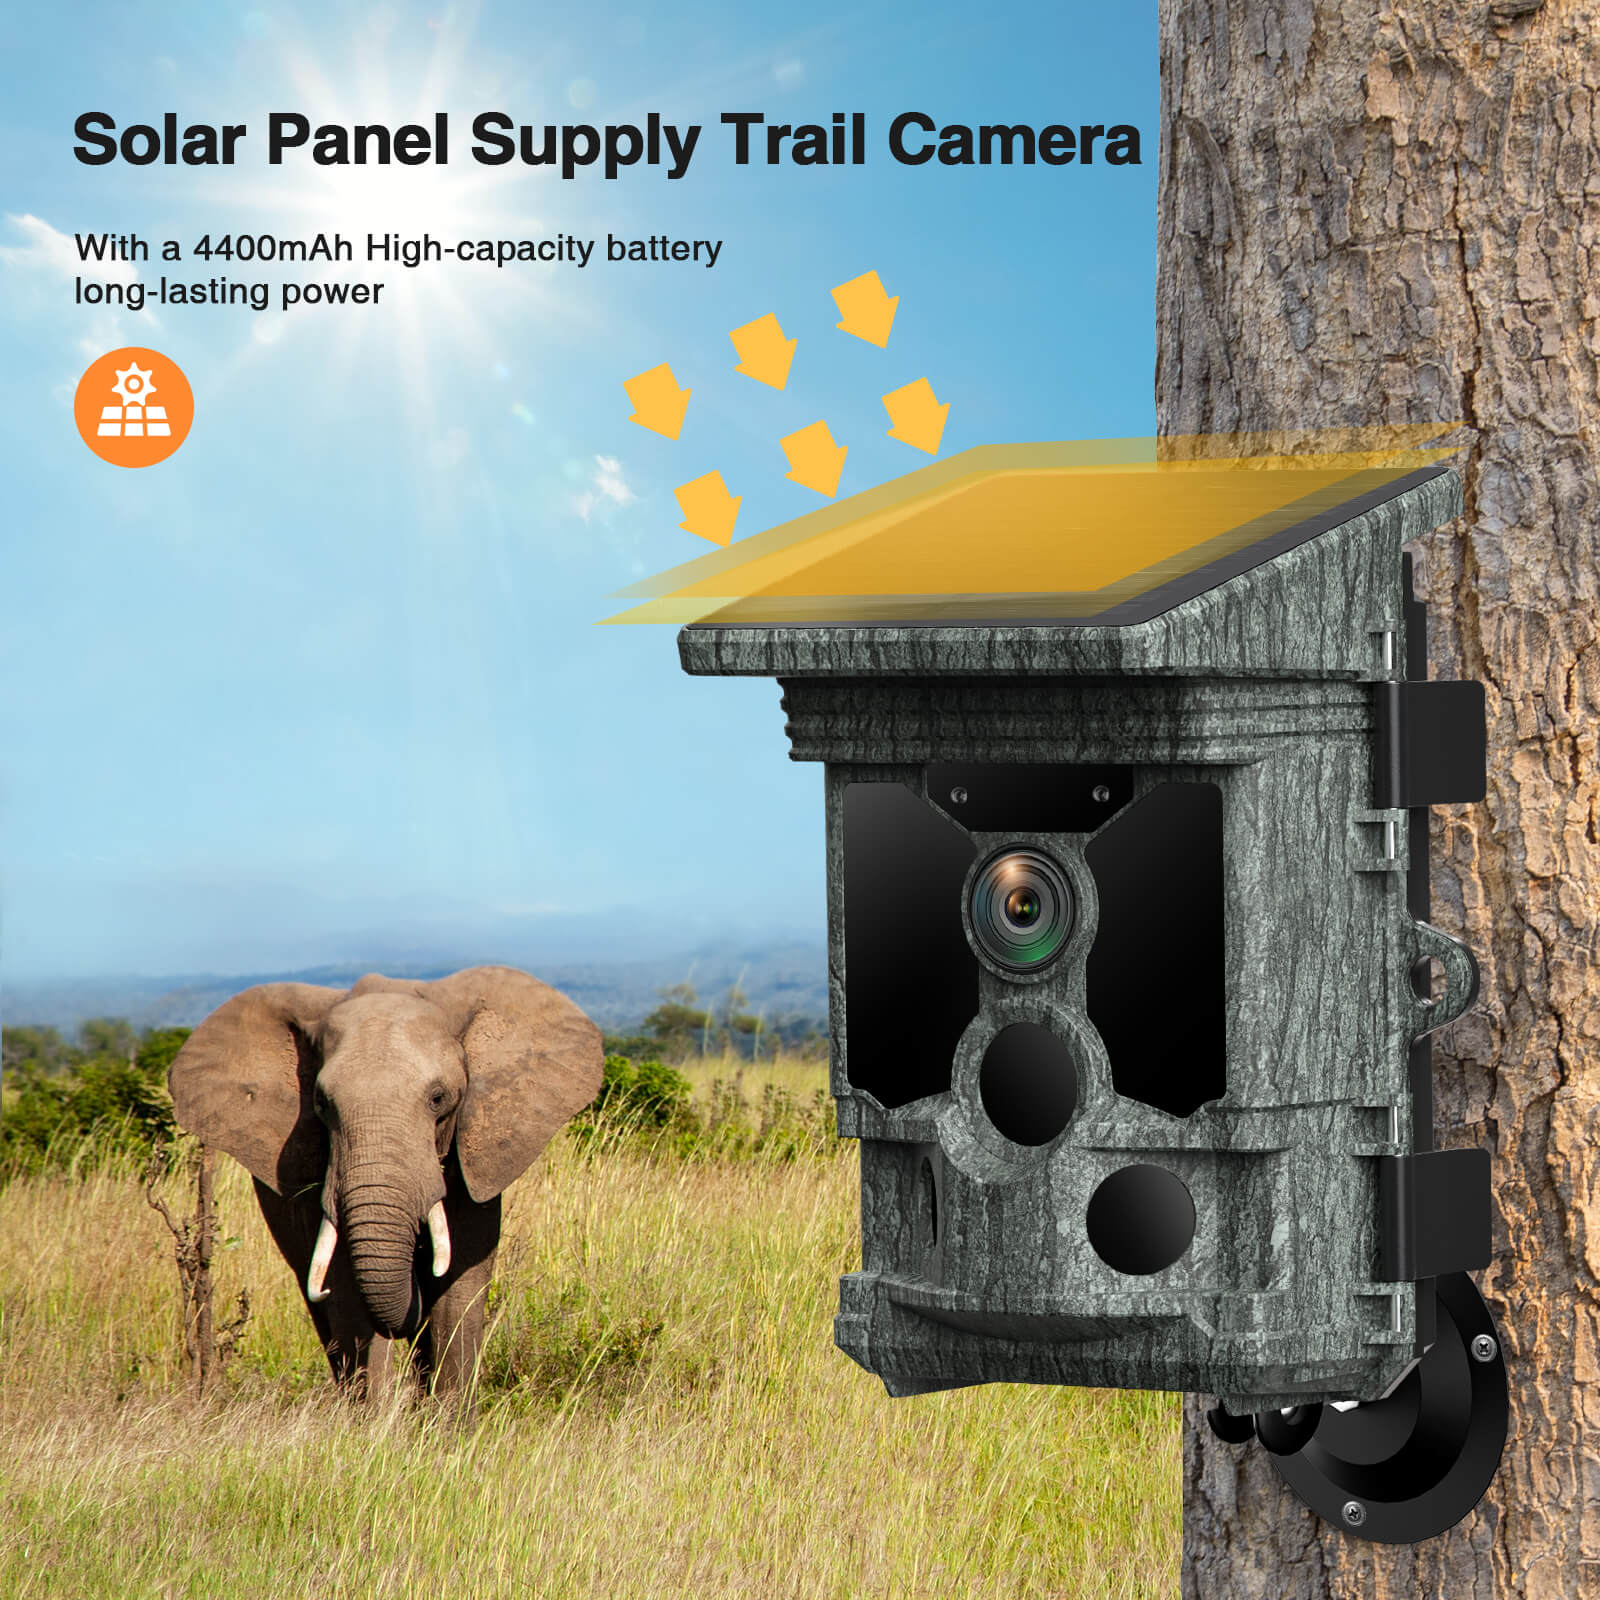
Pick a panel built for low-voltage devices. Panels made for trail cameras are compact and light. They often include a regulator or are paired with a solar kit.
Things to check:
- Panel wattage: 1.5 W to 10 W commonly powers small trail cameras. Pick higher if you run extra devices.
- Output voltage: Match the camera or battery. Many systems use 6 V or 12 V.
- Connector type: Many cameras use DC barrel plugs or proprietary connectors. Check compatibility.
- Weatherproofing: Look for IP65 or higher for outdoor use.
- Included accessories: Kits may include wiring, mounts, and a charge controller.
How to use solar panel for trail camera starts with the right kit choice. I learned the hard way by buying a cheap panel that failed in cloudy weather. Spend a little more for quality.

Battery selection and sizing
The battery is the power buffer. It must store enough energy for nights and cloudy days.
Steps to size a battery:
- Estimate camera draw per day in mAh or Wh. Check your camera specs. Typical trail cameras draw 100–400 mAh when idle and up to 1 A during bursts.
- Multiply by days of autonomy. Aim for 3–7 days buffer.
- Choose battery chemistry: sealed lead-acid (SLA), lithium-ion, or LiFePO4. LiFePO4 is stable, light, and lasts longer.
- Convert to capacity: Camera Wh × days / battery voltage = needed Ah.
For example, if your camera uses 5 Wh per day and you want 5 days backup, you need 25 Wh. With a 12 V battery, that is about 2 Ah. Round up for losses and aging.
How to use solar panel for trail camera means matching battery size to panel output and camera draw to avoid constant discharge.
Charge controllers and wiring basics
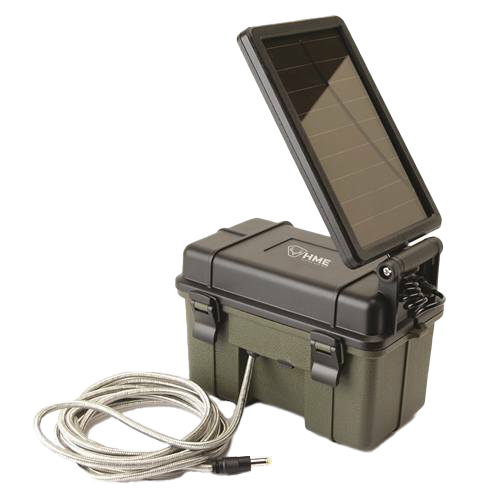
A charge controller is essential. It protects the battery from overcharge and prevents reverse current at night.
Types:
- PWM controllers: Simple and cheap. Good for small setups.
- MPPT controllers: More efficient, especially in cold or low-light conditions. Worth it for larger panels.
Wiring tips:
- Use proper gauge wire for the distance. Thin wires cause voltage drop.
- Fuse the battery positive line to protect against short circuits.
- Connect solar panel to controller, controller to battery, battery to camera. Some kits let you wire camera directly to controller output.
- Keep polarity correct: reversing leads can damage equipment.
How to use solar panel for trail camera safely means always using a controller and a fuse. I once fried a camera with a direct panel connection; a controller would have saved it.

Mounting and positioning the solar panel
Panel placement matters more than size. Aim for direct sunlight most of the day.
Mounting tips:
- Face panel true south in the northern hemisphere or true north in the southern hemisphere.
- Tilt angle should roughly match your latitude for year-round efficiency.
- Avoid shade from trees, even small shadows hurt output.
- Use a flexible mount or adjustable bracket to fine-tune angle seasonally.
- Lock the mount firmly to resist wind and animal contact.
How to use solar panel for trail camera effectively means thinking like the sun. In dense woods, you may need to clear a small branch or place the panel higher.
Installation step-by-step
Follow a clear order to minimize mistakes.
Step 1: Test components indoors. Check panel open-circuit voltage and battery voltage.
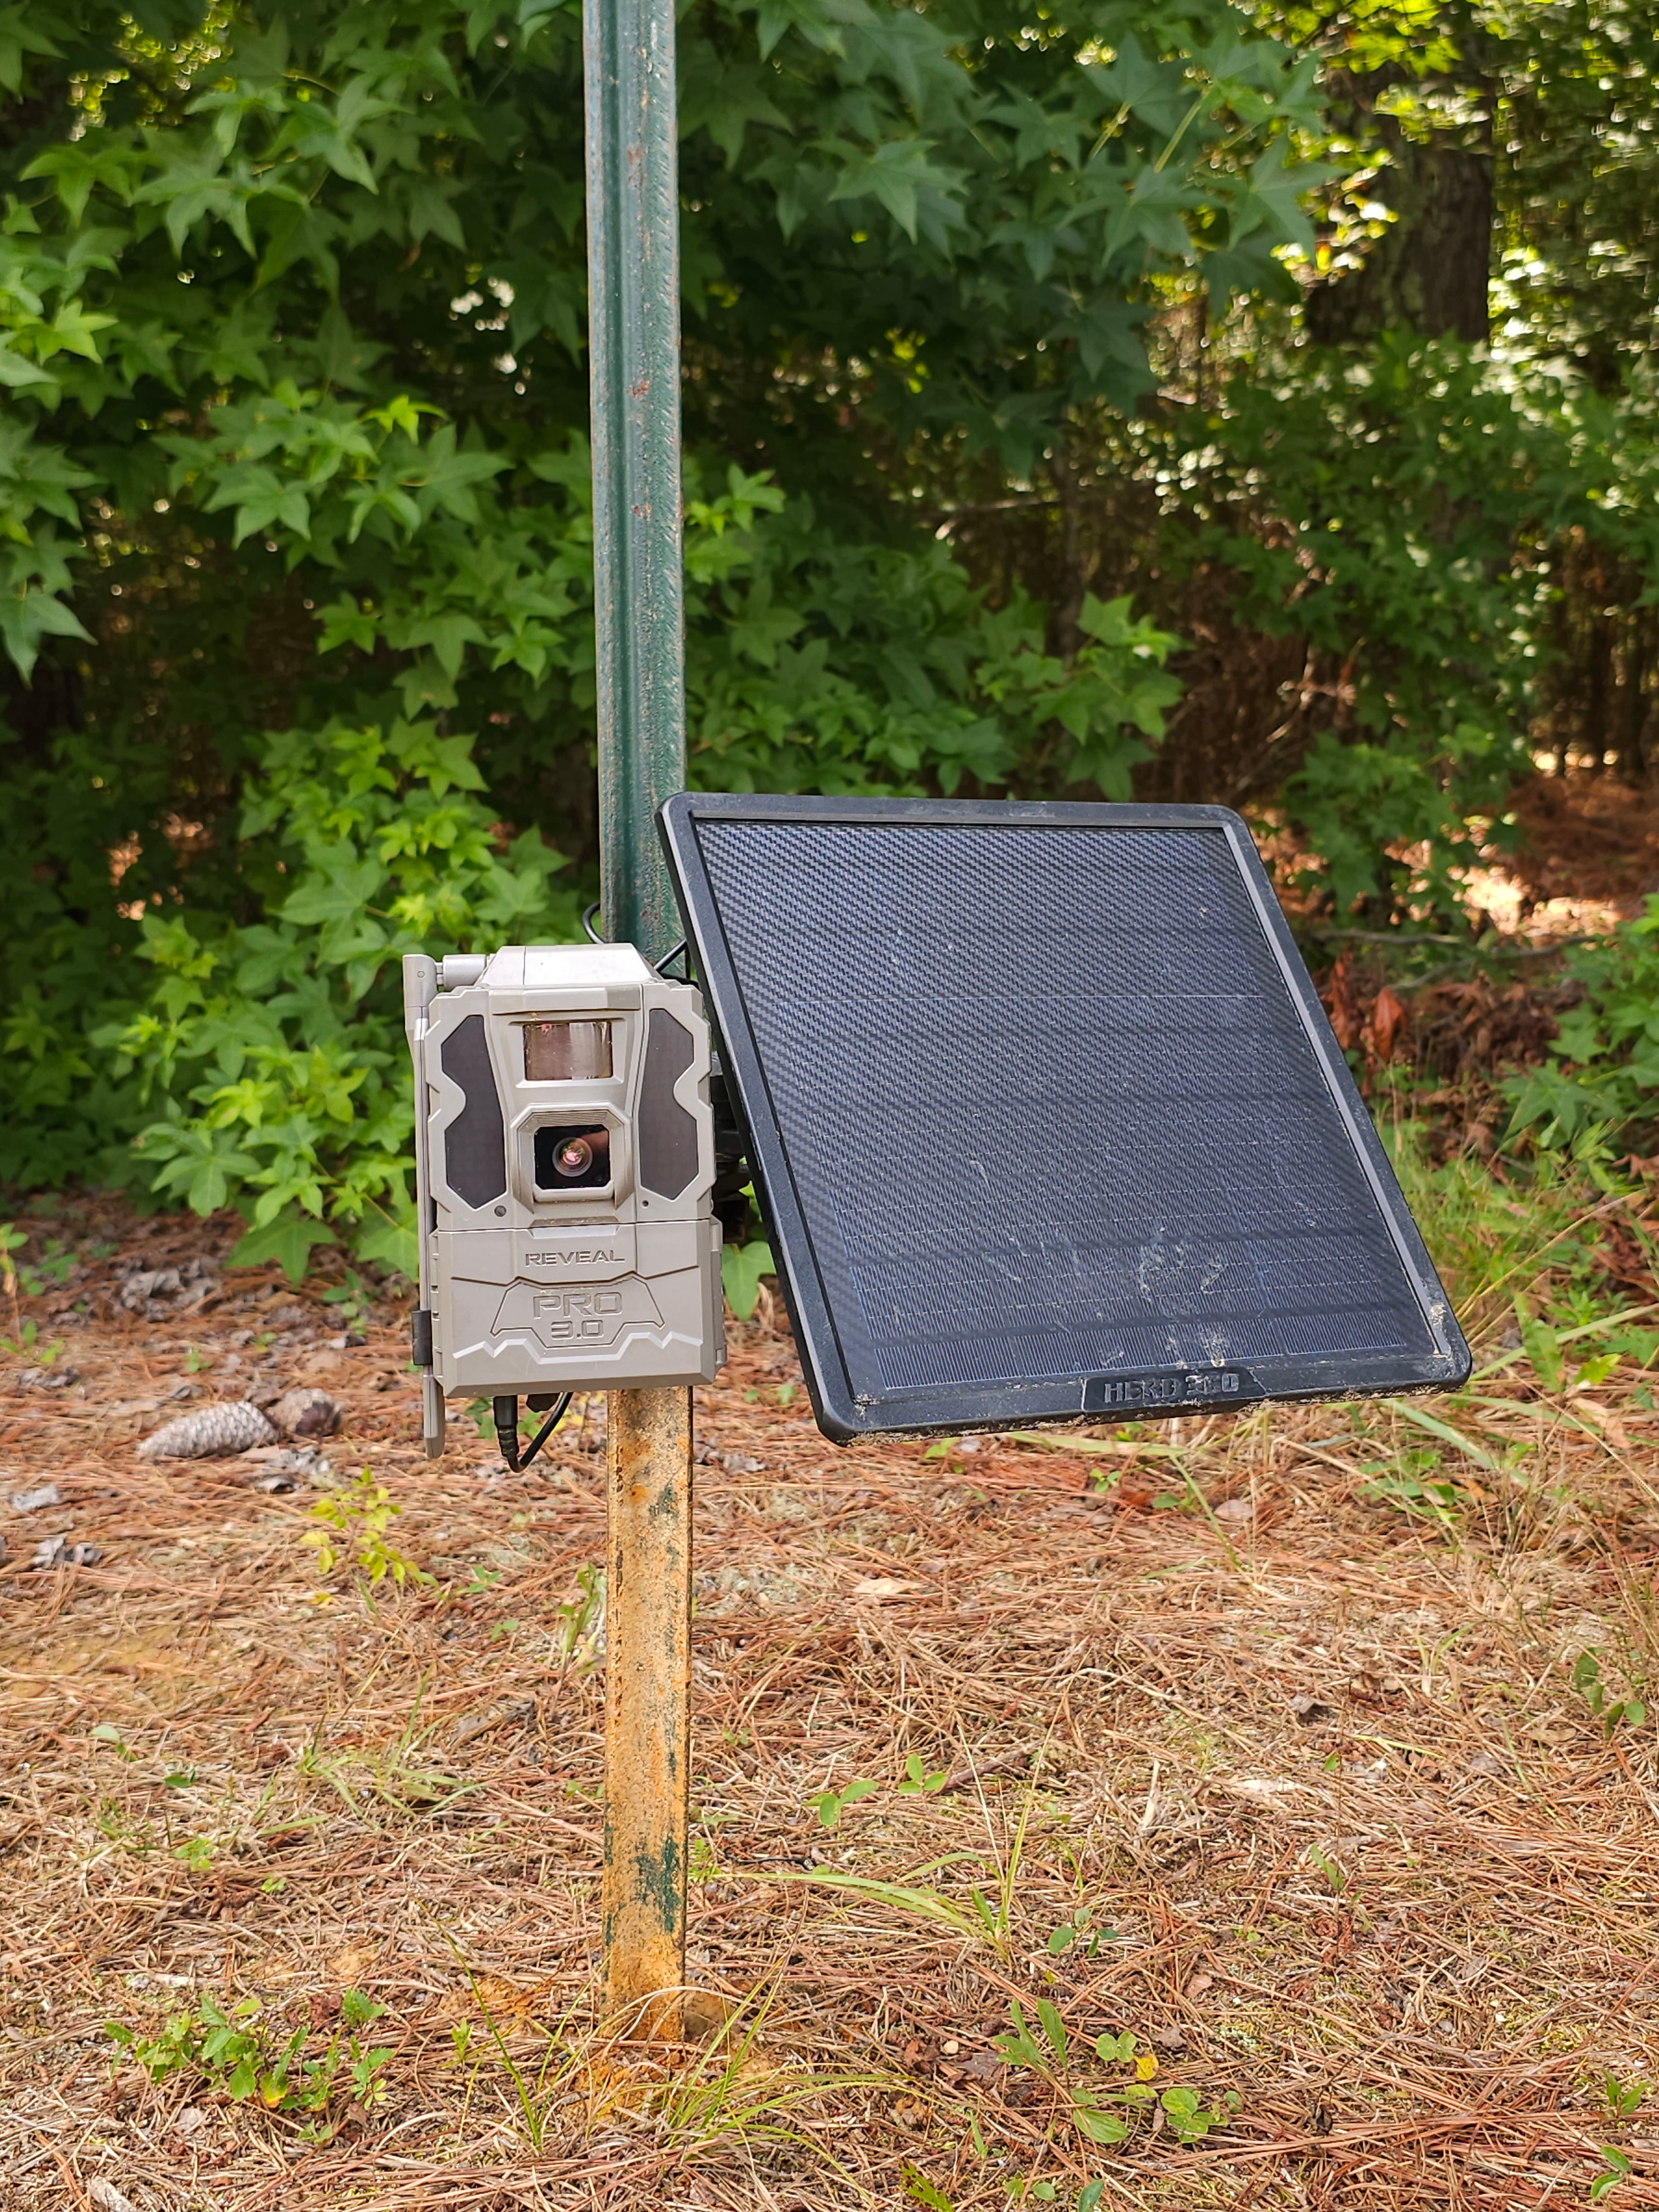
Step 2: Mount the panel where it gets max sun.
Step 3: Mount the battery in a weatherproof box near the camera but away from direct heat.
Step 4: Install the charge controller between panel and battery.
Step 5: Connect the camera to the battery or controller output. Use correct connector.
Step 6: Seal cable entry points with silicone or grommets to keep moisture out.
Step 7: Run a field test for several days to confirm uptime and performance.
After a few installs, this sequence becomes routine. Testing first saves time in the field.

Power budgeting and optimizing camera settings
Reduce camera power use to match your solar capacity.
Ways to save power:
- Lower image resolution or video length.
- Reduce trigger sensitivity and recovery time when not needed.
- Turn off wireless features like Wi-Fi or cellular unless required.
- Enable scheduled active hours to avoid 24/7 operation.
How to use solar panel for trail camera includes tuning camera settings. I doubled field life by switching a camera from 30-second video to 10-second bursts and disabling Wi-Fi.

Seasonal and weather considerations
Solar output changes with seasons and weather. Plan for winter and extended cloudy spells.
Key points:
- Winter days provide less sun and lower panel efficiency due to angle and temperature.
- Snow can block panels; clear snow quickly.
- Heavy leaf cover in spring and summer reduces output at some sites.
- A larger panel or bigger battery helps in low-sun months.
How to use solar panel for trail camera in varied climates means sizing for worst-case seasons. If you expect long storms, add battery capacity.
Maintenance and troubleshooting
A little care keeps the system reliable.
Routine checks:
- Clean panel surface every few months.
- Check battery voltage and state of charge.
- Inspect cables and seals for wear or animal damage.
- Test camera trigger and image capture regularly.
Common fixes:
- Panel not charging: Check shading, loose wires, or controller fault.
- Battery drains fast: Test for parasitic draw or old battery capacity loss.
- Camera loses power at night: Increase battery capacity or reduce camera draw.
How to use solar panel for trail camera means regular checks. My tip: document voltage readings each visit to spot trends.
Benefits and limitations
Benefits:
- Long-term operation with little human intervention.
- Lower maintenance trips to remote sites.
- Cleaner and renewable energy source.
Limitations:
- Initial kit cost can be higher than batteries alone.
- Site shading can make solar impractical.
- Extreme cold can reduce battery performance.
How to use solar panel for trail camera is ideal when you have clear sun and need steady uptime. If your site never gets direct sun, consider alternative power or frequent battery swaps.
Real-life examples and lessons learned
Example 1: Camera on a deer trail under an open canopy. Seven-watt panel and LiFePO4 battery ran the camera for six months with zero downtime.
Example 2: Camera deep in thick forest. Panels underperformed until I raised them on a 10-foot pole and clear-cut a small gap. That simple change doubled charge rates.
Lessons learned:
- Test before final install.
- Use a small weatherproof box for the battery.
- Protect connectors from critters with conduit.
- Keep spare fuses and a multimeter in your kit.
How to use solar panel for trail camera boils down to planning, testing, and a few practical tweaks.
Frequently Asked Questions of how to use solar panel for trail camera
How big should my solar panel be for a trail camera?
Size the panel to produce more energy than the camera uses daily. A 5 W to 10 W panel works for most cameras with a modest battery buffer.
Can I connect a solar panel directly to my camera?
Do not connect the panel directly. Use a battery and a charge controller to prevent voltage spikes and night-time reverse flow.
Which battery type is best for solar trail camera setups?
LiFePO4 batteries offer the best balance of weight, life, and stability. Sealed lead-acid is cheaper but heavier and shorter-lived.
How do I mount the solar panel in a forested area?
Raise the panel on a pole or mount it above the canopy line where possible. Aim for true south (north in southern hemisphere) and clear any shade.
Will a small panel keep my camera running year-round?
It can, if you match panel size, battery capacity, and camera settings to seasonal sun. Plan for worst-case months and add battery reserve if needed.
Conclusion
Using solar to power a trail camera reduces maintenance and boosts uptime. Match panel output, battery size, and camera draw. Mount panels for full sun. Use a charge controller and protect wiring. Test and monitor your setup to catch problems early. Start with a modest kit, run short tests, and scale up as needed.
Take action: pick a kit, plan your mount, and try a one-week field test this season. Share your results or questions below and subscribe for more hands-on tips.
As an Amazon Associate, I earn from Qualifying Purchases.