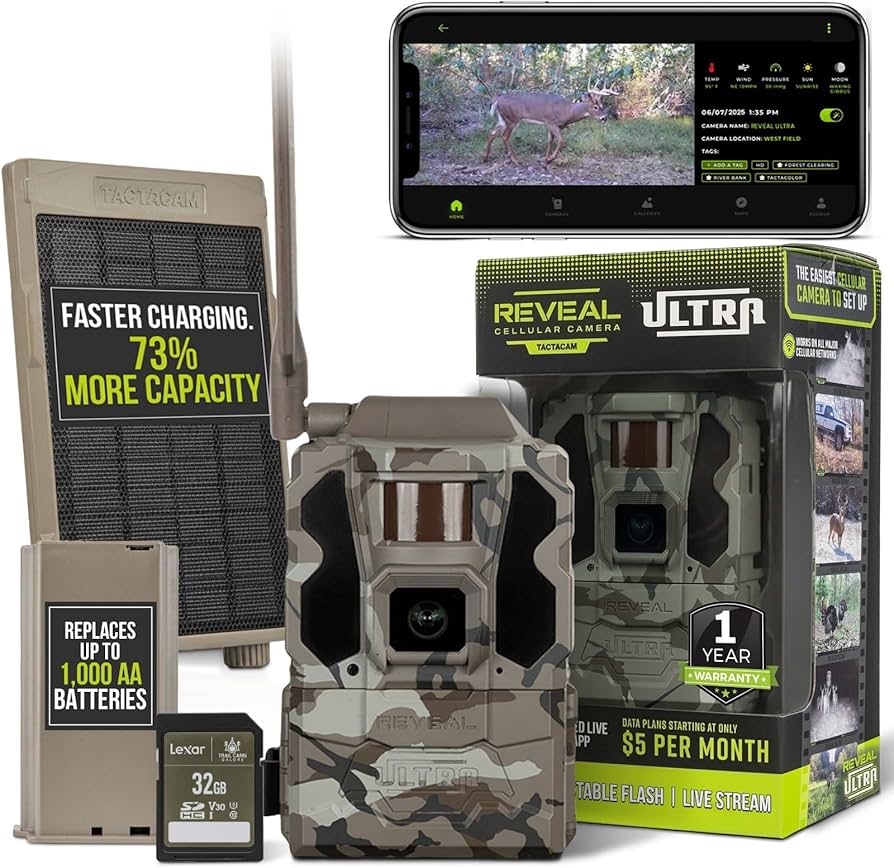
Use no-flash mode, invisible IR or time-lapse, proper placement, and optimized settings.
I’ve spent years testing trail cameras in woods, farms, and backyards, and I can show you how to use trail camera without flash so you get clean, natural images without spooking wildlife. This guide blends hands-on tips, clear steps, and troubleshooting advice so you can set up no-flash cameras, tune them for day and night, and solve common problems with real-world fixes I learned in the field.
Why choose a no-flash setup?
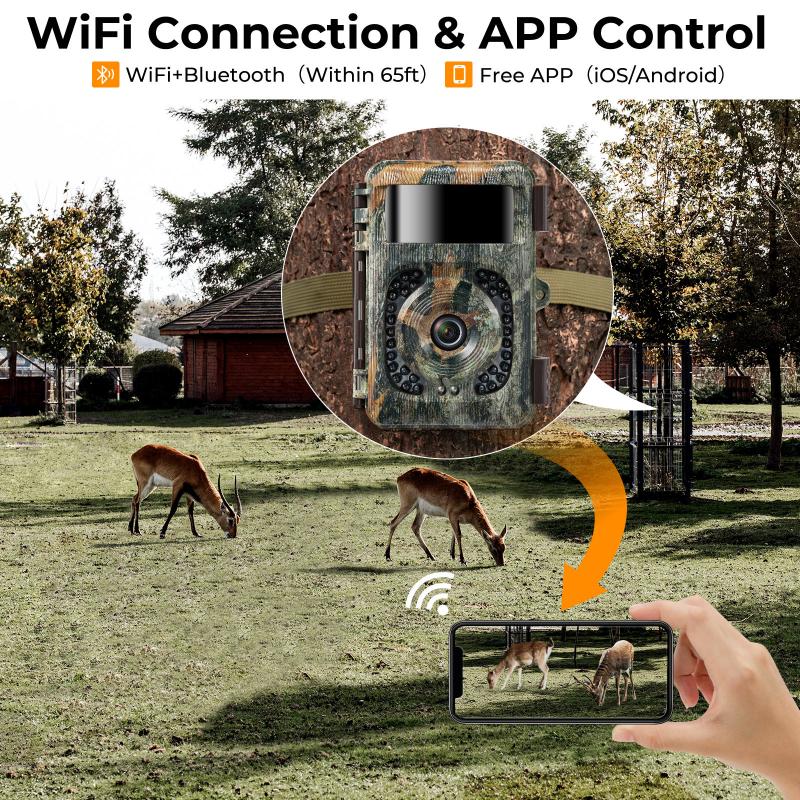
Using a trail camera without flash keeps animals from being startled by bright light. A no-flash approach also avoids eye-glints that give away camera position and preserves natural animal behavior. For hunters, researchers, and wildlife watchers, this matters a lot.
There are other benefits. No-flash images often look more natural at dawn and dusk. No-flash cameras can be less intrusive around sensitive areas. Battery life can be longer if you use time-lapse or still-photo-only modes smartly.

How no-flash trail cameras work
No-flash trail cameras use passive infrared sensors to detect motion and trigger the camera. For night images they rely on near-infrared LEDs. There are two common IR types: low-glow (around 850nm) and invisible (around 940nm). Low-glow gives better illumination but a faint red glow; invisible lights don’t glow but give softer images.
Some cameras also offer time-lapse mode that captures at set intervals using ambient light only. That is handy where you want daytime monitoring without any light bursts.
Step-by-step: how to use trail camera without flash
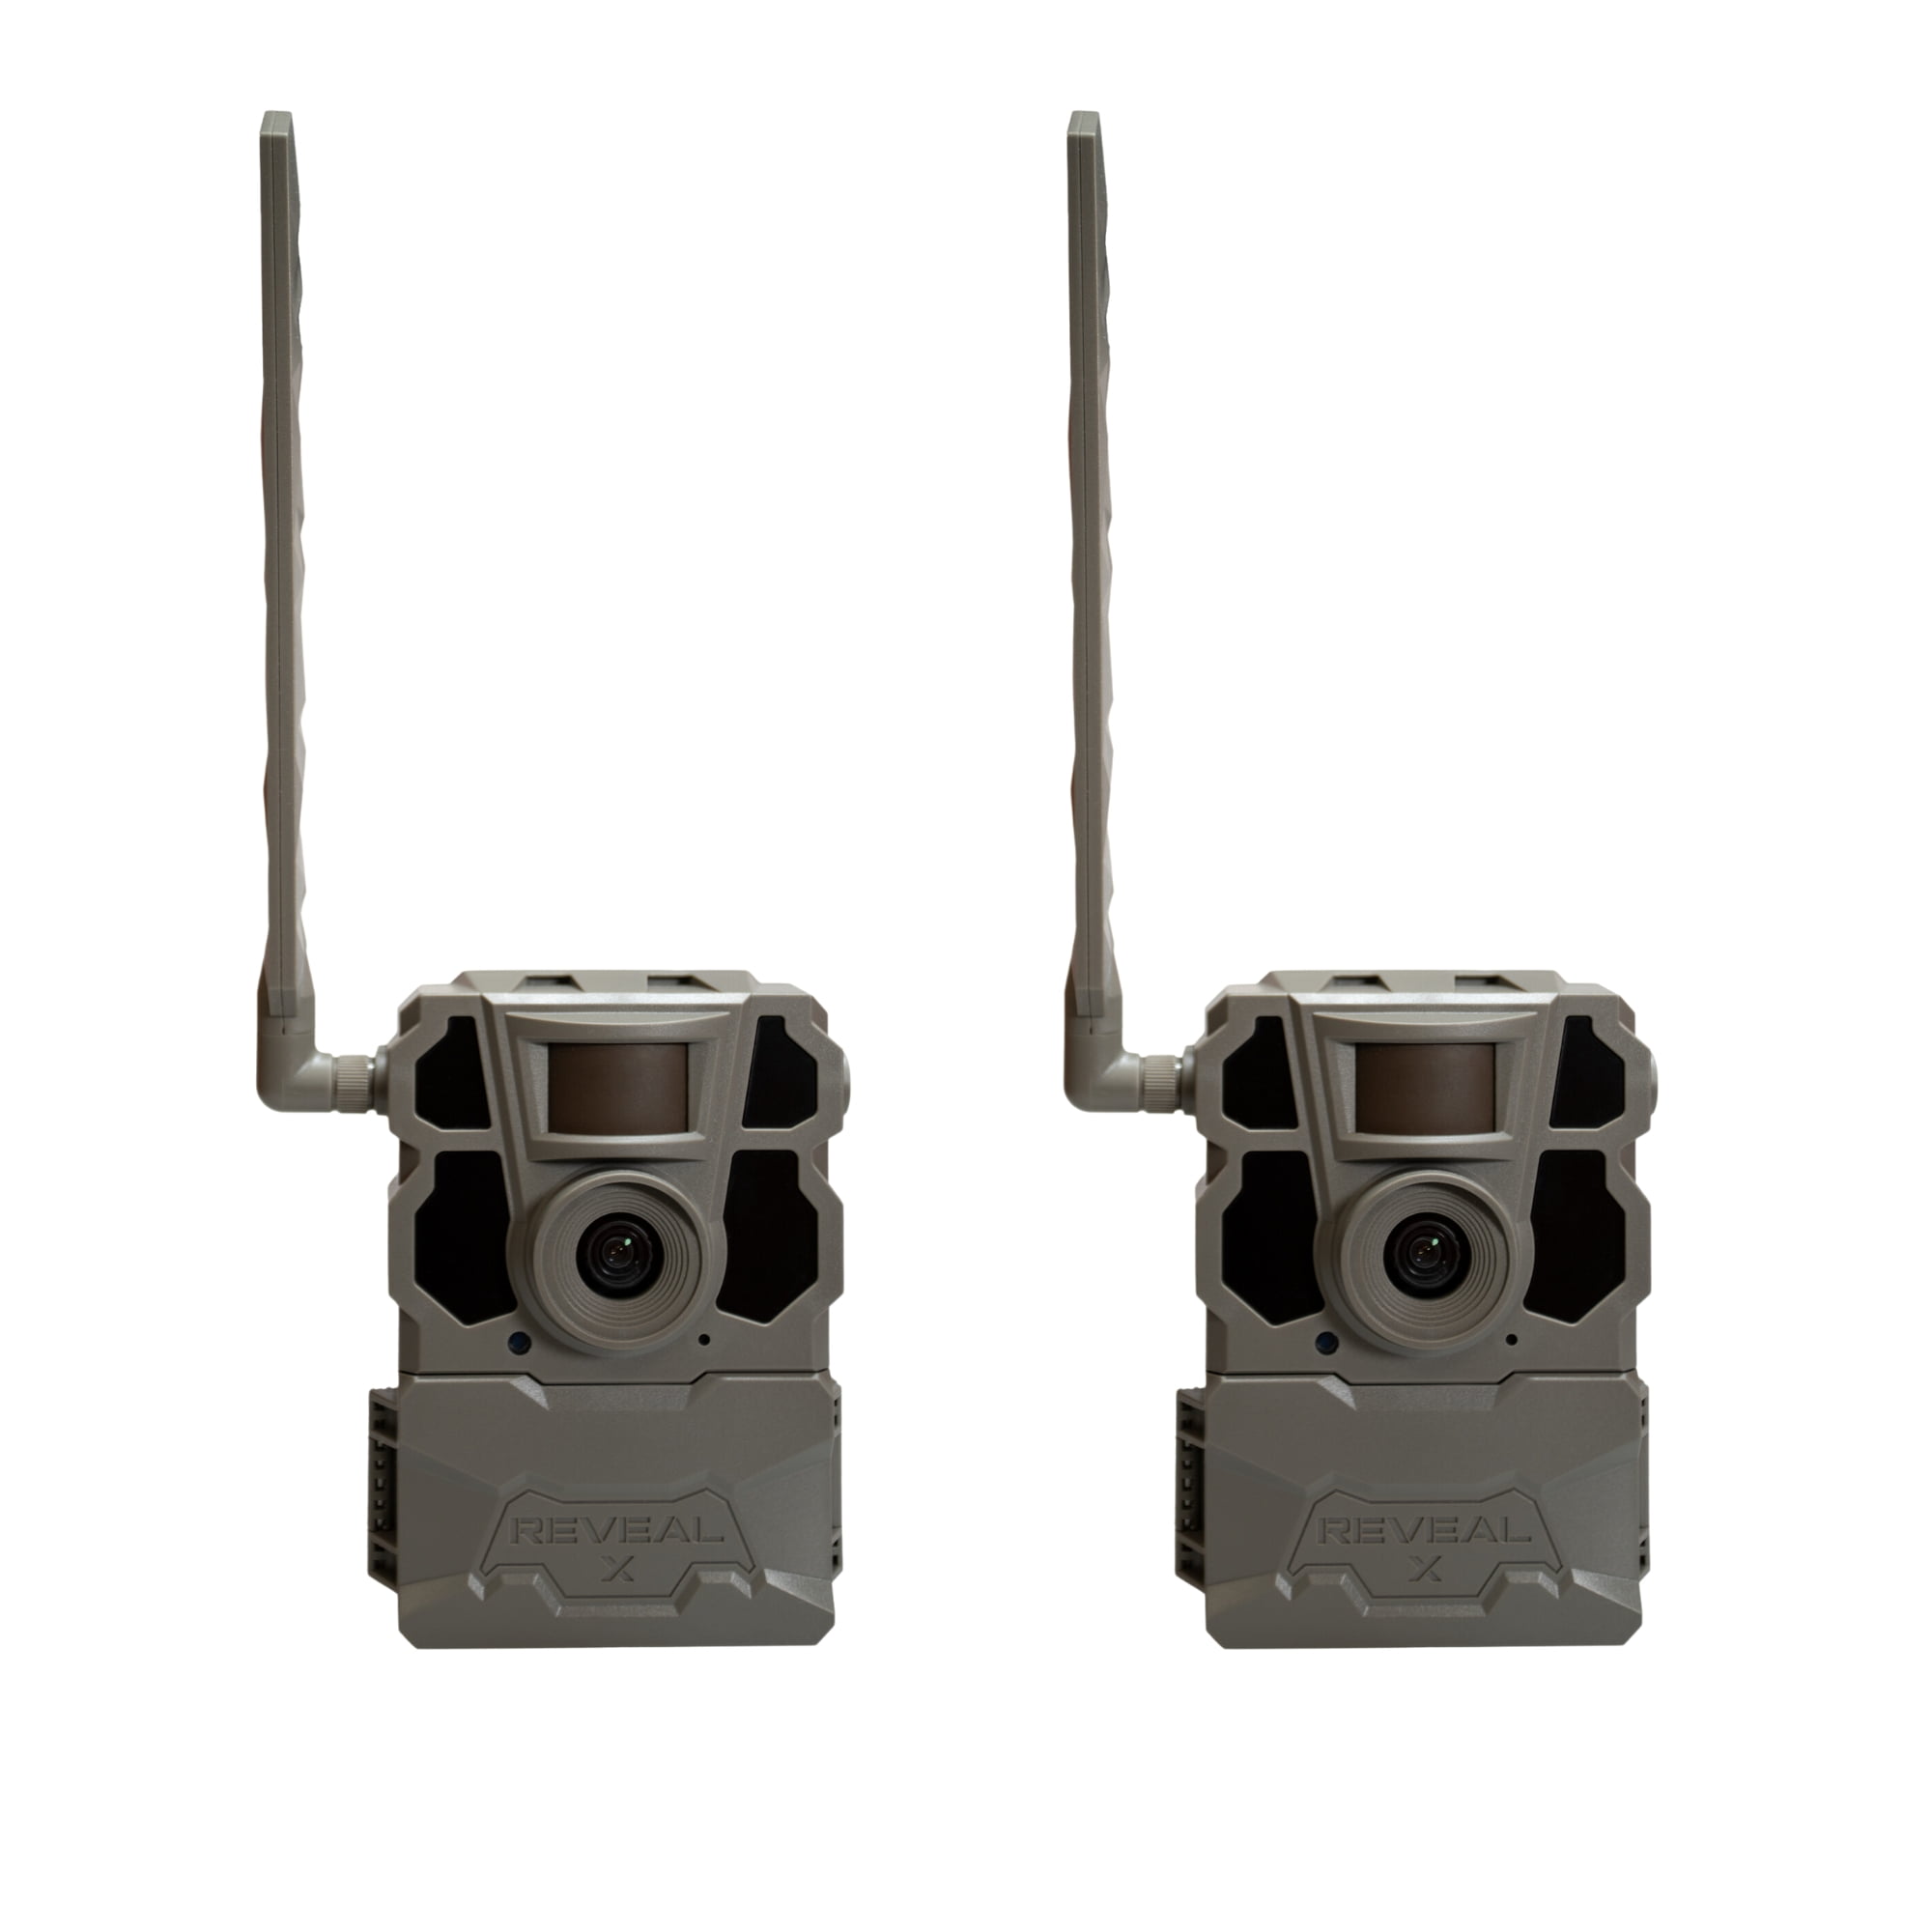
- Choose the right camera model. Pick one labeled “no-flash,” “black flash,” or “940nm IR” for invisible illumination. Confirm trigger speed and battery life.
- Pick a good location. Look for trails, game paths, or feeding sites. Place the camera 2 to 4 feet high and angle slightly downward.
- Set detection and capture modes. Set PIR sensitivity to medium-high for small animals, but reduce sensitivity near moving brush to avoid false triggers. Choose single photo, burst, or video depending on needs.
- Configure day and night settings. Enable IR/night mode and disable white flash. If available, set night exposures to longer lengths to gather more light.
- Use time-lapse if needed. For quiet areas without much movement, time-lapse catches ambient activity and saves battery.
- Add supplemental illumination if necessary. Use an external IR illuminator for long-range shots. Test at night to dial in placement.
- Secure and camouflage the camera. Use straps and a lock box. Cover with natural materials but keep sensor and lens clear.
- Check and fine-tune. Review images after the first night. Adjust angle, sensitivity, and illumination based on what you see.

Placement and mounting tips for better results
Place the camera where it faces natural lanes animals use. Avoid pointing at dense brush that moves in wind. Height and angle matter: 3 feet high is a good starting point for deer, lower for small mammals.
Mind sun and moon direction. Avoid aiming directly at the rising or setting sun to reduce flare. In winter, clear snowbanks that can reflect IR and wash out images.
Use non-reflective mounts or wrap the camera in matte camo tape. A small branch above the camera can break up its outline. Test placement by walking in front of the camera at the distance you want to capture.

Settings and optimizing image quality
Set resolution to a value that balances detail and storage. Higher resolution gives better detail but fills cards faster. Use burst mode for fast animals, single shots for slow movers.
Adjust PIR sensitivity and trigger interval. Short intervals get more shots but drain batteries. Turn off unnecessary features like GPS or cellular sending if you need longer battery life.
If the camera supports exposure or gain controls, increase gain slightly at night to capture more detail without flash. Keep ISO-style settings moderate to avoid grainy images.

Night techniques without flash
Rely on ambient light: moonlight and starlight can be enough for short-range shots. Choose nights with more moonlight for clearer images. Place cameras where reflected light from roads or houses won’t wash out the scene.
Use invisible IR or low-glow IR depending on the balance you want between stealth and image brightness. For long-range night shots, use an infrared illuminator positioned off-camera to avoid hotspots.
Test at night with the camera in place. Walk through the detection zone to see the exact field of view and how much light reaches the scene.
Common mistakes and troubleshooting
Camera faces the sun or reflective surface. Move or re-angle the camera to avoid flare and washed-out frames.
Sensitivity set too high. Lower sensitivity if wind or moving vegetation is triggering many false images.
Incorrect height or angle. Reposition to match the expected animal size and path.
Battery drain from video or frequent uploads. Switch to photo mode and increase trigger interval to save power.
Blurry night shots. Try a slower shutter (if available), a stronger IR source, or place camera closer to the path.
If your camera produces lots of empty frames, check for heat sources like vents or warm rocks that can trigger the PIR sensor.

Legal, ethical, and wildlife considerations
Respect private property and local laws. Some areas restrict camera placement or use for hunting. Check regulations before you deploy a camera.
Consider wildlife welfare. Avoid placing lights or devices that change animal behavior near nests or dens. Be mindful of seasons: do not disturb birthing or nesting sites.
Always mark your camera with contact info if you place it on public land and remove it after your study or season ends.
Personal experience: lessons from the field
I once left a no-flash camera on a deer trail and found clear, natural dawn photos that told a story of visits over weeks. I learned to trust time-lapse for quiet sites and invisible IR for areas with pressure from people. Early on I made the mistake of placing a camera too high; the images missed the chest and antler detail. Repositioning to three feet solved that.
A practical tip I use: do a 24-hour test after setup. Review shots and tweak settings. That quick check saves trips and improves capture quality.
Frequently Asked Questions of how to use trail camera without flash
How do I set up a trail camera without using flash?
Place the camera at the right height, enable night IR or time-lapse mode, and disable white flash in settings. Test with a few walks through the detection zone to confirm triggers.
Can I get clear night images without a flash?
Yes, by using invisible or low-glow IR, adding an external IR illuminator, and placing the camera close to animal lanes. Moonlight and reflected ambient light also help.
Will a no-flash camera spook deer or other animals?
No-flash cameras are much less likely to spook animals than white-flash models. Invisible IR is the quietest option and typically does not alter animal behavior.
How far will a no-flash camera see at night?
Range varies by model and IR type; typical invisible IR works well up to 20-40 feet for mid-level detail. Adding an IR illuminator can extend effective range.
Does no-flash save battery life?
It can, if you use photo mode and longer trigger intervals. However, frequent video clips and high IR output can drain batteries quickly, so adjust settings to balance performance and battery life.
Conclusion
Using a no-flash approach gives you natural, stealthy wildlife photos and helps you study animal behavior without disturbance. Follow the step-by-step setup, fine-tune placement and settings, and run short tests to get the best results. Try a 24-hour test, tweak sensitivity and angle, and consider an external IR illuminator for tough night shots. If you found these tips helpful, try them out on your next setup, leave a comment with your results, or subscribe for more field-tested camera advice.
As an Amazon Associate, I earn from Qualifying Purchases.