Use strategically placed trail cameras, correct settings, and patient pattern analysis to catch animal activity.
I’ve spent years setting and testing trail cameras across fields, woods, and wetlands, and I’ll show you how to track animals with trail camera like a pro. This guide explains gear choices, placement tricks, settings that reduce false triggers, ethical baiting, and simple analysis methods to turn raw images into clear patterns. Read on for step-by-step advice, real lessons from the field, and troubleshooting tips you can use on your first or hundredth camera setup.
Why trail cameras work for tracking animals
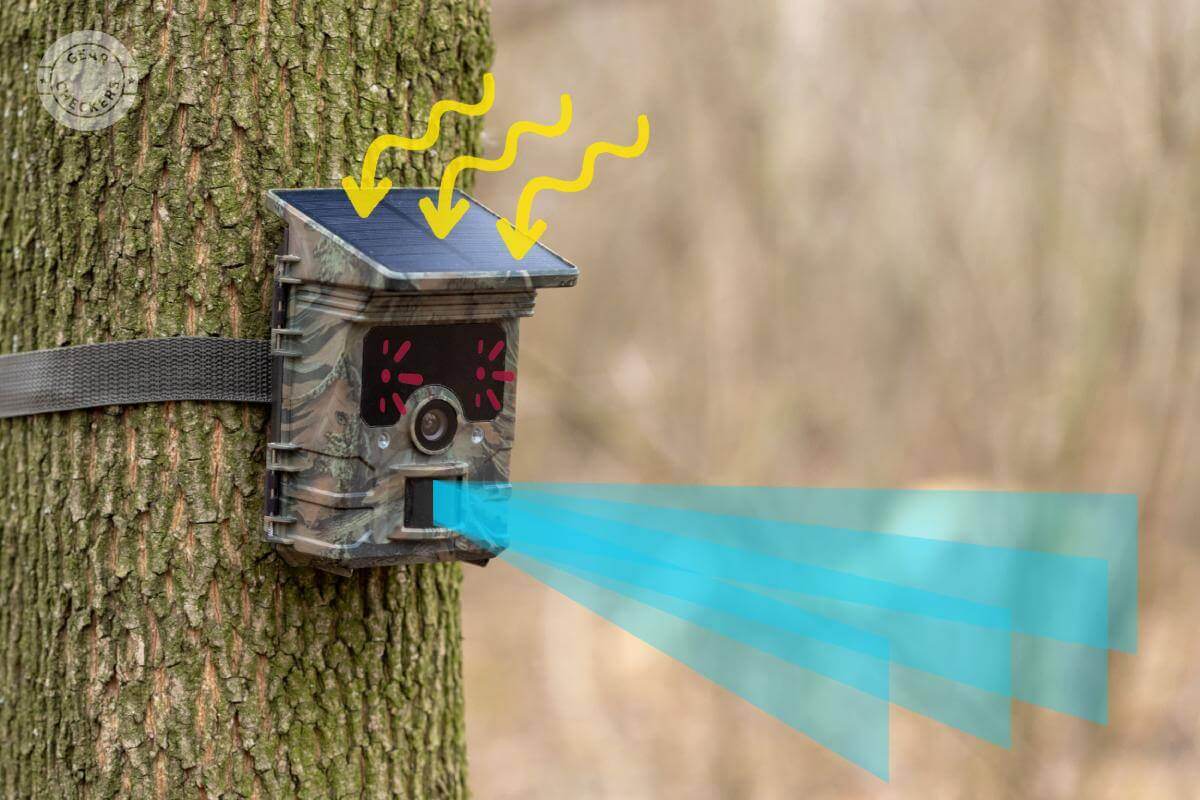
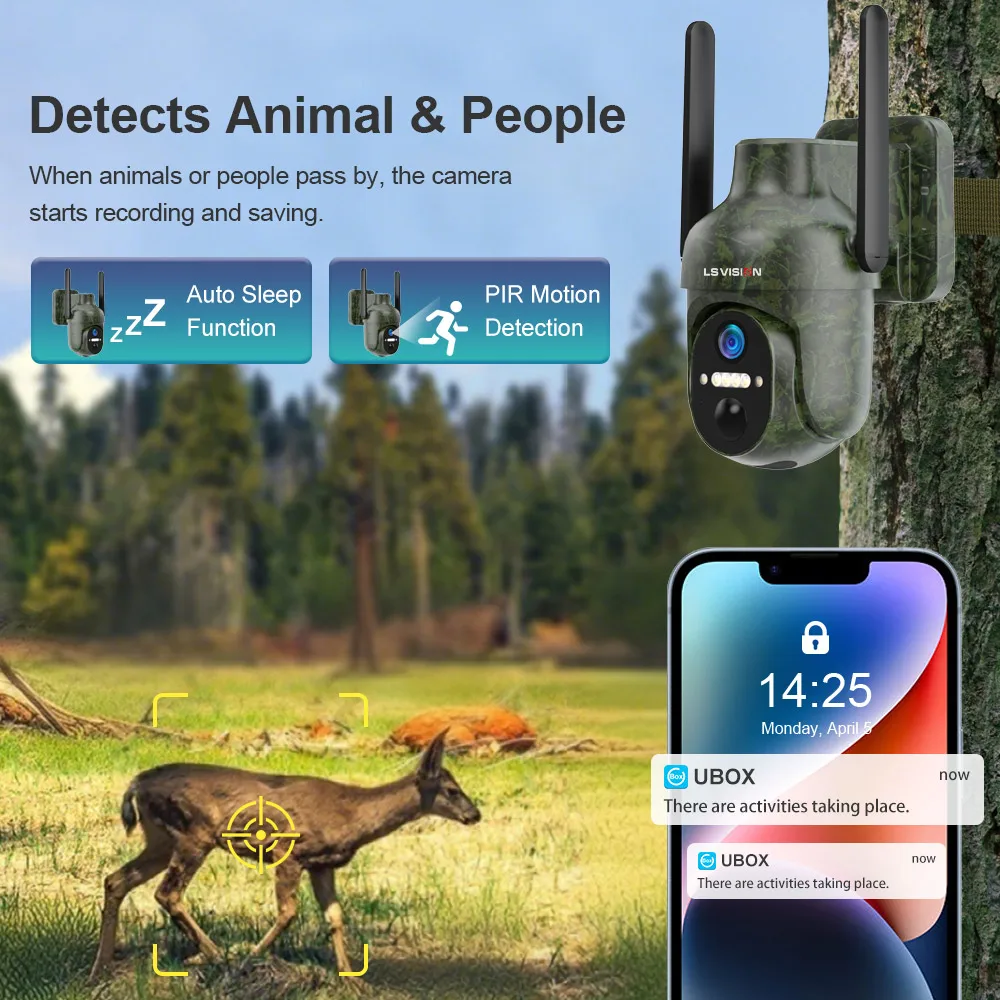
Trail cameras record wildlife without a person nearby. They use motion and heat sensors to trigger images or videos. Trail camera data shows when and where animals move. Knowing this helps you spot patterns, confirm species presence, and plan further fieldwork or wildlife photography.
Trail cameras are low-cost, low-effort tools that run day and night. They work in remote locations and gather long-term data. With basic skills you can track animals with trail camera to find travel routes, feeding spots, and peak activity times.

Choosing the right trail camera
Matching the camera to your goals makes tracking easier. Think about image quality, trigger speed, detection range, battery life, and connectivity.
- Image quality: Choose at least 12 MP photos for clear ID of species.
- Trigger speed: Faster than 0.5 seconds reduces missed shots of fast animals.
- Detection range: Match range to where you expect animals to pass.
- Night mode: No-glow infrared is less likely to spook wildlife than visible flash.
- Power and storage: Use long-life batteries and large-capacity SD cards for extended deployments.
- Connectivity: Cellular or Wi‑Fi models let you receive images remotely but cost more.
From personal tests, a mid-range 12–20 MP camera with a 0.3–0.5 s trigger and no-glow IR balanced cost and performance for most tracking tasks. If you need live alerts or many cameras, consider cellular models. Choosing the right gear is the first step in learning how to track animals with trail camera successfully.

Placement and site selection
Good placement beats expensive gear. Look for signs and landscape features that concentrate animal movement.
- Identify game trails: Follow tracks, droppings, and worn paths. Place the camera where the trail narrows.
- Water and food: Position near seasonal water, salt licks, fruiting trees, or feeding edges.
- Bedding and travel routes: Cameras near thick cover or ridge lines catch movement to and from bedding areas.
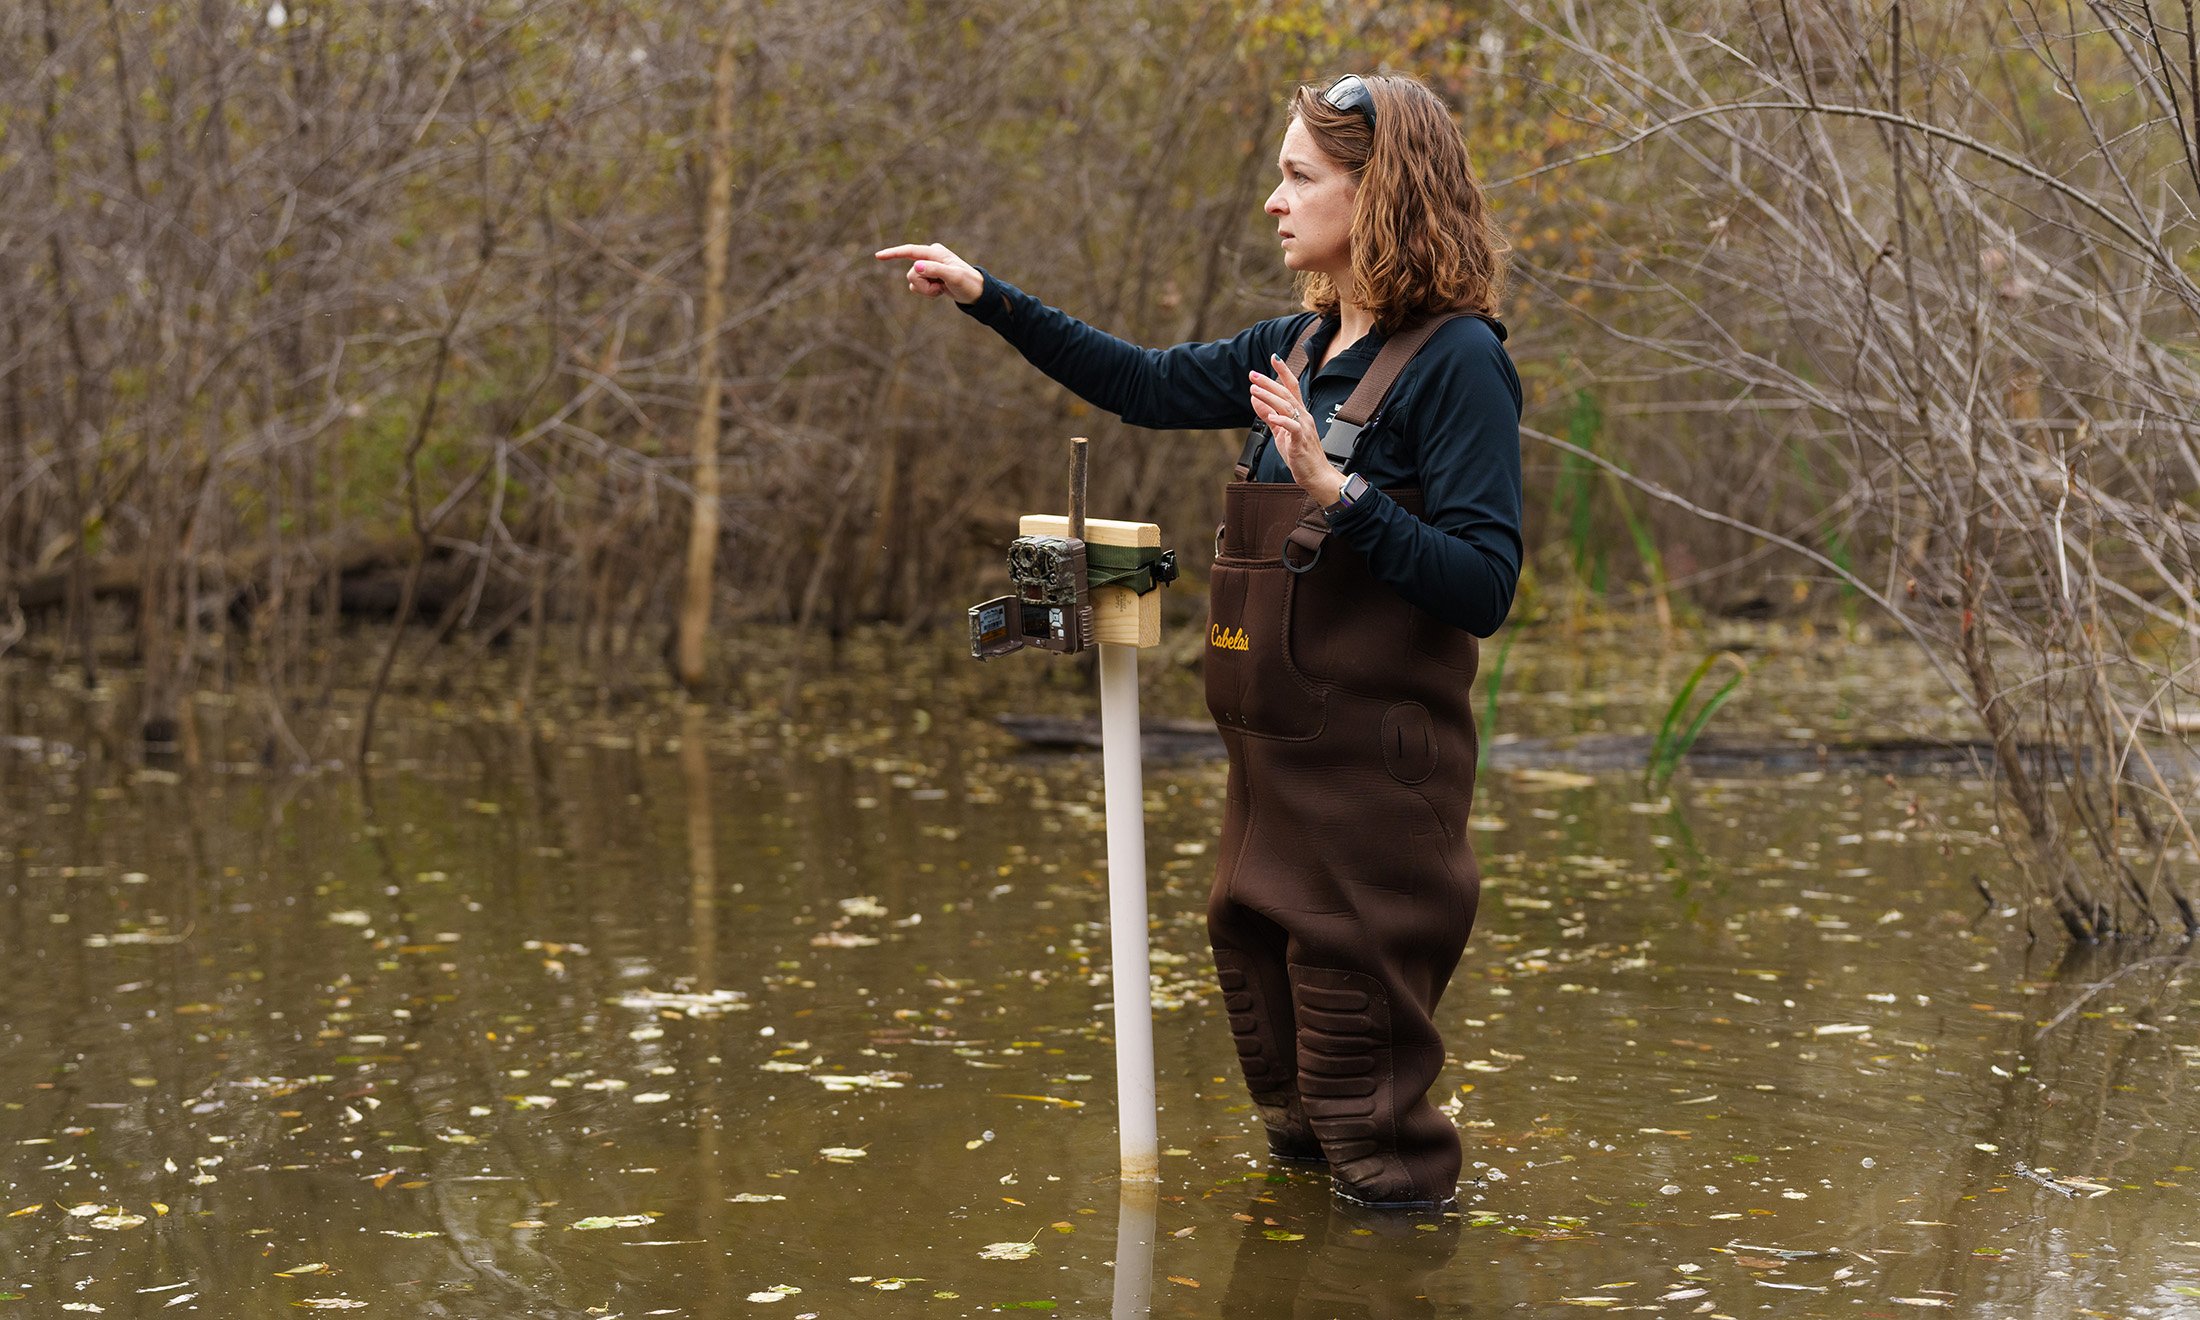
- Height and angle: Mount cameras 2 to 3 feet high for deer; lower for small mammals. Aim slightly down the trail at a 15–25 degree angle.
- Concealment: Hide the camera behind natural cover and avoid obvious straps. Camouflage reduces theft and curiosity from passersby.
- Sun and wind: Avoid facing the camera directly into the sun to reduce false exposures. Minimize wind-blown vegetation in view.
A trick I learned: set a practice camera then check after 24 hours to see what passes. Small adjustments in angle or height often triple the quality of captures. Proper placement is key to reliably track animals with trail camera.
Camera settings and optimization
Good settings reduce noise and improve useful data. Learn your camera’s menus and test settings in the field.
- Mode choice: Use burst mode with 2–3 photos to increase chances of a clear shot. Use short video clips for behavior documentation.
- Sensitivity: Lower sensitivity in windy areas to cut false triggers. Raise sensitivity in cold or calm conditions to detect slow animals.
- Delay and schedule: Set a short trigger delay (1–10 seconds) and use schedule mode to avoid daytime-only or night-only captures if needed.
- Time-lapse: Time-lapse helps detect long-term usage of a site when motion triggers fail due to slow movements.
- Date/time and watermark: Always enable timestamp and moon phase if available. This helps pattern analysis later.
- File naming and overwrite: Use larger SD cards and set overwrite on for long deployments, but check cards often.
I once wasted a week of battery life because I left photo burst and video both enabled. Test a setting combo for 24–48 hours to ensure it fits your site. These optimizations make it easier to track animals with trail camera efficiently.
Baiting, scent, and ethical considerations
Using bait or scent can increase detections but requires care and legal awareness. Laws vary by region, and baiting can alter natural behavior.
- Legal check: Confirm local rules on baiting and camera placement before you set up.
- Minimal disturbance: Use passive attractants or natural bait to limit behavioral changes.
- Scent control: Handle cameras with scent-free gloves and store them in sealed bags to avoid introducing human odor.
- Non-bait strategies: Place cameras on travel funnels, rubbing posts, or near water for natural detections.
I prefer natural scouting first. If I use bait, I rotate sites and remove attractants quickly. This keeps data more natural and lowers risk. Decide how to track animals with trail camera ethically; it helps maintain healthy wildlife behavior.
Reviewing and analyzing footage
Collecting images is only half the job. Turn raw files into insight with simple organization and analysis.
- File management: Create folders by date and location. Rename files with site codes for quick search.
- Logbook: Keep a paper or digital log with camera ID, coordinates, bait used, and service dates.
- Pattern spotting: Note peak times, repeated individuals, sex/age classes, or behaviors. Tally detections by hour and by species.
- Mapping: Mark sightings on a map to locate trails and hotspots.
- Tools: Use software or cloud services to tag images and speed review. AI image sorting helps but always verify automated tags.
From experience, a clear folder structure and a simple spreadsheet cut review time in half. Learning how to track animals with trail camera means learning to read patterns, not just collect pictures.

Troubleshooting and common mistakes
Small mistakes cause big gaps in data. Avoid these common issues.
- False triggers: Caused by sun, moving vegetation, or insects. Trim brush and lower sensitivity if needed.
- Blurry or partial images: Often from wrong angle or too-fast animals; use burst mode and adjust placement.
- Dead batteries and full cards: Schedule regular checks and use lithium batteries in cold conditions.
- Theft and vandalism: Use lock boxes, cable locks, and camo. Place cameras out of obvious sightlines.
- Wrong height: Matching camera height to target species prevents missed IDs.
A lesson I learned: check cameras frequently during testing phases. Fix simple issues early. These adjustments make it easier to track animals with trail camera reliably.

Advanced tips and multi-camera strategies
Use multiple cameras and data methods to build complete movement pictures.
- Stringing cameras: Place several cameras along a corridor to follow an animal’s path.
- Camera pairs: Use two cameras facing each other for ID photos of both sides of an animal.
- Seasonal timing: Move cameras seasonally to follow food sources, breeding, or migration.
- Power solutions: Solar panels and external batteries extend remote deployments.
- Integration: Combine camera data with GPS collars, acoustic recorders, or community observations for broader studies.
People also ask: How quickly will a trail camera catch animals? A camera in an active corridor may record animals within 24 hours. A camera in a low-use area could take weeks.
People also ask: Can trail cameras estimate population? With careful placement, mark-recapture techniques, and multiple cameras, you can approximate local numbers. These are advanced methods and require consistent effort.
Multi-camera setups helped me confirm a ridge route that single cams missed. When you scale up, you learn how to track animals with trail camera across landscapes rather than single points.

Frequently Asked Questions of how to track animals with trail camera
How long should I leave a trail camera in the field?
Leave a camera for 2–4 weeks for initial surveys, and longer for seasonal studies. Check periodically for battery and card issues.
Do I need to bait a site to get photos?
No. Many animals follow natural trails and water. Bait increases detection but may alter behavior and could be regulated locally.
What height should I mount a trail camera?
Mount 2–3 feet high for deer, 1–2 feet for coyotes, and lower for small mammals. Adjust based on the species you expect.
How often should I check my cameras?
Check every 1–4 weeks depending on battery life, memory capacity, and disturbance risk. More frequent checks help catch problems early.
Can trail cameras work in cold weather?
Yes. Use lithium batteries and weatherproof cameras. Cold shortens battery life, so plan more frequent checks in winter.
Conclusion
Trail cameras are powerful tools for learning animal habits and mapping movement. Choose the right gear, place cameras where animals naturally move, optimize settings, and review footage with a clear system. Start small, learn from field tests, and scale up with multiple cameras as your confidence grows. Try one focused setup this week, keep a simple log, and watch how patterns emerge. If this guide helped, subscribe for updates, share your results, or leave a comment with questions about your next camera site.
As an Amazon Associate, I earn from Qualifying Purchases.