Mount cameras 3–4 feet high on trails or near water, angled slightly down for clear shots.
I have spent years placing and testing trail cameras in mixed woods, learning what works and what wastes battery life. This guide shows exactly how to place trail camera in woods for best results, step by step. You will get practical tips, mistakes to avoid, and simple setup checks that improve images and capture rates.

Choosing the best location in the woods
How to place trail camera in woods for best results starts with picking a smart location. Look for places animals use often. Focus on game trails, creek crossings, ridge saddles, and edges between thick cover and open areas.
Key signs to look for:
- Fresh tracks or droppings near a trail.
- Worn paths through grass or leaves.
- Rubs or scrapes on small trees and saplings.
Tips to test a spot:
- Walk the route yourself. If you move easily, animals likely do too.
- Check at different times of day to see activity patterns.
- Use scent or visual cues only if legal and appropriate.
How to place trail camera in woods for best results means prioritizing animal travel lanes over random clearings. Small shifts in location can double your capture rate.
Height, angle, and field of view
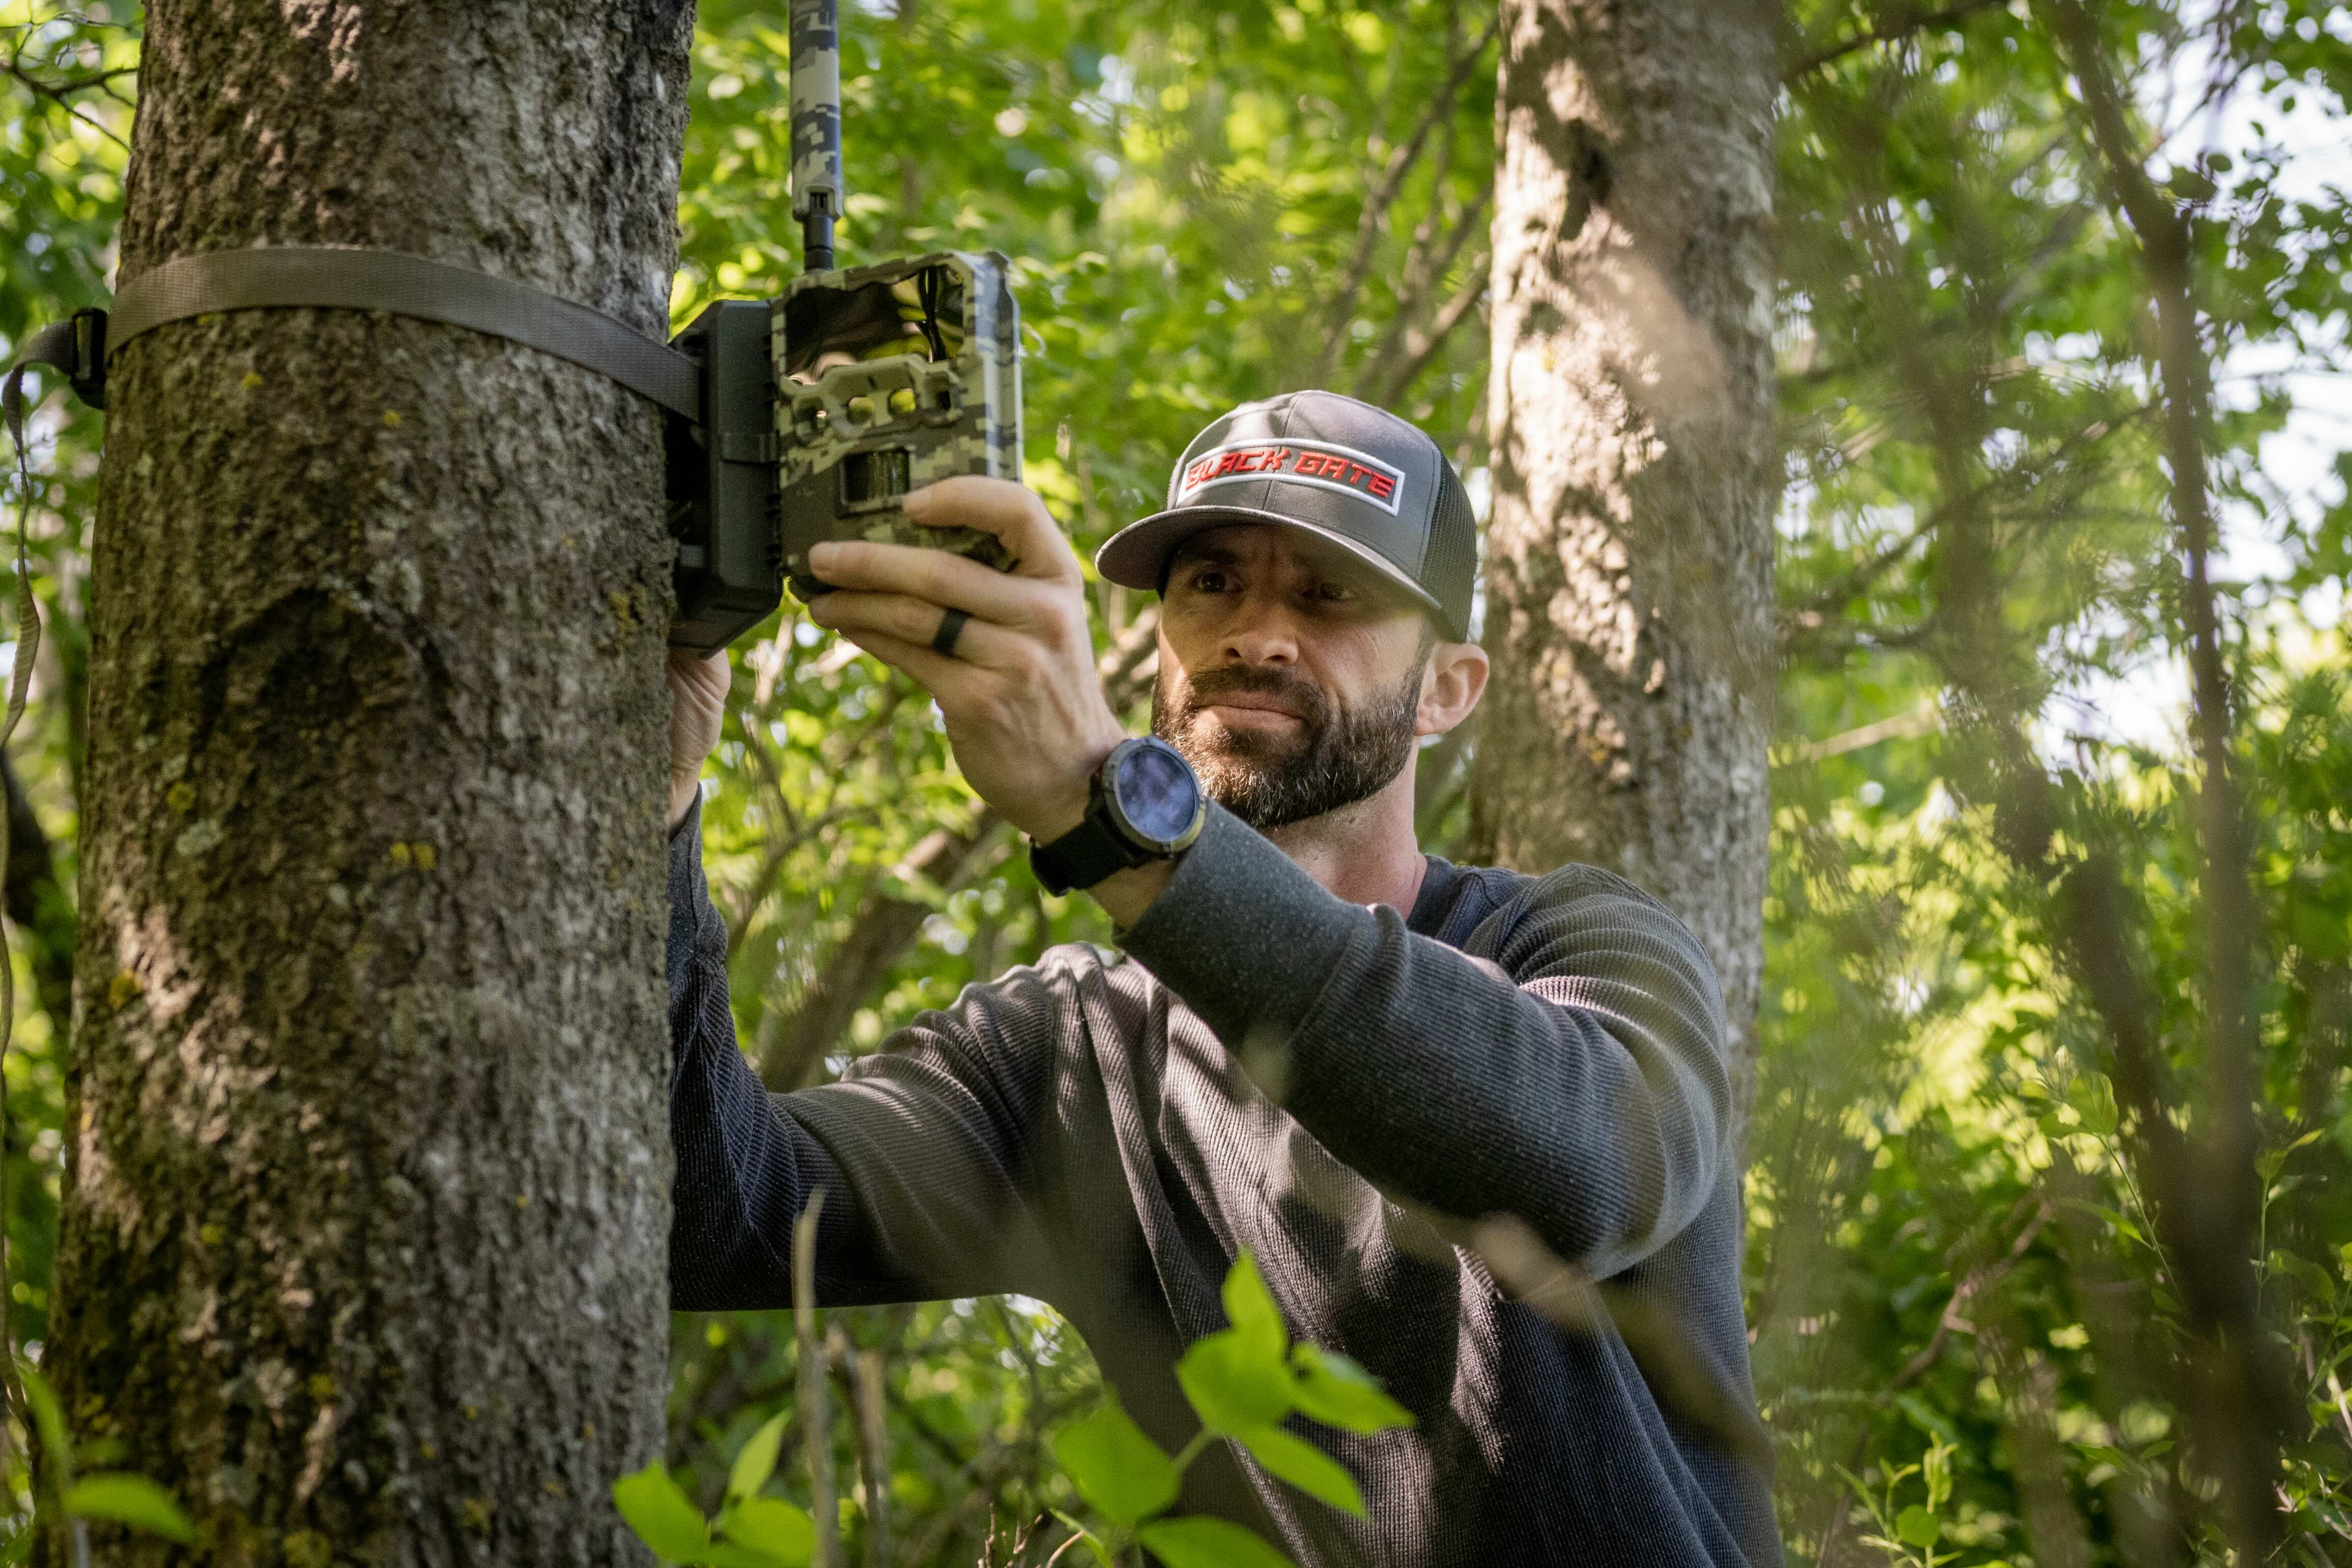
Height and angle matter more than most new users expect. For most deer and medium-sized wildlife, mount height should be 3–4 feet above ground. This height hits the chest and face zone for clear ID shots.
Angle and placement rules:
- Aim the camera slightly downward to maximize trigger zone and reduce sky.
- Avoid aiming directly along the sun at sunrise or sunset.
- Position the camera perpendicular to the trail for full-body shots, or slightly angled to capture movement across the frame.
How to place trail camera in woods for best results includes matching angle to target species. For small mammals or turkeys, lower the camera. For elk or moose, raise it to 4–5 feet.

Mounting, concealment, and scent control
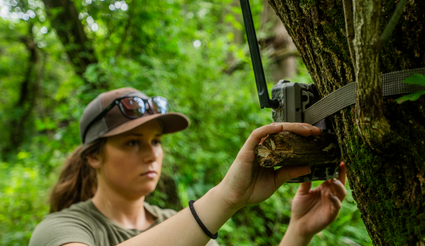
Secure mounting prevents theft and keeps framing steady. Use straps, lock boxes, or steel cables. A tight mount avoids movement in wind and false triggers.
Concealment tips:
- Use natural materials like leaves or bark to break up the camera outline.
- Don’t cover lenses, sensors, or motion zones.
- Paint or use camouflage skins when working in open or visible areas.
Scent control and human sign:
- Minimize handling near the camera. Wear gloves when possible.
- Store cameras in a sealed bag until deployment.
- Limit trips back to the site to avoid creating a human scent trail.
How to place trail camera in woods for best results includes keeping human scent low and blending the camera into the environment.
Camera settings, trigger speed, and recovery time
Settings directly affect what you record. Learn the main settings and test them before long deployments.
Essential settings:
- Photo vs video mode: Use photos for more battery life and easier review. Choose short clips if you want behavior footage.
- Trigger speed: Faster speeds catch more of the action. Aim for under 0.5 seconds when possible.
- Recovery time: Shorter recovery captures more frames but drains battery faster. Set 5–30 seconds based on activity.
- Image resolution: Medium to high for ID. Higher resolution uses more memory.
How to place trail camera in woods for best results requires balancing trigger and recovery to suit animal traffic and battery limits.
Timing, seasons, and daily patterns
Knowing animal behavior helps timing. Animals move differently by season and day.
Seasonal tips:
- Spring and early summer: Use near fresh browse and water sources.
- Fall: Focus on rut routes, scrapes, and funneling corridors.
- Winter: Place cameras along persistent travel lanes where tracks show.
Daily timing:
- Crepuscular animals peak at dawn and dusk.
- Nighttime scans need good IR or low-glow LEDs for sharp night images.
How to place trail camera in woods for best results includes adjusting placement and settings by season and time of day to capture peak movement.

Bait, attractants, and ethical considerations
Bait and lures can dramatically increase captures. Use them wisely and legally.
Common attractants:
- Food plots and feed (where allowed).
- Scent lures like doe estrus or glandular scents for deer.
- Mineral blocks or salt for some species.
Ethics and rules:
- Always check local laws about baiting and attractants.
- Avoid creating dependency or health risks to wildlife.
- Consider non-bait methods first, like patterning travel lanes.
How to place trail camera in woods for best results means using attractants only when legal and when they truly help your study or scouting goals.
Security, theft prevention, and legal issues
Trail cameras are expensive. Protect them and follow the law.
Security steps:
- Use cable locks and lock boxes.
- Mount cameras out of direct sight, slightly higher or behind brush.
- Record serial numbers and mark gear.
Legal and land access:
- Get permission on private land.
- Know local wildlife and hunting regulations about bait and camera use.
- Respect park or reserve rules.
How to place trail camera in woods for best results includes securing gear and observing legal rules to avoid fines or conflicts.
Maintenance, data management, and battery life
Maintenance keeps your cameras working and data organized.
Routine checks:
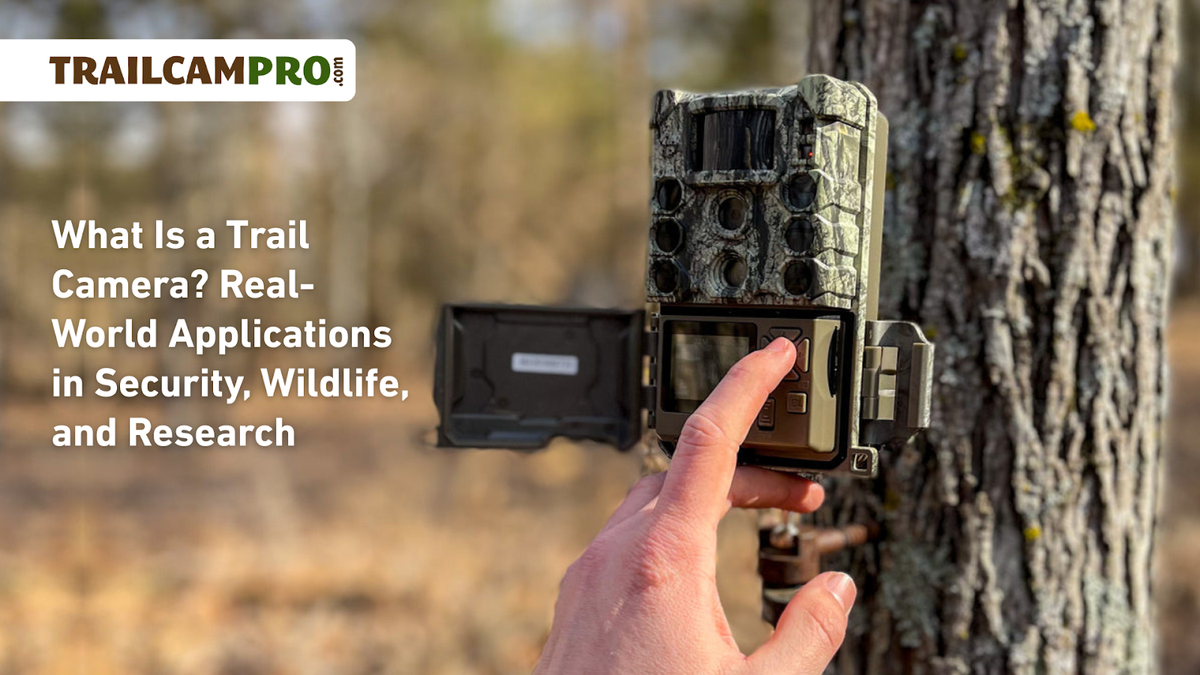
- Inspect batteries and memory cards every 2–6 weeks, depending on settings.
- Clean lenses and sensors gently.
- Check mounts and alignment after storms.
Data tips:
- Label memory cards with date and location.
- Use a spreadsheet to log settings, battery life, and animal notes.
- Back up photos to cloud or external drives.
How to place trail camera in woods for best results includes a simple maintenance plan to avoid missed opportunities and lost data.
Common mistakes and quick fixes
Avoiding common mistakes saves time and money. Here are frequent errors and how to fix them.
Common mistakes and fixes:
- Mounting too high or low — reposition to 3–4 feet for medium game.
- Aiming at open sky — aim slightly downward to avoid false exposures.
- Using high resolution with long recovery — lower resolution or lengthen recovery to save battery.
- Leaving human scent — minimize visits and handle with gloves.
How to place trail camera in woods for best results is mostly about small, correctable decisions. Fixing one key mistake often improves outcomes quickly.
My experience and lessons learned
I’ve placed cameras across mixed hardwoods and pine stands. The best improvement came from small changes. Moving a camera a few feet from an open log pile to a narrow trail tripled captures. I once left a camera facing sunrise; most images were blown out. After that, I learned to test angles at different times.
Lessons I share:
- Test each setup for a day before leaving long term.
- Keep a log of what you changed and when.
- One good spot beats ten bad ones.
How to place trail camera in woods for best results became easier as I learned to observe the woods like an animal. Small observation beats guesswork.
Frequently Asked Questions of how to place trail camera in woods for best results
How high should I mount a trail camera?
Mount most trail cameras 3–4 feet high for deer and similar-sized animals. Adjust height lower for small mammals and higher for larger species.
How far should a camera be from a trail?
Place the camera 10–20 feet from the center of a trail for full-body shots. Closer placement works for narrow trails; farther may miss details.
Should I use bait to attract animals?
Bait can increase activity but check local laws first. Use bait sparingly and avoid creating dependency.
How often should I check my camera?
Check every 2–6 weeks depending on battery life and weather. Less frequent checks reduce human scent but increase the risk of lost data.
What settings give the best nighttime images?
Use a camera with good low-glow IR or white flash for clear night images. Lower resolution with a faster trigger helps capture movement at night.
Conclusion
You can significantly improve captures by choosing the right spot, mounting at 3–4 feet, angling the camera down, and matching settings to the local season. Test setups, minimize human scent, and secure your gear. Start with one camera and refine placement based on real results. Try the tips here this week and track what changes bring more clear images and more useful data. Share your results or questions below, subscribe for more field-tested tips, or leave a comment about your best camera success.
As an Amazon Associate, I earn from Qualifying Purchases.