Optimize placement, power, settings, and maintenance to boost trail camera performance fast.
I’ve spent years testing trail cameras in forests, fields, and backyards. I know what works. This guide on how to improve trail camera performance pulls clear steps from first‑hand use, gear tests, and field habits so you get more reliable photos and less wasted battery life. Read on to learn simple fixes and pro tips that actually work.
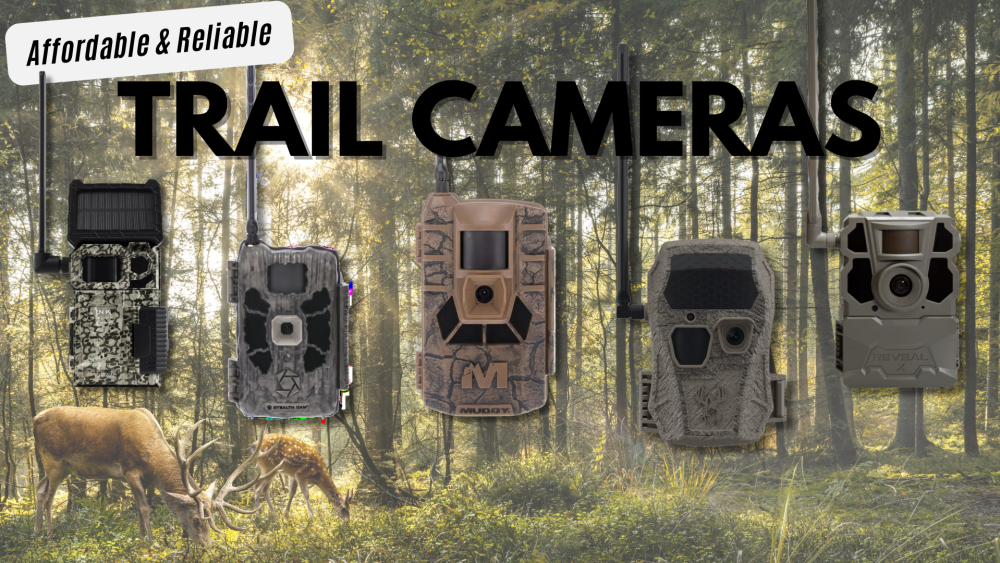
Why trail cameras miss shots and how to improve trail camera performance
Trail cameras miss shots for simple reasons: poor placement, wrong settings, dead batteries, or blocked sensors. Understanding these causes is the first step toward better results when learning how to improve trail camera performance.
Common causes explained
- Sensor angle and range matter. Motion sensors detect heat and movement. If the sensor points at a path edge or dense brush, it will miss animals.
- Slow trigger speed and long recovery time cause missed frames. Many budget models have lag that loses the moment.
- Low battery or full cards stop the camera. Check both often.
- False triggers from wind, sun, or nearby heat sources drain resources and reduce useful captures.
My experience: I mounted a camera too low once and missed a family of deer that walked three feet above its field of view. After raising it and reducing sensitivity, captures jumped. These are the basics to fix first when learning how to improve trail camera performance.

Best placement and mounting techniques to improve captures
Placement is the easiest high-impact change for how to improve trail camera performance. Small moves can double useful photos.
Key placement tips
- Aim along trails, game lanes, or fence lines. Animals move along clear paths.
- Mount at chest height for deer, lower for turkey or small mammals. Match camera height to target species.
- Face north or northeast when possible to avoid direct sun hitting the lens. Sun glare causes false exposure and glare.
- Angle the camera slightly downward to cover a wider foreground and give the sensor a full view of approaching animals.
- Keep at least 10–25 feet from the expected path, depending on the camera’s detection range.
Mounting stability and camouflage
- Use a sturdy strap or mount to reduce sway. Movement blurs images and triggers false alerts.
- Add natural cover like a small spray of leaves without blocking the lens. Avoid shiny tape or items that reflect IR and scare wildlife.
Real tip from the field: I measured detection zones by walking at different distances and speeds. That helped me find the sweet spot for each camera. Practicing this will quickly improve how to improve trail camera performance.

Power, batteries, and memory strategies for reliable uptime
Power and storage are often the real reason a trail camera fails. Fix these and you’ll see better, consistent results.
Power best practices
- Use high‑quality lithium AA batteries for cold weather and long life. They last longer and retain voltage better than alkalines.
- Consider rechargeable NiMH cells for frequent checks, but expect slightly less cold performance.
- Add an external battery pack or solar panel for long deployments.
Storage and data rules
- Use a fast Class 10 or UHS‑I microSD card to handle bursts of images and video without buffering issues.
- Rotate cards and check them regularly. A small card can fill quickly with video clips.
- Format the card in the camera before deployment to avoid file errors.
My test: swapping to lithium cells extended run time in winter by weeks. That change alone was a major win in how to improve trail camera performance.

Trigger, detection, and settings optimization
Tweaking camera settings delivers big gains in usable shots. Learn how to improve trail camera performance by adjusting trigger and capture options.
Which settings to tune
- Trigger speed: choose the fastest available to catch quick passes. Faster triggers reduce missed moments.
- Recovery time (trigger interval): set a short interval for active trails, longer for quiet sites to save battery.
- Sensitivity: lower sensitivity to cut false triggers from grass or branches. Raise sensitivity on cold nights or for small animals.
- Multi-shot vs single shot: use burst mode for fast-moving species. Single shot conserves battery and storage on predictable trails.
- Video vs photo: video helps when you want behavior, but it uses more power and space.
Sensor placement and angle
- Avoid heating surfaces like rocks and metal within the sensor’s field. They produce false alarms.
- Keep the detection zone clear for 10 feet in front of the camera to prevent surprises.
Personal note: I once set a camera to max sensitivity and got 90% false triggers from swaying weeds. Tuning sensitivity based on the site fixed that immediately and improved how to improve trail camera performance.

Image quality, IR flash, and lens care
Image clarity matters for ID and study. Proper flash and lens care help you get usable images.
Flash and illumination tips
- Choose no‑glow or low‑glow IR for minimal disturbance to animals and stealth. White flash gives color at night but can spook wildlife.
- For nighttime range, match flash strength to the distance of your target zone. Stronger flash uses more power.
Lens and sensor maintenance
- Clean the lens and housing window with a soft cloth. Smudges and condensation blur images.
- Use desiccant packs inside camera housing in humid climates to cut lens fog.
Settings for better images
- Adjust exposure or brightness only if your camera allows it. Most modern units auto adjust well.
- Use higher resolution for ID needs, lower for long runs to save space.
From my field trials: a tiny smear on the lens cut clarity enough to ruin IDs of small animals. A quick wipe before deployment improved capture value and is an easy way to improve trail camera performance.

Weatherproofing and routine maintenance to extend life
A camera that survives the weather will perform better over time. Regular care prevents many common failures.
Protective measures
- Use weatherproof cases or rubber boots when cameras face heavy rain or snow.
- Add small rain hoods if your model lacks one. That keeps water off the lens window.
Routine checks
- Inspect seals and battery contacts for corrosion.
- Clean solar panels and clear away spider webs or insects from sensors.
- Check and record battery voltage and card capacity during visits.
Honest limitation: No camera is fully maintenance-free. Expect to visit sites periodically. Planning those visits into your routine is a practical part of how to improve trail camera performance.
Advanced tips and technology upgrades
When you’ve nailed basics, these steps raise performance further and save time.
High-end upgrades
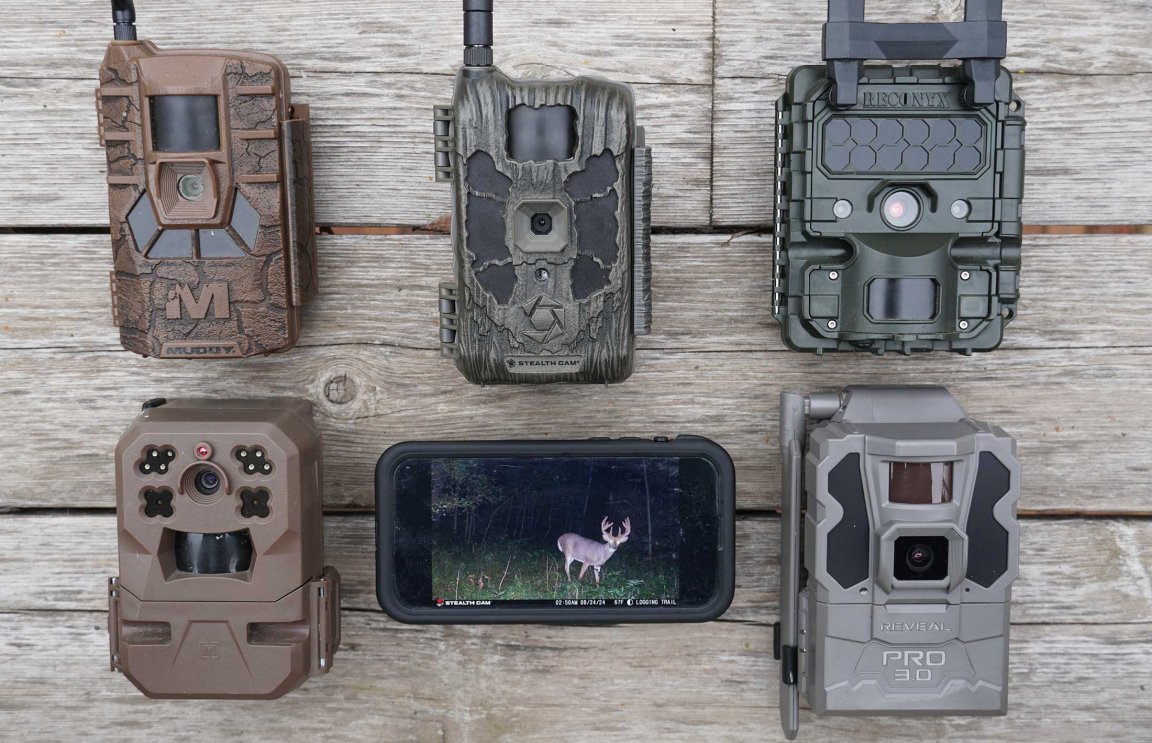
- Use a cellular trail camera for real‑time alerts and to reduce field visits. This helps you respond quickly and reduce lost shots.
- Upgrade firmware when available. Manufacturers fix bugs and improve detection algorithms.
- Install solar panels or external battery boxes for long deployments.
Smart setup ideas
- Time‑lapse mode for monitoring habitat changes.
- Dual cameras facing each other to capture different angles of the same path.
- Use a ground‑level micro camera for small species and a higher camera for larger animals.
Field note: Switching to a cellular unit let me see a rare animal within hours instead of weeks. That immediacy is a big part of how to improve trail camera performance for serious monitoring.
People also ask
How far should a trail camera be from the trail?
Place it 10–25 feet away, depending on detection range and target species. Test by walking the path at different distances to find the sweet spot.
What height is best for trail cameras?
Mount at chest to shoulder height for deer and 3–4 feet for smaller animals. Match height to the species you expect.
How often should I check my trail camera?
Every 2–6 weeks is typical, depending on battery life and card size. Use cell cameras to reduce physical checks.
Frequently Asked Questions of how to improve trail camera performance
How do I reduce false triggers?
Lower sensitivity and clear the detection area of moving vegetation. Adjust placement to avoid heat sources and reflective surfaces.
Will weather affect image quality?
Yes. Rain, fog, and condensation can blur images. Use weatherproofing and desiccants to reduce moisture issues.
Can I use rechargeable batteries in cold weather?
Rechargeable NiMH cells work well but may underperform in extreme cold compared to lithium AAs. Test on site before long deployments.
How do I improve night images without scaring animals?
Use no‑glow IR flash for stealth, and match flash range to the expected distance. Clean the lens to avoid halos and glare.
Is firmware important for performance?
Yes. Firmware updates can speed triggers, improve detection algorithms, and fix bugs. Check for updates before long deployments.
Conclusion
Small, focused changes make a big difference in how to improve trail camera performance. Start with placement and settings, use better power and cards, and maintain the gear. Try one change at a time, test results, and keep notes for each site. Take action today: adjust your next camera placement with these tips, or swap to lithium batteries and a fast card to see immediate gains. Share your results or ask a question below — I’d love to hear what works for you.
As an Amazon Associate, I earn from Qualifying Purchases.