Charge a trail camera with AA rechargeables, an external battery pack, or a solar panel.
I have set up and charged dozens of trail cameras over the years. I will show clear, practical steps on how to charge trail camera models that use AA cells, internal rechargeable batteries, USB ports, external packs, and solar panels. Read on for tested tips, easy steps, and common fixes to keep your camera powered longer in the field.

Understanding trail camera power basics
Trail camera power matters for reliability. A dead camera means missed images and wasted time. How to charge trail camera starts with knowing the battery type your camera uses. Common types are removable AA cells, built-in rechargeable packs, and external or solar power options.
Why charge correctly? Improper charging shortens battery life. It may void a warranty. It can also cause false low-battery readings. Learn the right method for your model to avoid those problems and get the most from your gear.
Main power options and how to charge trail camera with each
Choose the best option for your use. Each method has pros and cons. Here are the main ways to charge trail camera power sources.
- Removable AA rechargeable batteries.
- Use a quality charger off-camera. Charge all cells fully and match their age. This method is low cost and common.
- Built-in rechargeable battery packs.
- Charge via the camera’s USB or DC port. Follow the manufacturer’s charging time and use the specified cable.
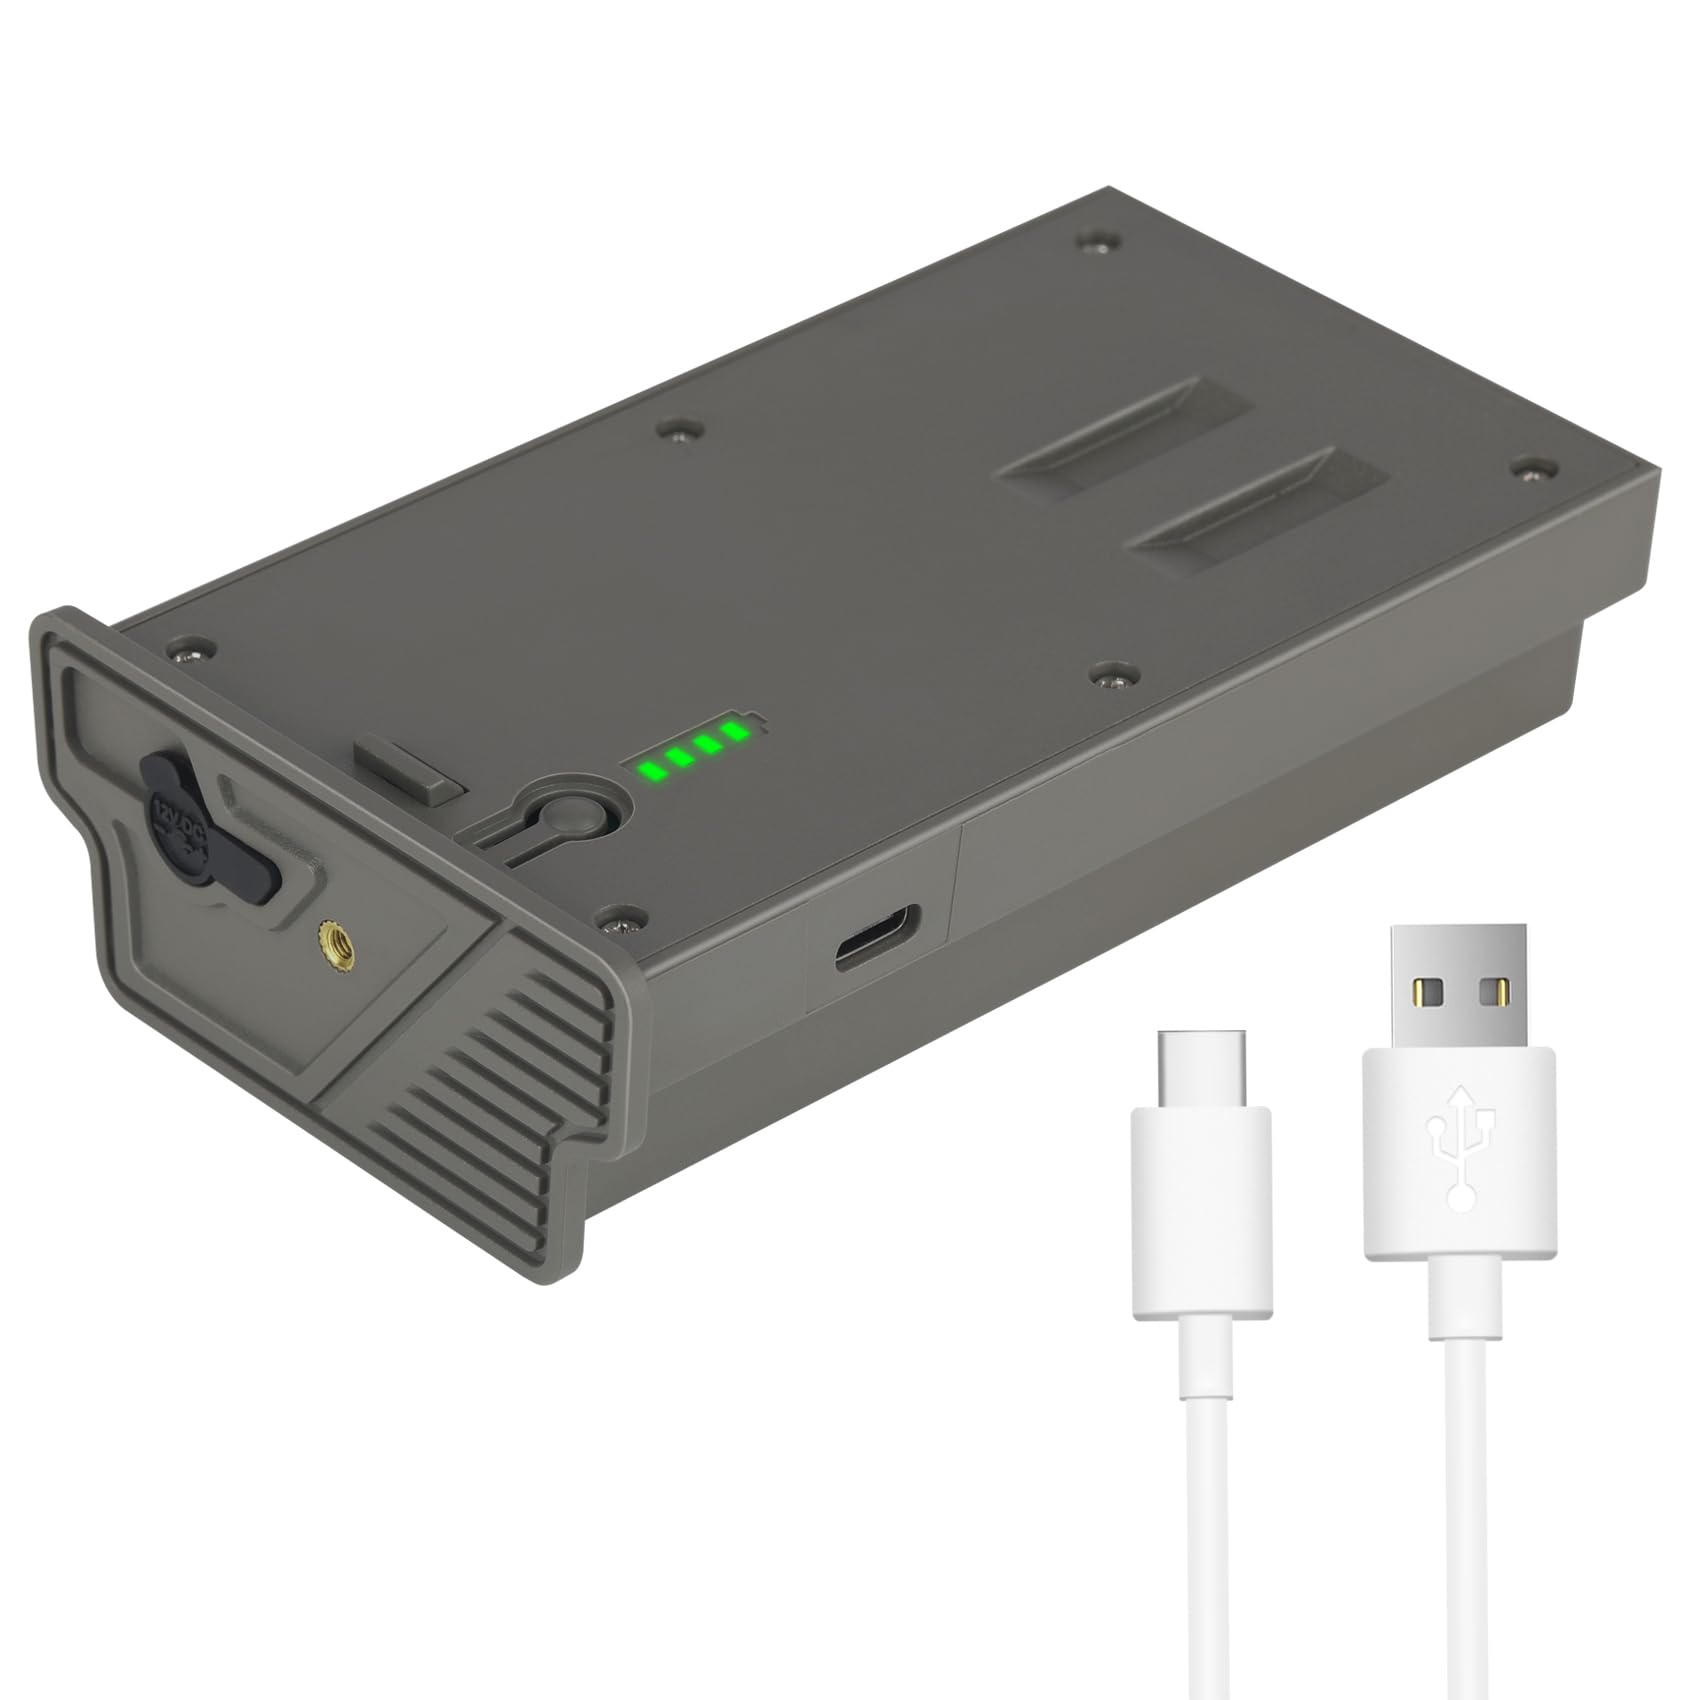
- External battery packs or power banks.
- Connect to the camera’s DC or USB input. Use a regulated pack sized for your camera’s voltage and amps.
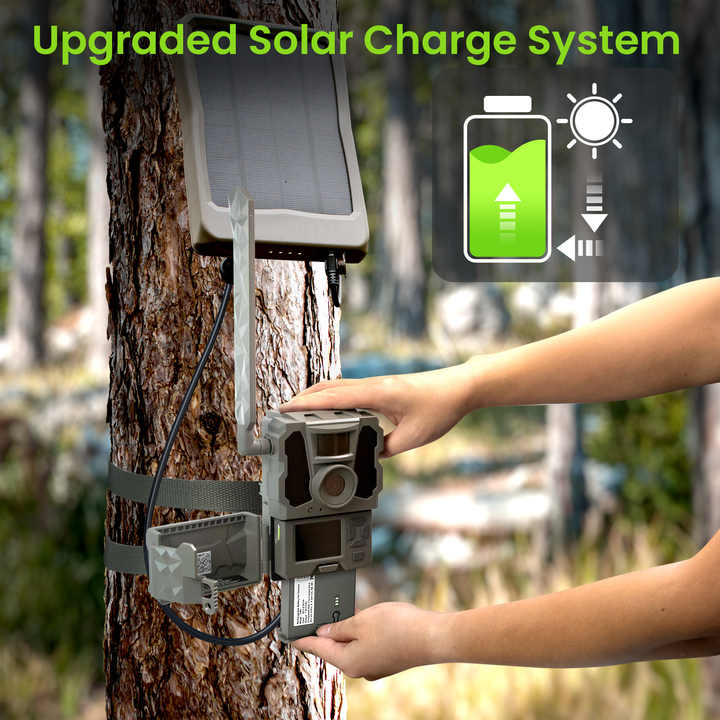
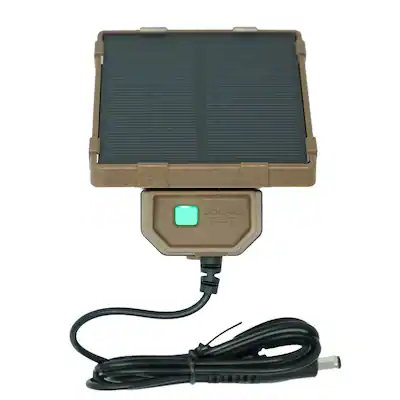
- Solar panels.
- Attach a solar panel to a compatible camera or to a solar charger that feeds the camera’s battery. Solar works well for long deployments.
- Disposable lithium AA batteries.
- These are not rechargeable. Replace fully and store spares in a cool place. They perform well in cold weather but are single-use.
Knowing how to charge trail camera depends on which of these your camera supports. Read the manual for voltage and polarity. Use the right cable and connectors to avoid damage.
Step-by-step: how to charge trail camera by battery type
Follow these short steps for common charging setups. I include checks I use in the field.
Removable AA rechargeable batteries
- Remove batteries from the camera.
- Put cells in a smart charger that shows charge level.
- Charge until the charger shows full.
- Let batteries cool before inserting them back into the camera.
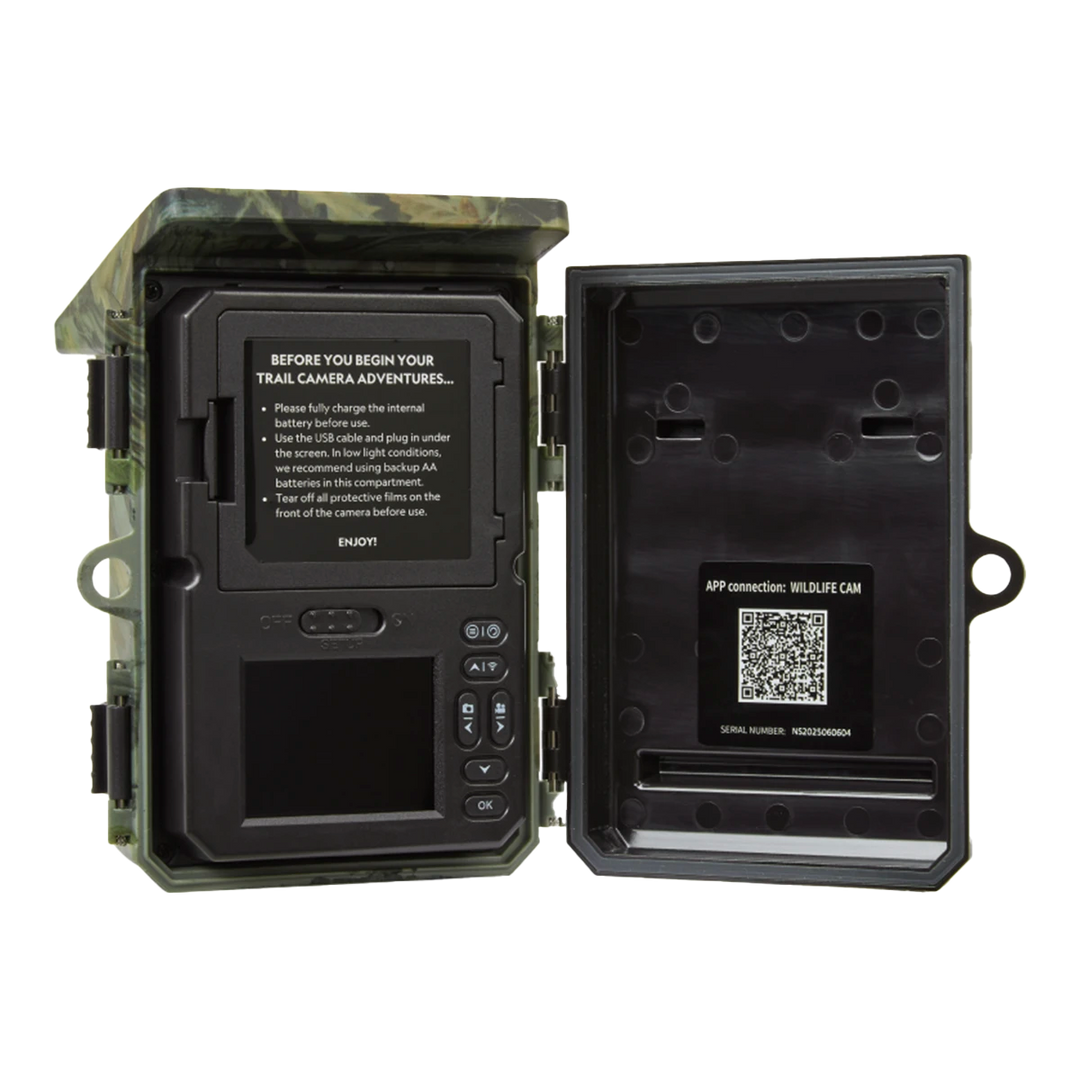
Built-in rechargeable packs with USB or DC ports
- Turn off the camera.
- Plug the supplied cable into the camera and a wall charger or USB power source.
- Charge for the time the manual lists.
- Confirm the camera shows full battery or a green LED.
External battery packs and power banks
- Check the camera’s input voltage and polarity.
- Use a regulated pack with the correct output.
- Connect with the right cable and secure connections.
- Monitor the camera for power drops during the first hour.
Solar panels
1. Mount panel where it gets direct sun for most of the day.
2. Connect to a charge controller or solar-compatible battery pack.
3. Attach the battery pack to the camera.
4. Check charging status weekly at first to confirm the system keeps the battery topped.
When you learn how to charge trail camera for each type, you reduce field trips and missed shots. I once missed a rut night because I used a cheap charger. After that I switched to a smart charger and never had that problem again.
Tips to maximize battery life and charging efficiency
Small habits add big hours. Here are proven tips I use.
- Set camera settings to save power.
- Lower photo burst count, reduce video length, and lengthen trigger intervals.
- Use fresh or matched batteries.
- Mixing old and new cells leads to quick drain.
- Keep firmware updated.
- Manufacturers fix power bugs in updates.
- Test before long deployments.
- Leave the camera for 24 hours to watch the battery trend.
- Protect batteries from extreme temps.
- Cold and heat reduce capacity. Move the camera to shaded spots in heat and insulated spots in cold.
- Use quality chargers and cables.
- Cheap units can undercharge or overheat cells.
These steps help you charge trail camera efficiently. They also cut the number of site visits you need.

Troubleshooting common charging problems and PAA answers
If charging fails, check small things first. Below are common causes and fixes I use.
- No charge light or response
- Check cable and port for dirt or bent pins. Try a second cable and a known-good charger.
- Slow charging
- Confirm charger output matches battery type. Corroded contacts can slow current flow.
- Camera shows full then drops fast
- Aging cells or mismatched batteries trigger this. Replace all cells with the same type and age.
People also ask
Can I charge a trail camera with a phone power bank?
Yes, if the camera accepts USB power and the bank matches voltage needs. Use a regulated bank and the recommended cable; avoid high-output quick-charge modes that may confuse the camera.
How long does it take to charge a trail camera battery?
Charging time depends on the battery type and charger. AA rechargeables often take 2–6 hours; built-in packs can take 3–8 hours, depending on capacity.
Will a solar panel fully charge a trail camera?
A good solar panel plus a charge controller and battery pack can keep a camera charged for long periods. Direct solar to camera without a buffer is less reliable on cloudy days.
Frequently Asked Questions of how to charge trail camera
How often should I charge my trail camera?
Charge based on use and battery type. For heavy use or video mode, check weekly. For photo-only set-ups with good solar or fresh cells, monthly checks may suffice.
Can I charge rechargeable AA batteries inside the camera?
No. Remove AA cells and charge them in a dedicated charger. Charging inside the camera can damage the camera and the batteries.
Is it okay to use different brands of batteries together?
Avoid mixing brands, charge states, or chemistries. Use matched sets for best performance and safety.
What voltage should I use to power my trail camera externally?
Use the voltage specified in the camera manual, usually 5V for USB or 6–9V for DC inputs. Wrong voltage can damage the camera.
How do I know when the battery is fully charged?
Check the camera’s battery meter, the charger’s indicator, or measure voltage with a meter. Smart chargers will show full when cells reach their target voltage.
Can cold weather affect charging and battery life?
Yes. Cold reduces capacity and slows charging. Keep batteries warm before use and consider lithium AA cells for cold climates.
Are solar panels safe for long-term deployments?
Yes, when used with a charge controller and a proper battery pack. Regular checks in the first weeks will confirm the system works in your location.
Conclusion
Keeping a trail camera powered is simple when you know the right steps. Match the method to your camera: charge AA cells in a smart charger, use the correct cable for built-in packs, or pair solar panels with a controller and battery. Test gear before leaving it in the field. Try a few of the tips above to cut visits and get more photos.
Take action today: check your camera manual, inspect your cables, and pick one charging method to test this week. If you found these tips useful, leave a comment or subscribe for more hands-on gear guides.
As an Amazon Associate, I earn from Qualifying Purchases.