Use reliable high-speed SD cards, format in the camera, rotate cards, and back up often.
I have used trail cameras for years and know how to manage SD card trail camera setups so they run smooth and last longer. This guide breaks down steps, tips, and real-world fixes for SD card issues in trail cameras. You will learn what cards to buy, how to format and install them, how to move and store files, and how to avoid loss. Read on to get practical, field-tested advice on how to manage SD card trail camera systems like a pro.

Why SD cards matter for trail cameras
SD cards store every photo and clip your camera makes. If a card fails you can lose days or months of data. Poor cards slow cameras or cause corrupt files. Knowing how to manage SD card trail camera setups lowers the chance of data loss. I have lost a week of footage before. That taught me to choose cards carefully and back up fast.

Choosing the right SD card
Pick the right card before you head out. The wrong card will cause missed shots and errors.
- Capacity matters. Higher capacity means more shots and longer video runs. Most trail cams work well with 32 GB to 128 GB cards.
- Speed class matters. Look for U1 or U3 and Class 10 for smooth video. Faster write speed helps burst photos and long clips.
- SD format matters. SDHC covers 4 GB to 32 GB. SDXC covers larger cards and works with many newer cameras.
- Brand and durability. Buy name brands and cards rated for outdoor use or with wide temp range.
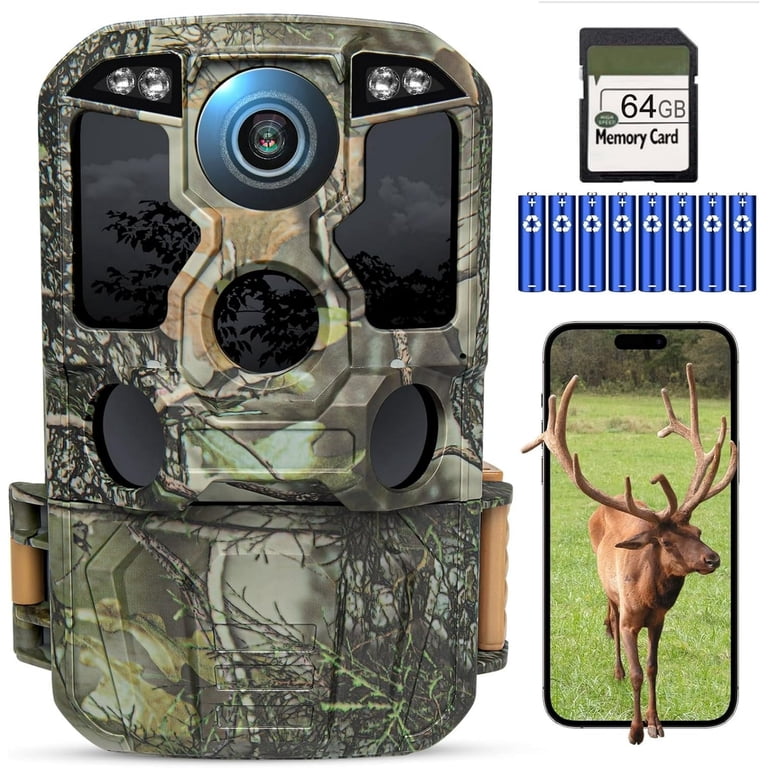
From my field tests, 64 GB U3 SDXC cards are a sweet spot for many users. They hold weeks of photos and handle video well.
Formatting and prepping SD cards
Formatting is one of the simplest fixes to many issues. Proper format lets the camera write files reliably.
- Format in the camera. This sets the right file system and folder structure.
- Use FAT32 for SDHC cards and exFAT for large SDXC cards if the camera supports exFAT.
- If the camera cannot format or shows errors, use a PC to run a low-level format tool and then format again in the camera.
- Avoid quick fixes like simply deleting files on a PC. Full format clears bad sectors and file table issues.
I always format every new card in the camera before use. That step saved me from corrupt files more than once.

Installing and securing SD cards in the camera
Correct insertion and security prevent many common problems.
- Power off the camera before inserting or removing cards.
- Insert the card until it clicks. Loose cards can cause write errors.
- Use a security case or small lock if theft is a concern.
- Keep the camera in a dry, ventilated spot to avoid condensation on the card.
Once, I drove two hours to check a camera only to find the card had been pushed loose by a squirrel. A snug click and a small foam pad fixed that.

Managing files and storage strategy
A good plan saves time and protects data. Plan how you rotate, back up, and archive cards.
- Rotate cards weekly or after a fixed number of images to limit exposure to corruption.
- Backup immediately. Copy images to at least two locations: a laptop and an external drive or cloud.
- Label cards by date and location. This helps track what is new and what is archived.
- Use a card reader for faster transfers and fewer errors than connecting the camera.
I use a simple rotation pouch with labeled slots. When a card comes in, I copy files, verify, then clear and format for reuse. This keeps my archive clean and searchable.
Maintaining and troubleshooting SD cards
Small checks can prevent major loss. Here are steps to fix many common issues.
- If the camera shows "card error," try reformatting in the camera. If that fails, test the card in a PC.
- Use CHKDSK or disk utility tools to find bad sectors. Replace cards with many errors.
- Update camera firmware. Some read/write issues come from old firmware.
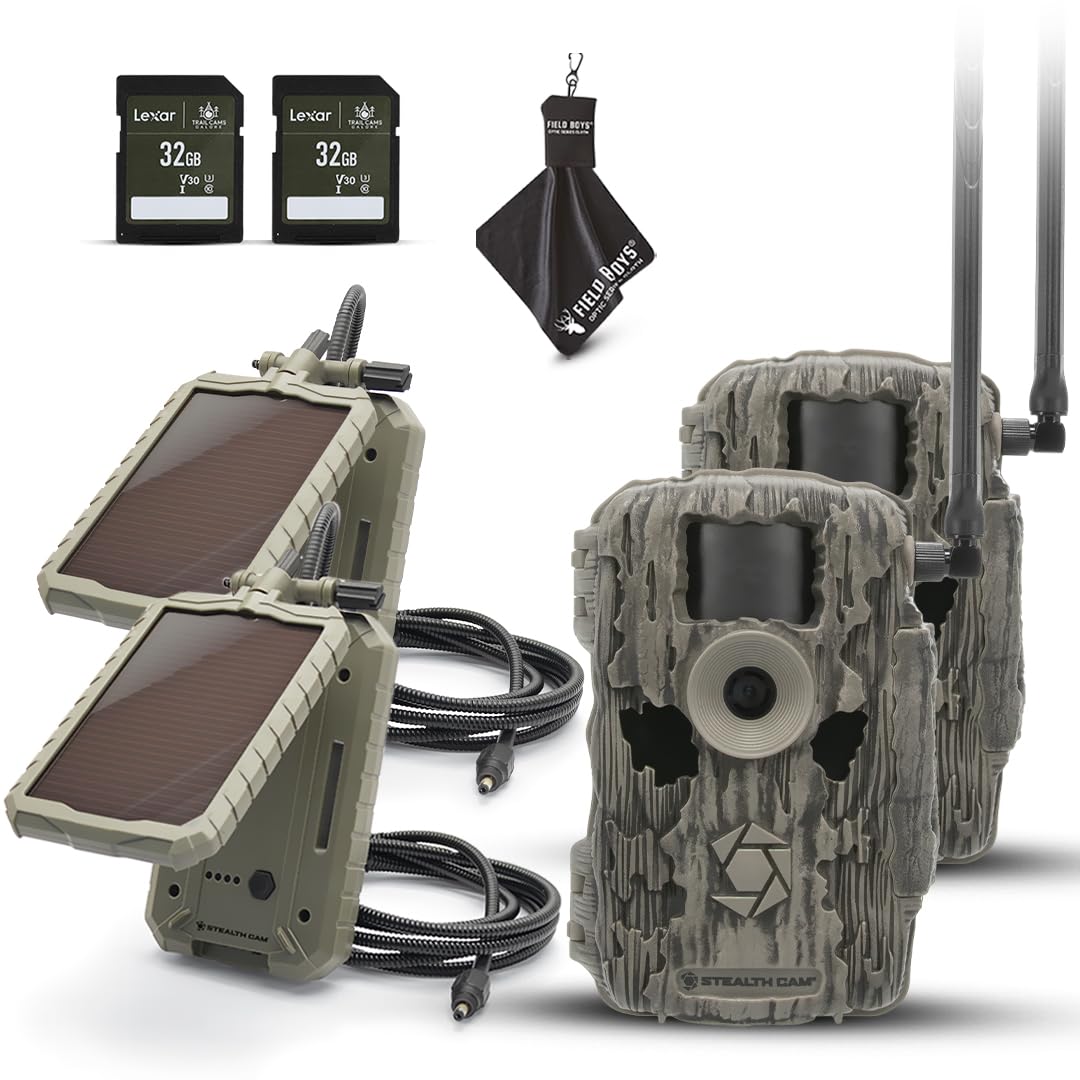
- Keep spare cards and a portable card reader in your field kit.
If a card repeatedly corrupts, stop using it. I learned this after reformatting a failing card three times. Each time it got worse. Replacing it saved me a full season of missed shots.
Best practices and pro tips
These small habits make a big difference over time.
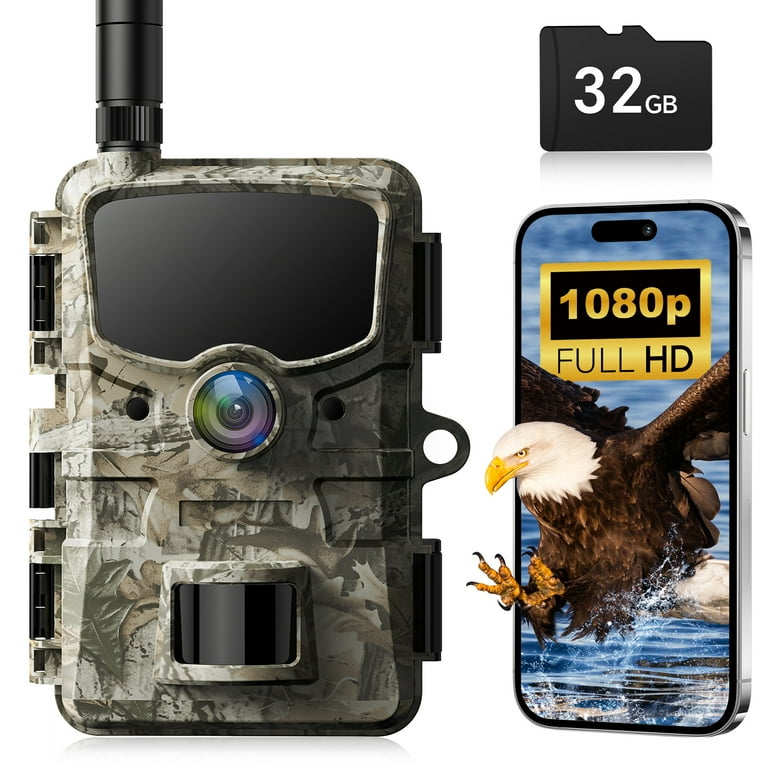
- Always carry at least two spare cards and an emergency reader.
- Use tempered memory cards for cold or hot environments.
- Turn off the camera before swapping cards to prevent corruption.
- Archive raw images with clear file names and date folders.
- Monitor battery health. A dying battery can corrupt writes.
My tip: keep one card as a permanent archive. Store it in a fire-safe or cloud backup after each season. This extra step has saved rare captures when a field card failed.
Frequently Asked Questions of how to manage sd card trail camera
How often should I format an SD card in a trail camera?
Format before first use and after you back up files. Reformat if the camera shows errors or after long-term storage.
What capacity SD card is best for trail cameras?
Choose 32 GB to 128 GB for most setups. Higher capacity is good for long video or high-shot rates.
Can I use any SD card brand in my trail camera?
Most brands work, but stick to trusted manufacturers and cards rated for outdoor use to reduce failures.
How do I prevent file corruption on SD cards?
Power off the camera before removing cards, format in-camera, and back up files often to reduce risk.
What do I do if the camera says "card full" but space remains?
Try reformatting the card in the camera. If the issue persists, test the card in a PC and replace it if errors appear.
Conclusion
Managing SD cards in trail cameras is simple when you follow a clear routine. Pick the right card, format in the camera, secure and rotate cards, and back up files quickly. Small steps, like labeling and carrying spares, prevent big losses. Start a rotation and backup habit this week. Share your questions or stories below, and subscribe for more field-tested tips on trail camera care.
As an Amazon Associate, I earn from Qualifying Purchases.