Choose a trail cam with the right sensor, IR type, trigger speed, and solid power life.
I have tested many trail cameras over years. I know what separates a blurry night image from a crisp, useful capture. This guide on how to choose night vision trail camera walks you through real features, setup tips, and buying advice. Read on to pick a camera that fits your goals, budget, and environment.

Assess your needs before buying
Start by asking why you need a night vision trail camera. Is it for scouting deer, backyard security, or wildlife research? Knowing the main use helps narrow choices fast.
Think about placement. Will the camera sit near a game trail, on a bait site, or mounted high on a tree? Each spot changes which features matter most. When you learn how to choose night vision trail camera, match the specs to the site and species.
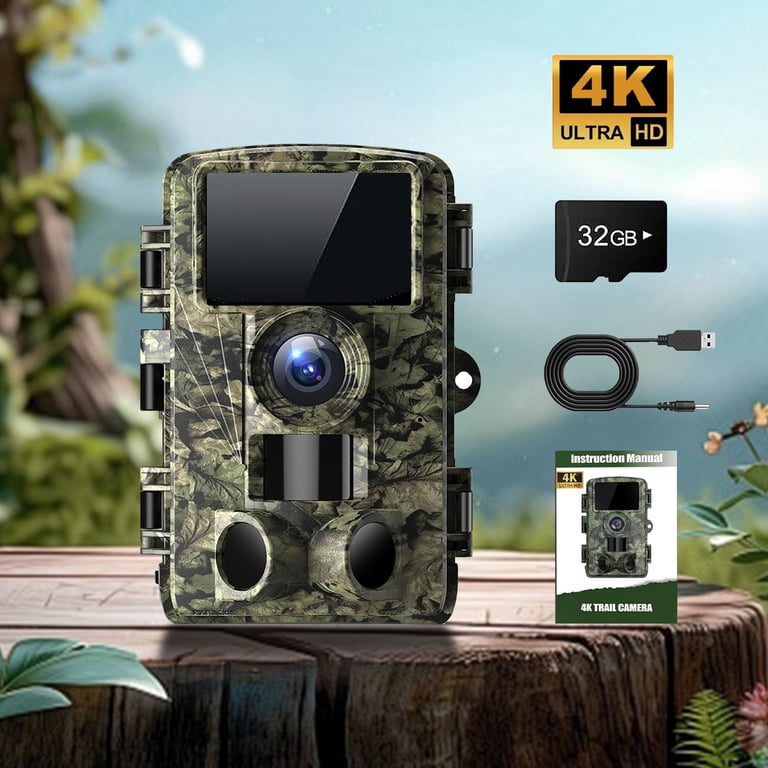
Key features that matter
Focus on a short list of features that affect night results. These determine image clarity, detection reliability, and battery life.
- Sensor type: CMOS sensors are common and give good night images when paired with IR.
- IR flash style: No-glow (black) IR is stealthy, while low-glow is cheaper but visible to animals.
- IR range: Measured in feet or meters. Choose 30–80 feet based on how wide/open the area is.
- Trigger speed and recovery: Faster trigger (<0.5s) catches brief passes. Recovery time affects how many shots you get.
- Resolution and video: Higher megapixels give clearer stills. For video, look for 1080p at minimum.
- Battery life and power options: Field life varies by settings and temps. Consider solar panels or external batteries for long deployments.
- Detection zone and PIR sensitivity: Wide PIR zones reduce missed animals but can increase false triggers.
- Storage and file formats: SD cards up to 512GB are common. Check if the camera overwrites old files automatically.
How to choose night vision trail camera depends on weighing these features by priority. For me, trigger speed and IR type mattered most in thick brush.

Types of night vision technology
Trail cams use two main night systems. Know their pros and cons.
- Infrared LEDs: Common and affordable. Works well for short to medium ranges.
- Low-glow vs no-glow: Low-glow LEDs emit a faint red flash. No-glow uses IR that is invisible to most animals and people.
- Thermal imaging: Detects heat. Great for spotting animals in clutter, but costly and often lower detail for ID.
Choosing the right tech helps match the camera to your needs. If stealth is crucial, prioritize no-glow IR when learning how to choose night vision trail camera.
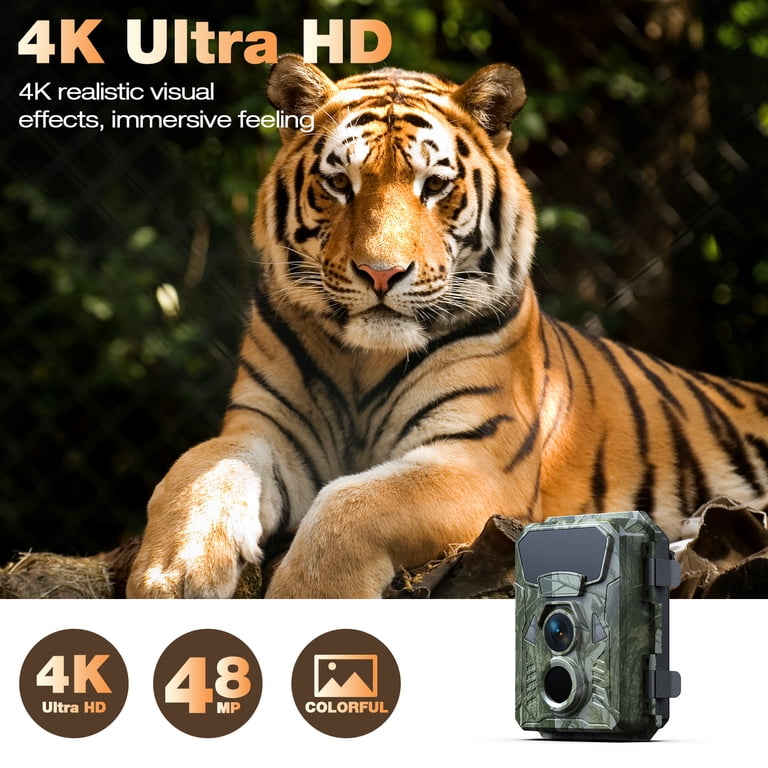
Placement, mounting, and setup tips
Good placement can make a budget cam perform like a premium one. A bit of care in setup yields far better night results.
- Height and angle: Mount 3–4 feet off the ground for deer. Angle slightly downward to reduce sky glare.
- Background and foreground: Avoid pointing at open sky or reflective objects. Place near game trails, funnels, or edges of fields.
- Camouflage and theft prevention: Use cable locks and plastic camo boxes. Mark the spot with GPS for quick retrieval.
- Test shots: Always take test shots at night to verify range, exposure, and motion sensitivity.
When you refine placement, the question how to choose night vision trail camera becomes easier—features matter less if your setup is wrong.

Power, storage, and connectivity options
Power and storage shape how long a camera can run without a visit. These are practical limits when choosing.
- Battery options: Alkaline vs lithium. Lithium lasts longer in cold weather. Rechargeables save money over time.
- External power: Solar panels and external battery packs extend life for long studies.
- Storage needs: High-res video eats space. Use large SD cards and set video length wisely.
- Connectivity: Cellular cameras send images to your phone. Wi‑Fi models let you configure settings from a distance.
Balance power and storage to match deployment time. A common mistake I made was underestimating file sizes, which meant an extra visit mid-study.
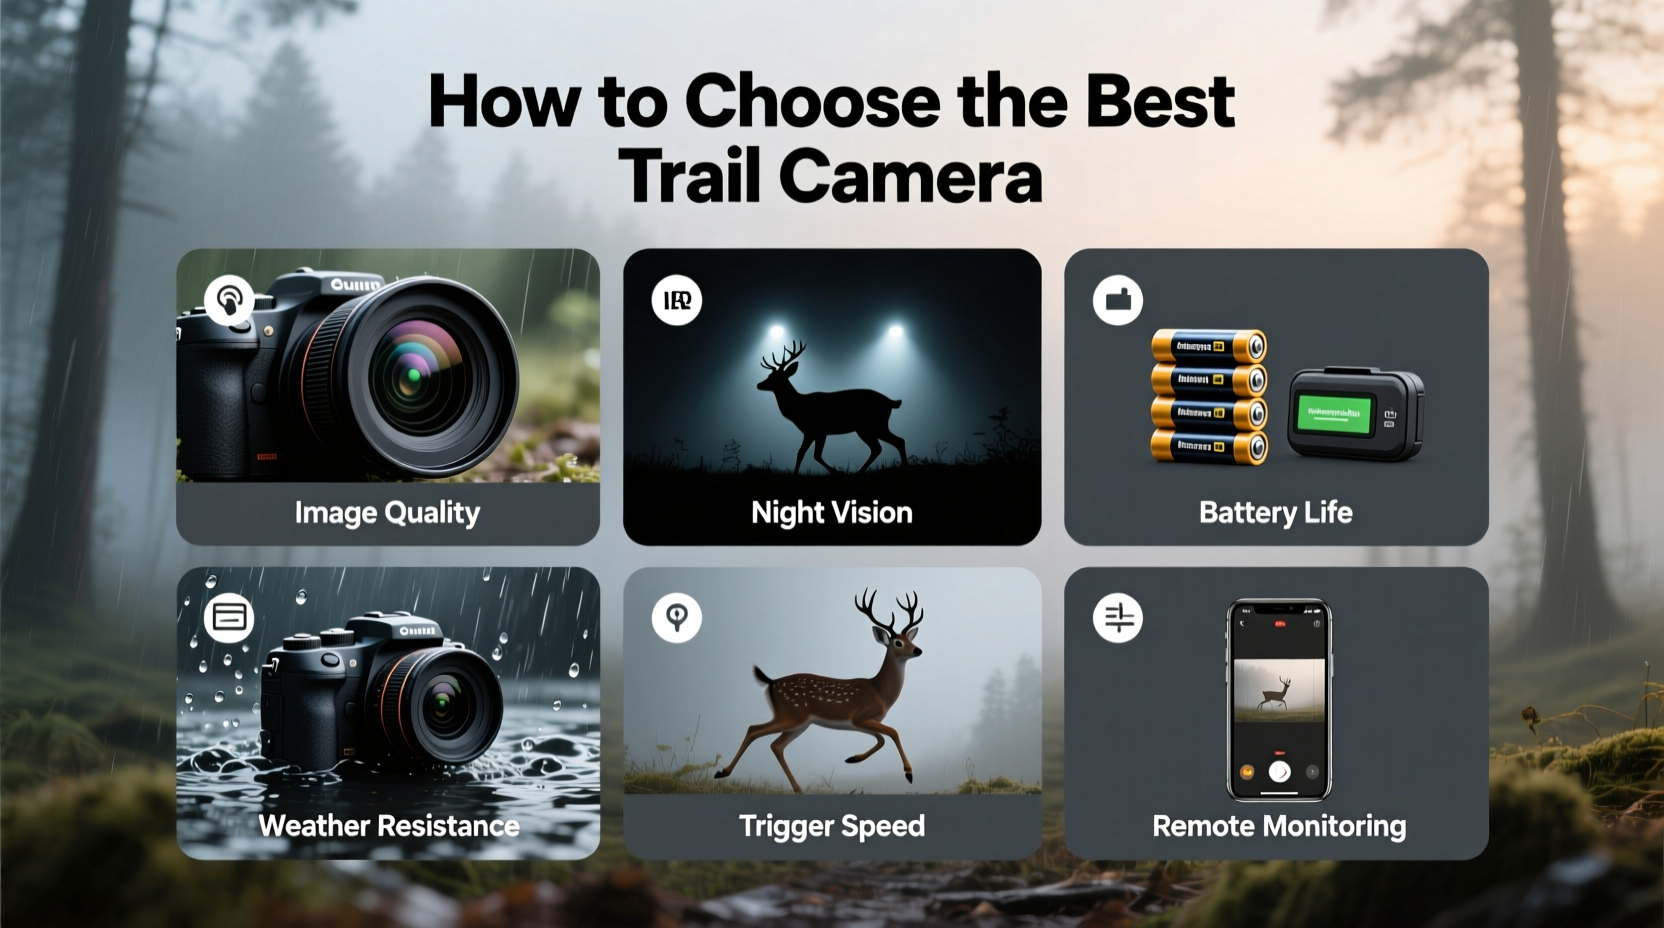
Settings, testing, and field maintenance
Proper settings and routine checks keep cameras working and images useful. Small changes make a big difference.
- Image resolution: Use lower res for long deployments to save space, higher res for ID needs.
- Burst vs single shot: Burst mode catches quick passes but uses more battery and space.
- Time-lapse: Good for monitoring activity patterns and habitat use.
- Firmware and updates: Keep firmware current for best performance and fewer bugs.
- Maintenance schedule: Check cameras every 2–6 weeks depending on battery and memory.
Testing settings at night avoids wasted trips. Learning how to choose night vision trail camera includes learning the right settings for your target species.

Budget, brands, and warranty considerations
Price matters, but so do reliability and support. A cheap cam can cost more in lost data.
- Budget range: Entry-level models are good for casual use; mid-range suit most hunters; high-end offer cellular and thermal tech.
- Brand reputation: Choose brands known for durability and support.
- Warranty and support: A solid warranty and responsive customer service save stress in the field.
Spend a bit more for key features you need. From my experience, a reliable mid-range camera beats frequent replacement of a cheap unit.
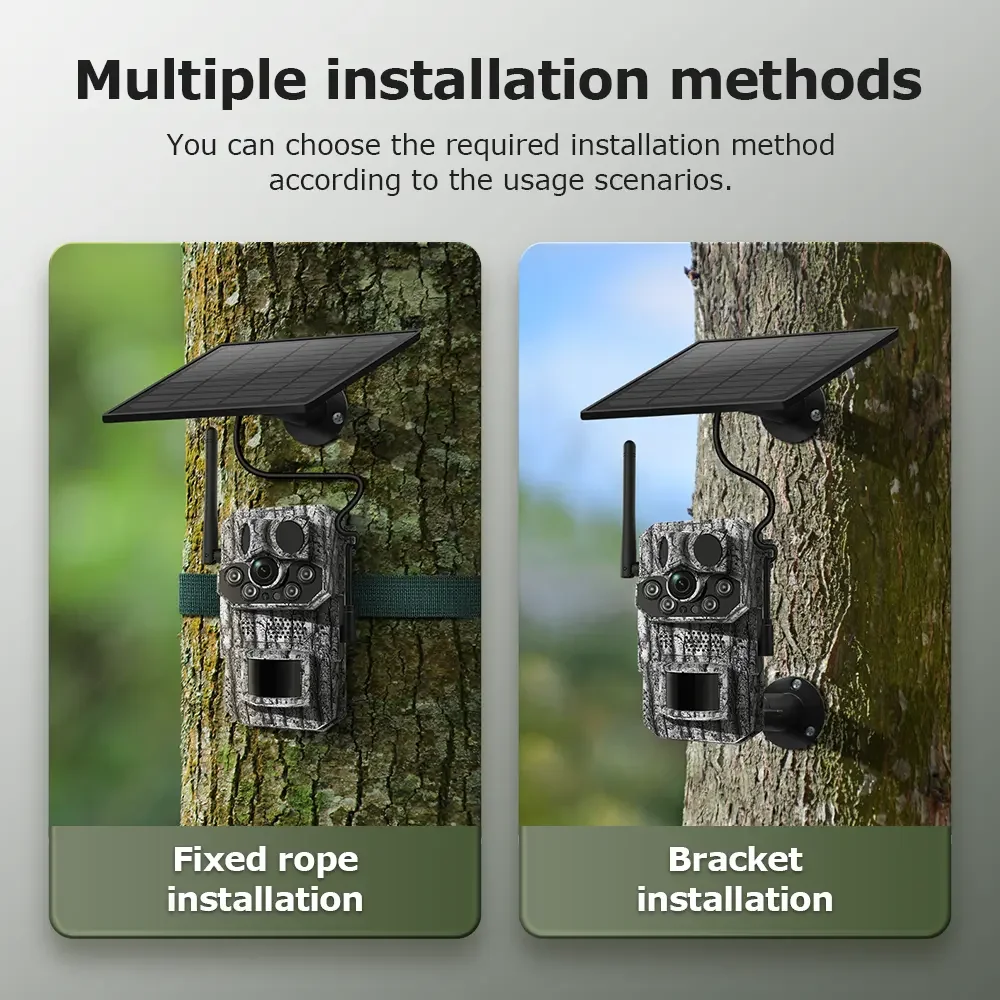
Practical checklist: How to choose night vision trail camera
Use this quick checklist before you buy or deploy a camera.
- Define your goal and target species.
- Choose IR type based on stealth needs.
- Pick sensor and resolution for your ID needs.
- Check trigger speed and detection zone.
- Confirm battery life and power extension options.
- Plan for storage size and file management.
- Test placement and settings at night.
- Read warranty and support details.
Refer to this checklist when deciding how to choose night vision trail camera. It keeps choices clear and focused.
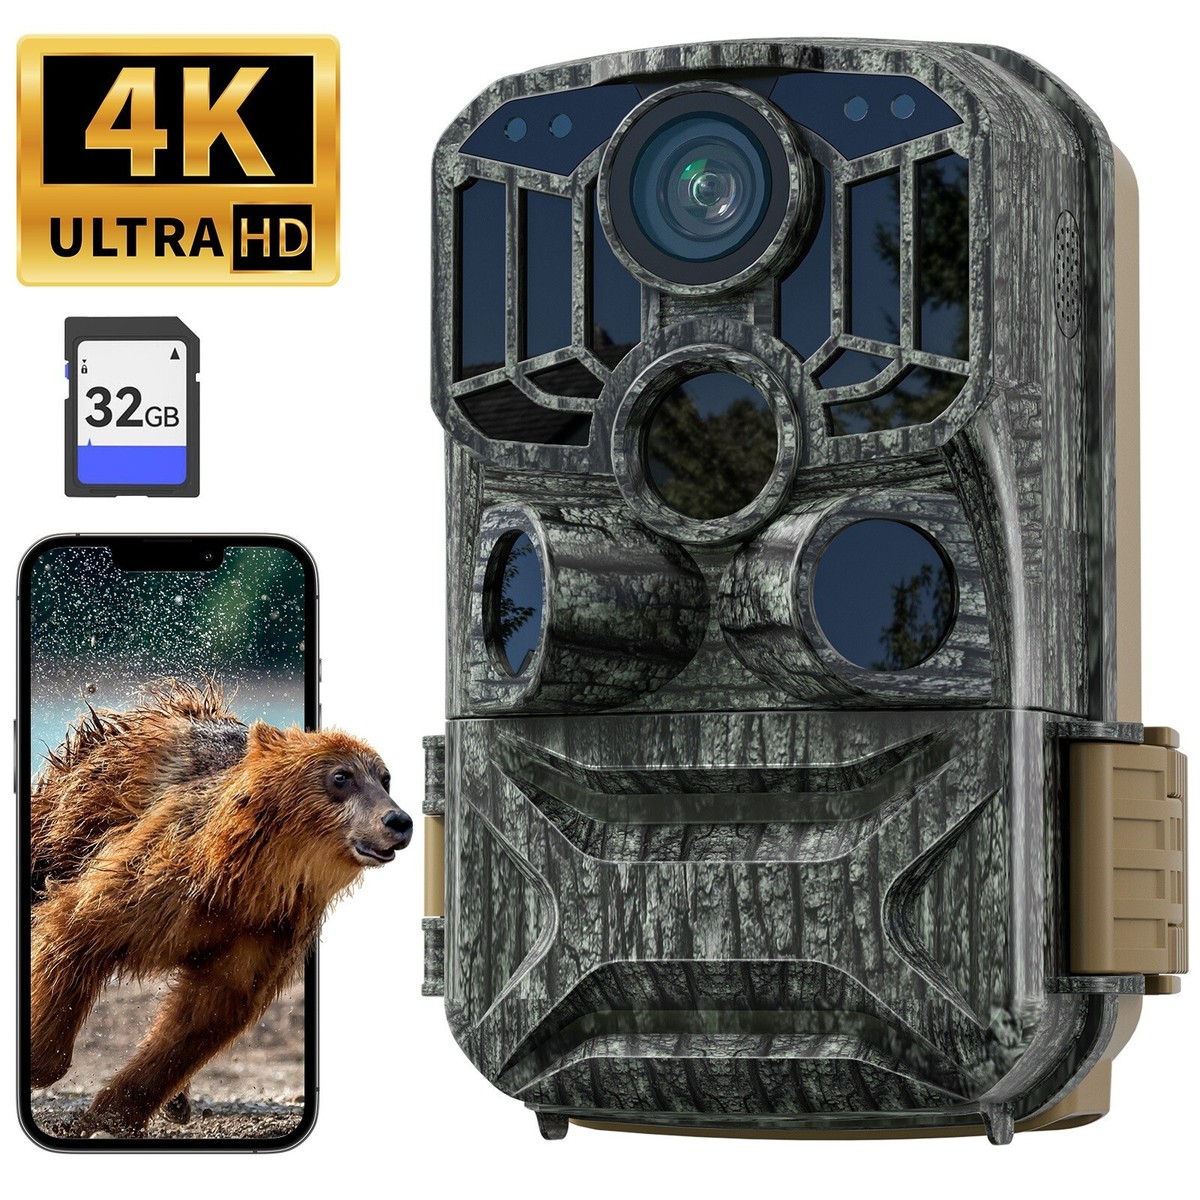
People also ask
Q: Will a higher megapixel camera improve night images?
A: Higher megapixels help detail but depend on sensor quality. Sensor size and IR illumination often matter more at night.
Q: Is no-glow IR always better than low-glow?
A: No-glow is stealthier, but low-glow can offer longer range and lower cost. Choose based on trade-offs and detection distance.
Q: How often should I check my trail camera?
A: Check every 2–6 weeks depending on battery and storage needs. Winter and heavy activity require more frequent checks.
Personal experience and mistakes to avoid
I once deployed a new cam without testing. The night shots were overexposed because I aimed at a reflective creek. I learned to take test images at dusk and night. Another key lesson: buy a good cable lock and a weatherproof case. These small steps saved time and replaced lost data.
When you learn how to choose night vision trail camera, use these real-world tips. They cut mistakes and make your setup work the first time.
Frequently Asked Questions of how to choose night vision trail camera
What is the best IR range for deer hunting?
For deer, an IR range of 30–60 feet is common. Choose the higher end for open fields and the lower end for heavy cover.
Do cellular trail cameras drain batteries faster?
Yes, cellular transmission uses more power, especially with frequent uploads. Use external power or check intervals to manage battery life.
Can I use rechargeable batteries in trail cameras?
You can, and they work well, but lithium rechargeables perform better in cold weather than NiMH. Always test in your field conditions.
How important is trigger speed for night captures?
Very important. Fast trigger speed reduces missed, blurred shots. Aim for cameras under 0.5 seconds for active wildlife.
Should I prefer no-glow or low-glow for property security?
No-glow hides the camera flash and is best for stealth. Low-glow can alert intruders but is often cheaper and has longer range.
Conclusion
Choosing the right night vision trail camera means matching features to your goals. Focus on sensor quality, IR style, trigger speed, power, and placement. Test settings in the field, use the checklist, and learn from small mistakes. Take action now: review your needs, pick three camera models that match them, and run a night test before committing. Share your experiences or questions below to get tailored advice.
As an Amazon Associate, I earn from Qualifying Purchases.