Place camera steady, set proper exposure, use correct flash, and clean lens for sharp images.
I have run dozens of field sessions and tested cameras in cold, heat, rain, and dense brush. I wrote this guide to help you quickly learn how to get better images from trail camera setups. You will find clear steps on gear choice, placement, settings, lighting, maintenance, and troubleshooting. Read on for practical tips you can use the next time you mount a camera.
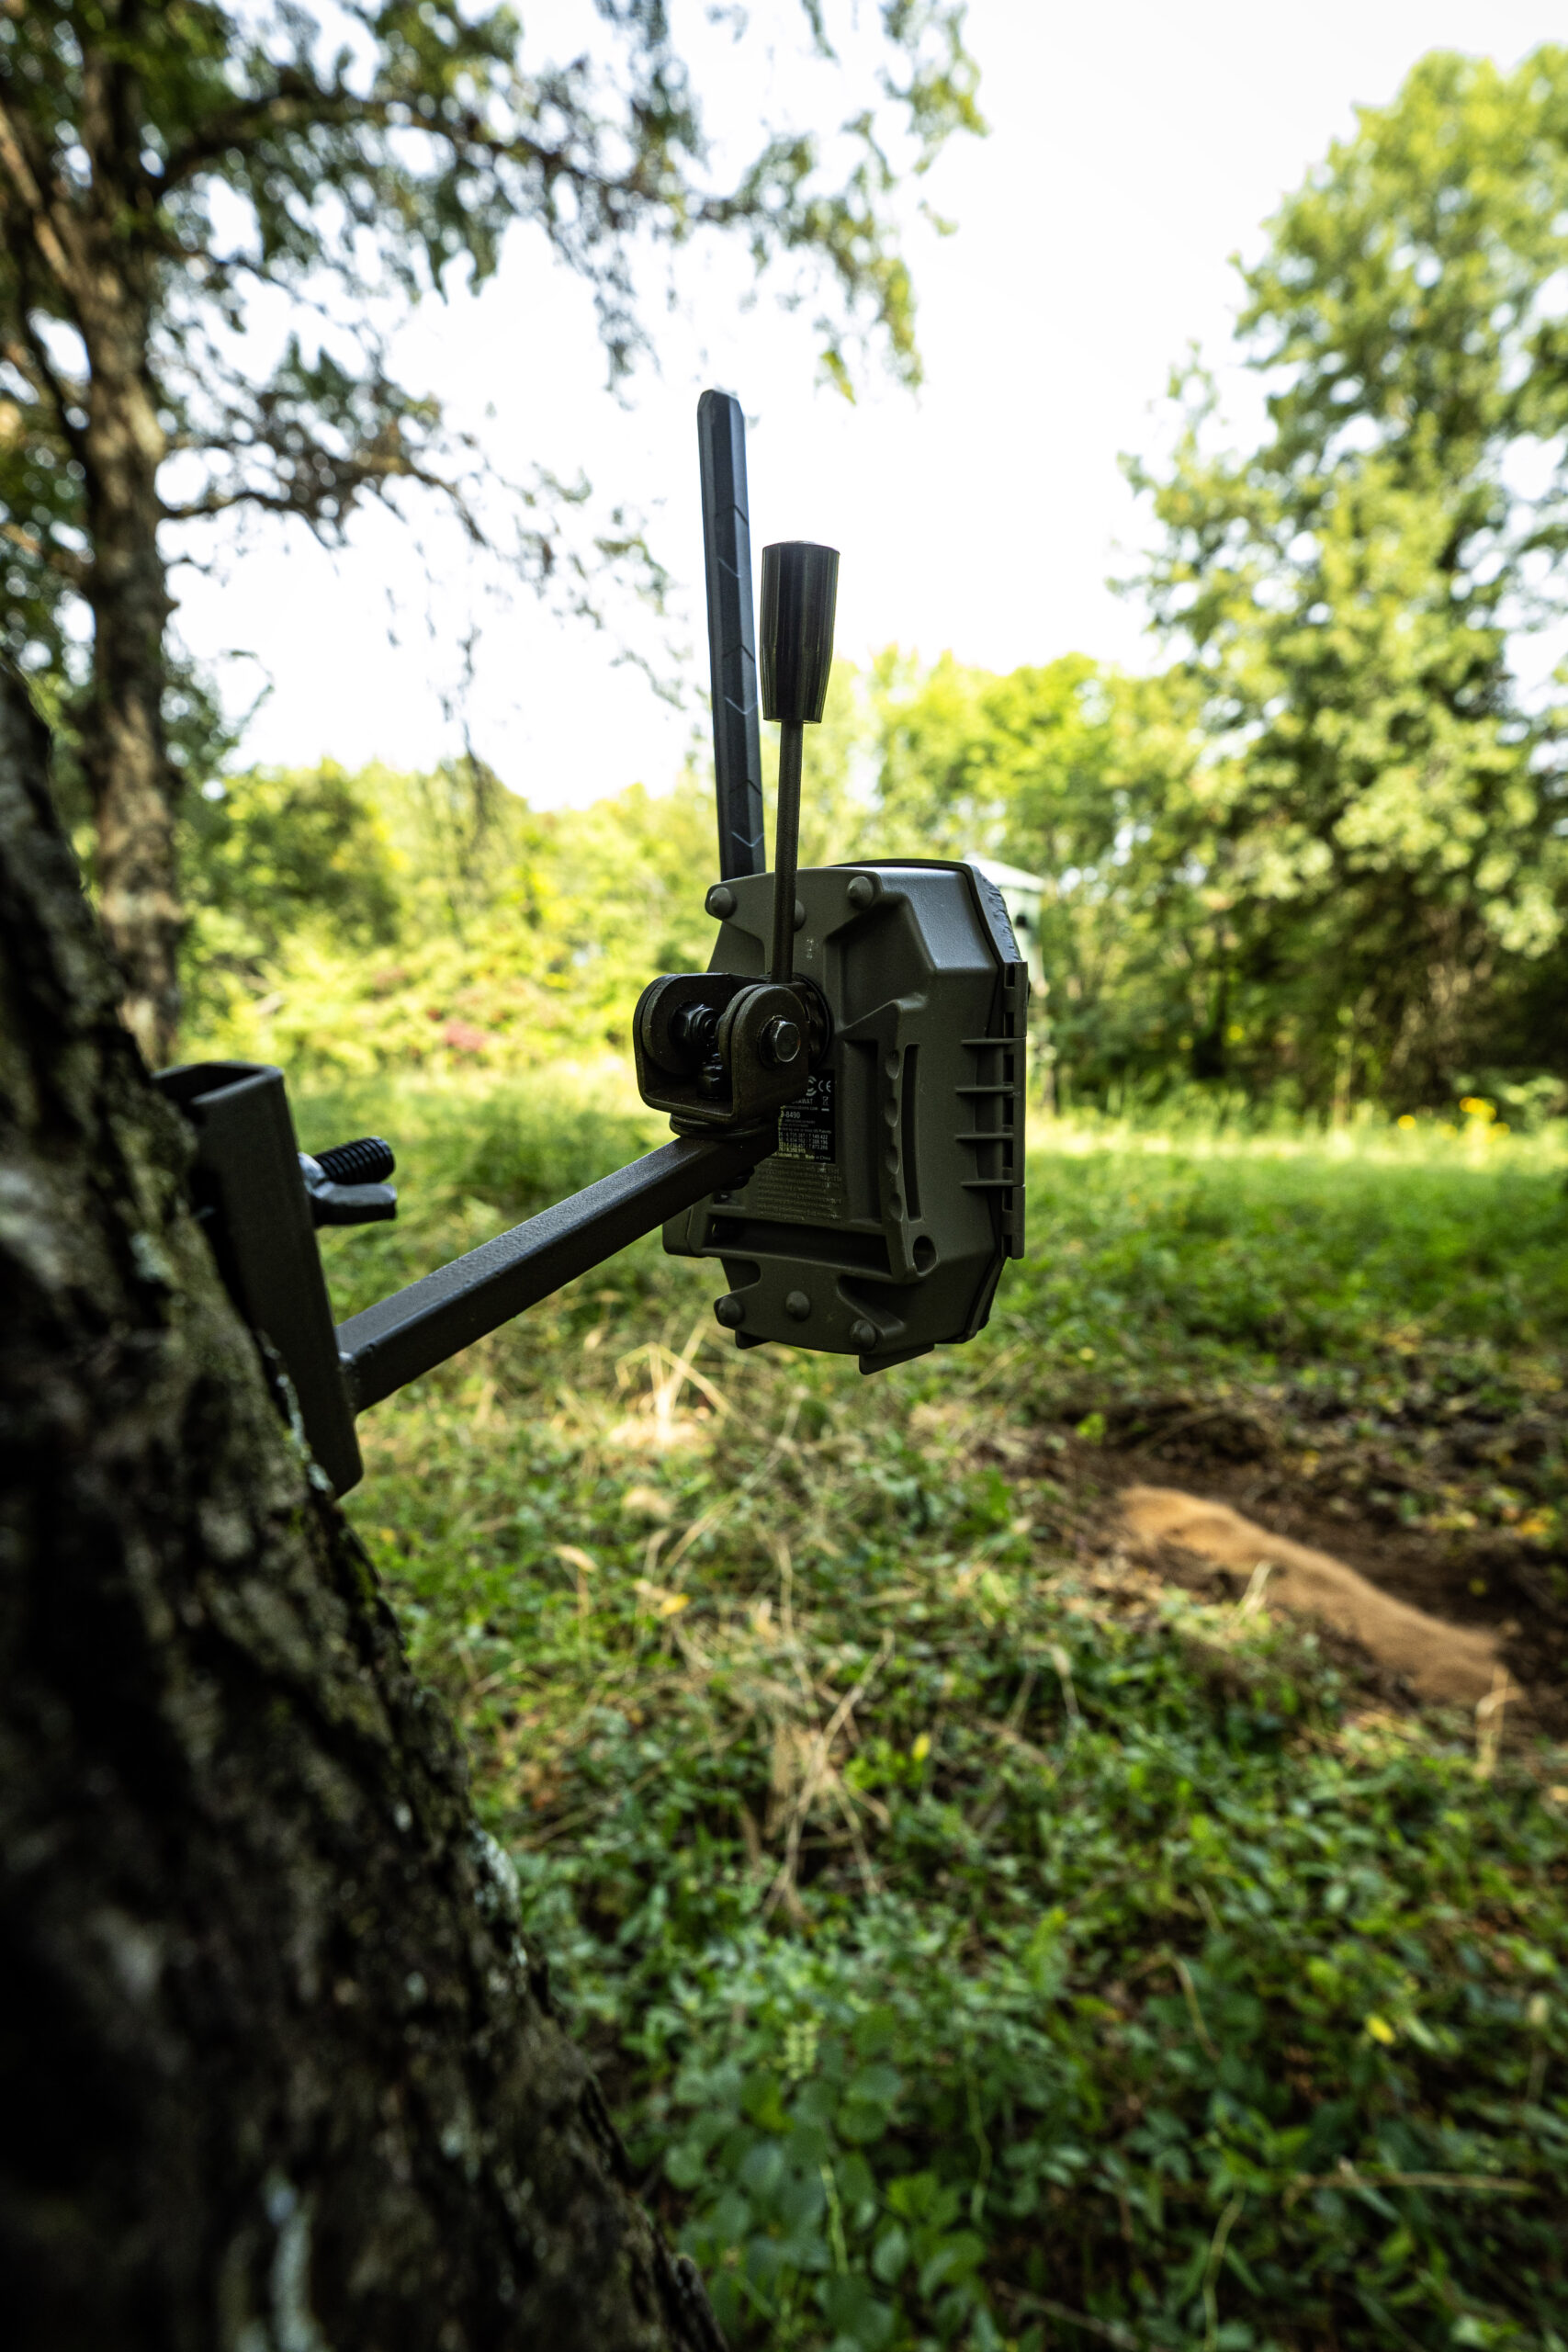
Why image quality from trail cameras matters
Sharp, clear images tell a better story. They help you identify species, read tags, and learn animal behavior. Poor images waste time and can leave you guessing.
High-quality images also matter for safety and management. When you know how to get better images from trail camera, you gather reliable data. That leads to smarter choices for land, herd, or hunting plans.
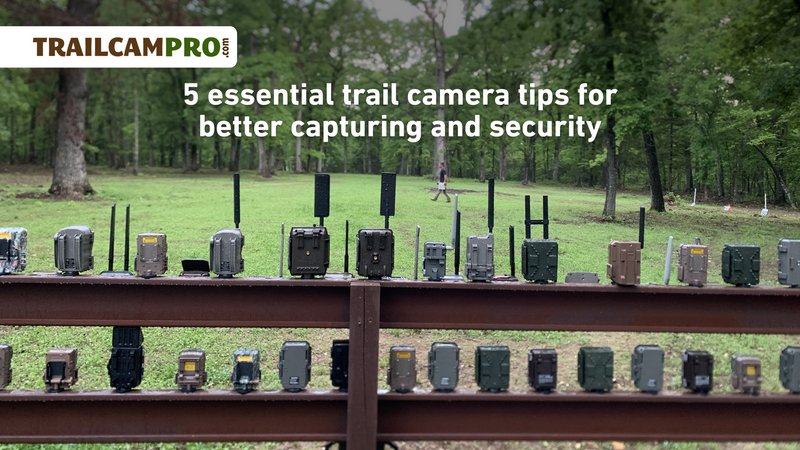
Choose the right trail camera for the job
Pick a camera that fits your goals. Not all cameras are equal for photo clarity, night shots, or fast action.
Key specs to check
- Sensor resolution: Higher megapixels give more detail, but sensor size matters too.
- Trigger speed: Faster trigger reduces missed moments and blur.
- Recovery time: Short recovery lets you capture multiple animals in one pass.
- Night flash type: No-glow (black) IR is stealthy but softer in detail; white flash gives color but can spook animals.
- Lens quality and aperture: Better glass and wider aperture improve low-light images.
Personal tip: I switched to a mid-range camera with a 0.2s trigger and saw a jump in usable photos. Spending more on trigger speed and a good sensor paid off in image clarity.
How this affects how to get better images from trail camera
- A faster trigger yields sharper action shots.
- A larger sensor helps in low light.
- The right flash choice improves night detail.
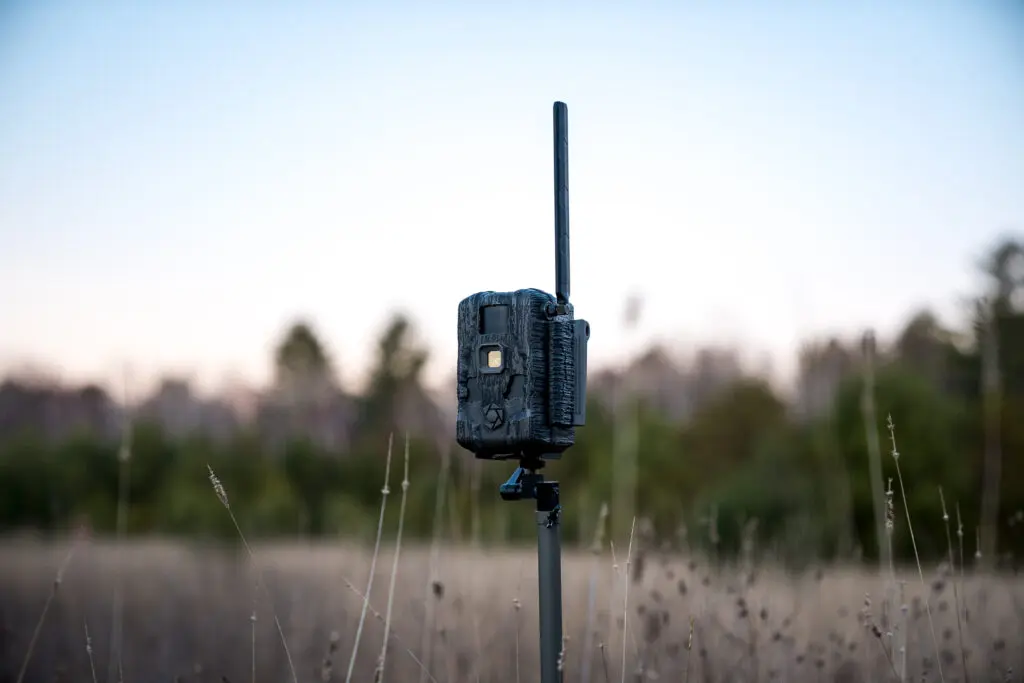
Placement and mounting for cleaner photos
Where you put the camera matters more than you think. A small move can change a blown-out sky into a perfect portrait.
Mounting best practices
- Height: Aim for 3 to 4 feet for deer; lower for small mammals and higher for larger animals.
- Angle: Point slightly down, not up, to avoid sky glare and lens flare.
- Background: Avoid bright sky behind the subject. Pick a dark, consistent background.
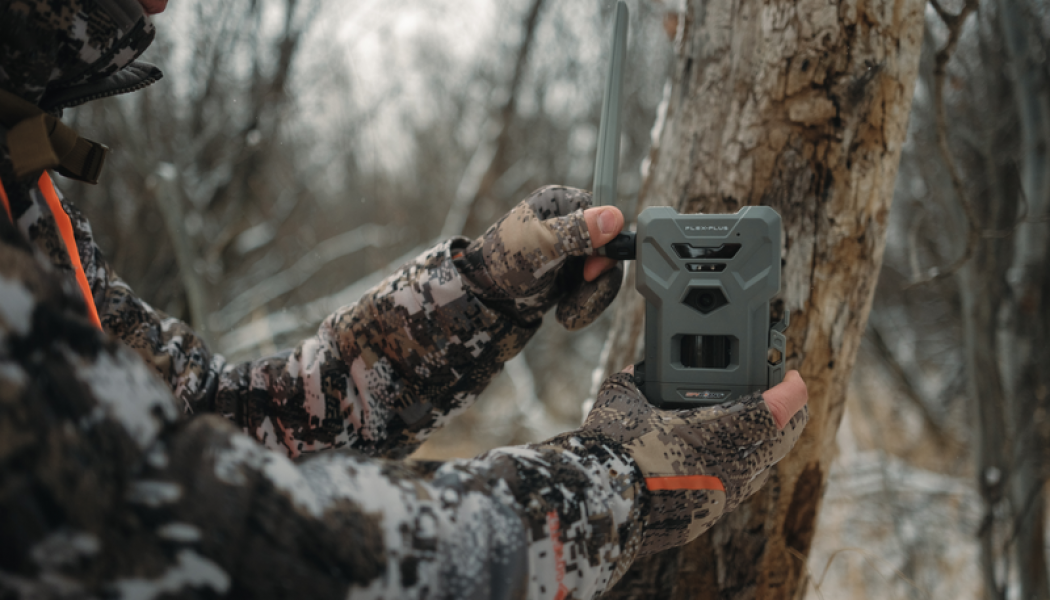
- Stability: Use a sturdy strap or mount to prevent wobble in wind.
- Trail side vs face-on: Face-on gives better ID shots; angled shots show movement and depth.
Avoid common placement mistakes
- Don’t point directly toward the rising or setting sun.
- Don’t place near busy brush that will trigger the camera.
- Don’t mount on shaky branches or weak posts.
Real-life note: Once I moved a camera 6 inches lower and changed angle five degrees. The number of clear images doubled that week.

Camera settings to maximize sharpness and detail
Correct settings are quick wins. Small changes lower blur and boost clarity.
Essential settings
- Photo vs video: For crisp stills, use photo mode at high resolution. Use video only when movement context matters.
- Resolution: Use the highest image setting available.
- Burst mode: Use 2–3 shot bursts to increase chance of a perfect frame.
- Exposure control: If available, lower exposure slightly in bright areas to preserve detail.
- Sensitivity (IR): Lower sensitivity reduces false triggers but may reduce night detection.
- Time stamp and overlay: Keep useful, but don’t clutter the frame.
Trigger and detection
- Set PIR sensitivity to match the site. High sensitivity in open fields; lower in windy brush.
- Use faster trigger speed for animals that run. This helps you learn how to get better images from trail camera in action shots.
My experience: I ran tests with single-shot vs. three-shot burst. The extra shots gave me the sharp frame I needed most of the time.
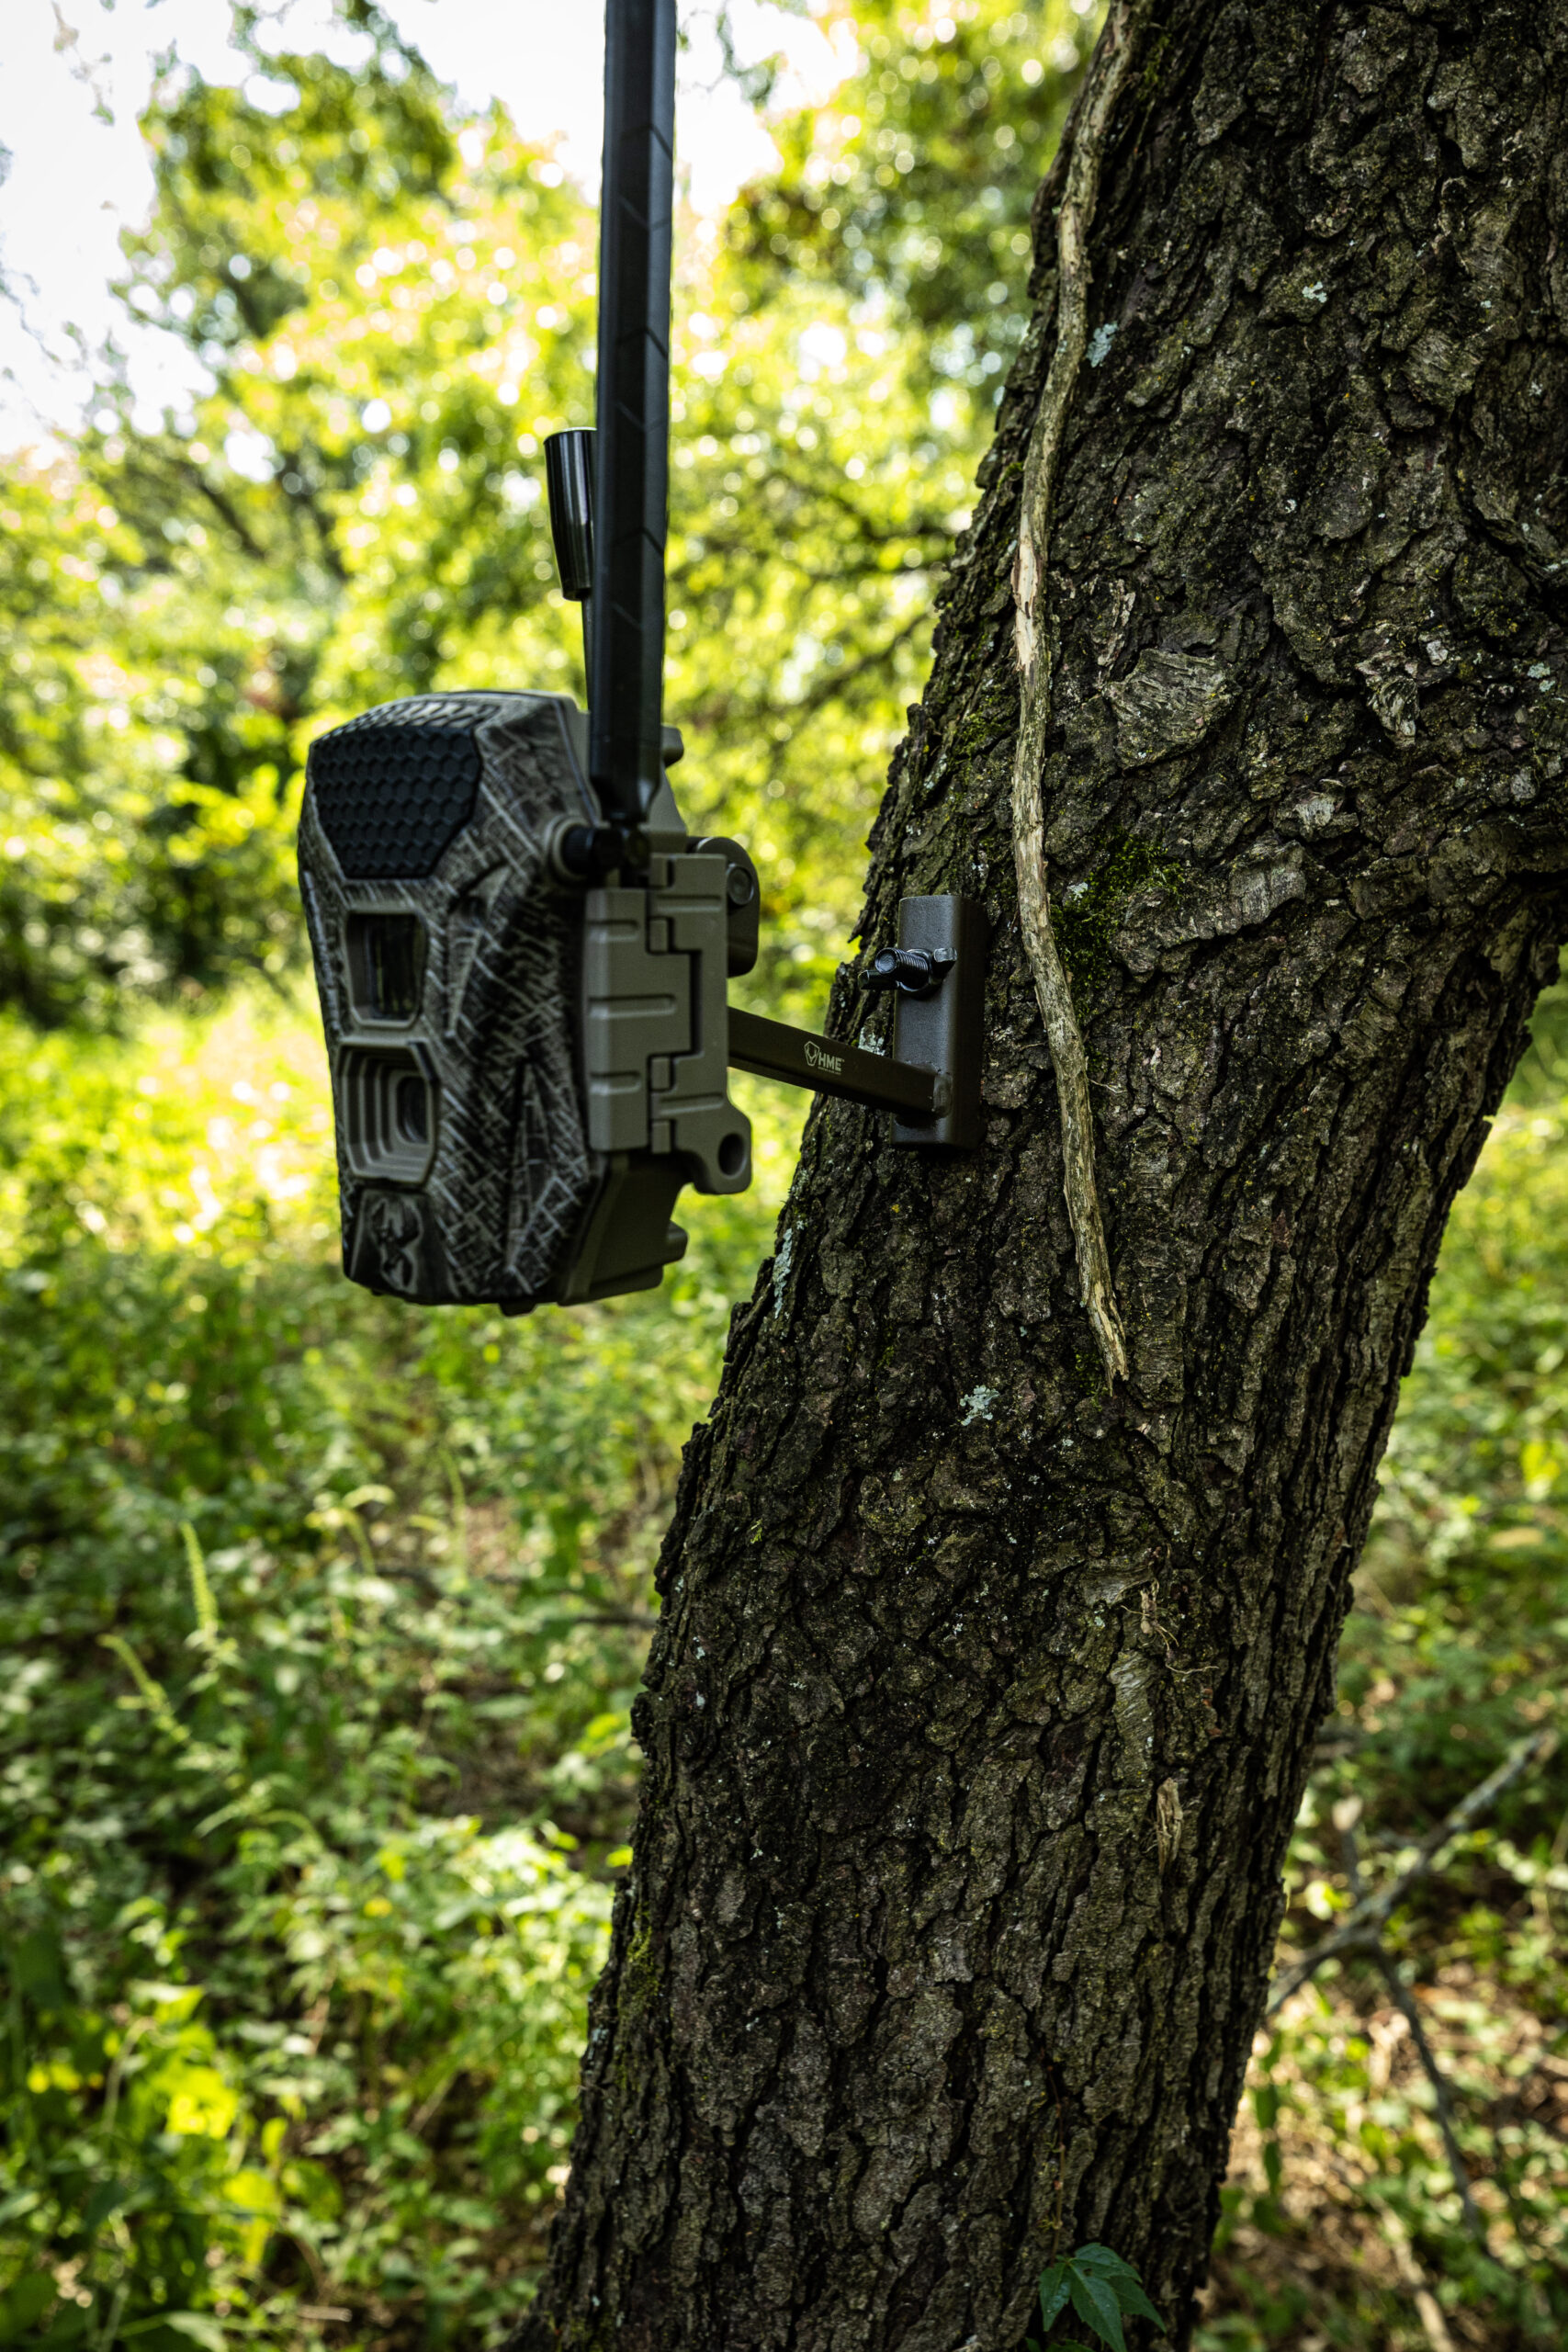
Lighting, flash options, and night image tips
Nighttime shots depend on flash type and placement. Choose the right option for your goals.
Flash choices and effects
- White flash: Produces color night images. Best for ID but may spook wildlife.
- Infrared low-glow: Good for stealth and minimal disturbance. Produces greyscale images.
- No-glow IR: Nearly invisible to animals; sometimes less range and lower detail.
- External flashes: Add range and clarity, but need power and weather protection.
Night tips
- Avoid aiming at reflective surfaces. Wet leaves and eyes can cause glare.
- Use a slightly closer placement or lower lens height at night to get better detail.
- Clean the IR window regularly to prevent dim images.
How to get better images from trail camera at night
- Match flash type to your goals: color vs stealth.
- Use external flash if you need range and sharpness.
- Test night shots before leaving the site.
Scene setup and attractants without ruining the shot
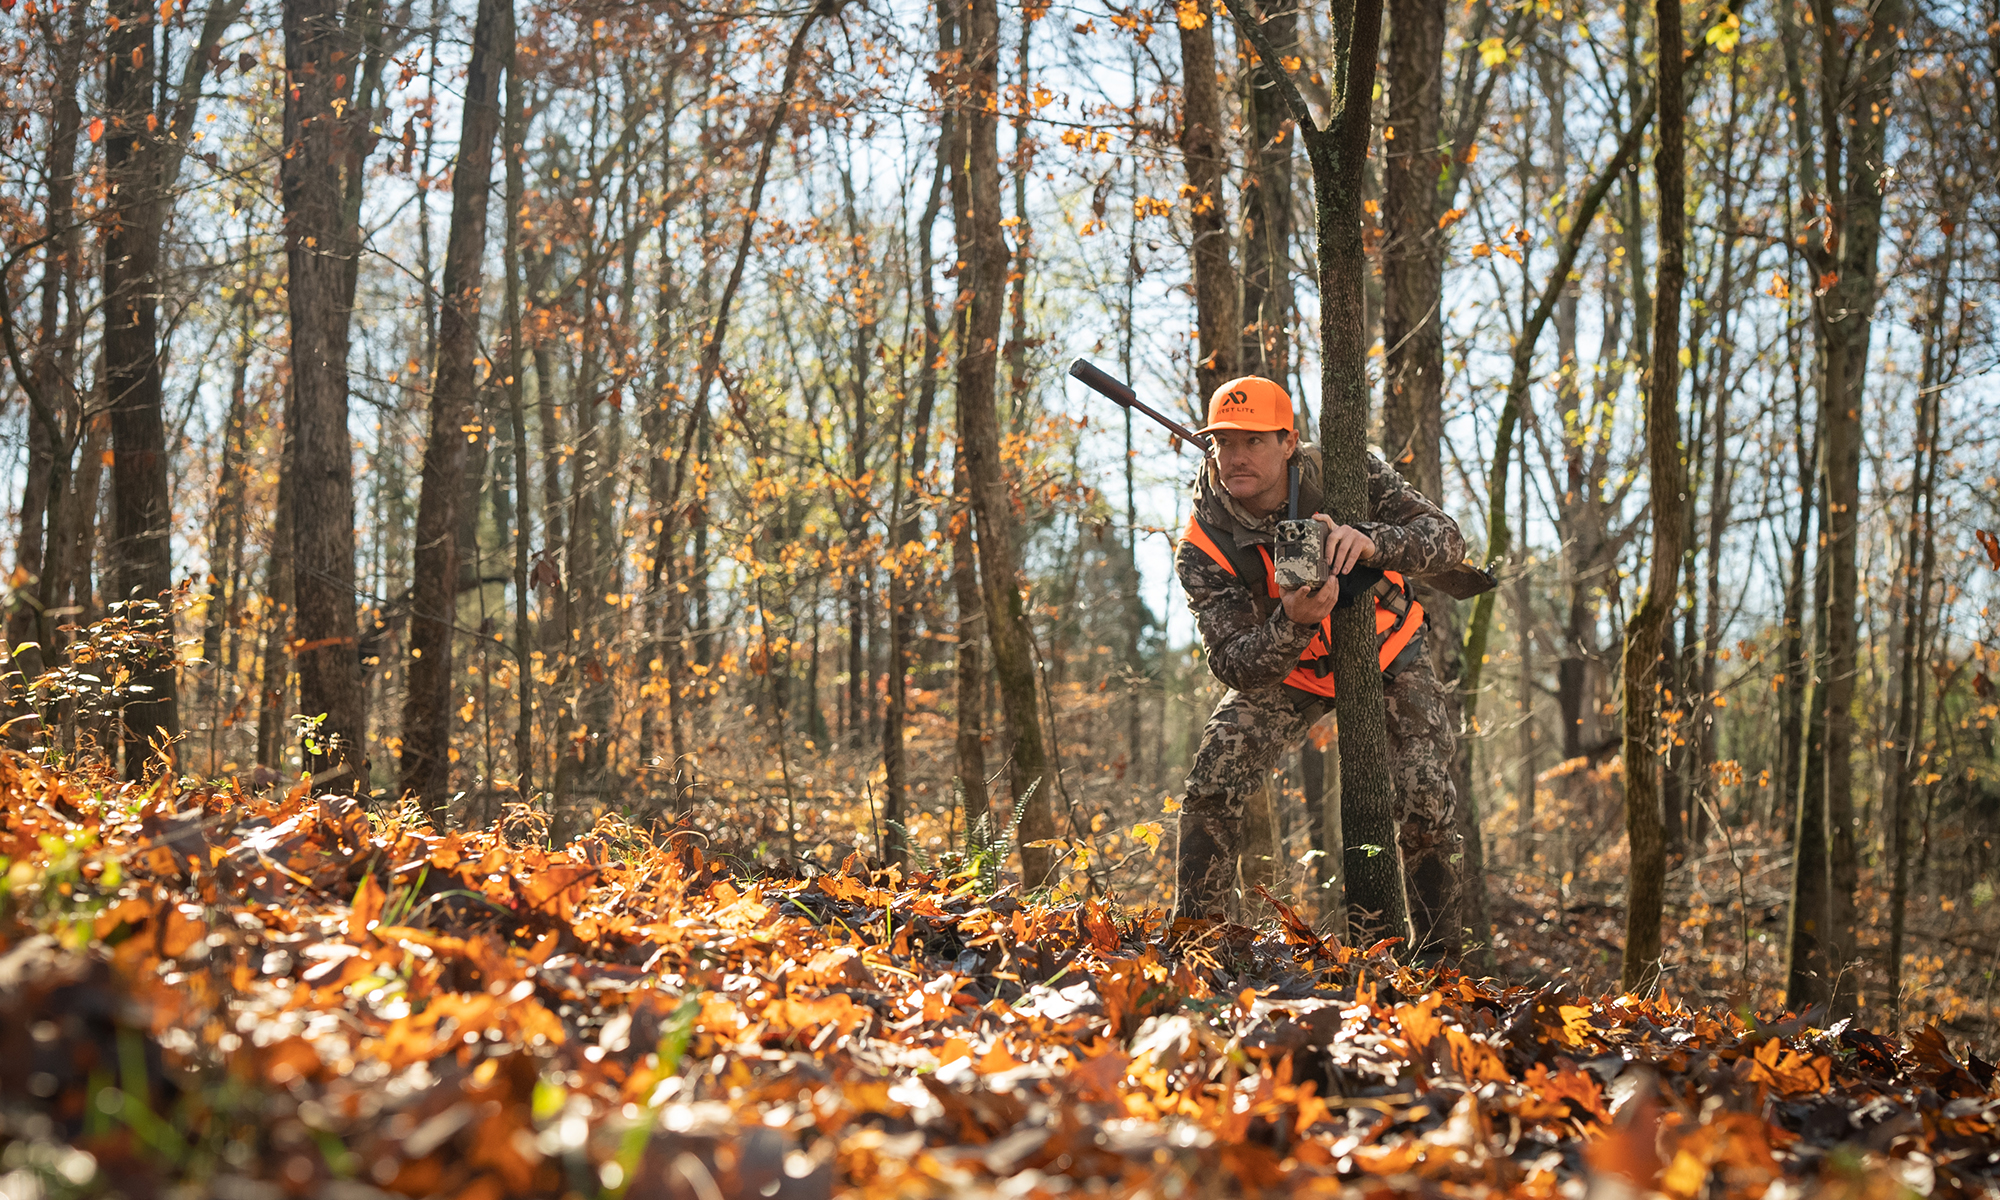
A tidy scene focuses attention on the animal. Good setup increases crisp, meaningful photos.
Scene setup tips
- Clear foreground clutter so the subject is visible.
- Create a focal point: salt block, natural browse, or a worn game trail.
- Avoid placing attractants too close to the camera lens. Aim for 8–15 feet for best focus.
- Use natural lanes and funnels where animals must pass predictably.
Ethical and legal note
- Check local rules about baiting or using attractants. Respect wildlife and private property.
Personal insight: I used natural browse and removed nearby twigs. My images looked more professional and showed full animal profiles.
Maintenance, testing, and post-processing
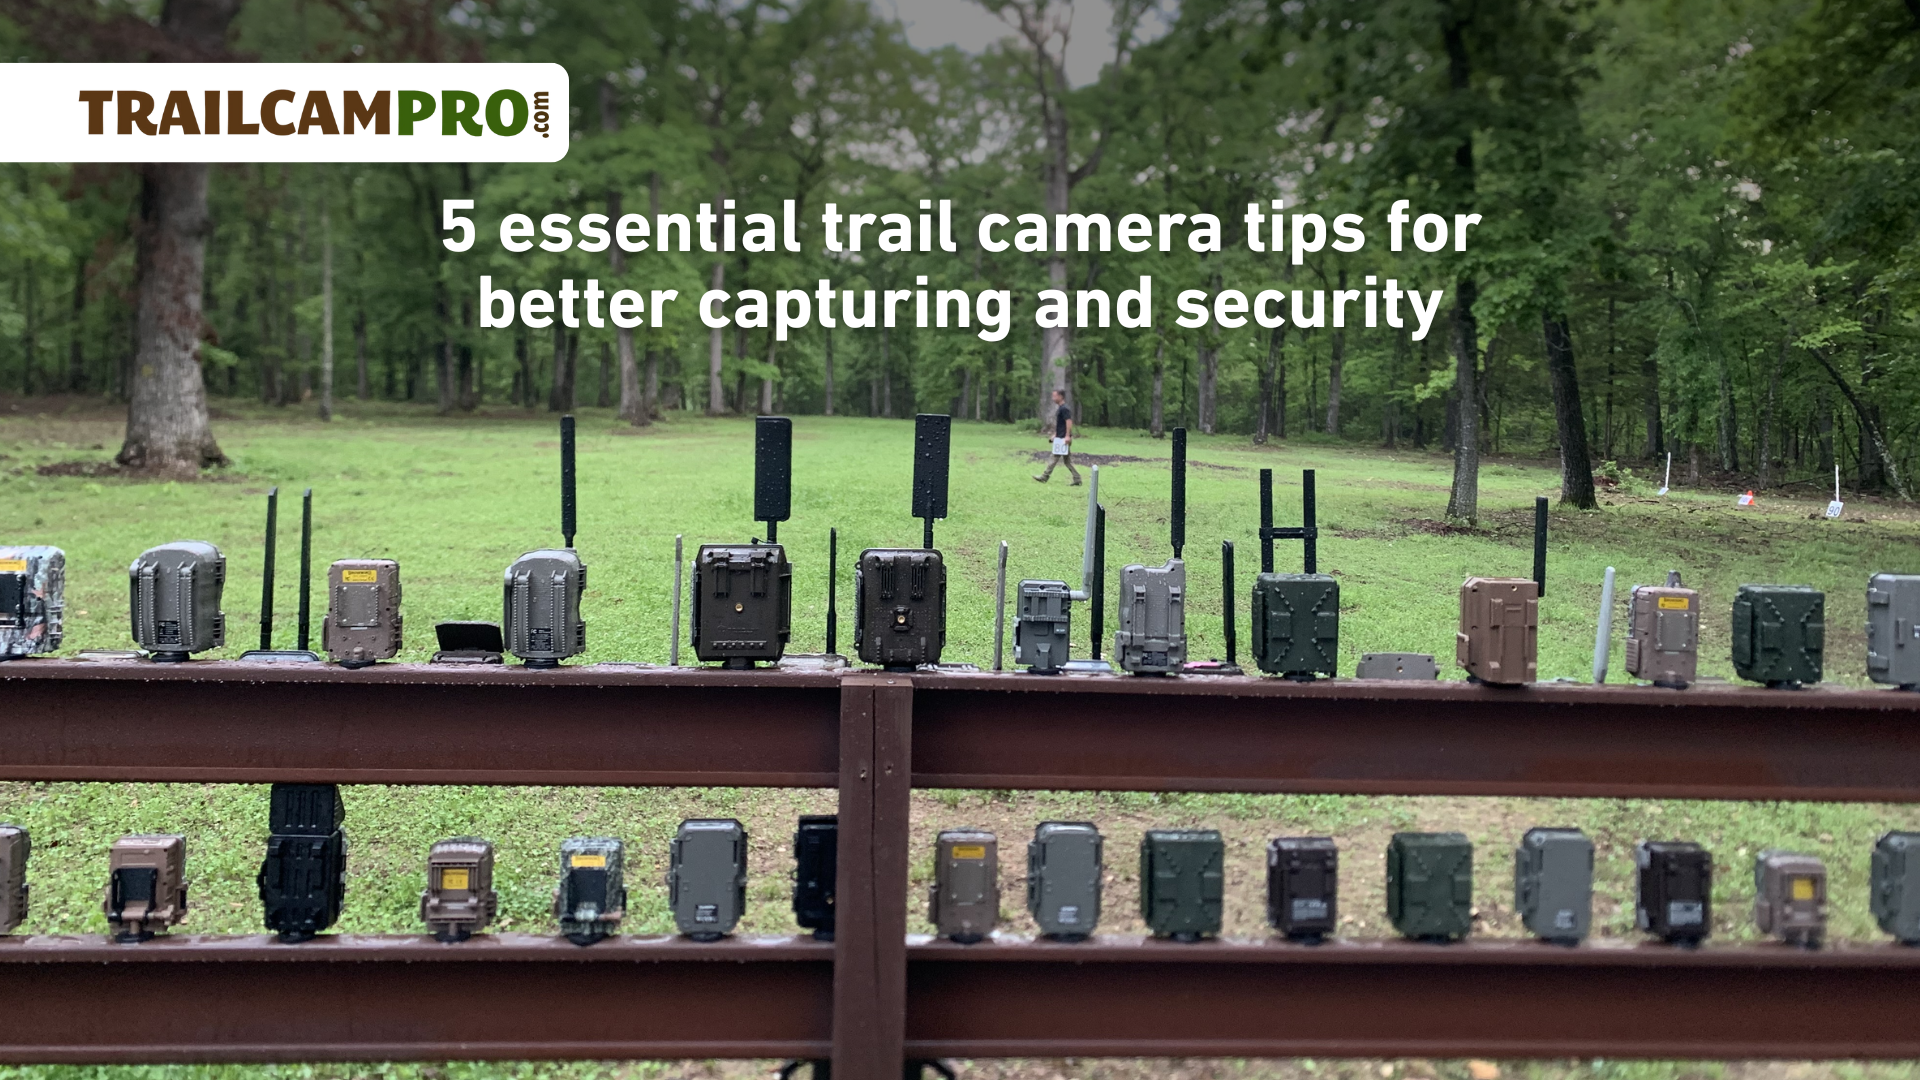
Good habits keep cameras working and images sharp.
Pre-deploy checklist
- Clean lens and IR window.
- Format the memory card in the camera.
- Install fresh batteries or a solar kit.
- Update camera firmware.
On-site testing
- Do a test shot to check framing and exposure.
- Walk past the camera to test trigger and range.
- Note sun angles and expected animal paths.
Post-processing tips
- Use light edits to crop and adjust exposure.
- Avoid heavy sharpening that creates artifacts.
- Archive raw images and keep a naming system.
I learned the hard way: a dusty IR window looked like poor night sensitivity. A quick cleaning fixed dozens of “bad” photos.
Troubleshooting common image problems
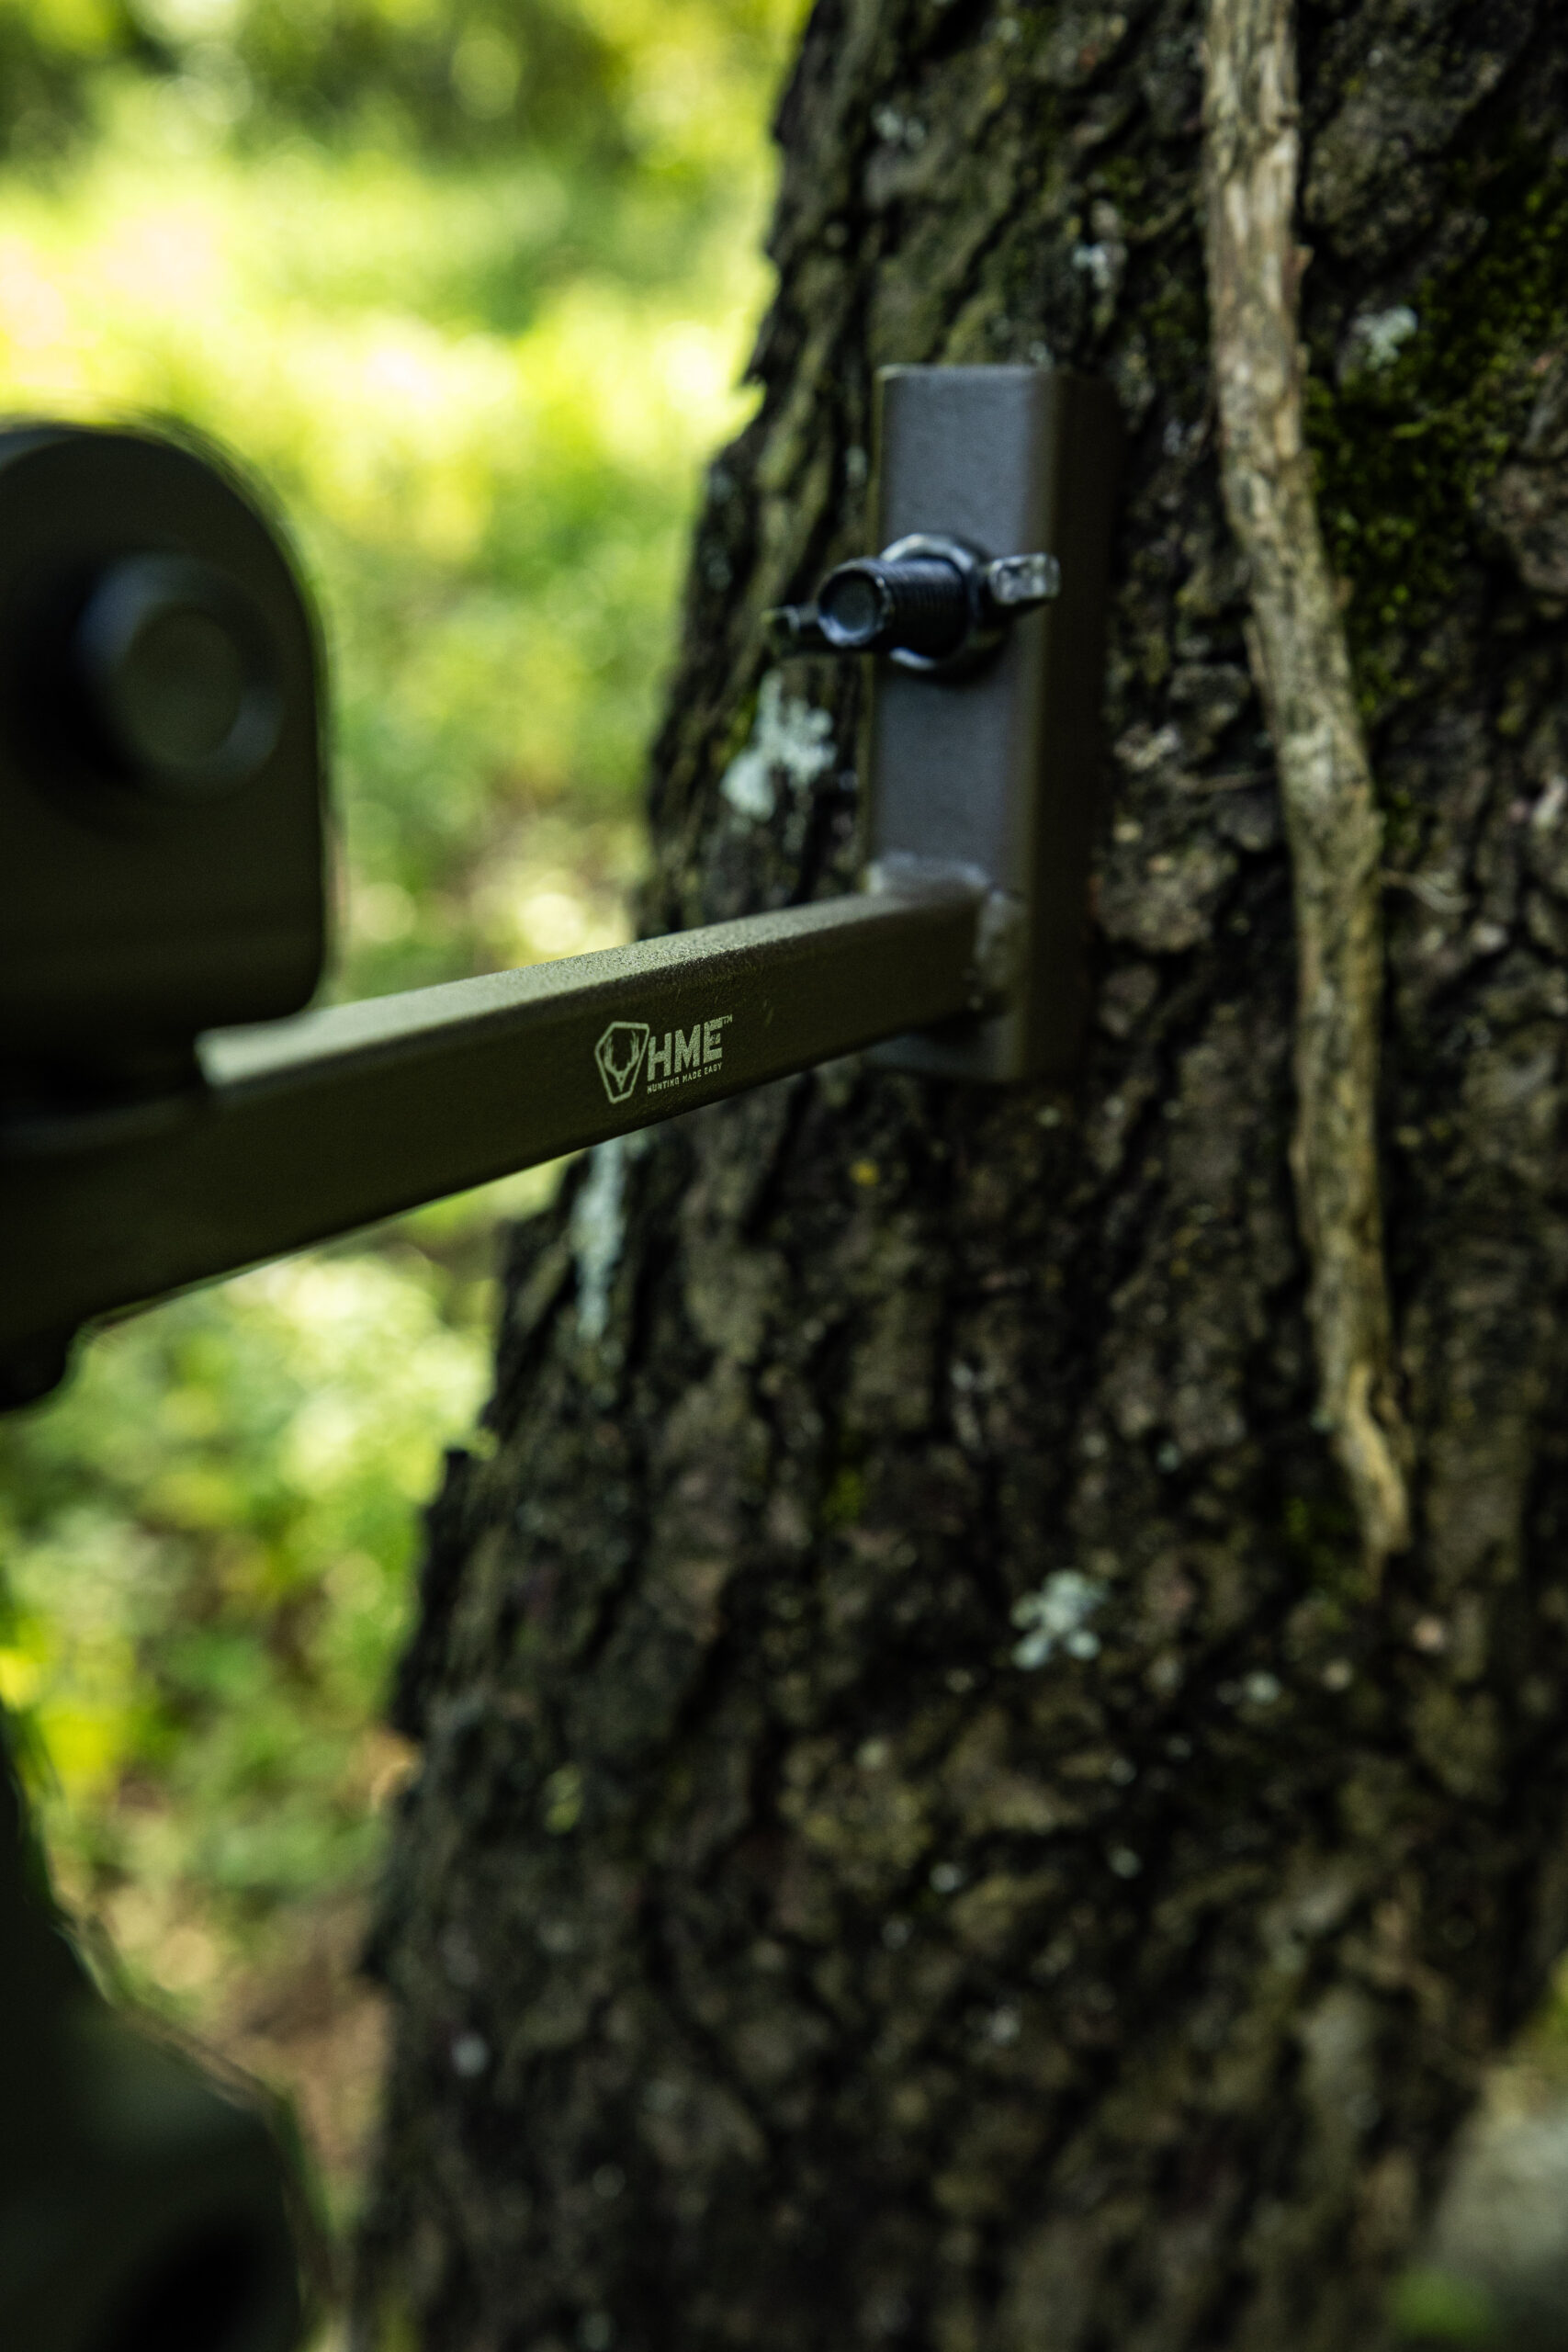
Problem-solving is mostly process and patience. Try one fix at a time.
Blurred or soft images
- Cause: Motion blur, slow trigger, or wrong focus distance.
- Fix: Use burst mode, move camera closer, or get a faster camera.
Overexposed or bright images
- Cause: Sun behind subject or reflective surfaces.
- Fix: Reposition camera or adjust exposure settings.
Backscatter or bright spots at night
- Cause: Rain, snow, or dust near flash.
- Fix: Move camera slightly, add a hood, or reduce flash power.
False triggers and empty frames
- Cause: Moving vegetation or insects on the lens.
- Fix: Trim brush, lower sensitivity, or add a mesh to keep bugs out.
Condensation or fogging
- Cause: Temperature swings and poor sealing.
- Fix: Use silica packs, ensure proper sealing, and choose a camera with good weather rating.
Frequently Asked Questions of how to get better images from trail camera
How close should my trail camera be to the animal?
Aim for 8 to 15 feet for best focus and detail. Move closer for small animals and farther for larger subjects.
Should I use white flash or infrared for night images?
Use white flash for color and identification. Use infrared for stealth and to avoid spooking animals.
How often should I check and maintain my trail camera?
Check every 2–4 weeks in active seasons. Clean lens, check batteries, and test settings each visit.
Will higher megapixels always give better images?
Not always. Sensor size, lens quality, and processing matter more than megapixel count alone.
How do I reduce false triggers from wind and brush?
Lower PIR sensitivity, trim nearby vegetation, and use burst mode with a slight delay to avoid repeated triggers.
Can editing improve poor trail camera photos?
Minor edits help. Correct exposure and crop for composition. Heavy edits cannot fix extreme blur or low resolution.
What causes cloudy night images and how to fix it?
Cloudy images often come from dirty IR window or condensation. Clean the window, add silica packs, and ensure a tight seal.
Conclusion
You can markedly improve your trail photos with thoughtful camera choice, precise placement, and simple settings. Test, tweak, and maintain your gear. Start with one camera and apply these tips to learn what works on your land.
Take action: pick one tip from this guide and try it on your next trip. Share your results, subscribe for updates, or leave a comment with a photo or question.
As an Amazon Associate, I earn from Qualifying Purchases.