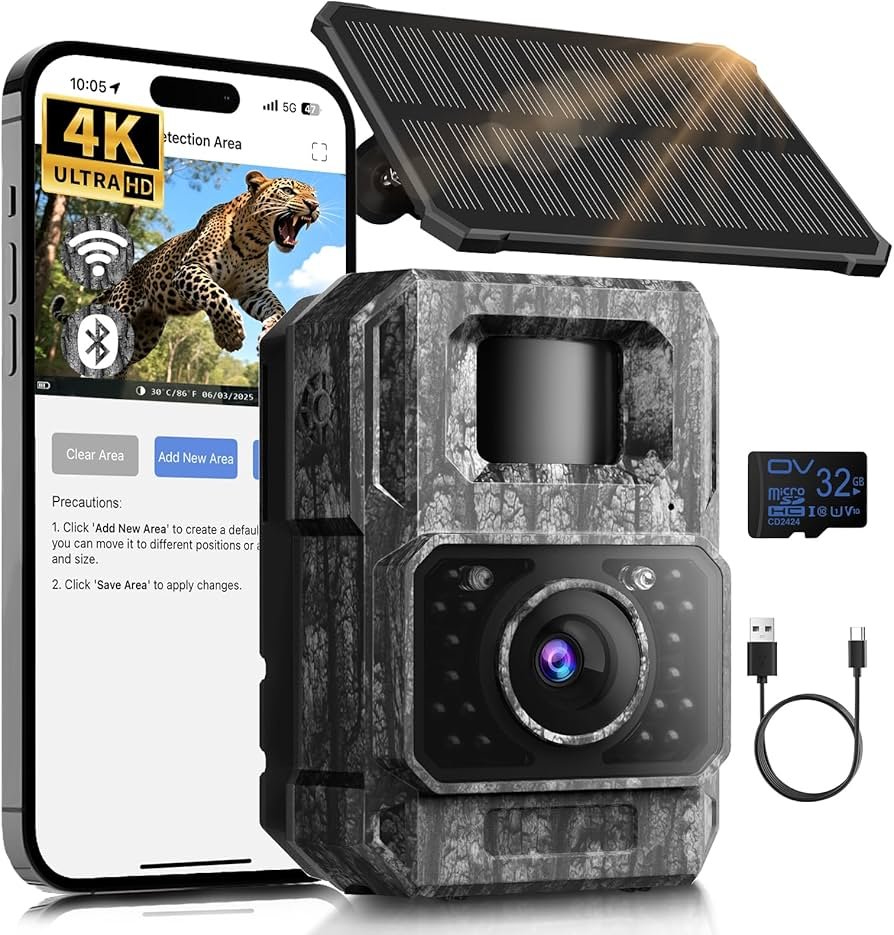
Use proper IR, fast trigger, solid mount, and correct settings for sharp night photos.
I’ve spent years testing trail cameras in forests, fields, and near ponds to learn how to get clear pictures from trail camera at night. I know which gear and settings matter. This guide explains what works, why it works, and how to set up your camera step by step so you can get crisp night images consistently.
Why night photos from trail cameras get blurry
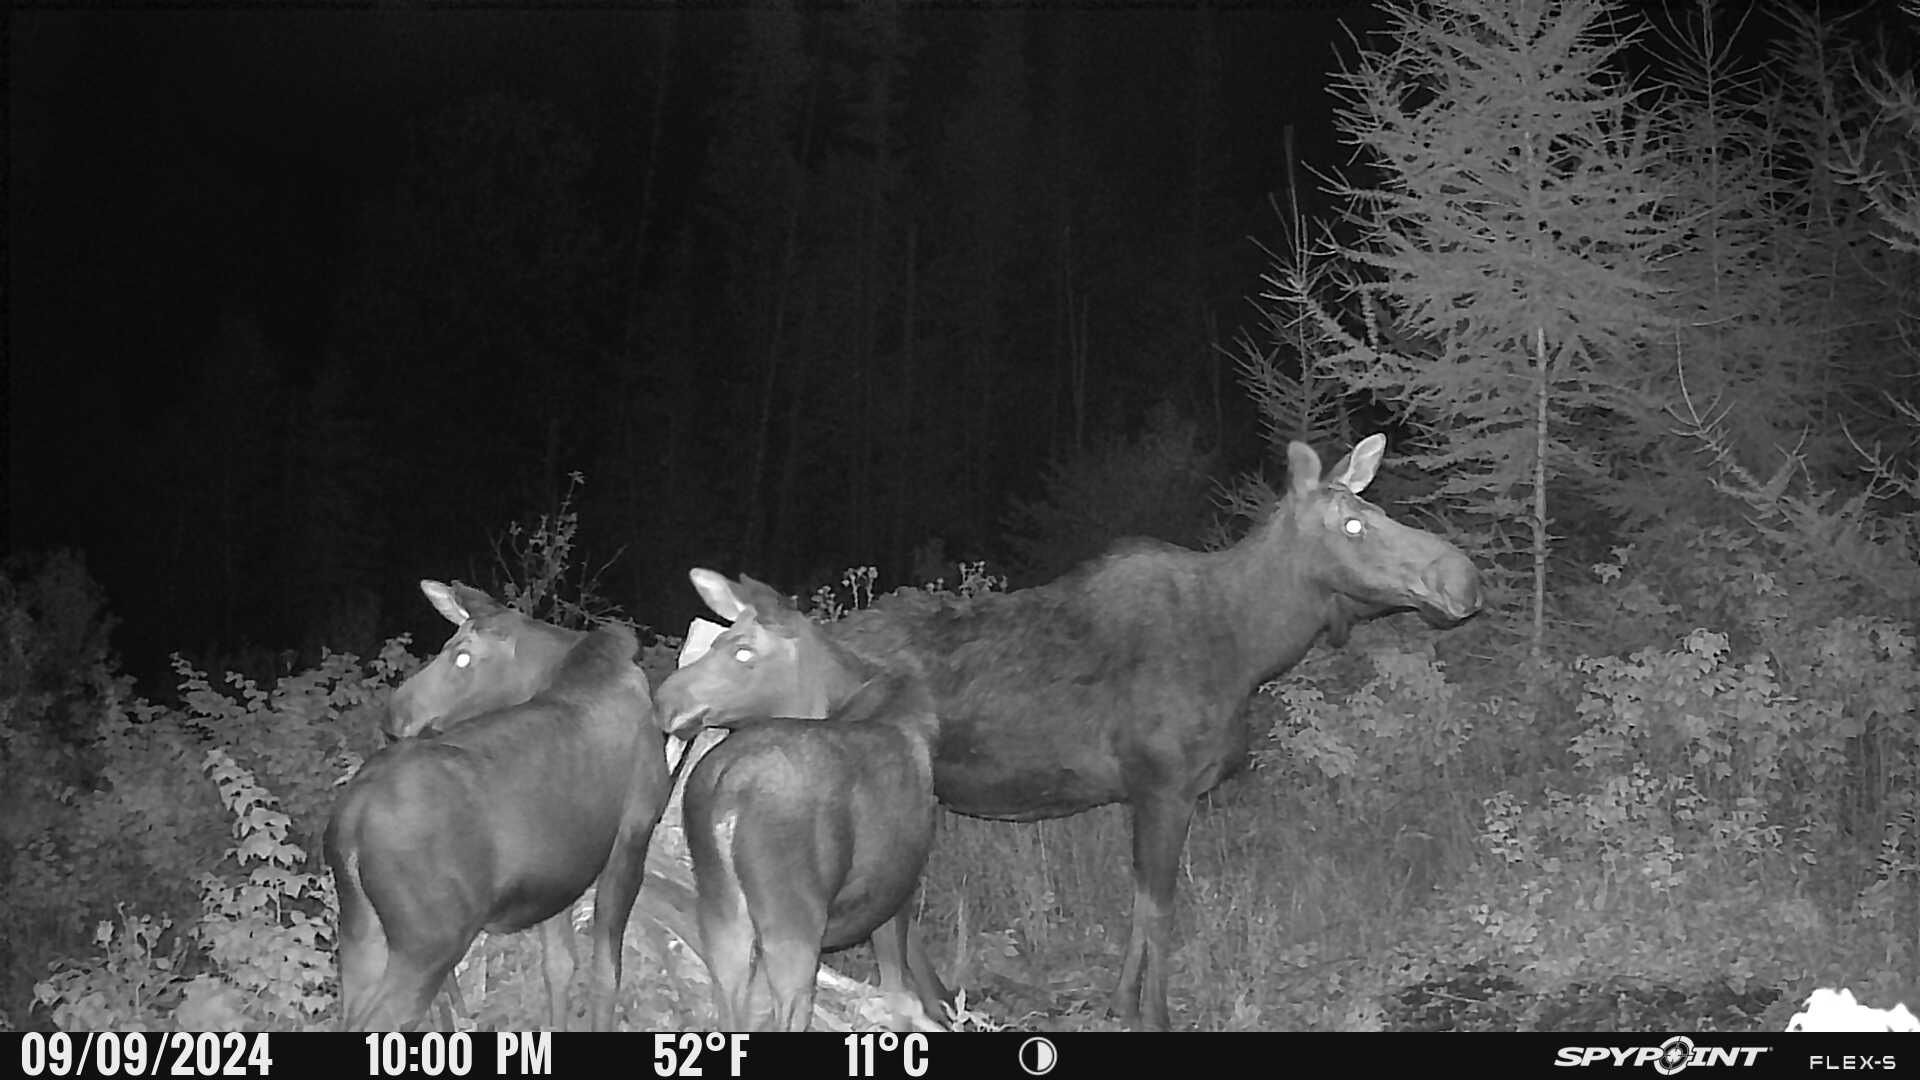
Night photos often blur for simple reasons. Low light forces the camera to use longer exposures. Motion then creates blur. Infrared glow can bloom and wash out detail. Wrong mounting and slow trigger speed add to the problem. I’ve seen all of these issues firsthand while testing cams around deer trails.
Common causes include:
- Low light and long shutter time that causes motion blur.
- Slow trigger speed so the animal moves before the shot.
- Lens smudges, condensation, or debris near the lens.
- Excessive infrared reflection off vegetation or eyes.
- Weak batteries that slow camera electronics.
Understanding these causes is the first step to knowing how to get clear pictures from trail camera at night. Fix one issue at a time and you’ll see steady improvement.

Choose the right camera and settings
Pick a camera with features that match your goals. Not every camera shines at night.
Key specs to target:
- Fast trigger speed. Aim for 0.2–0.5 seconds or faster.
- Short recovery time so the camera can take multiple shots quickly.
- Good low-light sensor or black/white night mode with strong IR.
- Adjustable sensitivity and image size for balance of detail and speed.
- No-glow or low-glow IR for stealth, or white flash for color night shots.
Settings to try:
- Set high resolution for still clarity, but avoid max size if it slows trigger.
- Use burst mode: 2–3 photos per trigger improves the chance of a sharp frame.
- Lower detection sensitivity if you get false triggers from grass. Then raise trigger speed.
- Use “night” or “infrared” modes recommended by the camera maker.
Choosing the right gear is a core part of how to get clear pictures from trail camera at night. If possible, test settings in a controlled spot before you deploy.
Optimal placement and mounting tips
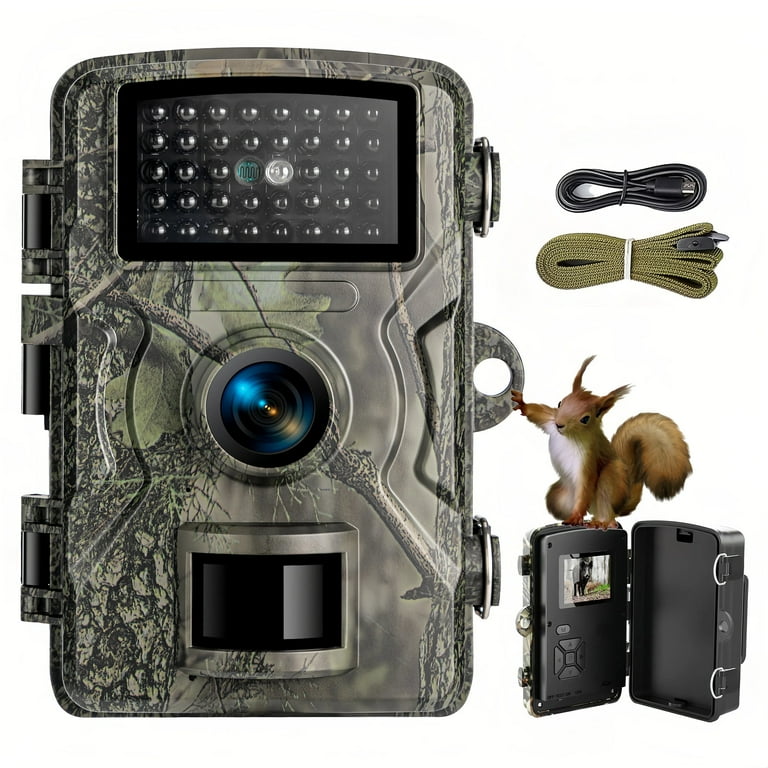
Where and how you mount the camera matters as much as the camera itself.
Placement rules I follow:
- Mount at chest height for deer and at 18–24 inches for small animals.
- Aim the camera parallel to the trail, not directly across it, to reduce motion blur.
- Avoid pointing into the sky or a reflective surface like water.
- Keep camera 10–30 feet from the usual animal path; this keeps animals in focus.
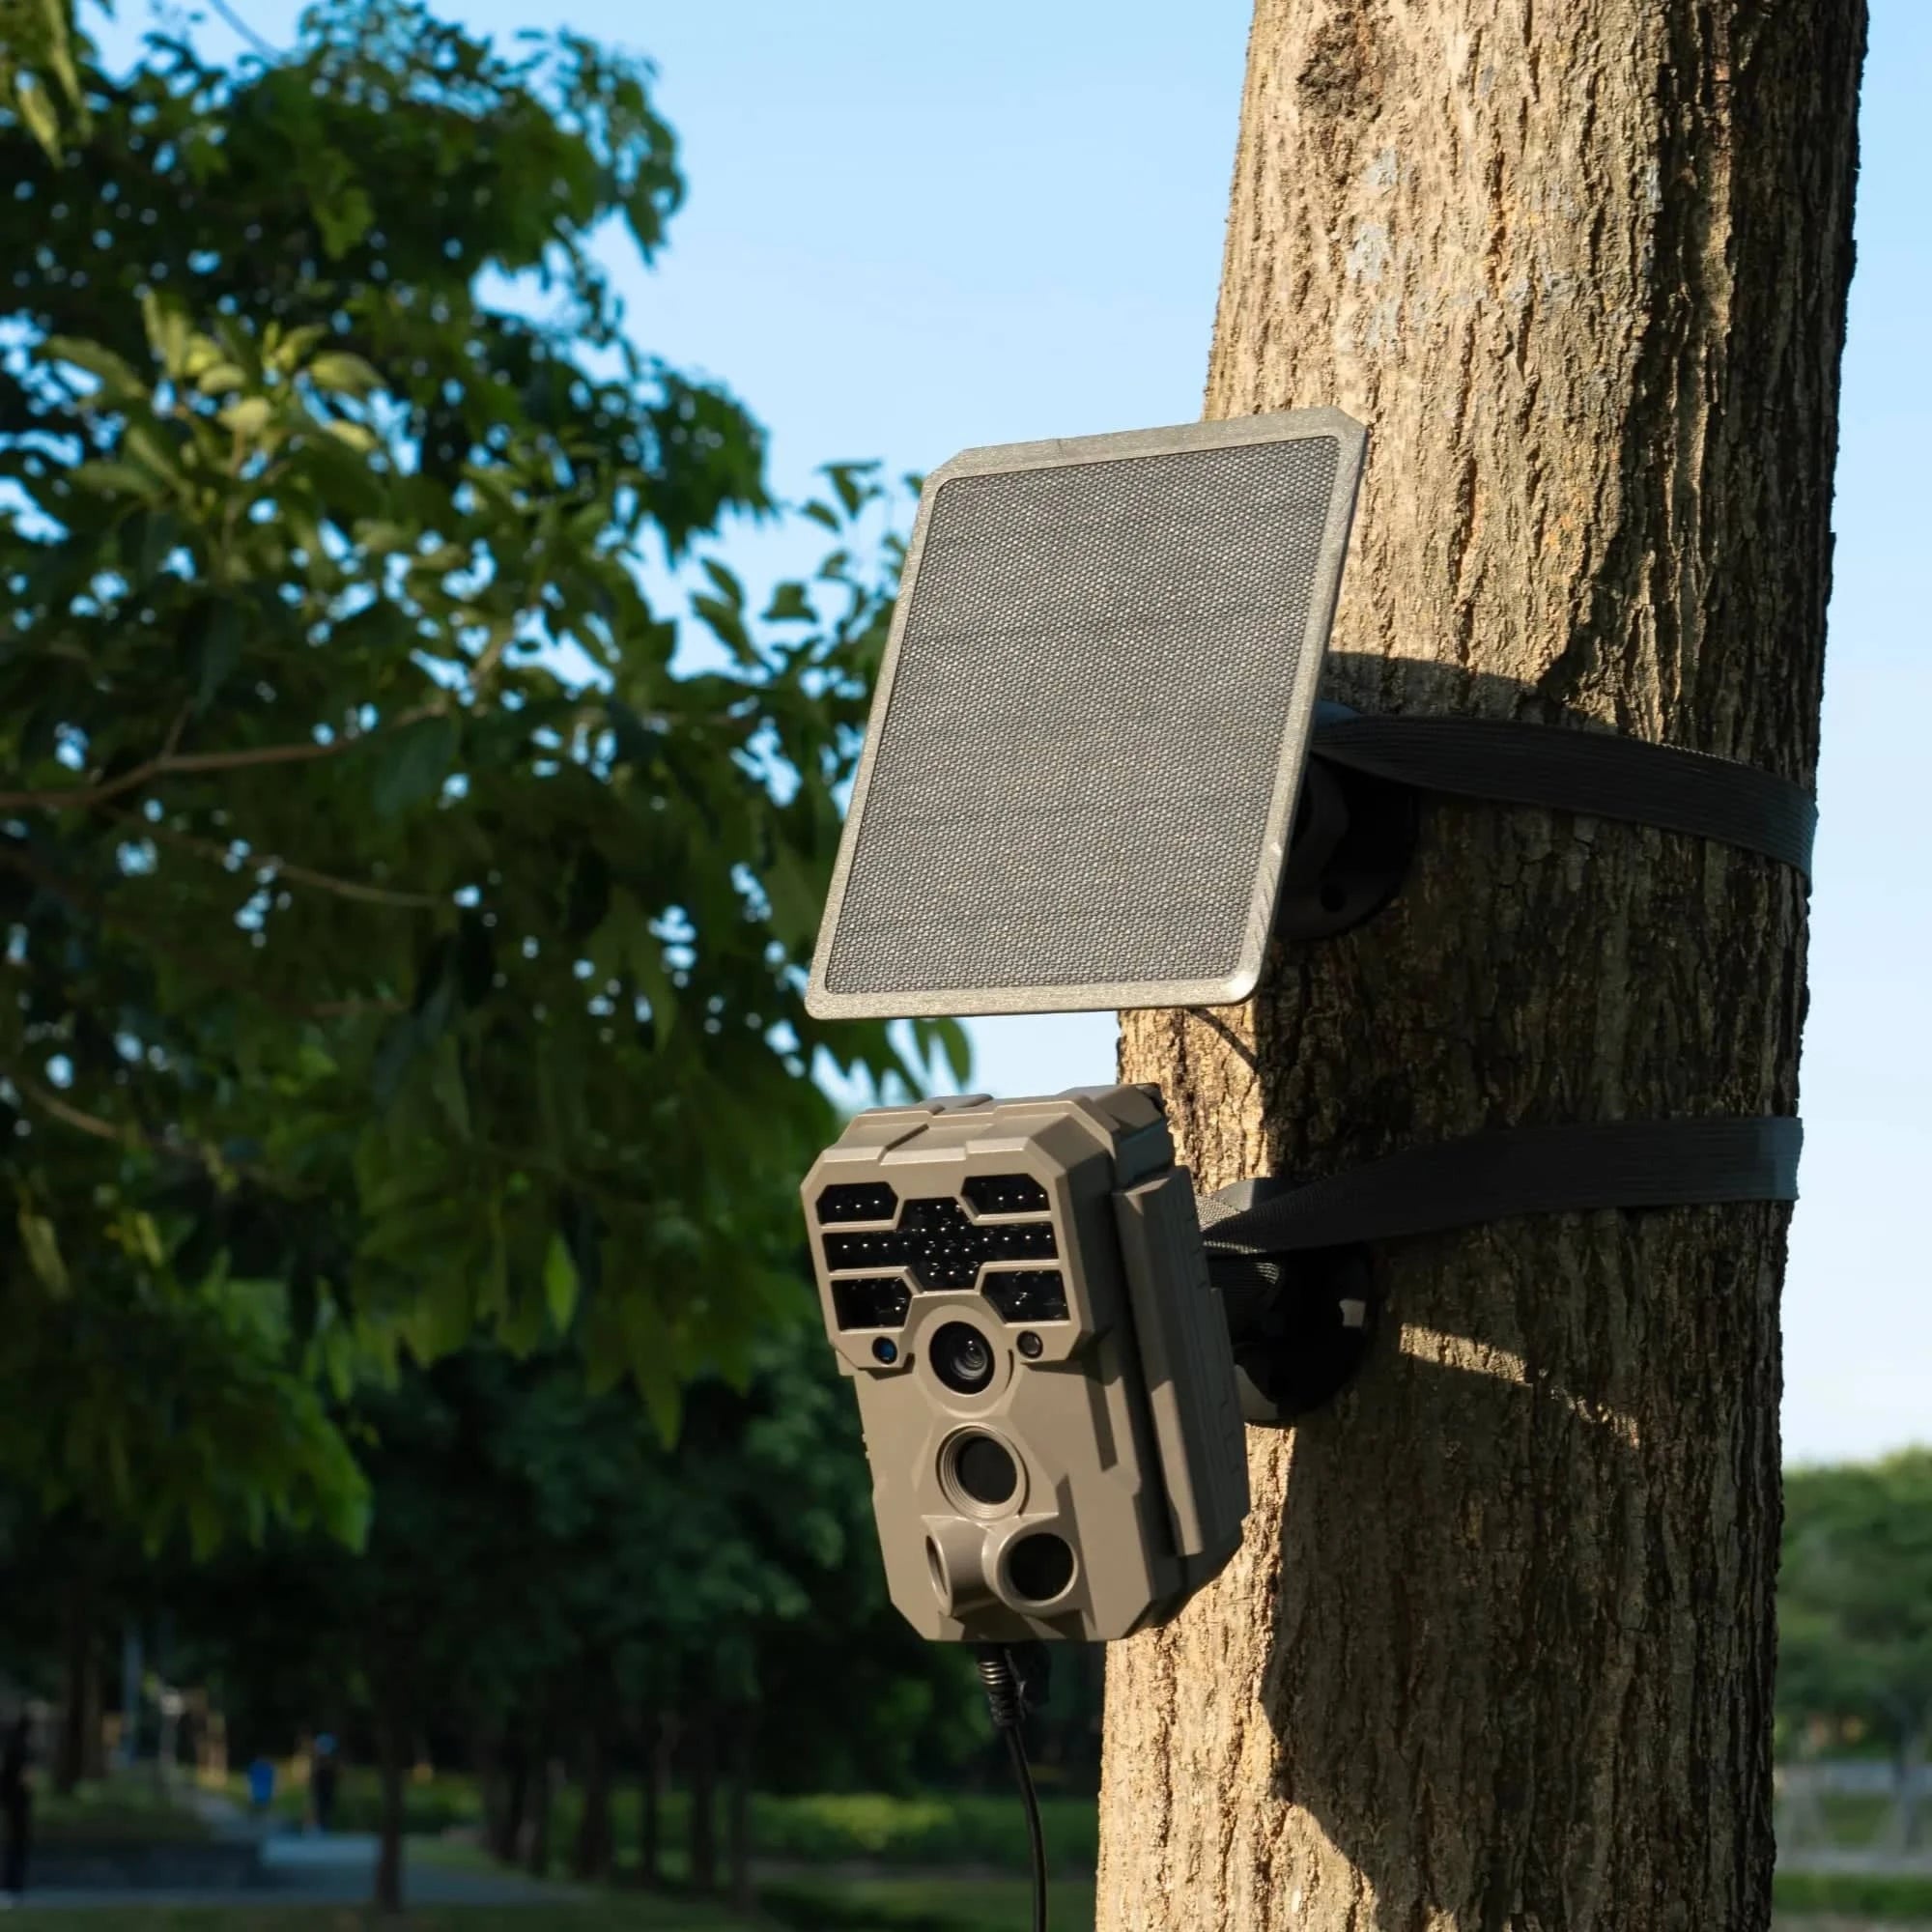
- Use a stable mount or strap and avoid flexible tree straps that swing in wind.
Mounting details that help:
- Level the camera so the horizon is straight. A tilted frame can look blurrier.
- Trim back vegetation in front to prevent IR reflection and false triggers.
- Clean the lens before and after mounting. I learned this the hard way after a rainy night ruined a whole set of shots.
Placement best practices are central to learning how to get clear pictures from trail camera at night. Good position reduces motion and reflection issues.

Use proper lighting and IR choices
Night lighting choices change image style and clarity.
IR and flash options:
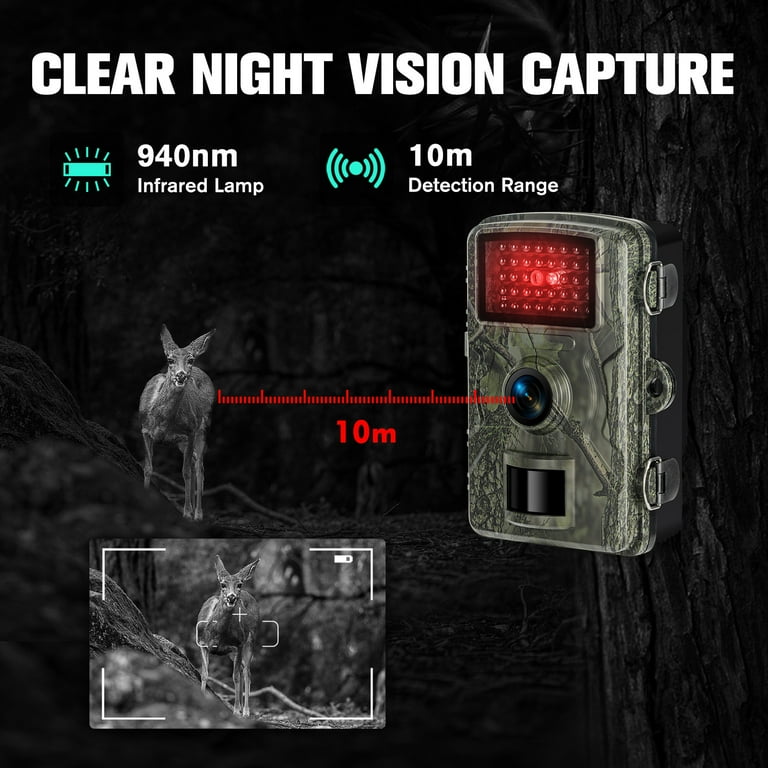
- No-glow IR is stealthy but can be weaker at range. Use when you want no flash visible to animals.
- Low-glow IR is a middle ground with more range.
- White flash gives color night photos but can scare game and cause reflective glare near the lens.
- Add an external IR illuminator if your camera struggles at the desired range.
Lighting tips:
- Match IR power to distance. Too much IR close to the lens causes overexposure.
- Avoid placing the camera too close to shiny surfaces that reflect IR.
- Test with an assistant walking at the typical path distance to see exposure and detail.
Choosing the right light and flash is a core step in how to get clear pictures from trail camera at night. Adjust power and placement until the image looks natural.
Optimize motion detection and trigger behavior
Motion settings control when and how the camera fires.
Tune these settings:
- Trigger speed: faster is better to freeze motion.
- Burst count: 2–5 photos increases your odds of a clear shot.
- Lapse or delay: set a short recovery time if animals pass quickly.
- Sensitivity: lower when foliage moves; raise when you need long-range detection.
Practical tips:
- Use multiple shots per trigger to capture a crisp image in the sequence.
- Avoid long video modes at night if your camera uses slow shutter speeds for video.
- Test with a moving person at night. You’ll see which settings capture motion clearly.
These steps directly influence how to get clear pictures from trail camera at night because they reduce motion blur and missed frames.

Weather, battery, and seasonal effects
Weather and power affect image clarity a lot.
What to watch for:
- Cold reduces battery output and may slow camera electronics or IR output.
- Condensation on the lens blurs images. Use silica gel packs and place the camera slightly tilted to shed water.
- Rain and fog scatter IR and make images soft.
- Leaves, snow, and seasonal background changes can change detection needs quickly.
Mitigation tips:
- Use lithium batteries in cold weather for longer life and consistent power.
- Check cameras after storms for water entry and clean lenses.
- Adjust sensitivity seasonally and after storms.
Managing these factors helps with how to get clear pictures from trail camera at night through consistent performance.
Post-processing tips for clearer night images
Small edits can make the sharpest difference.
Easy fixes I use:
- Apply gentle noise reduction to reduce grain without removing detail.
- Increase local contrast or clarity to bring out subjects.
- Crop to improve composition and perceived sharpness.
- Adjust exposure and shadows to reveal hidden detail.
Tools and workflow:
- Use simple photo editors or camera software designed for wildlife shots.
- Save original files and edit copies.
- Don’t over-sharpen; it creates halos and artifacts.
Post-processing supports how to get clear pictures from trail camera at night after your setup has done most of the work.

Common mistakes to avoid
Avoid these traps to get better night images quickly.
Frequent errors:
- Mounting the camera too close to the trail so animals move out of focus.
- Relying on low batteries or cheap SD cards that corrupt files.
- Leaving foliage in front that glows under IR.
- Using white flash where stealth is required and it scares wildlife.
Fix these and you’ll improve how to get clear pictures from trail camera at night fast.

Frequently Asked Questions of how to get clear pictures from trail camera at night
How important is trigger speed for night photos?
Trigger speed is very important. Faster triggers capture motion with less blur, so choose a camera with a fast response time.
Should I use white flash or IR for night shots?
Use IR for stealth and white flash for color images. White flash gives better detail at short range but can spook animals.
How far should my trail camera be from the trail?
Typically place cameras 10–30 feet from the animal path. This gives good focus and reduces the chance of close-range IR washout.
Can I improve night images with editing?
Yes. Gentle noise reduction, contrast, and exposure tweaks can reveal more detail without adding artifacts.
Do batteries affect night image quality?
Yes. Weak batteries can reduce IR output and slow the camera. Use fresh lithium batteries in cold conditions.
How do I prevent condensation and water blur?
Use silica gel, check seals, and mount with a slight downward tilt. Inspect after heavy rain to avoid lens fogging.
Conclusion
You can get clear pictures from trail camera at night by matching the right camera to your needs, using fast trigger settings, mounting carefully, controlling IR and lighting, and handling weather and batteries properly. Test your setup, make small adjustments, and review images often. Start with one camera and refine settings on site for the best results. Try these tips this week, share your results, and leave a comment with your questions or experiences.
As an Amazon Associate, I earn from Qualifying Purchases.