Choose a durable, high-resolution, long-battery-life trail camera with fast trigger and strong night IR.
I have spent years testing trail cameras on hunts, scouting camps, and remote sites. This guide explains how to select trail camera for hunting in plain terms. I blend hands-on experience with product testing insight so you can pick the right camera fast. Read on to learn features, placement tips, mistakes to avoid, and real-world advice you can use tomorrow.
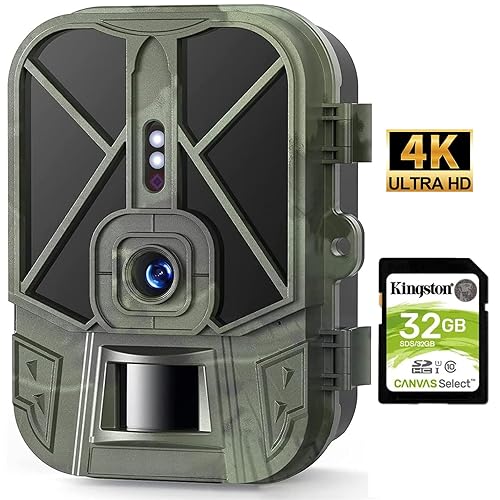
Why the right trail camera matters
Picking the right gear changes your hunt. A good camera gives clear images. It saves time and reveals animal habits. Learning how to select trail camera for hunting cuts guesswork and helps you plan smarter hunts.
Trail cameras do more than take photos. They record time, date, and sometimes weather. They tell you what species move where and when. Use that data to choose stands, trails, and ambush times.
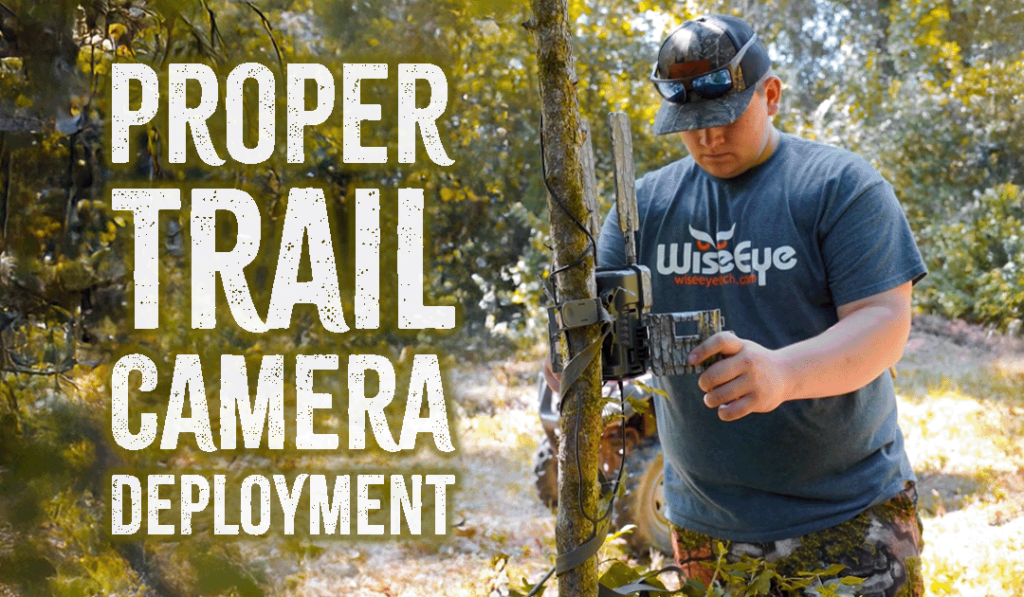
Key features to consider when learning how to select trail camera for hunting
When you decide how to select trail camera for hunting, focus on core features. Pick features that match your goals. Below are the must-check specs.
- Resolution and image quality
- Look for at least 12 MP for clear stills. Higher megapixels help crop photos without losing detail.
- For video, pick 1080p or higher if you plan to study behavior.
- Trigger speed and recovery time
- Trigger speed under 0.5 seconds catches fast deer. Faster triggers reduce missed shots.
- Recovery time under 1.5 seconds helps when multiple animals pass quickly.
- Detection range and angle
- Detection of 40 feet or more is common. Wider detection angles catch more side movement.
- Balance range and sensitivity to avoid false triggers.
- Flash type: black flash vs. visible flash
- No-glow or black IR is stealthy and won’t spook game at night.
- Low-glow is cheaper but can sometimes alert wary animals.
- Battery life and power options
- Alkaline batteries drain fast in cold. Use lithium for long life in winter.
- Some cameras accept external batteries or solar panels for extended deployments.
- Storage and memory
- Use class 10 SD cards and swap them often. Many models support large cards up to 512 GB.
- Look for overwrite modes and file stamping for easier sorting.
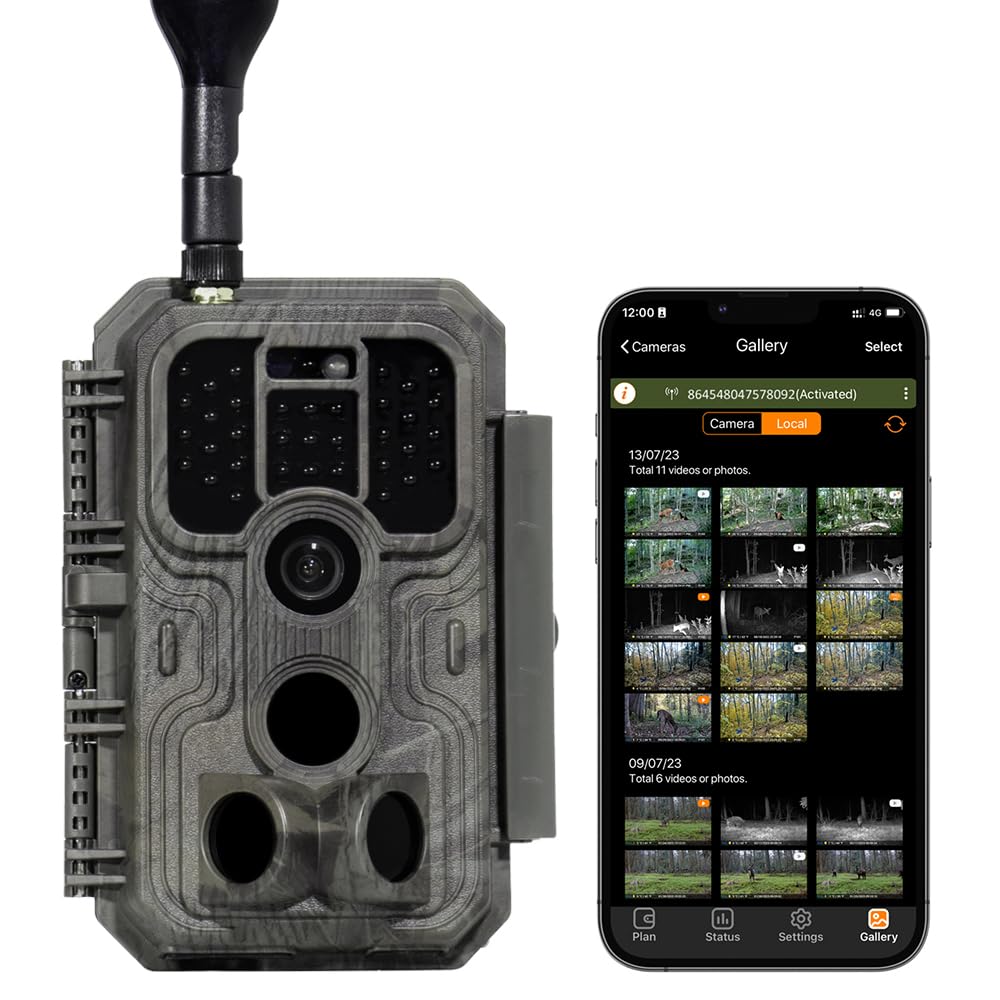
- Connectivity: cellular vs. Wi-Fi vs. none
- Cellular lets you get images quickly but costs more and needs signal.
- Wi-Fi works for nearby checks. No connectivity is best for stealth and battery life.
- Durability and weather sealing
- Cameras must be rated for wet, cold, and heat. Metal shells last longer in rough areas.
- Look for good seals and rust-resistant hardware.
I recommend matching features to your hunting goals. If you do long-term scouting, focus on battery and storage. If you need instant feedback, prioritize cellular models. That is the core of how to select trail camera for hunting.
Choosing by hunting style and location
Your hunt type shapes the camera choice. Think about terrain, target species, and time of year.
- Stand hunting and pressure
– Use low-glow or no-glow cameras near stands to avoid spooking deer.- Place cameras off well-used trails to monitor bedding and travel corridors.
- Public land and heavy pressure
- Go stealthy. Avoid visible straps and big mounts. Use camouflage and lockboxes.
- Deep woods vs open fields
- In thick cover use shorter detection ranges and narrow angles.
- In open fields prefer long-range detection and high resolution.
- Seasonal considerations
- Cold months need lithium batteries. Hot, humid months need well-sealed housings.
- Rut time calls for fast trigger and short recovery to capture chase scenes.
When you practice how to select trail camera for hunting, write down the typical conditions you face. Match camera specs to that short list. This stops you buying bells you won’t use.
Setup, placement, and testing
A good camera placed poorly still fails. Setup matters as much as specs when you learn how to select trail camera for hunting.
- Mount height and angle
- Mount at 3–4 feet for deer. Angle slightly down for clearer faces.
- Face trails at a slight angle instead of head-on to catch side profiles.
- Trail and scrape placement
- Set cameras 10–15 feet from the trail center. This keeps animals in frame.
- For scrapes, place camera 5–10 feet away to avoid spooking.
- Testing and walk tests
- Do a walk test at dusk and dawn. Check detection, framing, and trigger speed.
- Test different heights and angles until the image matches your target zone.
- Time-lapse and schedule settings
- Use time-lapse to monitor gradual change. Use schedule to preserve battery at slow times.
- Fine-tune sensitivity to reduce false positives from brush and sun.
From my experience, a day of setup and testing beats weeks of blind checking. Test each camera after deployment and keep notes. This habit will help you refine how to select trail camera for hunting next time.

Maintenance, data management, and security
Good data habits keep your scouting useful. Maintenance extends camera life and trust in the data.
- Regular checks and cleaning
- Wipe lenses, check seals, and test batteries every few weeks. Clean bird nests or webs.
- Replace worn straps and tighten mounts.
- File handling and organization
- Label cards with location and date. Use folders named by stand or trail.
- Back up images weekly. Tag photos by species and behavior.
- Theft prevention and legal checks
- Use lockboxes and security cables. Mark your kit with subtle ID.
- Check local laws about camera placement on public land. Respect privacy rules.
I once lost a camera to a flood because I ignored seals. Now I test housings in the yard before field use. Small steps like that protect your investment and data.
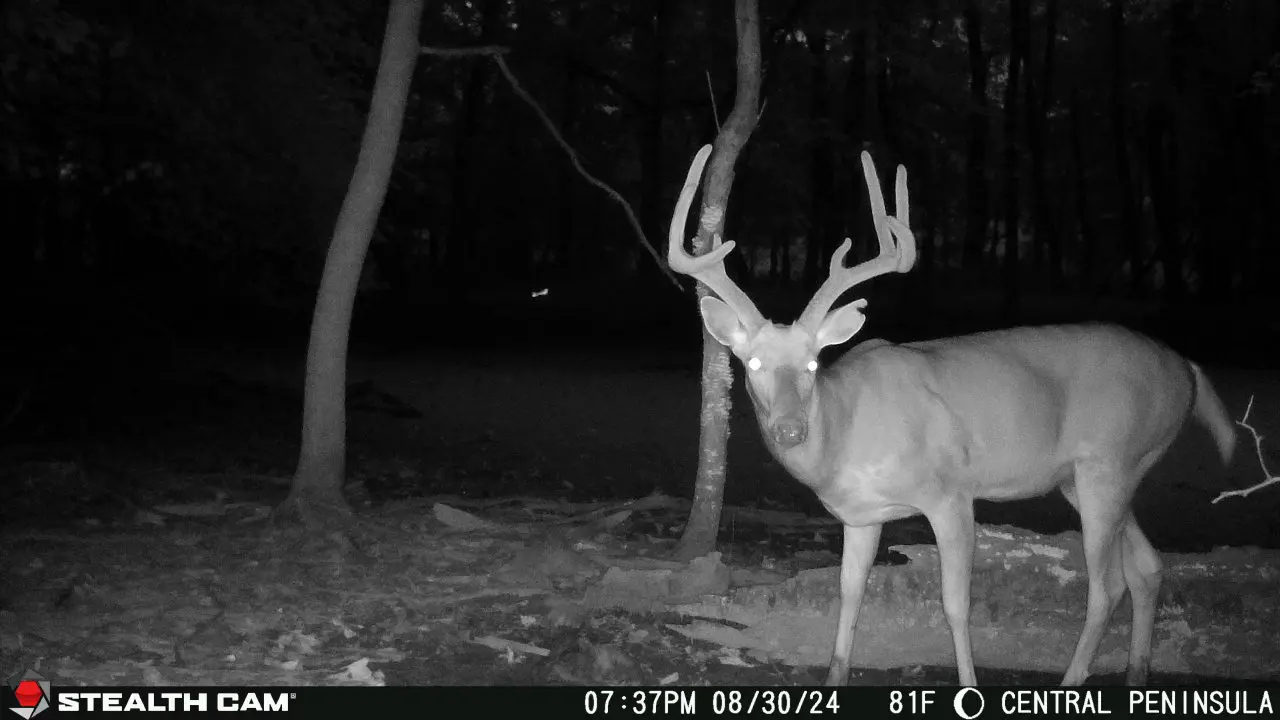
Common mistakes and lessons from experience
Avoid these mistakes when you learn how to select trail camera for hunting.
- Buying the newest model for features you won’t use
- Fancy features add cost and complexity. Buy what matches your needs.
- Ignoring battery type and cold-weather performance
- Cheap batteries die fast in frost. Use lithium in winter.
- Poor placement and no testing
- Bad framing wastes battery and storage. Test and adjust.
- Over-reliance on cellular updates
- Cellular is great but not always reliable. Have a backup plan for data gaps.
My rule: choose reliable basics over flashy extras. This rule guides how to select trail camera for hunting the most effectively.

People also ask — quick answers
Q: Can I use a phone app to set up trail cameras remotely?
A: Some models support phone setup via Wi‑Fi or Bluetooth. This makes framing easier without repeated trips.
Q: What is the best detection range for deer?
A: A 20–40 foot detection range works well in most woods. Open fields may need longer ranges.
Q: Do I need color night images?
A: Color night images are useful but drain battery and cost more. Infrared is stealthy and reliable.

Frequently Asked Questions of how to select trail camera for hunting
What is the most important feature when choosing a trail camera?
The most important feature is reliability. A camera that consistently records clear images and lasts in the field matters more than extra features.
How much does trigger speed matter for hunting?
Trigger speed matters a lot. Fast triggers under 0.5 seconds reduce missed shots, especially in high-traffic areas.
Should I buy a cellular trail camera for hunting?
Buy a cellular camera if you need near-real-time photos and have good signal. If stealth, cost, or battery life matter more, skip cellular.
How often should I check my trail cameras?
Check every 2–4 weeks in peak season. In remote or stable areas, checks every 4–8 weeks may be fine with strong batteries.
Can trail cameras spook deer or other animals?
Visible flash and noisy cameras can spook animals. Use no-glow flash and quiet housings to minimize disturbance.
Conclusion
Choosing the right camera comes down to matching features to your hunt. Focus on resolution, trigger speed, battery life, flash type, and placement. Test in the field, keep good notes, and avoid buying features you won’t use. Try one change at a time and track results. Start by listing your top three needs and pick a camera that meets them. Share your experiences, subscribe for updates, or leave a comment with your setup tips.
As an Amazon Associate, I earn from Qualifying Purchases.