Place cameras on trails, set correct height, use settings and bait to attract wildlife.
I have set up hundreds of trail cameras over many seasons and I will show you how to capture animals on trail camera with clear steps, gear tips, and real-world lessons. This guide covers camera choice, placement, settings, scent and bait tips, troubleshooting, and legal and ethical notes so you get better wildlife photos and videos fast.
Understanding trail cameras and animal behavior
Trail cameras are motion- or heat-triggered devices that take photos or videos when an animal passes. They work by sensing changes in infrared or passive infrared (PIR) energy. Knowing how animals move and where they feed makes a big difference in capture rates.
Animal routines matter. Deer, coyotes, and small mammals follow trails, edges, and water. Weather and moon phase change activity. Use local signs like prints, droppings, and nibbled plants to find hotspots. Knowing when and where animals travel is part of how to capture animals on trail camera effectively.
Common camera types and what they do:
- Passive infrared (PIR) models that trigger on heat and motion.
- Time-lapse models that take photos at set intervals.
- Cellular models that send photos to your phone.
- Low-glow vs no-glow infrared for night stealth.
PAA-style questions
How close should animals be for a trail camera to trigger?
Most cameras trigger at 10 to 30 feet depending on sensor and lens. Test your model with a person walking at different distances.
Do animals notice trail cameras?
Most wild animals ignore properly concealed cameras. Human scent and visible straps can alert wary species, so minimize disturbance.
Which animals are easiest to capture?
Animals that use trails, bedding areas, and water sources are easiest. Deer, raccoons, and foxes often show up reliably.

Choosing the right trail camera
Pick a camera that matches your goals. For scouting bucks or elk, choose high resolution and fast trigger speed. For remote monitoring, choose a long battery life and large SD support. For real-time alerts, pick a cellular model.
Key specs to check:
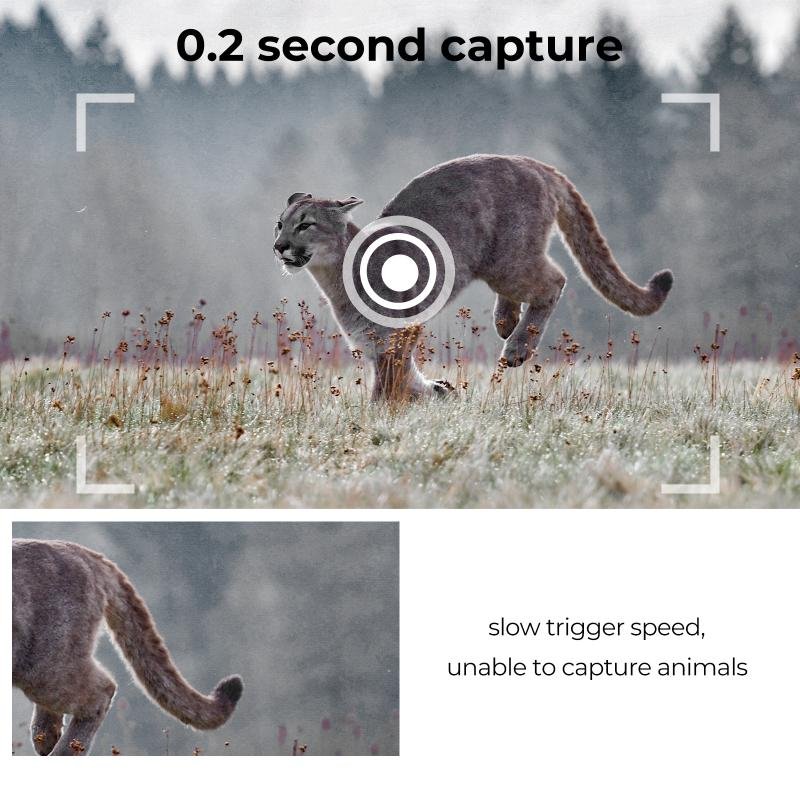
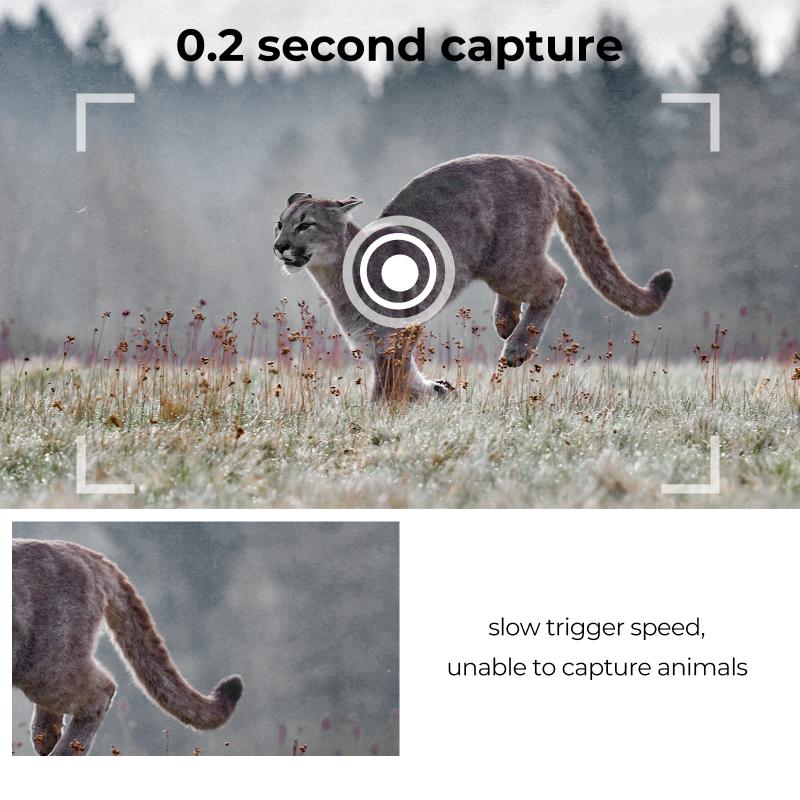
- Trigger speed: Faster is better for quick species.
- Detection range: Longer ranges help cover wide trails.
- Recovery time: Short recovery catches more activity in bursts.
- Battery life and power options: Solar or external power for long deployments.
- Flash type: No-glow is stealthy; low-glow is cheaper and still effective.
My recommendation from field use: spend more on a reliable trigger and battery life than on ultra-high resolution. A camera with a 0.4 s trigger and low power draw will beat a 30 MP camera with poor battery life.

Best practices for camera placement
Placement beats gear in most cases. A great camera in the wrong spot gives no photos. Aim for natural funnels where animals pass. Look for narrow trail pinch points, creek crossings, and fence line gaps.
Practical placement steps:
- Mount height: 24 to 36 inches above the ground for deer-sized animals. Lower for small mammals.
- Angle: Point slightly down and perpendicular to trail to maximize detection zone.
- Distance: Set 10 to 25 feet back from the likely path to avoid spooking and to keep animals in frame.
- Backdrop: Avoid bright open sky behind the camera to prevent false triggers and silhouettes.
- Concealment: Use natural cover or camouflage sleeves. Mask human scent on straps and camera with gloves or scent-free wipes.
Personal tip: I once placed a camera on an obvious game trail and got no photos for weeks. Moving it 8 feet to a small ridge with a brushy funnel tripled captures in a week. Small moves matter.

Optimizing camera settings for better captures
Settings matter and vary by species and site. Test settings in the field and adjust over a few nights. Keep a log of what you try and the results.
Recommended setting guidelines:
- Photo vs video: Use photos for still ID and battery savings. Use short videos for behavior and identification.
- Burst mode: Use 2–3 shots per trigger to catch movement. Combine with short video for action shots.
- Trigger sensitivity: Start high in quiet areas. Lower it if vegetation or sun causes false triggers.
- IR flash: Use no-glow for skittish animals. Low-glow can produce clearer night images.
- Time-lapse: Use on open clearings or to monitor seasonal patterns.
- Date/time and temperature imprint: Enable for useful context later.
I set a new camera to medium sensitivity, 3-shot burst, and a 1-second recovery time for the first week. Then I review and tweak. Small changes can yield more keeps.

Lure, bait, and scent strategies
Lures boost capture rates but check local laws first. Some states ban bait for hunting or research. Use non-perishable scents where allowed and avoid heavy food that attracts people.
Types of attractants:
- Food bait: Corn or fruit in bait trays for deer and bears where legal.
- Scent lures: Doe estrus scents for deer, gland lures for coyotes, or fish-based scents for raccoons.
- Natural attractors: Salt blocks, mineral sites, and water sources.
- Visual attractors: Rubbed logs, fresh branches, or rock piles to create interest.
Personal lesson: I over-baited one site and drew too many raccoons that masked deer activity. I switched to a small mineral lick and moved the camera a foot. That cut raccoon photos and increased deer captures. Use small, targeted lures and check often.

Minimizing disturbance and avoiding false triggers
False triggers waste battery and storage. Human scent, moving plants, and sun glare trigger cameras. Reduce these and you get more usable captures of animals.
Tips to minimize disturbance:
- Approach quietly and wear scent control if you can.
- Clear small vegetation out of the detection zone with gloves. Don’t create visible signs of disturbance.
- Face the camera away from east/west to avoid sunrise or sunset false triggers.
- Use cable locks and secure mounts to prevent theft. Register serial numbers.
- Wipe the lens and keep housing joints sealed to avoid IR bloom or condensation.
A practical trick I use: take a short walk across the field of view and review a test shot before leaving. It shows false trigger sources and frame composition instantly.
Managing and reviewing footage efficiently
Processing many photos can be a chore. Organize files and automate where you can. Use tags and folders by date and site for fast review.
Workflow tips:
- Use high-capacity SD cards and rotate them. Label cards by site and date.
- Keep spare batteries and a simple checklist for visits.
- Use image management software or smartphone apps for batch review.
- Tag images: species, number, behavior, and time. This speeds long-term study.
- Back up images to cloud or external drives regularly to avoid loss.
I keep a spreadsheet with site notes, camera serial, and bait type. After each check I log what I changed. That record keeps patterns clear and repeat setups faster.

Troubleshooting common problems
When things go wrong, a quick check often fixes it. Common issues include no photos, many false triggers, and blurry night shots.
Quick fixes:
- No photos: Check batteries, SD card, power switch, and PIR alignment. Confirm date/time stamp.
- Too many false triggers: Lower sensitivity, clear vegetation, or change camera angle.
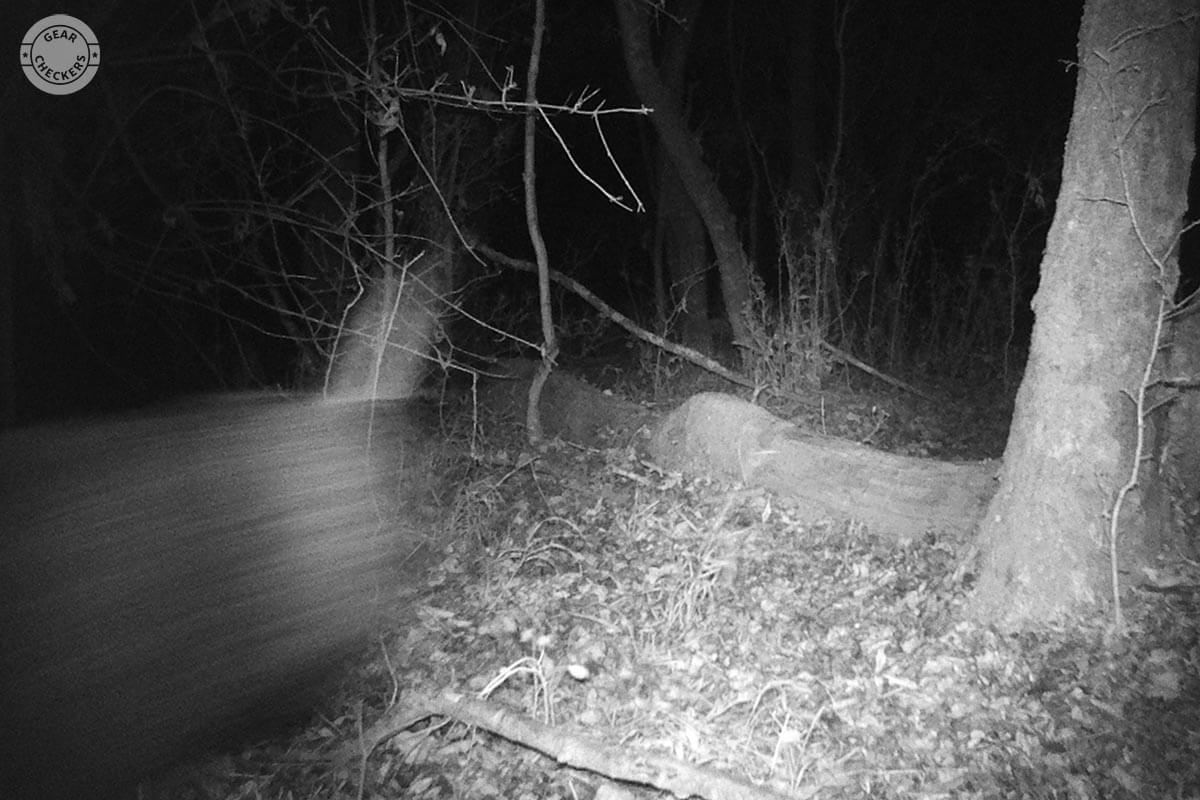
- Blurry night images: Check flash type and distance. Move camera farther back if animals are too close.
- Theft or tampering: Use lock boxes, cable locks, and pick discreet mounting locations.
If problems persist, test the camera at home. Walk in front of it at set distances and review logs. Testing saves wasted trips.

Frequently Asked Questions of how to capture animals on trail camera
How far should my trail camera be from the trail?
Place most cameras 10 to 25 feet from the trail for optimal detection and framing. Adjust height to match the species you want to capture.
What triggers a trail camera most reliably?
Passive infrared sensors triggered by heat and motion are the most reliable. Trigger speed and angle also affect reliability.
Is bait necessary to capture animals?
Bait helps in some cases but is not required. Natural funnels, water, and mineral sites often work better and draw less unwanted attention.
How often should I check my trail camera?
Check every 1 to 4 weeks depending on battery life, bait, and theft risk. More frequent checks help tune settings and refresh lures.
Can trail cameras harm wildlife or invade privacy?
Used responsibly, trail cameras do not harm wildlife. Be aware of local privacy and property laws and avoid placing cameras where people expect privacy.
Conclusion
Trail cameras are powerful tools when you learn how to capture animals on trail camera with smart placement, the right settings, and ethical lure use. Start small, test often, and keep simple field notes to improve each visit. Try one change at a time and track results to learn what works at your site.
Take action this week: pick a trail, mount a camera at the recommended height, and run a one-week test. Share your results, subscribe for more tips, or leave a comment with your best capture.
As an Amazon Associate, I earn from Qualifying Purchases.