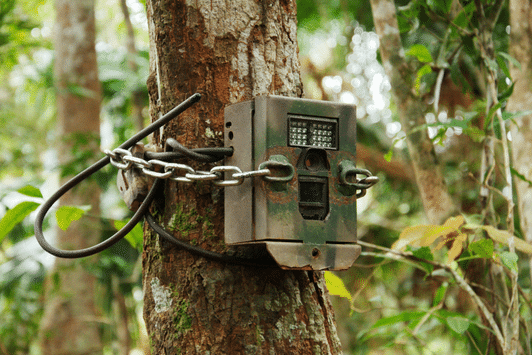
Trail camera and camera trap are often the same device, used interchangeably to record wildlife or activity.
I have tested dozens of field cameras and worked with researchers and land managers. This guide dives deep into trail camera vs camera trap differences, uses, and buying tips. You will learn clear definitions, real-world pros and cons, setup advice, legal notes, and exactly what to look for when choosing gear. Read on to make confident decisions about trail camera vs camera trap for your needs.
What is a trail camera vs camera trap?
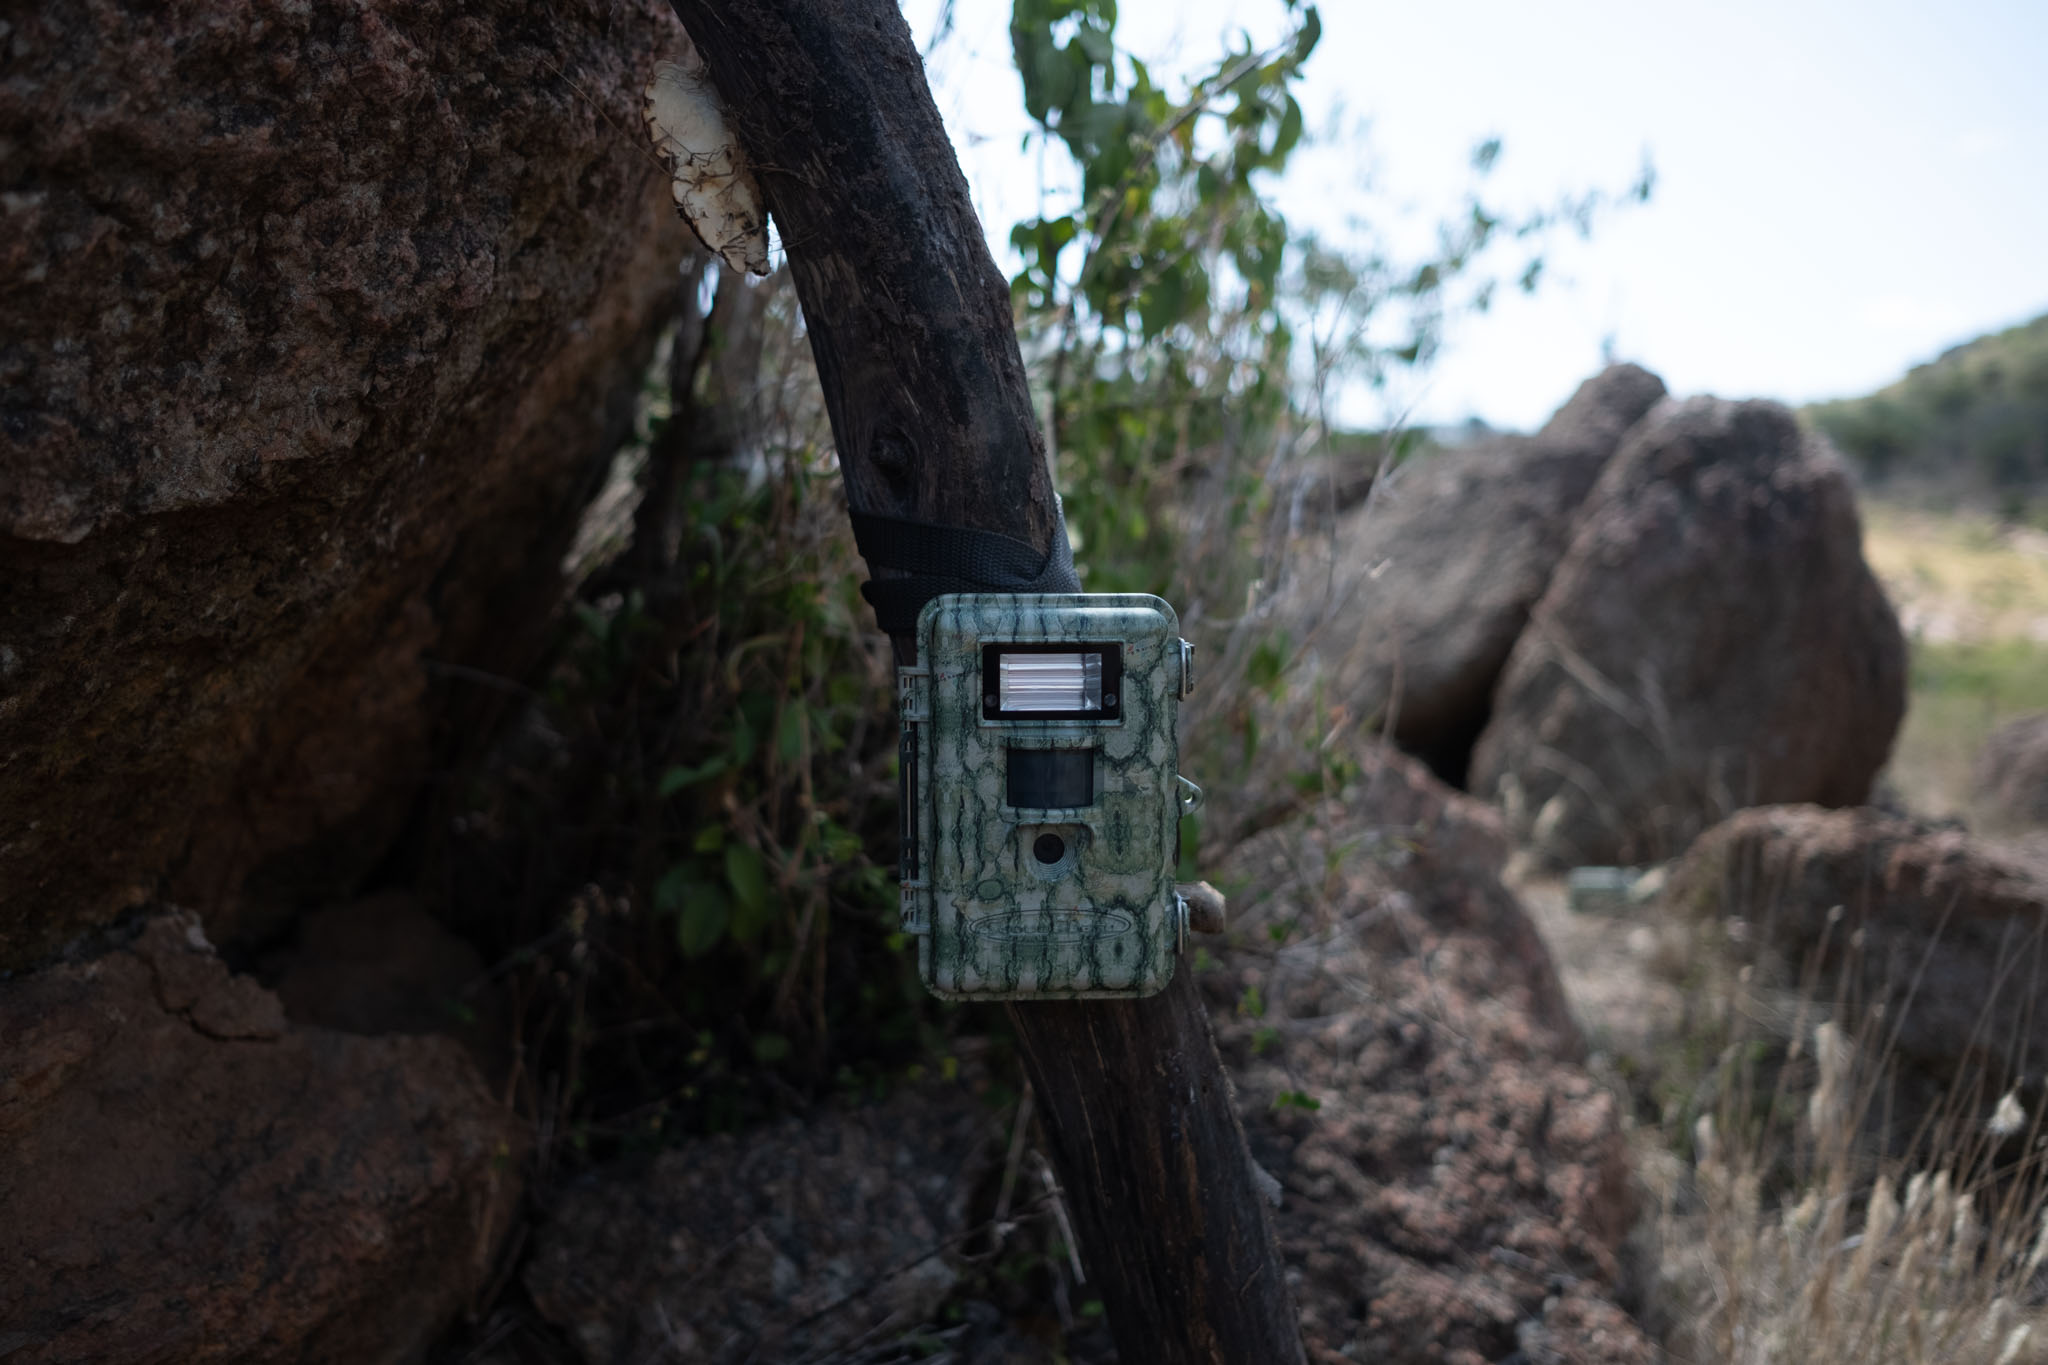
Trail camera vs camera trap often means the same thing. Both are motion- or heat-triggered cameras that record animals or people without a person nearby. Manufacturers and users may prefer one term. Researchers tend to use camera trap, while hunters and hobbyists often say trail camera.
Both systems share core parts:
- Passive infrared sensor to detect movement or heat.
- A camera module that records stills, video, or both.
- Power source like AA batteries or an external pack.
- Storage such as an SD card and sometimes cellular upload.
Knowing that trail camera vs camera trap are used interchangeably helps cut confusion when shopping or reading studies.

Key differences and common terminology
In practice, small differences can matter. When comparing trail camera vs camera trap, consider context and purpose. Here are the most common distinctions people use.
- Usage emphasis: camera trap often implies scientific study with strict placement and protocols. Trail camera often means casual monitoring for hunting, backyard watch, or hobby wildlife photography.
- Build and durability: camera traps for research may be ruggedized and weatherproof to a higher standard. Trail cameras vary widely by price and build.
- Trigger and settings: camera traps used in studies may have standardized trigger speeds and settings. Trail cameras may trade consistency for extra features like time-lapse or burst modes.
- Connectivity: trail camera models often include cellular or Wi-Fi options for hobbyists. Some camera traps used in research omit connectivity to reduce cost or interference.
People Also Ask — quick answers
Do trail cameras and camera traps take the same photos?
Yes. Both can capture stills and video. Differences come down to settings, trigger speed, and lens quality.
Which is better for research: trail camera or camera trap?
Camera trap is the preferred term in research when protocols matter. The device choice depends on detection area, consistency, and data quality.
Can a trail camera be used as a camera trap?
Absolutely. Most trail cameras serve as camera traps in studies, provided you standardize placement and settings.
Technical features compared
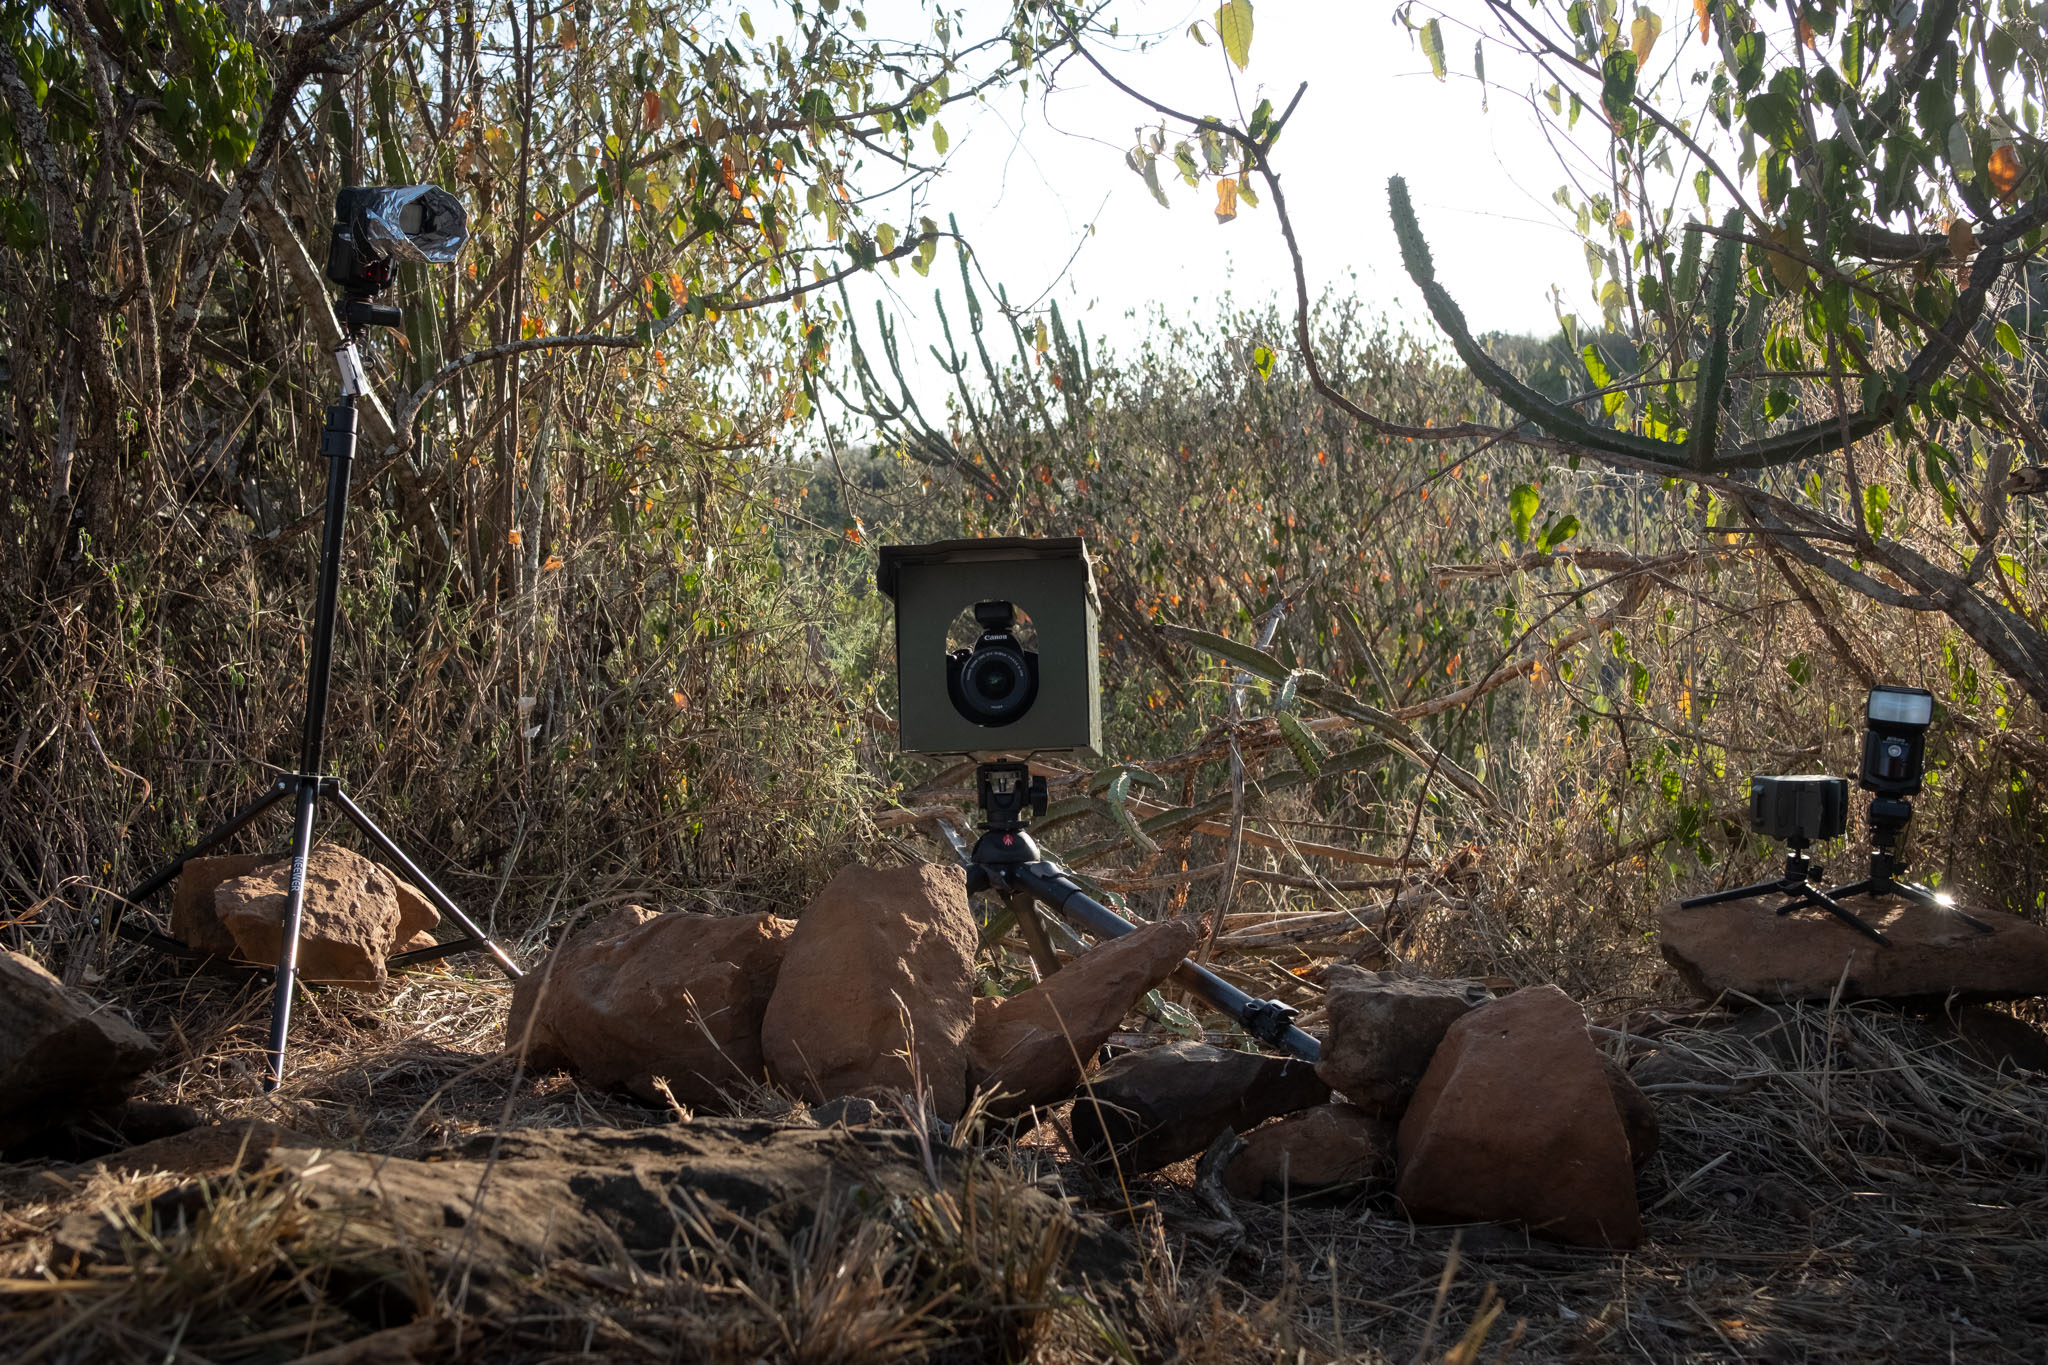
When you compare trail camera vs camera trap, look at technical specs. These decide image quality, detection reliability, and battery life.
- Trigger speed and recovery time
- Faster trigger and short recovery catch fast animals and reduce missed shots.
- For trail camera vs camera trap, science-focused setups prefer consistent trigger data.
- Sensor sensitivity and detection zone
- Wider detection covers more area but may increase false triggers.
- Adjust settings to balance detection and false positives.
- Flash type
- Infrared (no-glow) is good for not spooking wildlife at night.
- White flash gives color night images but can startle animals.
- Resolution and frame rate
- Higher megapixels give clearer stills. Higher frame rates help capture movement.
- Power and battery life
- Battery life varies with temperature, trigger rate, and screen use.
- External power or solar can extend deployment time.
- Connectivity and remote access
- Cellular trail camera vs camera trap models let you receive images remotely.
- Offline camera traps can store more data and are cheaper.
I have found trigger speed and detection angle most important for catching fleeting animals. Choose the feature set that matches your goal.
Best use cases for trail camera vs camera trap
Knowing the use case clears the choice between trail camera vs camera trap. Here are common scenarios.
- Wildlife research and population surveys
- Use a camera trap with consistent settings and documented placement.
- Hunting and scouting
- Trail cameras with quick triggers and good battery life work well.
- Backyard monitoring and neighbor safety
- Cellular trail cameras offer real-time alerts to your phone.
- Conservation and anti-poaching
- Rugged camera traps plus camouflage and secure mounting are key.
- Small mammal and bird studies
- Use close-range lenses and sensitive sensors to detect small targets.
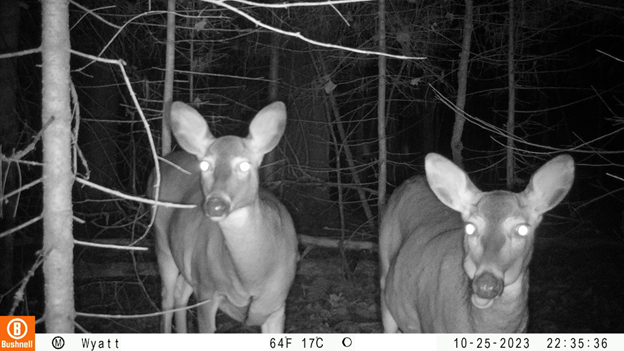
Personal note: I once left a basic trail camera for two weeks and got great deer photos. Later, for a study of foxes, we switched to standardized camera traps with fixed heights and settings to ensure data quality. The difference in results was clear.
Buying guide — how to choose
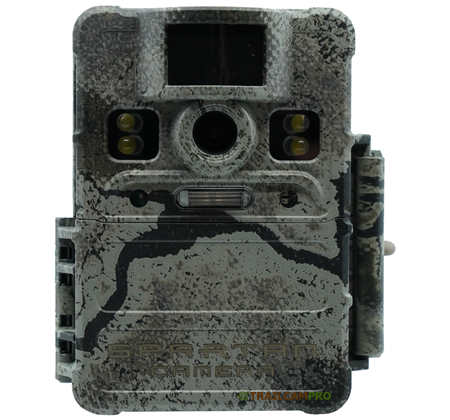
When comparing trail camera vs camera trap for purchase, use a checklist. Prioritize what matters most for your use.
Top priorities
- Detection and trigger specs for your target species.
- Battery life for your deployment length.
- Camera durability and weather rating.
- Image quality matched to your reporting needs.
- Storage and connectivity options.
Budget and trade-offs
- Entry-level trail cameras are cheap but may lack speed and durability.
- Mid-range models often give the best value for hobbyists.
- Research-grade camera traps cost more but offer repeatable performance.
Practical buying tips
- Read real-user reviews that describe conditions like temperature and foliage.
- Buy from sellers with good warranty and return policies.
- Consider purchasing a tested model from labs or researchers if you plan a study.

Source: trailcampro.com
Setup, placement, and optimization tips
Placement makes or breaks success when using a trail camera vs camera trap. Follow simple rules to improve results.
Mounting and height
- Place cameras 2 to 3 feet off the ground for deer and similar mammals.
- Lower setups work for small mammals and ground birds.
Angle and background
- Aim slightly down the trail to get full bodies.
- Avoid pointing at the sky or reflective surfaces to reduce false triggers.
Reduce false triggers
- Clear moving vegetation from the detection zone.
- Use sensor sensitivity settings and masking if available.
Test and adjust
- Take test shots and walk past the camera to confirm placement.
- Track trigger times to avoid setups that catch mostly sun or wind events.
Security and camouflage
- Use lock boxes and security cables if theft is a risk.
- Natural camouflage or wrap helps reduce suspicion by people and animals.
From experience, small adjustments to angle and height can double the number of clear photos you get.

Maintenance, troubleshooting, and data management
Keeping cameras healthy saves time and data loss. These tips cover both trail camera vs camera trap care and common fixes.
Battery and power
- Replace or recharge batteries before long deployments.
- Use lithium AAs in cold weather for better performance.
Storage and file handling
- Format SD cards in the camera before use.
- Label cards and files with location and date for easy sorting.
Common problems and fixes
- Blurry images: clean lens and secure mounting.
- No triggers: check sensor orientation and sensitivity.
- Corrupt files: use reputable SD cards and avoid full storage.
Data workflows
- Back up photos nightly if possible.
- Use simple folder naming like location_date for easy archiving.
I once lost two weeks of images to a bad SD card. Since then I use high-quality cards and back up after each check. It reduces stress and recover time.
Legal and ethical considerations
Before deploying any trail camera vs camera trap, think about laws and ethics. Respect for people and wildlife matters.
Privacy and trespass
- Do not place cameras on private land without permission.
- Avoid pointing cameras at homes or private areas to respect privacy laws.
Wildlife welfare
- Avoid devices that could trap or harm animals.
- Do not bait animals unless permitted and necessary for research.
Permits and reporting
- Some parks and reserves require permits for camera traps.
- Follow local rules for endangered species monitoring.
Be transparent when required. Ethical placement protects animals and keeps your project legal.
Frequently Asked Questions of trail camera vs camera trap
What is the main difference between a trail camera and a camera trap?
Mostly terminology. A camera trap is the term used in science for systematic monitoring. Trail camera is the common term for hobby use. The devices themselves often share the same hardware.
Can I use a trail camera for research?
Yes, many trail cameras meet research needs. For rigorous studies, standardize settings and placement to ensure consistent data.
How long do batteries last in trail cameras and camera traps?
Battery life varies by trigger frequency, temperature, and model. In low-activity sites, batteries can last months; high-use sites drain batteries in days or weeks.
Should I use a cellular trail camera or a non-cellular camera trap?
Choose cellular if you need real-time alerts and live monitoring. Choose non-cellular for longer deployments, lower cost, and when cellular coverage is poor.
Do camera traps work for small animals and birds?
Yes, but you need sensitive sensors, close-range placement, and often a higher frame rate. Use reduced detection distance and lower mounts for small species.
How do I reduce false triggers from wind and sun?
Clear moving vegetation, aim cameras away from the sun during peak times, and lower sensor sensitivity if possible. Masking tools can block parts of the detection zone.
Are no-glow infrared flashes better than white flash?
No-glow infrared is less likely to spook wildlife and is useful for stealth monitoring. White flash gives color images at night but can disturb animals and reveal camera location.
Conclusion
Trail camera vs camera trap are terms that point to the same tool for remote monitoring. Choose gear based on use case, detection needs, power, and durability. Set cameras with care, test placement, and follow local laws. My advice: start with a mid-range model, standardize settings, and run short tests before long deployments. Try one setup, learn from the results, and improve over time. If this guide helped, try a camera placement this weekend, share your results, or leave a question below.
As an Amazon Associate, I earn from Qualifying Purchases.