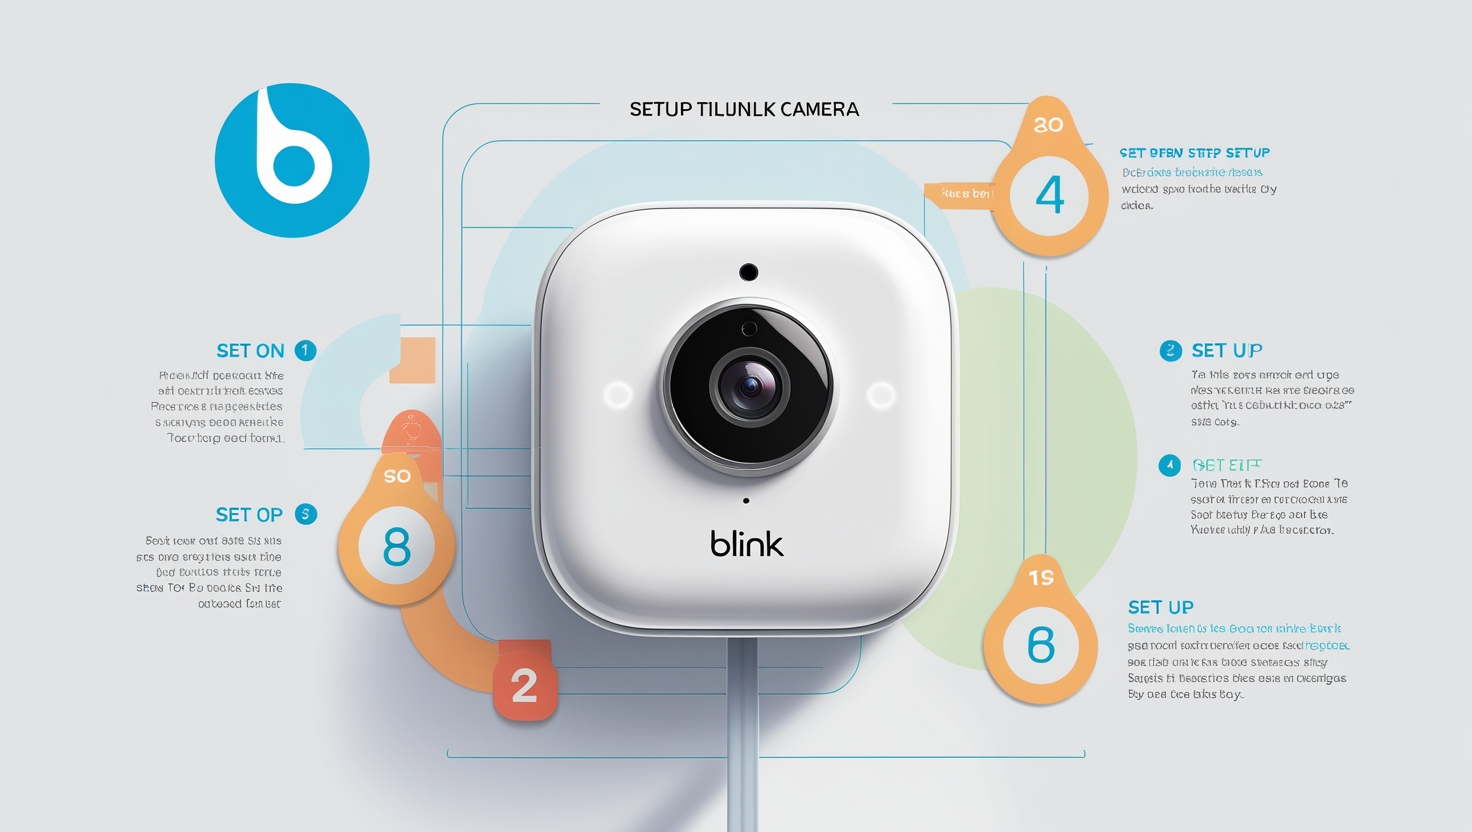
Setting up a Blink camera is a straightforward process that helps enhance your home security. With a few simple steps, you can monitor your space from anywhere.
In today’s world, keeping your home safe is more important than ever. Blink cameras offer an easy solution for monitoring your property. These cameras are user-friendly and work seamlessly with your smartphone. To get started, you will need to download the Blink app and create an account.
After that, you can connect your camera to your Wi-Fi network. This guide will walk you through each step, ensuring a smooth setup experience. Whether you are tech-savvy or a beginner, setting up your Blink camera will be simple and quick. Let’s dive into the details!



Credit: www.hellotech.com
Introduction To How to Set Up Blink Camera
Blink cameras offer a simple, effective way to enhance your home security. With their sleek design and user-friendly features, they cater to both tech-savvy individuals and those new to smart home devices. Setting up a Blink camera not only protects your home but also provides peace of mind, knowing you can monitor your space from anywhere.
The Basics Of Blink
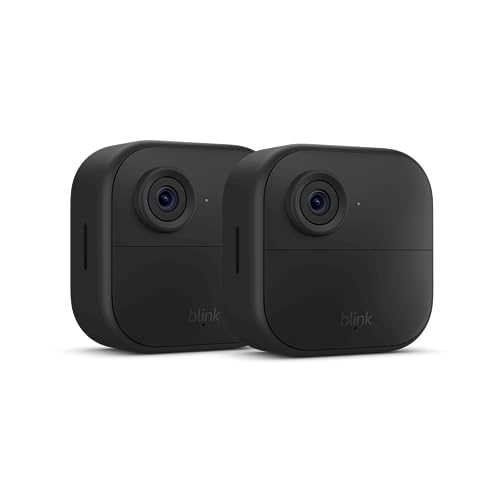
Blink cameras are wireless security devices that allow you to keep an eye on your property through your smartphone. They come equipped with features such as HD video, infrared night vision, and two-way audio. Plus, their battery life can last up to two years, making them a cost-effective choice for home security.
- HD Video: Capture clear footage during the day and at night.
- Two-Way Audio: Communicate with visitors or intruders.
- Easy Installation: No wires or complicated setups required.
Many users appreciate the easy integration with Amazon Alexa. You can simply ask Alexa to show you the camera feed on your Echo Show. This seamless connection makes monitoring your home effortless.
Benefits Of Wireless Security
Wireless security systems like Blink offer significant advantages over traditional wired options. First, they are easy to install, allowing you to set them up without the need for professional help. This saves you both time and money.
Another benefit is the flexibility of placement. You can move your cameras around to adapt to changing security needs. Want to keep an eye on your backyard one day and your front porch the next? No problem.
Additionally, wireless cameras often include cloud storage options. This means you can access your footage anytime, anywhere. Imagine the convenience of checking in on your home while on vacation or during a late-night out.
Have you thought about how much easier it would be to monitor your home with a device that fits seamlessly into your lifestyle? Blink cameras might just be the solution you need.
What’s In The Box?
Setting up a Blink camera is simple and straightforward. Begin by downloading the Blink Home Monitor app. Create an account, scan the QR code on your camera, and connect to your Wi-Fi. Follow the prompts to complete the setup and adjust your camera settings.
When you decide to enhance your home security with a Blink camera, the first step is to see what’s included in the box. Knowing what to expect can make your setup process smoother and more efficient. Let’s dive into the details of unboxing your Blink camera and understanding its components.
Unboxing Your Blink Camera
Opening the box, you’ll find everything you need to get started.
Here’s what typically comes in the package:
– Blink Camera
– Sync Module (if included)
– Mounting hardware
– User manual
– USB power adapter
– Batteries (usually included)
Take a moment to check all the items listed. This ensures you have everything before moving on to the setup.
Understanding The Components
Each component plays a crucial role in your camera system.
– Blink Camera: This is your main device, responsible for capturing video and sending alerts.
– Sync Module: This connects your camera to Wi-Fi and allows you to manage your devices through the Blink app. Not all models include a Sync Module, so verify if yours does.
– Mounting hardware: This includes screws and brackets for easy installation.
– User manual: A handy guide to help you with setup and troubleshooting.
– USB power adapter: Powers your Sync Module, ensuring your system stays functional.
– Batteries: Typically, these are included for the camera’s operation. Ensure they are properly installed to get started.
Understanding these components will help you feel more confident as you move forward. Have you ever tried to set up a device and ended up confused by the parts? Knowing what to look for can save you time and frustration.
Getting Started With The Blink App
Setting up your Blink camera is simple and quick. Start by downloading the Blink app and creating an account. Follow the on-screen steps to connect your Sync Module and camera, including scanning QR codes and linking to your Wi-Fi. Enjoy enhanced security in just a few minutes.
Getting started with the Blink app is the first step to enhancing your home security. The app is user-friendly and guides you through the setup process seamlessly. Here’s how to get your Blink camera up and running in no time.
Downloading The App
To begin, you need to download the Blink Home Monitor app.
– For Android users, head to the Google Play Store.
– If you’re using an iPhone, visit the Apple App Store.
Once you find the app, click on “Install.” The app is free, and it’s packed with features to help you monitor your home effectively.
After downloading, open the app, and you’ll be greeted with a simple interface that invites you to start the setup process.
Creating Your Blink Account
Next, creating your Blink account is essential for connecting your camera. Tap on “Create Account” and follow the prompts.
– Select your country.
– Confirm your region.
– Enter your email and create a secure password.
You’ll receive a verification email shortly. Make sure to check your inbox and verify your account.
Additionally, you can link your Blink account to your Amazon account for added convenience.
With your account set up, the app will guide you to add your Sync Module and cameras.
Have you ever felt overwhelmed by technology? Don’t worry; the Blink app simplifies everything. You’ll find that setting up your security system is straightforward and manageable.
Now, are you ready to take control of your home security? Let’s keep your space safe together!
Sync Module Setup
Setting up the Sync Module for your Blink camera is simple. Start by downloading the Blink app and creating an account. Follow the on-screen instructions to connect the Sync Module to your Wi-Fi and add your camera for seamless monitoring.
Setting up the Blink camera is a straightforward process, and it all starts with the Sync Module. This device acts as the central hub, linking your Blink cameras to your Wi-Fi network and allowing you to manage them efficiently through the Blink app. Without the Sync Module, your cameras won’t function properly, making it crucial to get this step right.
Connecting The Sync Module
Begin by placing your Sync Module in a location with a strong Wi-Fi signal. This is important for ensuring that your cameras receive a stable connection.
Use the provided USB power cable and plug the Sync Module into an outlet. Once powered on, you’ll notice a blinking blue light, indicating it’s ready for setup.
Open the Blink app and tap the “+” icon to add your Sync Module. Follow the on-screen instructions to connect it to your Wi-Fi network.
Did you know that the Sync Module can support up to 10 cameras? This makes it an excellent choice for those looking to expand their home security system over time.
Qr Code Scanning
Next, you’ll need to scan the QR code on the Sync Module. This code ensures that your device is properly linked to the Blink app.
Point your smartphone camera at the QR code displayed on the module or in the app. The app will recognize it and prompt you to proceed with the setup.
This step is quick, usually taking less than a minute. Once scanned, your Sync Module will connect to the app, and you’ll be ready to add your cameras.
Have you ever experienced a moment of panic when setting up a new device? Don’t worry; many users feel the same way. Following these clear steps can make the process smoother and less intimidating.
With your Sync Module set up, you’re one step closer to securing your home with Blink cameras. What features are you looking forward to using the most?
Camera Connection Process
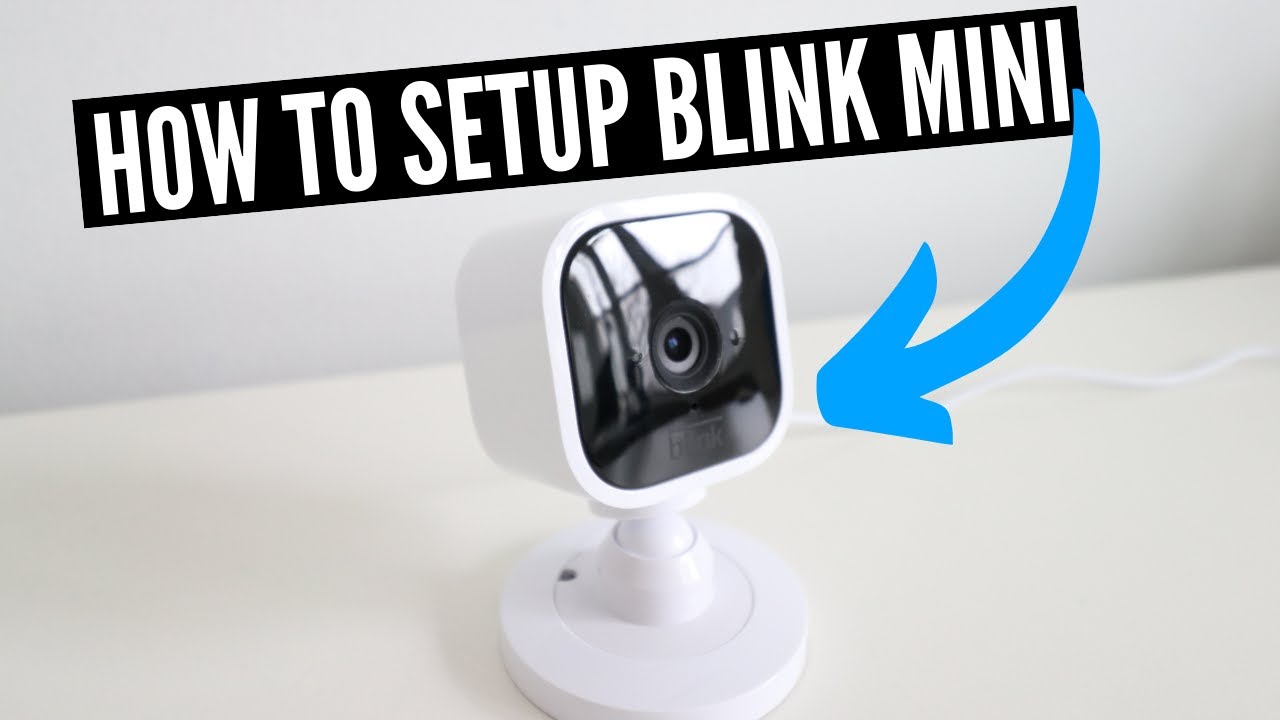
Setting up your Blink camera starts with the camera connection process. This step is crucial for ensuring your camera works correctly. Follow these steps carefully to get your camera up and running.
Wi-fi Configuration
First, ensure your Wi-Fi network is working. Open the Blink app on your smartphone. The app will prompt you to connect to your Wi-Fi. Enter your Wi-Fi password when asked. Make sure to choose the correct network. A strong signal is important for camera performance.
Once connected, the app will confirm the Wi-Fi configuration. This step links your camera to the network. A stable connection prevents issues later. Wait for the app to process your input.
Syncing The Camera
Now it’s time to sync your Blink camera. Locate the QR code on the back of your camera. In the Blink app, tap on the option to add a new device. Use your phone’s camera to scan the QR code. This connects the camera to your account.
After scanning, follow the prompts on the app. The camera will sync with your Wi-Fi. You will see a confirmation message when it’s ready. Make sure the camera is within range for the best results.
Once synced, your camera is set to monitor your space. You can adjust settings in the app to fit your needs. Enjoy your new Blink camera!
Mounting Your Blink Camera
Mounting your Blink camera properly is key to its performance. A well-placed camera offers better views and security. Follow these steps for an easy installation.
Choosing The Location
Pick a spot with a clear view. Look for areas with minimal obstructions. Avoid placing the camera near moving objects. Choose a height between 7 to 10 feet. This height helps to capture better footage. Ensure the camera is away from direct sunlight. Sunlight can interfere with video quality. Look for a power outlet nearby if needed.
Attaching The Mounting Bracket
Begin by marking the spot for the bracket. Use a level to ensure it is straight. Drill holes where you marked. Insert the wall anchors into the holes. Align the mounting bracket with the anchors. Secure it tightly with screws. Make sure it is stable before attaching the camera.
Configuring Camera Settings
Setting up your Blink camera involves a few simple steps. Start by downloading the Blink app and creating an account. Follow the on-screen instructions to connect your camera to Wi-Fi and adjust the settings for optimal performance.
Configuring your Blink camera settings is crucial for optimizing its performance. With the right configurations, you can enhance security and customize the camera to suit your specific needs. Let’s dive into two vital aspects: Motion Detection Zones and Recording Preferences.
Motion Detection Zones
Setting up motion detection zones helps you define areas where the camera should focus its surveillance. This feature is particularly useful if you want to avoid false alerts from passing cars or pedestrians.
– Access the App: Open the Blink app and navigate to your camera settings.
– Select Motion Zones: Tap on the ‘Motion Detection’ option.
– Customize Zones: You can draw rectangles on the app’s screen to indicate where you want the camera to detect motion.
During my setup, I was surprised at how easily I could customize the detection areas. I initially set the entire view, but quickly realized that adjusting the zones reduced unnecessary notifications. Have you ever felt overwhelmed by alerts? This feature allows you to tailor your experience.
Recording Preferences
Recording preferences determine how your Blink camera captures and stores footage. You can choose to record continuously, during motion events, or set schedules for when the camera should be active.
– Choose Recording Mode: In the camera settings, select ‘Recording Preferences’.
– Select Your Option: Decide if you want to record all the time, only when motion is detected, or during specific hours.
– Storage Settings: Consider how long you want the footage saved. You can set it to store clips for a few days or weeks, depending on your needs.
When I first set my camera, I opted for motion-based recording. It saved storage and only captured what mattered. How do you want your camera to operate? Tailoring your recording preferences can significantly enhance your security experience.
Configuring these settings not only helps you get the most out of your Blink camera but also provides peace of mind knowing that your home is well-monitored.
Linking To Amazon Account
Linking your Blink camera to your Amazon account is an important step. It enhances your camera’s functionality. This process allows you to use various features seamlessly. Let’s explore how linking works.
Benefits Of Account Linking
Linking to your Amazon account offers several advantages. First, it simplifies device management. You can control all your Blink devices from one place.
Second, you gain access to special features. These features may include Alexa integration. Voice commands can make your security system hands-free.
Lastly, account linking improves notifications. You receive timely alerts about camera activity. Stay informed and connected wherever you are.
Accessing Additional Features
Linking your Blink camera unlocks extra functionalities. You can set up custom alerts for specific events. This helps monitor your home more effectively.
With Amazon integration, you can view camera feeds on Echo Show devices. This feature allows for quick checks on your property.
Finally, enjoy easy access to cloud storage options. Store important footage without worrying about space limitations. This ensures you never miss a critical moment.
Troubleshooting Common Issues
Setting up a Blink camera can sometimes be tricky. Common issues include trouble connecting to Wi-Fi or scanning QR codes. This guide helps you troubleshoot these problems for a smoother setup experience.
Troubleshooting common issues with your Blink camera can save you time and frustration. Whether you’re a tech whiz or a complete novice, encountering problems is part of the journey. Let’s address some frequent hiccups you might face and how to overcome them effectively.
Wi-fi Connectivity Problems
A stable Wi-Fi connection is crucial for your Blink camera to function properly. If your camera isn’t connecting, first ensure that your Wi-Fi network is active.
Check the following:
- Is your Wi-Fi router turned on?
- Are other devices able to connect to your network?
- Is your camera within range of the router?
Sometimes, simply restarting your router can resolve connectivity issues. If the problem persists, consider moving your camera closer to the router. You may also want to check if your Wi-Fi password is entered correctly in the Blink app.
Have you ever experienced a dropped connection at the worst possible moment? It can be frustrating, especially when you need to monitor something important.
Camera Not Responding
If your Blink camera is unresponsive, there are several steps you can take. Begin by checking the power source.
Here’s a quick checklist:
- Is the battery charged?
- Is the camera properly mounted and positioned?
- Is the camera within range of your Wi-Fi signal?
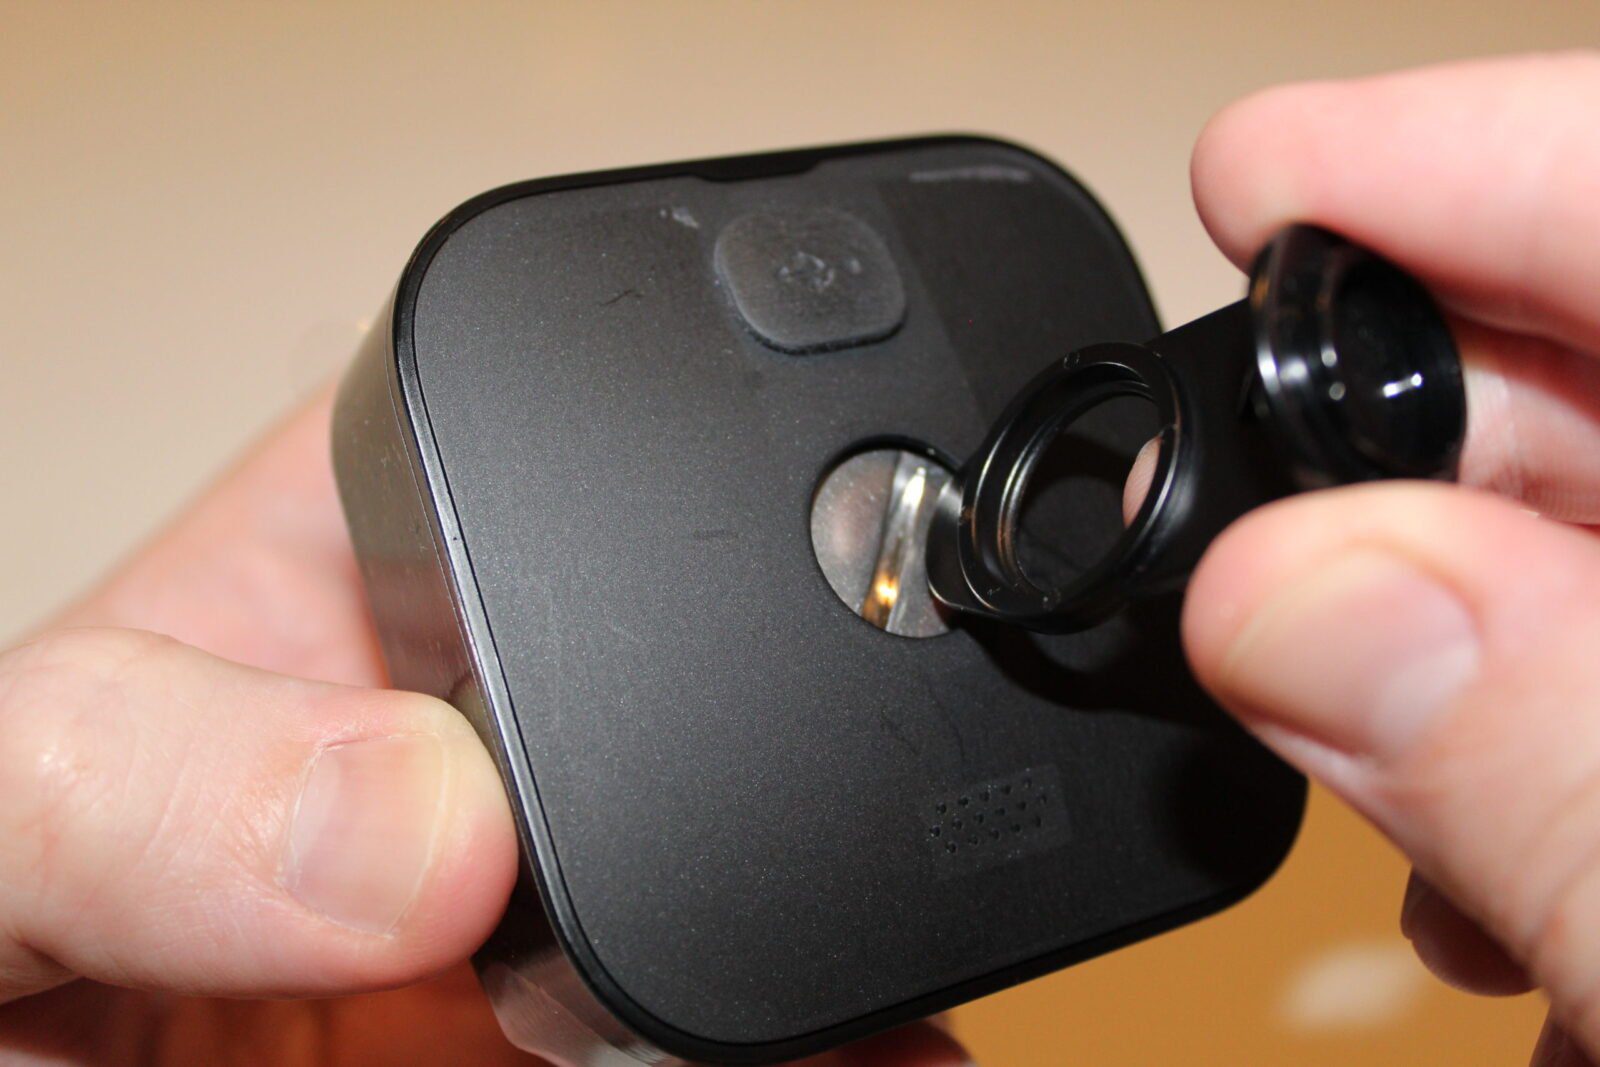
Next, try resetting the camera. Locate the reset button on the back of the device and hold it for about 10 seconds. This can refresh the connection and often resolves the issue.
If your camera still isn’t responding after these steps, uninstall and reinstall the Blink app. This can clear up any software glitches that might be causing the problem.
Have you ever had a moment where you needed your camera to work, but it just wouldn’t? Taking a few simple troubleshooting steps can often get you back on track quickly.
By addressing these common issues, you can ensure your Blink camera is always ready to provide peace of mind.
Credit: www.youtube.com
Enhancing Your Blink Experience
Setting up your Blink camera is simple and quick. Begin by downloading the Blink Home Monitor app and creating an account. Follow the on-screen instructions to connect your camera to Wi-Fi and customize your settings for a better home security experience.
Enhancing Your Blink Experience
Setting up your Blink camera is just the beginning of your journey towards a more secure home. To truly maximize the potential of your Blink system, consider expanding your setup and exploring additional features. This section will guide you on how to enrich your Blink experience, making your home even safer and smarter.
Adding More Cameras
One of the simplest ways to enhance your Blink experience is by adding more cameras. You can cover multiple angles in your home or even monitor your outdoor spaces.
– Start by opening the Blink app.
– Tap the “+” icon to add a new device.
– Follow the prompts to scan the QR code on the new camera.
Imagine having a camera in your driveway, another in your living room, and one more in your backyard. This setup not only offers comprehensive coverage but also helps you keep an eye on your pets or children when you’re busy.
Each camera can be named according to its location, making it easier to identify which one is sending alerts. Have you thought about which areas in your home could benefit from additional coverage?
Exploring Subscription Plans
Blink offers subscription plans that can greatly enhance your camera’s functionality. With these plans, you can store recorded clips in the cloud, allowing you to access footage anytime.
– The Basic Plan offers cloud storage for a single camera.
– The Plus Plan allows storage for an unlimited number of cameras.
Having access to recorded footage can be invaluable. In the event of an incident, you’ll have video evidence at your fingertips. You can also set up customized motion alerts, ensuring you only get notified when it matters most.
Consider what you need most—do you want to keep an eye on a specific area or monitor multiple spaces? The right subscription plan can provide you with the peace of mind that comes from knowing your home is secure.
Investing in additional cameras and exploring subscription options will significantly enhance your Blink experience. Are you ready to take the next step in securing your home?
Maintenance And Security Tips
Keeping your Blink camera in good shape is crucial. Regular maintenance helps it work well. Security tips protect your home from intruders. Follow these simple steps to ensure your camera runs smoothly.
Regular Updates
Check for software updates regularly. Updates fix bugs and improve performance. Open the Blink app to find updates. Install them as soon as they are available. This keeps your camera secure and functional. Set reminders to check for updates monthly. Staying updated ensures your camera has the latest features.
Securing Your System
Use a strong password for your Blink account. Avoid common words or phrases. Change your password every few months. Enable two-factor authentication for extra security. This adds another layer to your account protection. Keep your Wi-Fi secure by using a strong password. Regularly check your camera’s settings for any unauthorized changes.
Be cautious with your camera’s sharing options. Only share access with trusted individuals. Monitor who has access to your camera. Regularly review activity logs in the app. This helps you spot any unusual behavior quickly.
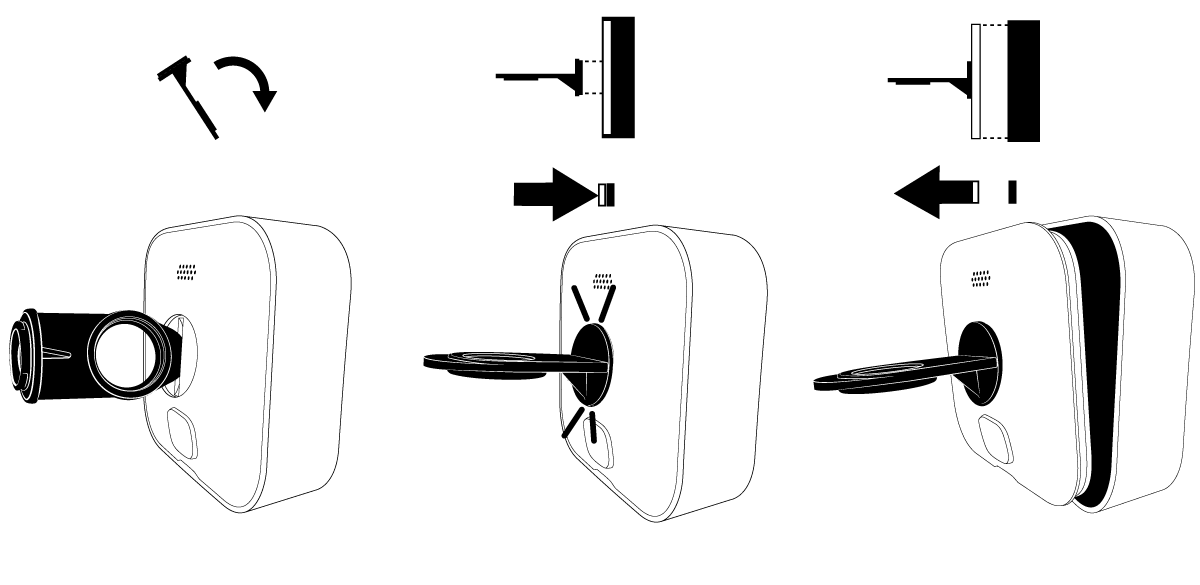
Credit: support.blinkforhome.com
Frequently Asked Questions
How Do I Set Up A Blink Camera?
To set up a Blink camera, download the Blink app and create an account. Follow the on-screen instructions to add your Sync Module and camera. Scan the QR code, connect to Wi-Fi, and name your system. Adjust settings as needed to complete the setup.
How Do I Connect My Blink Camera To Wifi?
To connect your Blink camera to WiFi, download the Blink app and create an account. Follow the prompts to add your Sync Module and camera. Connect your phone to the Sync Module’s temporary WiFi network, then select your home WiFi and enter the password.
Complete the setup as instructed.
How Do I Sync My Blink Camera To My Phone?
To sync your Blink camera to your phone, download the Blink Home Monitor app. Create an account, then follow the on-screen instructions. Scan the QR code on your camera and connect it to your Wi-Fi network. Your camera will now be synced and ready for use.
Does Blink Cost Monthly?
Blink does not require a monthly subscription. Users can access basic features for free. Optional subscription plans, like Blink Plus, offer additional benefits for a fee.
Conclusion
Setting up your Blink camera is a straightforward process. Follow each step carefully to ensure proper installation. Enjoy the peace of mind that comes with enhanced home security. Regularly check your app for updates and notifications. This keeps your camera functioning optimally.
Share your experience and tips with others. Your insights can help fellow users. Secure your home today with your new Blink camera. Enjoy the benefits of smart surveillance. Simple, effective, and user-friendly.
As an Amazon Associate, I earn from Qualifying Purchases.