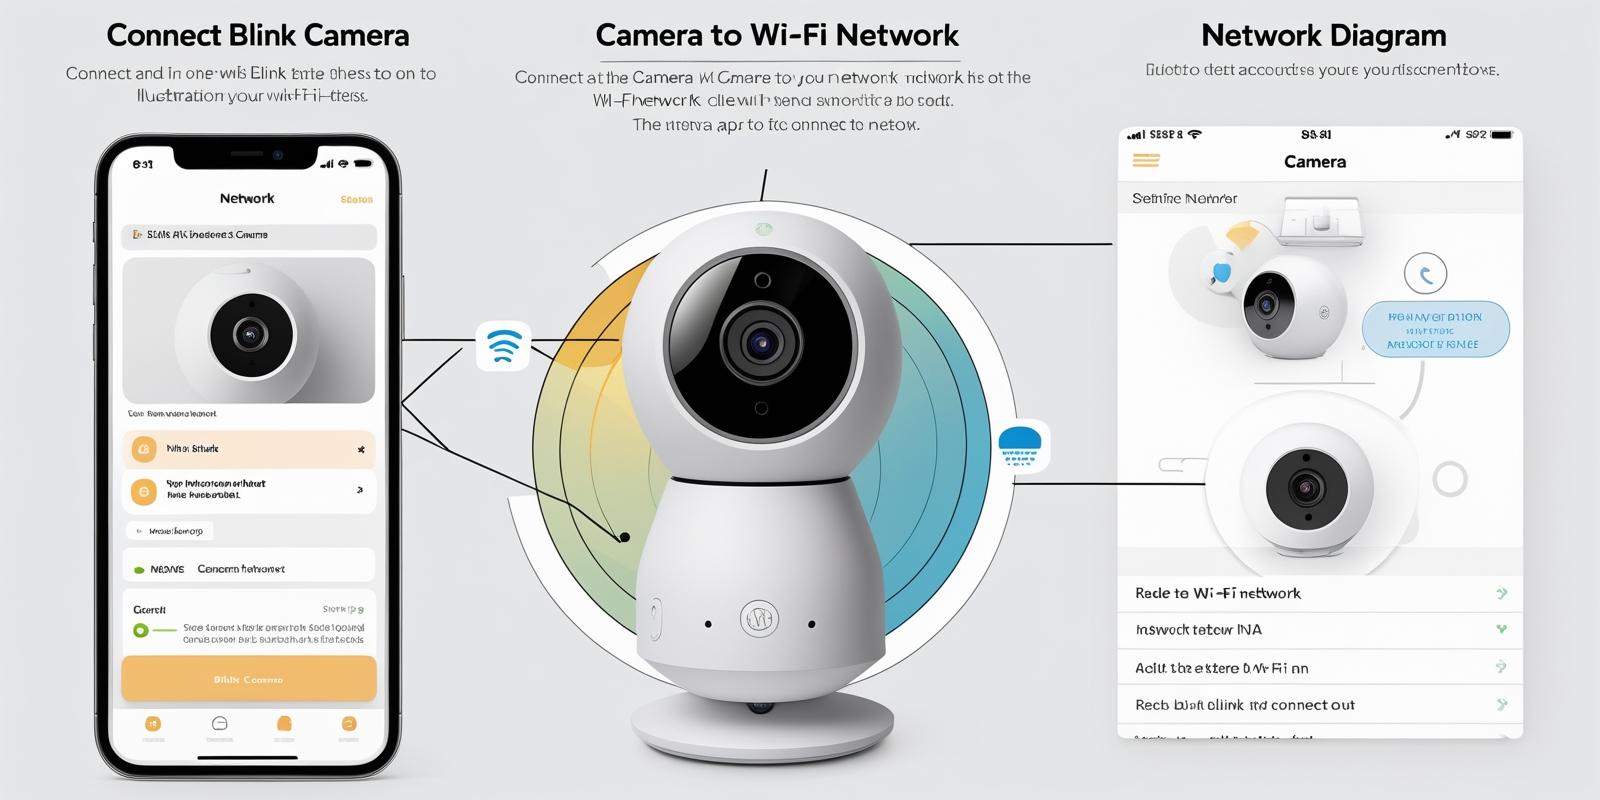
Connecting your Blink camera to Wi-Fi is essential for effective home security. A stable connection allows you to view live feeds and receive alerts from anywhere.
In today’s world, smart home devices like Blink cameras offer convenience and safety. They help you monitor your home in real-time, even when you are away. However, setting up a new Blink camera can sometimes be tricky, especially when it comes to connecting it to your Wi-Fi network.
Fortunately, the process is straightforward. You just need the Blink app and a few simple steps. In this guide, we will walk you through how to connect your Blink camera to Wi-Fi, ensuring your home security is up and running smoothly.

Credit: www.youtube.com
Introduction To Blink Cameras
Blink cameras offer a simple way to enhance home security. They are designed for easy setup and use. Users can monitor their homes from anywhere using a smartphone. The cameras connect to Wi-Fi, providing real-time alerts and video feeds.
With Blink cameras, you can feel safer at home. They are compact and blend well with any decor. Their wireless nature makes installation quick and hassle-free. No need for complicated wiring or extensive setup.
Quick Facts About Blink Cameras
- Battery-powered for flexibility.
- HD video quality for clear images.
- Customizable motion detection settings.
- Two-way audio for communication.
- Works with Alexa for voice control.
Benefits Of Wireless Connectivity
Wireless connectivity allows for greater freedom. Place the cameras anywhere within Wi-Fi range. You can monitor your home from any location using your phone. This convenience enhances your security experience.
Wireless technology reduces clutter. No long cables or complicated installations are needed. It makes moving the camera easy if needed. Simple setup means you can start monitoring quickly.
Credit: www.youtube.com
Preparation For Setup
Setting up your Blink camera requires some initial work. Proper preparation makes the process easier. Gather your items first. Understand the steps needed for configuration. This ensures a smooth setup experience.
Items You’ll Need
- Blink camera
- Sync Module
- Smartphone or tablet
- Blink app installed
- Wi-Fi network
- Wi-Fi password
Initial Steps Before Configuration
Start by checking your Wi-Fi network. Ensure it is stable and working. Next, install the Blink app on your smartphone. Open the app and create an account if you haven’t done so.
Make sure your Sync Module is powered on. Connect it to your Wi-Fi network first. This module connects your camera to the internet. Verify that the Sync Module shows a steady green light. This indicates it is online and ready.
Once everything is in place, you’re ready to connect your Blink camera. Follow the on-screen prompts in the app carefully. This will guide you through the setup process.
Installing The Blink App
To connect your Blink camera to Wi-Fi, start by downloading the Blink app. Ensure your Sync Module is online, then open the app. Follow the prompts to add your camera, join the Blink network, and connect to your home Wi-Fi.
Simple steps make setup quick and easy.
Installing the Blink App is the first step in connecting your Blink camera to Wi-Fi. This app serves as the central hub for managing your camera settings, viewing live feeds, and receiving alerts. With a user-friendly interface, you’ll find it easy to navigate through the setup process, making it a smooth experience.
Downloading The App
To get started, you need to download the Blink app.
1. For iPhone users: Open the App Store and search for “Blink Home Monitor.”
2. For Android users: Head to the Google Play Store and look for the same app.
Once you find it, tap the “Install” button. The app will download and install in a matter of seconds.
Don’t forget to check if your device is compatible with the app. Most smartphones from the last few years should work just fine.
Creating An Account
After downloading the app, it’s time to create your account. Open the Blink app, and you’ll see an option to sign up.
1. Click on “Create Account.”
2. Enter your email address and a secure password.
Make sure to choose a password that you can remember but is also difficult for others to guess. You’ll receive a verification email shortly. Click the link in that email to activate your account.
Have you ever forgotten a password? Using a password manager can save you a lot of hassle down the road.
Once your account is set up, you’re ready to pair your Blink camera. The app will guide you through the rest of the steps, making it easier to connect to your Wi-Fi network.
Why wait? Get started now and transform your home security experience!
Sync Module Integration
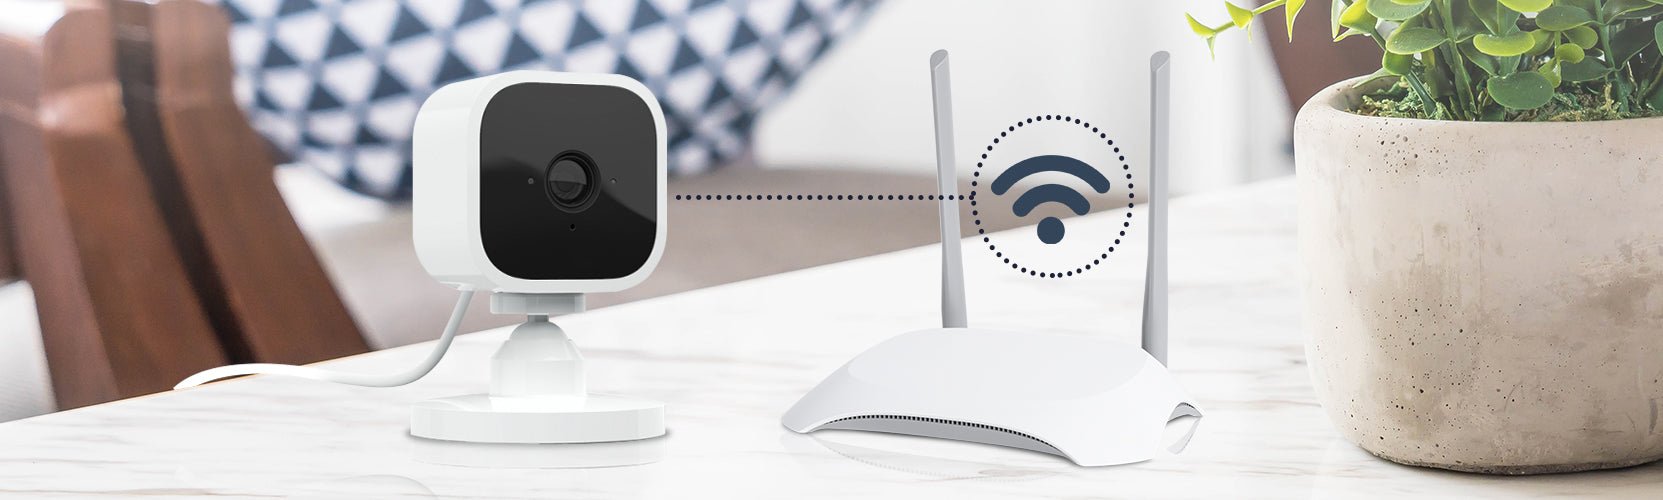
Connecting your Blink camera to Wi-Fi involves the Sync Module. This module acts as a bridge between your camera and the internet. It ensures seamless communication. Understanding how to set it up is crucial for smooth operation.
Understanding The Sync Module
The Sync Module connects your Blink cameras to your Wi-Fi network. It allows for remote access through the Blink app. Each Sync Module can support multiple cameras. Knowing its functions helps in troubleshooting issues.
The module has LED lights that indicate its status. A steady green light means it is connected. A blinking blue light shows it is ready to connect. Understanding these signals can save time during setup.
Connecting The Sync Module To Wi-fi
Start by placing the Sync Module near your Wi-Fi router. Power it on and wait for the LED lights to blink blue. This indicates it is ready for setup. Open the Blink app on your smartphone.
Tap the “+” icon in the app. Choose your camera type and follow the prompts. You can scan the QR code or enter the serial number. Next, join the “BLINK-XXXX” Wi-Fi network. This is unique to your Sync Module.
After joining, select your home Wi-Fi network. Enter the Wi-Fi password when prompted. Wait for the Sync Module to connect. A steady green light confirms the connection is successful.
Adding Your Camera To The App
Connecting your Blink camera to Wi-Fi is straightforward. Start by ensuring your Sync Module is online. Use the Blink app to add your camera, selecting the correct type and entering the required details. Follow prompts to connect to your home Wi-Fi for seamless access.
Adding your Blink camera to the app is a crucial step in ensuring you can monitor your home effectively. This process is straightforward, but it requires a few specific actions. Let’s dive into how you can easily get your camera connected and ready for use.
Navigating The Blink App Interface
Upon opening the Blink app, you’ll be greeted by a user-friendly interface designed for simplicity. The main screen displays your connected devices, but since you’re adding a new camera, look for the “+” icon.
Tap on this icon to start the setup process. The app will guide you through each step, making it easy to follow along.
Have you ever felt overwhelmed by too many options in an app? The Blink app keeps things clean and simple, which is a breath of fresh air.
Scanning The Qr Code
Once you’ve selected the option to add a camera, the app will prompt you to scan a QR code. This code is usually found on the camera or in the packaging.
Hold your phone steady and align the QR code within the scanning frame on your screen.
If you encounter difficulties, try adjusting the distance between your camera and your phone. I remember the first time I set up my camera; I had to take a few steps back to get the right angle.
After a successful scan, the app will confirm that your camera is ready to connect. This step is vital as it ensures your camera is recognized by the system.
Are you excited to see what your Blink camera can do? With the app guiding you, you’re one step closer to enhancing your home security.
Wi-fi Connection Steps
Connecting a Blink camera to Wi-Fi is simple. Start by ensuring your Sync Module is online. Use the Blink app to add your camera, join the “BLINK-XXXX” network, and enter your home Wi-Fi details. Follow the prompts carefully for a successful connection.
Connecting your Blink camera to Wi-Fi is a straightforward process that allows you to monitor your home from anywhere. By following the Wi-Fi connection steps, you’ll ensure your camera is online and ready to work. Let’s break it down into easy-to-follow sections.
Selecting Your Wi-fi Network
First, make sure your Blink Sync Module is powered on and connected to your Wi-Fi. Open the Blink app on your smartphone and tap the “+” icon to add a new device.
You will see a list of available networks. Select your home Wi-Fi from the list. If your network isn’t visible, double-check that your router is functioning correctly.
Entering Wi-fi Credentials
Once you’ve selected your Wi-Fi network, it’s time to enter your credentials. Type in your Wi-Fi password carefully. Remember, passwords are case-sensitive, so check for any uppercase or special characters.
After entering your password, tap “Connect.” You’ll see the camera attempting to connect to your Wi-Fi. This may take a few moments, but once connected, you’ll receive a confirmation in the app.
Getting your Blink camera online can feel rewarding. Imagine being able to check on your home anytime, anywhere. What peace of mind does that bring you?
Troubleshooting Connection Issues
Connecting your Blink camera to Wi-Fi can sometimes be tricky. Start by ensuring your Sync Module is online. Use the Blink app to scan the QR code or enter the serial number, then join the “BLINK-XXXX” network and select your home Wi-Fi.
Follow the prompts to complete the connection.
Troubleshooting connection issues with your Blink camera can feel frustrating. You may have followed all the steps to connect, yet your camera still refuses to cooperate. Don’t worry; you’re not alone. Many users encounter similar problems. This guide will help you identify common connection problems and walk you through resetting your camera to get it back online.
Common Connection Problems
Several issues can hinder your Blink camera from connecting to Wi-Fi. One major culprit is the distance between your camera and the Sync Module. If the camera is too far away, the signal may weaken, leading to connection failures.
Another common issue is an incorrect Wi-Fi password. Double-check that you’ve entered your home Wi-Fi password accurately. Even a small typo can prevent your camera from connecting.
Additionally, make sure your Sync Module is powered on and connected to the internet. If the Sync Module is offline, your camera won’t be able to connect. Have you noticed any blinking red lights? This is a sign that your Sync Module is having trouble connecting.
Resetting The Camera
If you’re still facing issues, resetting your Blink camera might be the solution. To reset, locate the small reset button on the back of your camera. Use a paperclip or a similar tool to press and hold the button for about 10 seconds.
Once the camera resets, the LED light will start to blink rapidly. This indicates that it’s ready to be set up again. Open your Blink app and follow the setup instructions as if you’re connecting a new camera.
After resetting, ensure your camera is within range of the Sync Module, and try to connect to your Wi-Fi again. This simple reset can often resolve lingering connection issues. Have you tried these steps yet? If not, give them a shot and see if your camera reconnects.
Remember, staying patient during this process can make a world of difference. Your Blink camera is designed to enhance your home security, so getting it back online is well worth the effort!
Securing Your Camera Network
Securing your Blink camera network is essential for safety. A well-protected network keeps your footage safe from intruders. Follow these tips to ensure your camera stays secure.
Wi-fi Network Safety Tips
Start with a strong Wi-Fi password. Use a mix of letters, numbers, and symbols. Avoid common words or personal information. Change your password regularly for added security.
Enable WPA3 or WPA2 encryption on your router. This protects your network from unauthorized access. Disable WPS features to reduce vulnerabilities.
Limit access to your Wi-Fi network. Only share your password with trusted individuals. Consider hiding your network name to keep it off public lists.
Regular Maintenance Checks
Perform regular checks on your camera settings. Make sure the firmware is up to date. This helps protect against security threats.
Review your camera footage periodically. Look for any unusual activity. If you notice anything strange, take action immediately.
Inspect your network devices for any signs of unauthorized access. Change passwords if necessary. Keep your Blink app updated for the best security features.
Advanced Settings And Customization
Customizing your Blink camera settings enhances its performance. It allows you to tailor features to your needs. Understanding advanced settings helps you get the most out of your device. You can adjust various options easily through the Blink app.
Adjusting Camera Settings
Access the camera settings through the Blink app. Select the camera you want to customize. Here, you can change resolution settings to optimize video quality. Choose between standard and high-definition options. Adjust motion detection sensitivity to avoid false alarms. This can help you focus on important events.
Set specific schedules for when the camera should be active. This helps save battery life. You can also turn on or off night vision based on your needs. Remember to save any changes after adjusting the settings.
Exploring Additional Features
Explore features that enhance your camera experience. Enable two-way audio for real-time communication. This feature is useful for talking to visitors. You can also set up motion alerts to receive instant notifications.
Consider using the camera’s live view option. This allows you to see what’s happening in real-time. Use the cloud storage feature to save important clips. This ensures you never miss any crucial moments. Take the time to familiarize yourself with all available features.
Credit: wasserstein-home.com
Frequently Asked Questions
How Do I Connect My Blink Camera To A New Wi-fi?
To connect your Blink camera to a new Wi-Fi, open the Blink app. Tap the “More” button, then select “Device Settings. ” Choose “General Settings,” and tap “Change Wi-Fi. ” Follow the prompts until the camera shows blinking blue and steady green lights, then select your new Wi-Fi network.
How Do I Get My Blink Camera Back Online?
To get your Blink camera back online, ensure the Sync Module is connected to Wi-Fi. Check battery levels and signal strength. Restart the Sync Module and the Blink app. If needed, relocate the Sync Module closer to the router. Update the Blink app for optimal performance.
How To Reset Blink Camera After Changing Wi-fi?
To reset your Blink camera after changing Wi-Fi, open the Blink app. Go to Device Settings, select General Settings, and tap Change Wi-Fi. Press and release the reset button on the camera until the red and blue lights flash. Wait for the lights to show blinking blue and steady green.
How Do I Connect My Security Camera To My New Wi-fi?
To connect your security camera to new Wi-Fi, open the camera app. Follow the prompts to select your camera and enter your new Wi-Fi credentials. Ensure your camera is powered on and within range of the Wi-Fi signal. Save the settings to establish the connection.
Conclusion
Connecting your Blink camera to Wi-Fi is a straightforward process. Follow the steps carefully for a successful setup. Ensure your Sync Module is ready and online. Use the Blink app for easy connection. Your camera will be up and running in no time.
Regular updates and checks can maintain its performance. Enjoy the peace of mind that comes with reliable home security. Stay connected and keep your camera functioning well. With these simple steps, you can enhance your home surveillance effortlessly. Happy monitoring!
As an Amazon Associate, I earn from Qualifying Purchases.