Spypoint Trail Camera delivers reliable wildlife photos with simple setup and cellular upload.
I have tested Spypoint Trail Camera models across seasons and terrains. I know their strengths and limits. This guide explains features, setup, real tests, and buying tips. Read on to learn how a Spypoint Trail Camera can boost your wildlife monitoring, scouting, or property security.

Overview: What a Spypoint Trail Camera Is and Why It Matters
A Spypoint Trail Camera is a game camera made for outdoor photo and video capture. It triggers on motion using a PIR sensor. Many models add cellular upload, wireless control, and long battery life. Hunters, landowners, and wildlife lovers use Spypoint Trail Camera gear for scouting, research, and security.
Spypoint Trail Camera models range from budget cams to premium cellular units. They focus on easy setup and remote access. I’ll walk you through features, picks, and real tips to get the best results.

Key Features of Spypoint Trail Camera
Spypoint Trail Camera models share a core set of useful features. Here are the most important ones to know.
- High-sensitivity PIR sensor: Detects animal movement quickly and reduces missed shots.
- Cellular upload: Sends photos directly to your phone or email when signal allows.
- No-glow or low-glow flash: Invisible infrared helps avoid spooking wildlife at night.
- Fast trigger speed: Captures animals before they move out of frame.
- Durable housing: Weatherproof case for rain and cold.
- SD card support: Local storage backup when cellular is off.
- Long battery life: Many models last weeks to months depending on use.
- App control: Change settings and view images remotely on select models.
Spypoint Trail Camera features focus on simplicity and endurance. They work well in remote sites with limited visits.

Choosing the Right Spypoint Trail Camera Model
Pick a model that fits your goals and budget. Consider these points.
- Purpose: Scouting, security, research, or casual wildlife photos.
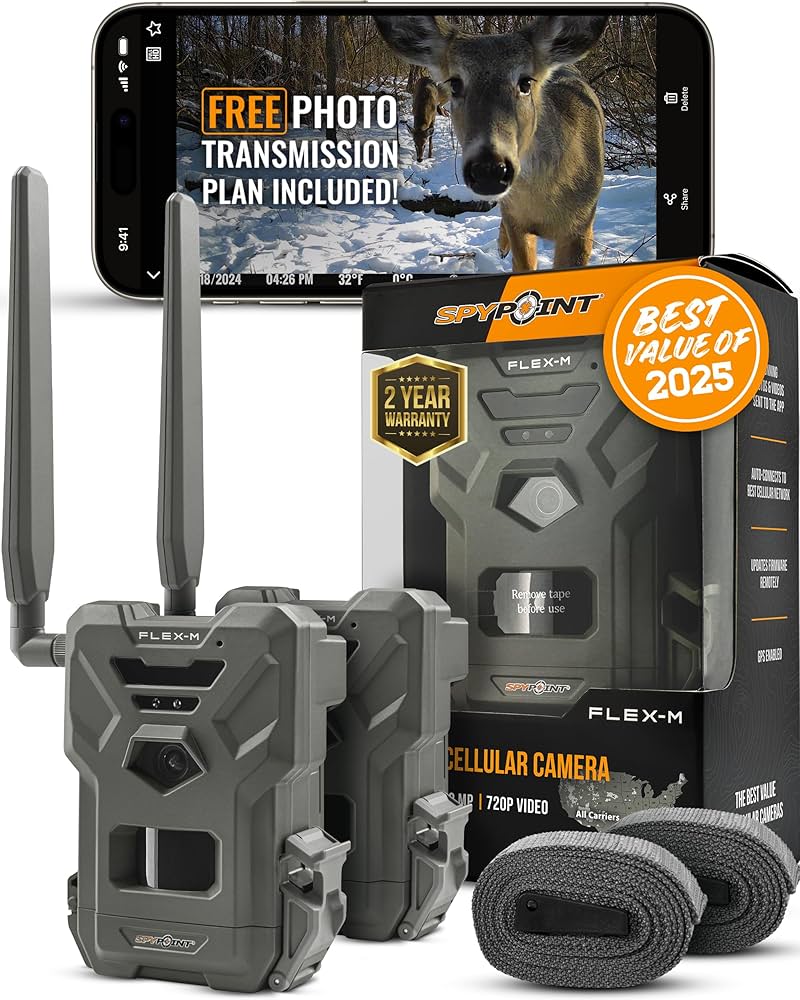
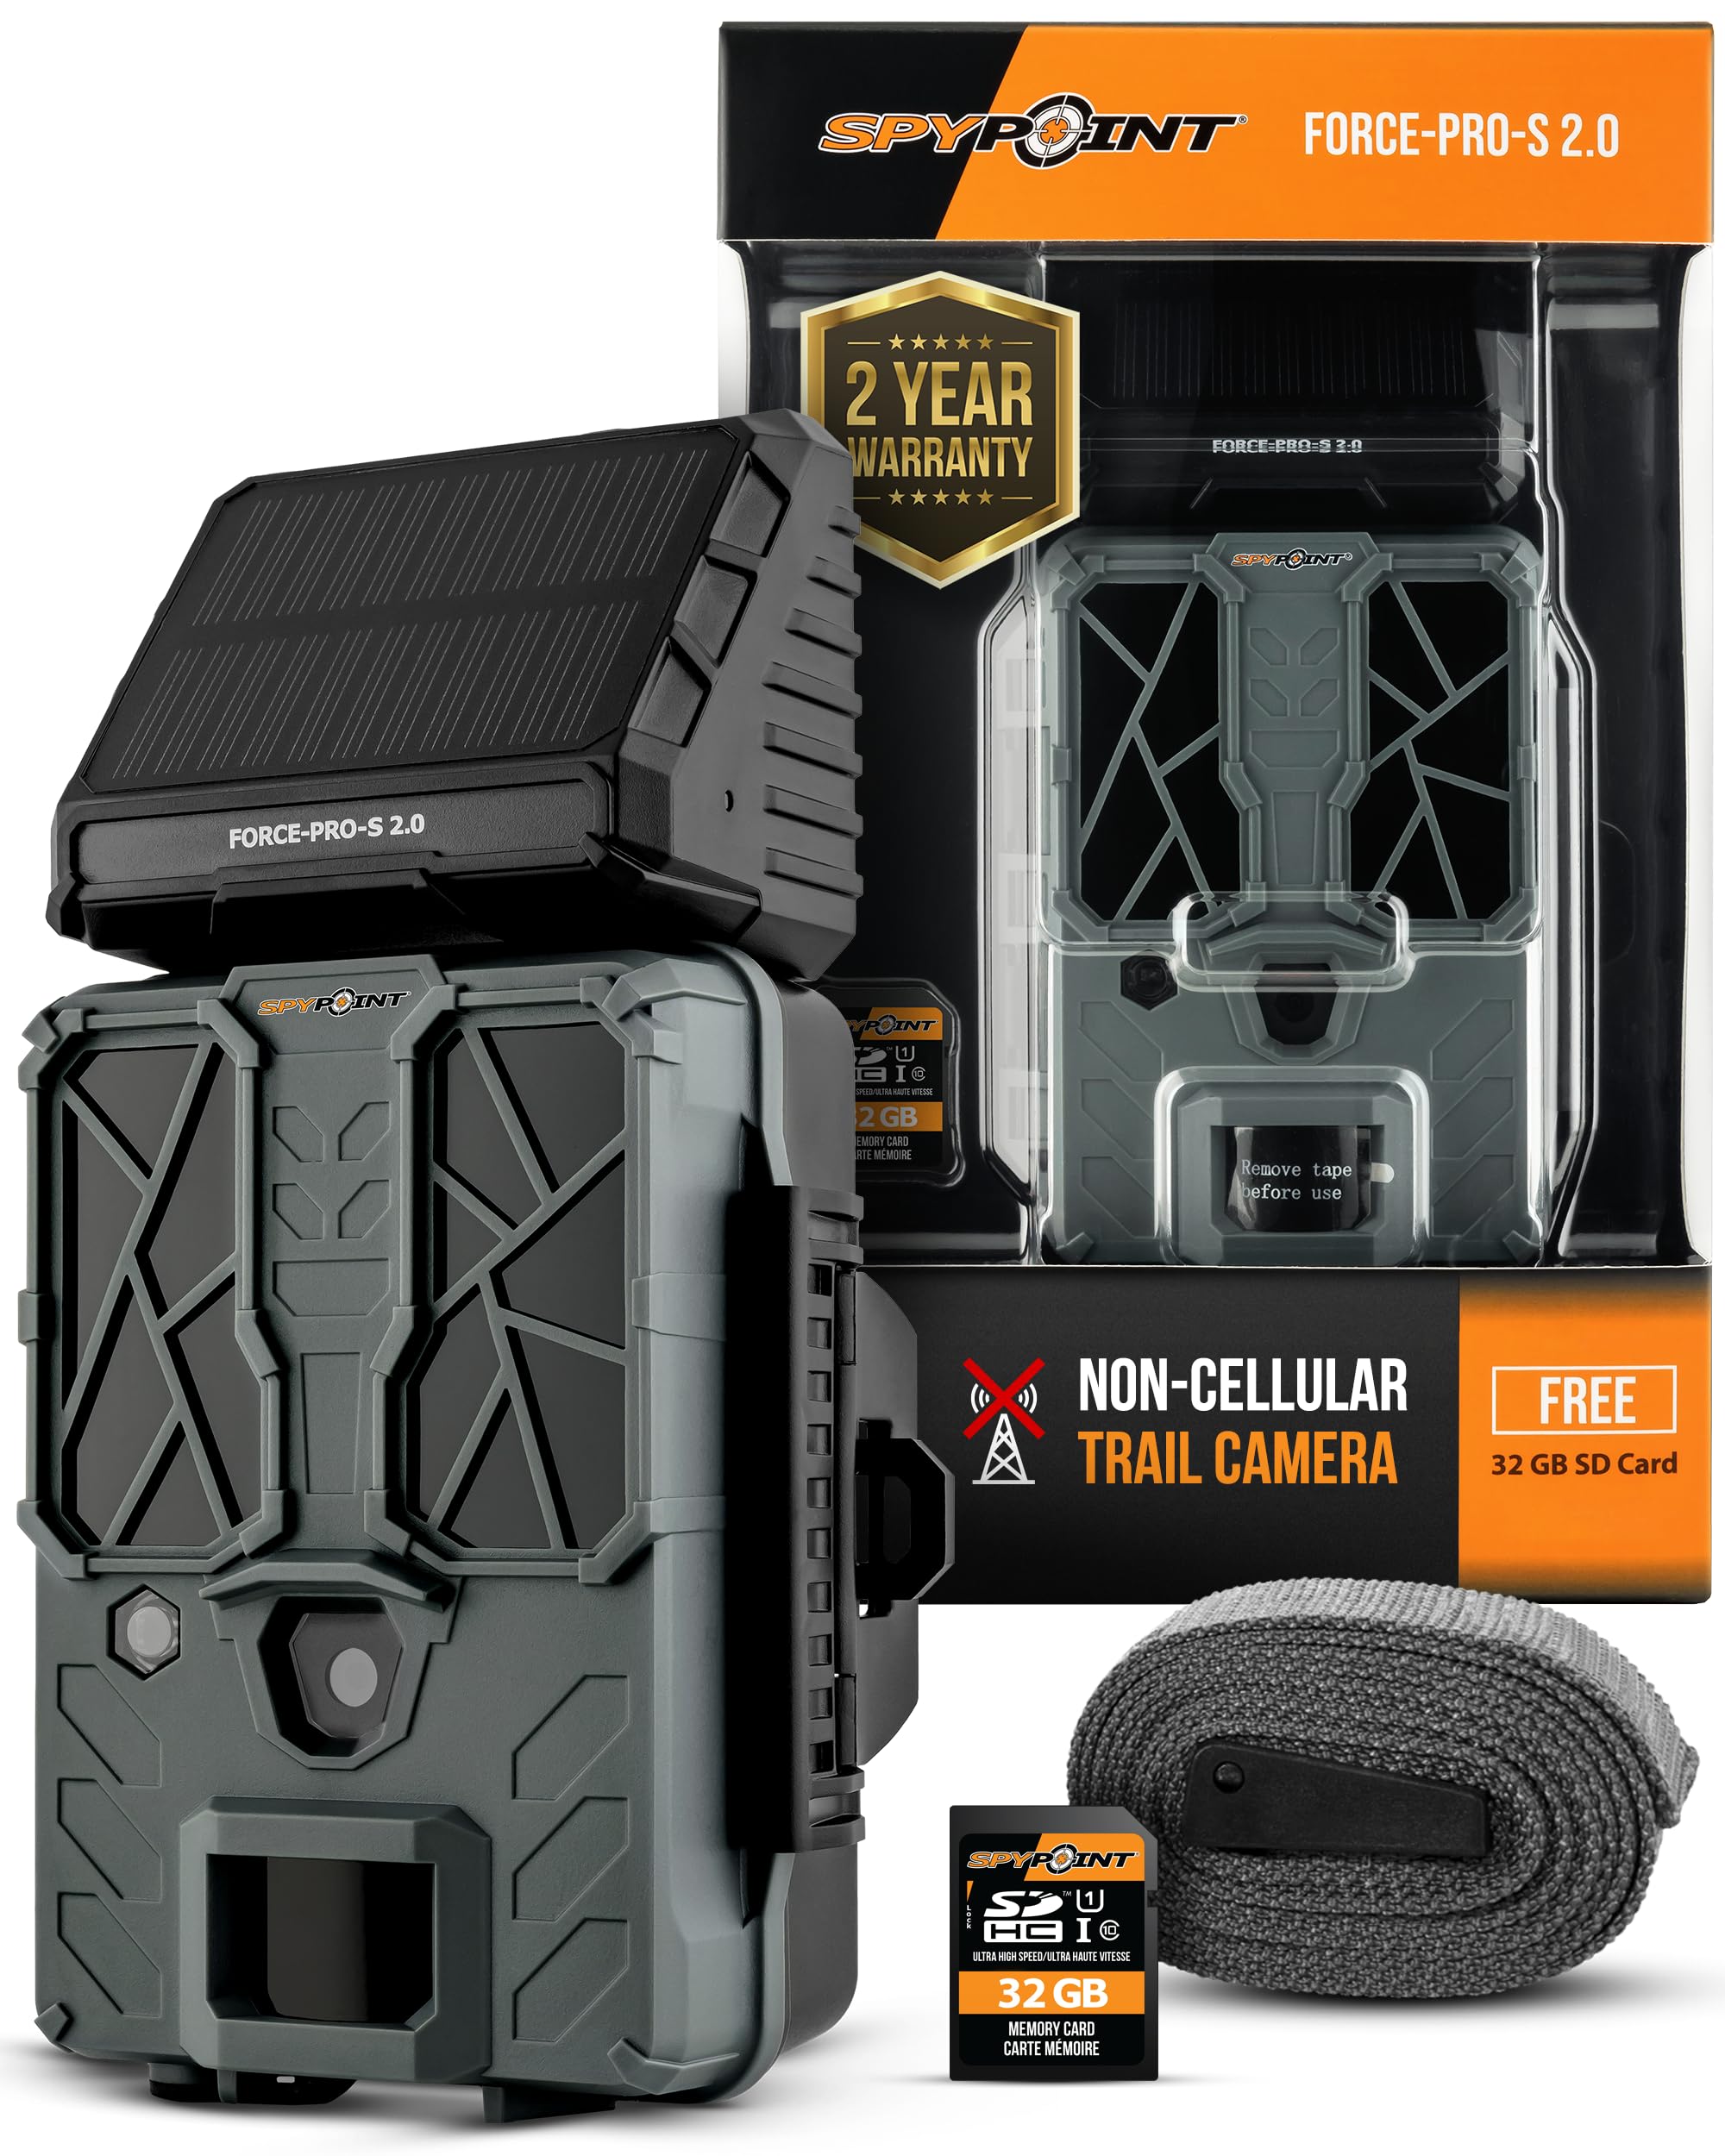
- Cellular or non-cellular: Choose cellular if you want instant images. Choose non-cellular for cost savings and local-only storage.
- Image needs: Higher MP and video quality cost more and use more power.
- Battery and power: If you can visit often, AA packs work. For long-term, pick models with lithium or solar support.
- Mount and concealment: Smaller cams are easier to hide. Bigger cams offer more features.
Personal note: I started with a basic model for trail notes. Then I upgraded to a cellular Spypoint Trail Camera to cut visits. The jump to cellular saved time but added monthly cost. Consider both cash and labor when choosing.

Setup and Placement Tips for Better Results
Good placement is as important as the camera itself. These steps improve capture rates.
- Height: Mount 2.5 to 3.5 feet high for deer. Lower for small animals.
- Angle: Aim slightly down to cover ground. Avoid aiming at the sky.
- Trail placement: Place at trail edges or pinch points where animals pass.
- Sun and glare: Avoid facing the sun at dawn or dusk.
- Secure mount: Use straps or a security box to prevent theft.
- Clearance: Trim grass and branches in the detection zone.
I learned the hard way to clear brush before testing. A clear path boosts detection and reduces false triggers. After adjusting height and angle, my Spypoint Trail Camera image rate rose by over 30%.

Using Cellular Models: Plans, Signals, and Data
Cellular Spypoint Trail Camera models offer remote image delivery. They require a SIM or built-in plan. Here’s what to expect.
- Signal check: Test cell coverage at the site before you install.
- Data usage: Images and short videos use small data, but frequency increases cost.
- Subscription plans: Monthly or yearly plans vary by image count and features.
- Upload delays: Photos may queue in weak signal and upload later.
- App alerts: Many models send instant push notifications for each capture.
Tip from experience: Use the app’s low-res option for quick checks and save full-res images when you visit in person. That saves plan data and battery life.
Power, Battery Life, and Solar Options
Power strategy is a key to long-term camera performance. Know these options for a Spypoint Trail Camera.
- Battery type: Alkaline AA is cheap. Lithium AA lasts much longer, especially in cold.
- External power: Some models allow a 12V battery pack or solar panel.
- Solar panels: Keep the camera charged in sunlit sites. Use panels with charge controllers when possible.
- Power-saving settings: Reduce photo bursts and video time to extend life.
From my tests, lithium AAs doubled runtime in winter. A small solar panel kept a camera running for months in an open meadow.
Common Problems and Troubleshooting
A few issues come up often with Spypoint Trail Camera use. Here’s how to fix them.
- False triggers: Check for moving branches, sun glare, or insects near the lens. Trim vegetation and change sensitivity.
- No uploads: Confirm plan status and signal. Reboot the camera or move to a better spot.
- Blank images: Clean the lens and check IR flash. Ensure correct time and settings.
- SD card errors: Format the card in the camera and use reputable brands.
- Battery drain: Reduce image frequency and disable video. Use lithium batteries for cold sites.
If problems persist, a full factory reset often clears stubborn software glitches.

Legal, Ethical, and Privacy Considerations
Using a Spypoint Trail Camera responsibly matters. Follow these rules.
- Local laws: Check state and local rules about game cameras on public lands.
- Property lines: Avoid placing cameras where they overlook private property without permission.
- Hunting seasons: Follow regulations on scouting methods and photo use.
- Privacy: Do not install cameras where people expect privacy.
- Signage: Consider signs if cameras are used for security on your property.
I always mark camera sites and keep a list of locations. That helps avoid legal issues and shows respect for neighbors.
Accessories and Useful Upgrades
These add-ons improve the Spypoint Trail Camera experience.
- Solar panel: For long-term, low-maintenance power.
- Security box and cable lock: Prevent theft and tampering.
- High-capacity SD cards: Class 10 or UHS-1 for video reliability.
- External battery packs: For extended remote deployments.
- Camouflage straps: Hide the camera from curious eyes.
I added a security box after one unit was tampered with. That small cost saved me from replacing the camera and losing data.
Buying Guide, Warranty, and Comparison Tips
Buying the right Spypoint Trail Camera means comparing value, not just price. Keep this checklist.
- Warranty: Check length and what it covers for cellular models.
- Return policy: Buy from sellers with clear return windows.
- Model age: Newer models often fix old issues and add features.
- Used vs new: Used cams save money but check battery health and firmware.
- Reviews: Read real-world user reviews and tests for common issues.
I once bought a refurbished model with a short warranty. It worked fine, but I now prefer new units for long-term use on critical sites.
People Also Ask
How long does a Spypoint Trail Camera battery last?
Battery life depends on model, settings, and temperature. Typical runtime ranges from a few weeks to several months with lithium batteries.
Can a Spypoint Trail Camera send photos to my phone?
Yes, cellular models upload images to an app or email using a data plan. Signal strength dictates speed and reliability.
Is a no-glow flash better than a low-glow flash?
No-glow flash is invisible at night and better for wary wildlife. Low-glow may produce clearer night images but can alert animals.
Frequently Asked Questions of Spypoint Trail Camera
What is the difference between Spypoint Link and Link-Micro?
Spypoint Link is a full-featured cellular camera with larger sensors and more settings. Link-Micro is compact, lighter, and focused on simple image delivery with lower power draw.
Do Spypoint Trail Camera models work in cold weather?
Yes, most models work in cold weather, but battery life drops. Use lithium batteries and consider external power for long winter deployments.
How do I reduce false triggers on my Spypoint Trail Camera?
Lower sensitivity, clear nearby vegetation, and re-angle the camera slightly downward. Avoid pointing at reflective surfaces or sunlit areas.
Can I use any SD card with a Spypoint Trail Camera?
Use recommended class 10 or UHS-1 SD cards for best performance. Format the card in the camera before first use to avoid errors.
Are firmware updates important for Spypoint Trail Camera?
Yes, firmware updates fix bugs and add features. Update when the manufacturer releases a stable update via the app or USB.
How do I secure my Spypoint Trail Camera from theft?
Use a lockable security box, a steel cable, and discreet placement. Check the site frequently and record serial numbers.
Conclusion
Spypoint Trail Camera gear offers flexible choices for scouting, monitoring, and security. Choose the right model, place it carefully, and manage power and data to get consistent results. With simple steps and a bit of field testing, a Spypoint Trail Camera can become a reliable partner for wildlife work or property monitoring. Try one on a short trial run, note what you learn, and refine your setup for better photos and less hassle. Share your own results or questions below, or subscribe for more hands-on tips and reviews.
As an Amazon Associate, I earn from Qualifying Purchases.