
The camera in a MacBook Air is located at the top of the screen. It sits right in the middle of the upper bezel.
Many people search for the camera on their MacBook Air for various reasons. Whether you need it for video calls, taking photos, or recording videos, knowing its exact location is essential. The camera is small and blends seamlessly into the design, which makes it hard to spot at first.
In this guide, you will learn more about the camera’s position, its features, and how to use it effectively. So, let’s dive in and make the most of your MacBook Air’s camera!
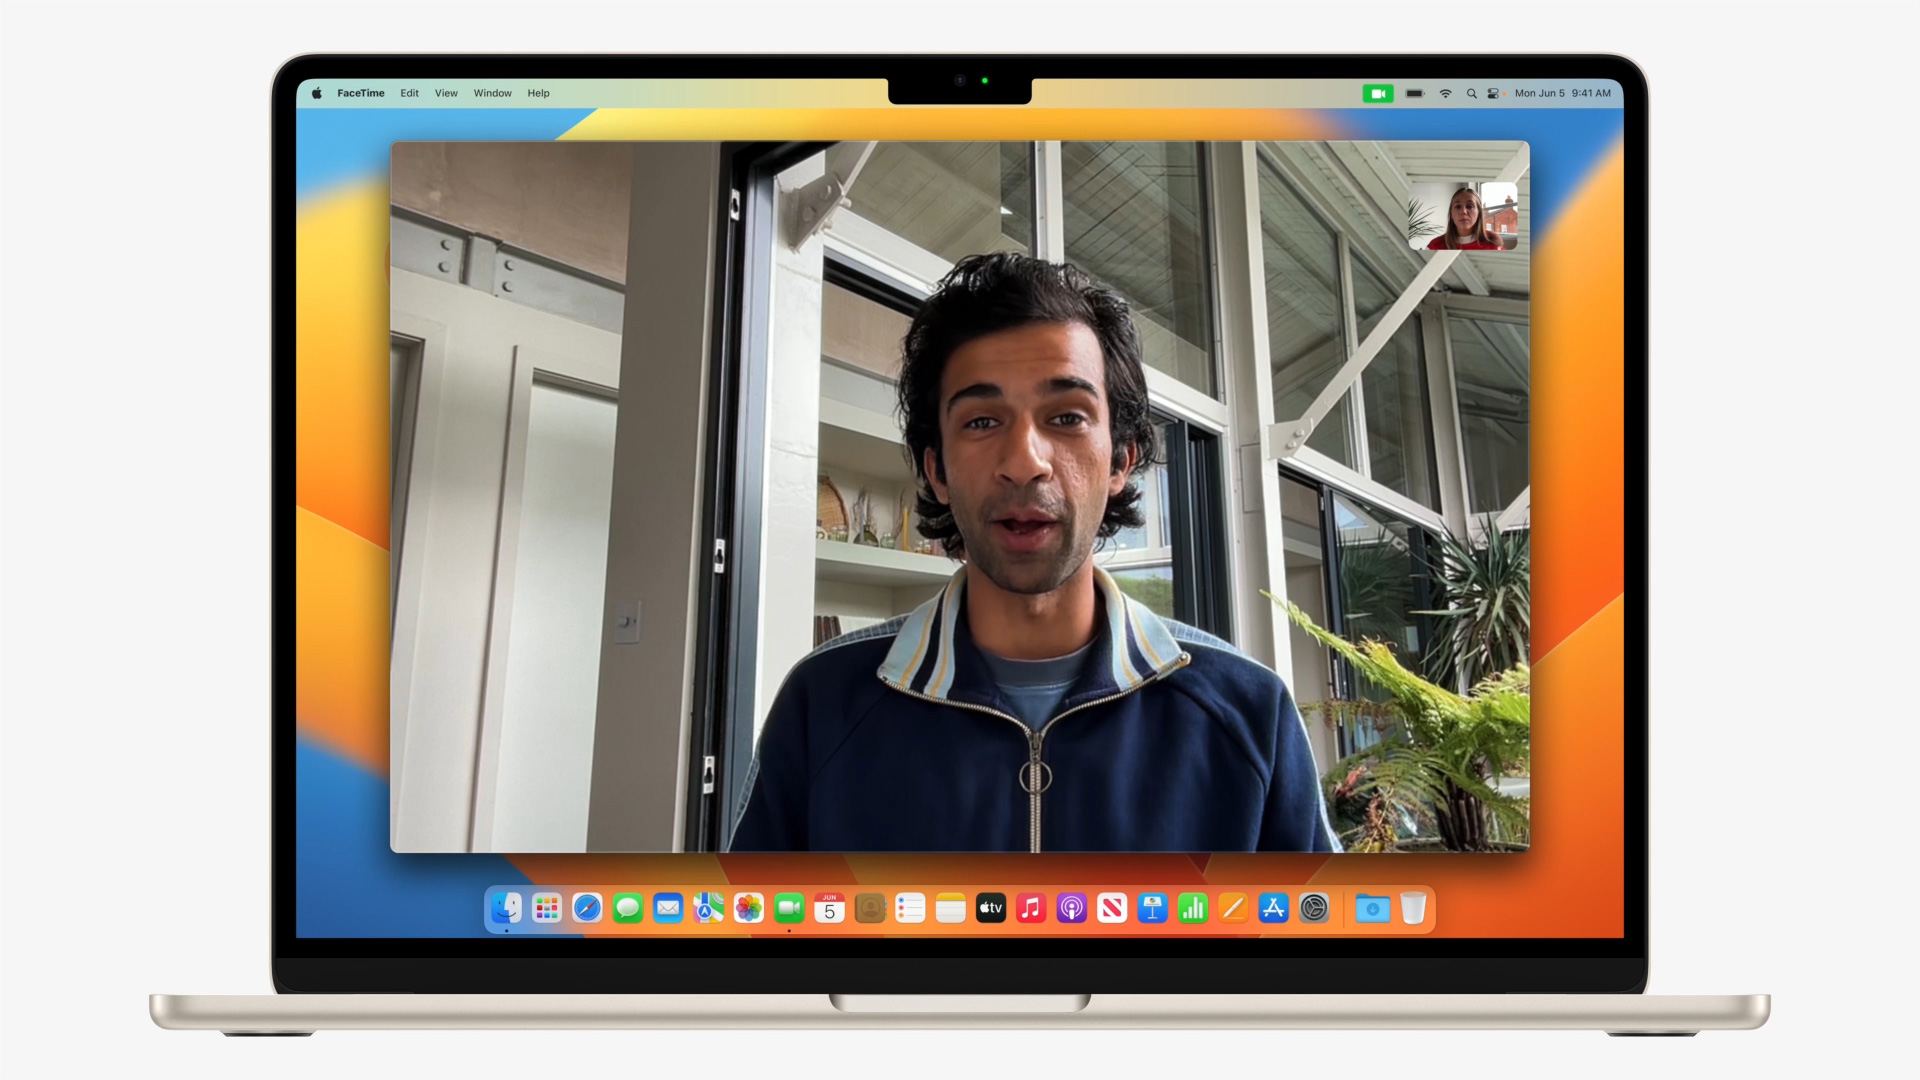
Credit: www.apple.com
Locating The Camera
Are you having trouble finding the camera on your MacBook Air? Don’t worry. You’re not alone. The built-in camera is easy to locate once you know where to look. This section will guide you through the process.
Built-in Camera Location
The camera on your MacBook Air is built into the display. It’s at the top center of your screen. You can see it as a small, circular lens. It blends seamlessly with the design of your laptop. This placement makes it convenient for video calls and selfies.
Identifying The Camera
Identifying the camera is simple. Open your MacBook Air and look at the top bezel. The camera is positioned in the middle. It might be hard to notice at first glance. But once you see it, you’ll always know where it is.
To confirm, open an application that uses the camera. Try FaceTime or Photo Booth. If the camera is working, you will see your image on the screen. This confirms its location and functionality.

Credit: www.youtube.com
Accessing Camera Settings
Many MacBook Air users want to know how to access the camera settings. The built-in camera is useful for video calls, online meetings, and taking photos. Knowing where to find and adjust camera settings can enhance your experience. Below, we will guide you through the steps.
System Preferences
To find the camera settings, start by opening System Preferences. Click on the Apple menu at the top left of your screen. Select “System Preferences” from the drop-down menu. This will open a new window with various settings.
In the System Preferences window, look for the “Security & Privacy” icon. Click on it to proceed to the next step. This area contains important settings for your MacBook Air.
Privacy Settings
Once you are in the Security & Privacy section, click on the “Privacy” tab. Here, you will see a list of options on the left side of the window. Scroll down and find the “Camera” option. Click on it to view which apps have access to your camera.
You can manage which apps are allowed to use the camera. If an app is not on the list, you can add it by clicking the “+” button. Make sure you only grant access to trusted applications. This ensures your privacy and security.
Using The Camera
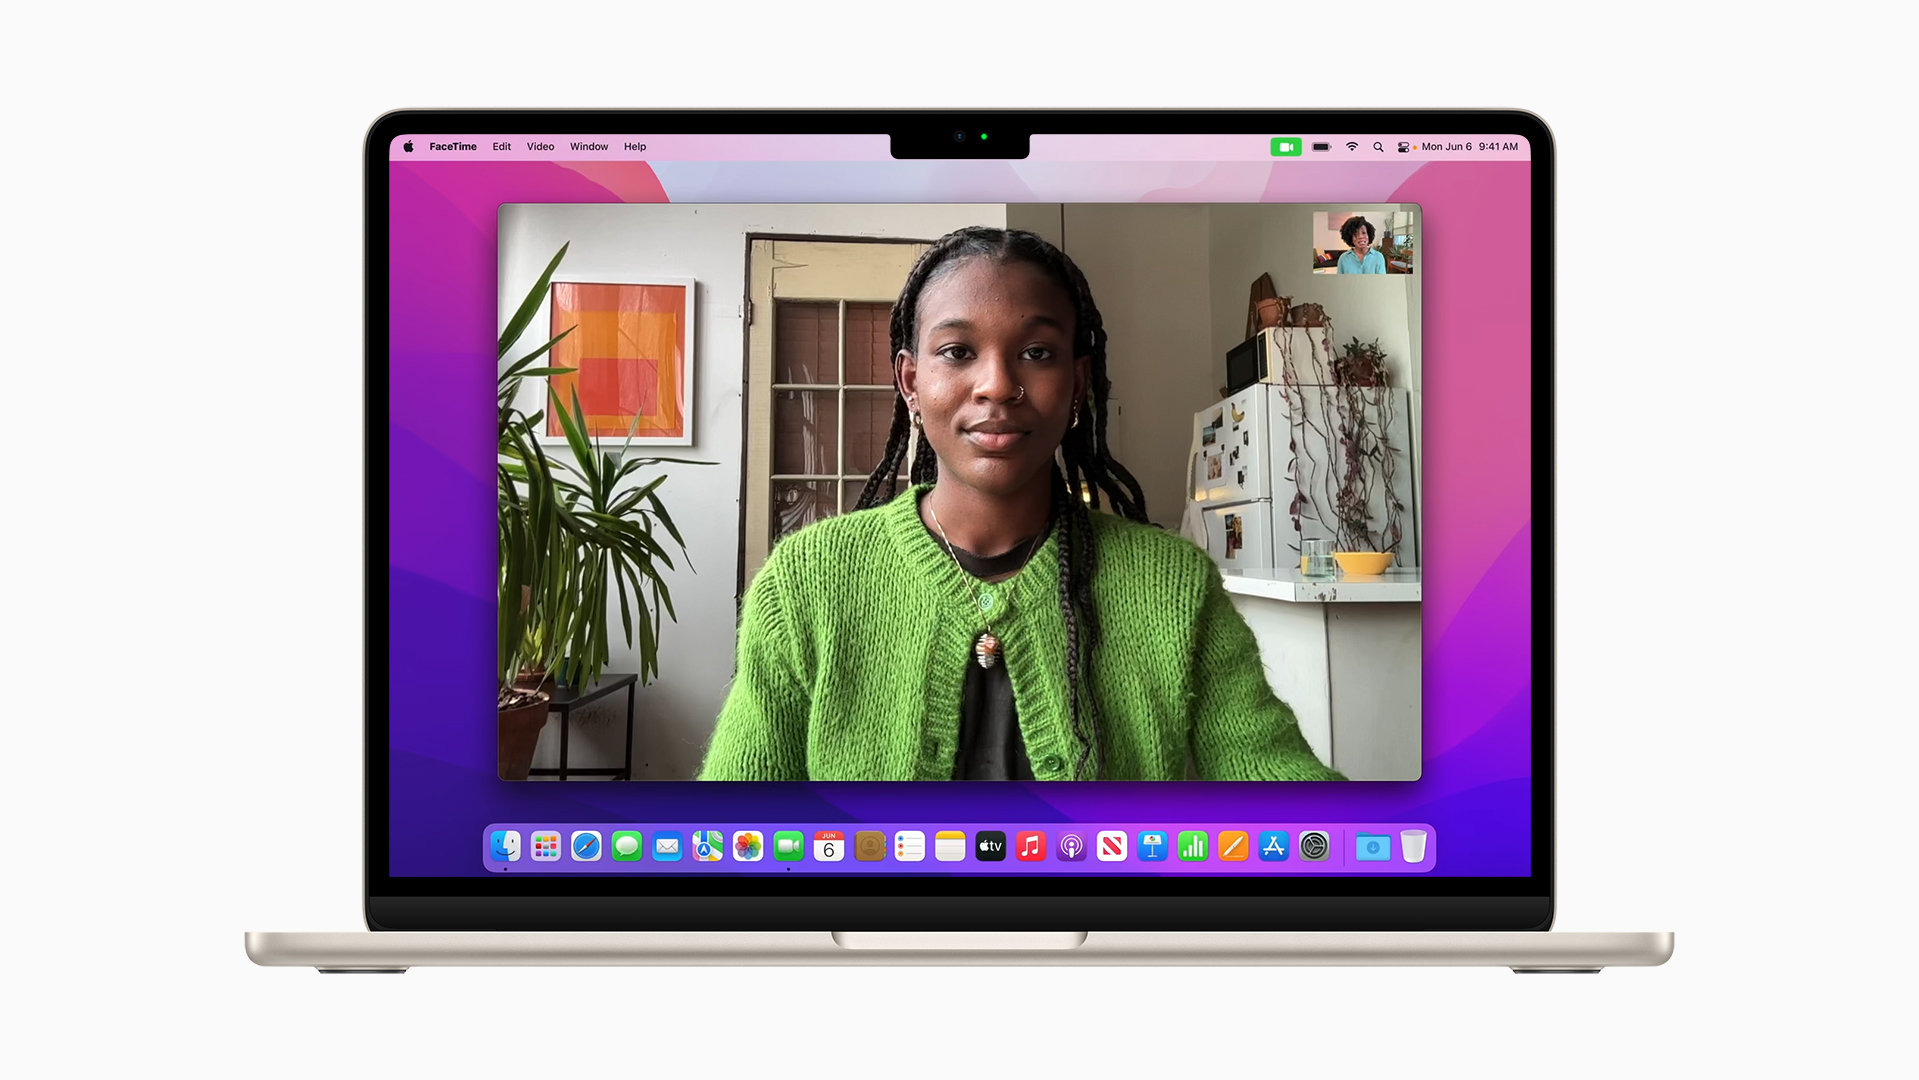
The MacBook Air comes with a built-in camera that is easy to use. This camera, often called the FaceTime HD camera, is located at the top of the screen. It’s useful for video calls, taking photos, and even scanning documents. Let’s explore some common applications and how to test the camera.
Common Applications
Many applications use the MacBook Air’s camera. FaceTime is the most popular one. It allows you to make video calls to other Apple users. Zoom and Skype also use the camera for video conferencing. These apps help you stay connected with family, friends, and colleagues.
Photo Booth is another application that uses the camera. This app is fun and easy to use. You can take photos and videos with various effects. It’s a great way to capture moments or make creative videos.
The camera is also handy for online classes. Apps like Google Meet and Microsoft Teams use the camera for virtual learning. This makes it easier to attend classes and interact with teachers and classmates.
Testing The Camera
Testing the camera on your MacBook Air is simple. Open the Photo Booth app. If the camera is working, you will see yourself on the screen. You can also use the FaceTime app to test the camera. Open FaceTime and start a video call. If you see yourself, the camera is working well.
If the camera doesn’t work, check if it’s blocked. Make sure there are no stickers or covers over the camera. Also, check the camera settings in System Preferences. Go to Security & Privacy, then Camera. Ensure the apps have permission to use the camera.
Restarting your MacBook Air can fix minor issues. If the camera still doesn’t work, contact Apple Support for help. They can guide you through more advanced troubleshooting steps.
Troubleshooting Camera Issues
Experiencing camera issues on your MacBook Air can be frustrating. Whether you’re trying to join a video call or take a photo, a non-functioning camera can disrupt your plans. This guide will help you identify and fix common camera problems on your MacBook Air.
Common Problems
- Camera Not Detected: Your MacBook Air may not recognize the built-in camera.
- Black Screen: The camera shows a black screen instead of an image.
- Camera In Use: An app may show that the camera is already in use by another application.
Solutions And Fixes
Here are some solutions to common camera problems:
| Problem | Solution |
|---|---|
| Camera Not Detected |
|
| Black Screen |
|
| Camera In Use |
|
If the camera still does not work, consider contacting Apple Support. They can provide further assistance. Fixing camera issues ensures smooth video calls and clear photos.
Updating Camera Drivers
Updating your camera drivers on a MacBook Air can enhance the camera’s performance. It ensures your camera functions well with the latest applications. This section will guide you through the process of updating camera drivers.
Software Update Process
The first step in updating camera drivers is checking for software updates. Go to the Apple menu and select “System Preferences”. Click on “Software Update”. This will prompt your MacBook Air to check for the latest updates.
If updates are available, click on “Update Now”. This will download and install the necessary updates. Ensure your MacBook Air is connected to a stable internet connection during this process. Restart your MacBook Air after the updates are installed. This helps the new drivers to take effect.
Ensuring Compatibility
Ensuring compatibility is crucial. Before updating, check the system requirements of the update. Some updates may not be compatible with older MacBook Air models.
Visit the official Apple Support website for information on compatibility. If your MacBook Air is old, consider consulting with Apple Support. This will help you avoid potential issues with incompatible updates.
Third-party Camera Apps
MacBook Air comes with a built-in camera. Yet, many users seek enhanced functionality. This is where third-party camera apps come in handy. These apps offer various features. They can improve photo quality, add filters, and more. Let’s explore some popular apps and how to install them.
Popular Apps
Several third-party camera apps can enhance your MacBook Air experience. Here are some top choices:
- Webcam Settings: Adjust focus, exposure, and white balance.
- iGlasses: Add effects, zoom, and improve lighting.
- ManyCam: Stream video, add layers, and use virtual backgrounds.
Installation Steps
Installing third-party camera apps is straightforward. Follow these simple steps:
- Visit the app’s official website.
- Download the installation file.
- Open the downloaded file and follow the prompts.
- Grant necessary permissions when prompted.
- Launch the app and configure settings as needed.
Now, you can enjoy better camera features on your MacBook Air.
Enhancing Camera Quality
MacBook Air’s camera can produce decent quality. But, to get the best results, you can enhance the camera quality using some simple techniques. This guide will help you understand how to achieve better camera quality on your MacBook Air.
Lighting Tips
Good lighting can make a huge difference. Natural light is often the best. Position yourself near a window. Ensure the light hits your face evenly. Avoid sitting with your back to the window. It can create a shadow on your face. If natural light is not available, use a desk lamp. Place it behind your MacBook Air. This will illuminate your face well.
Software Enhancements
Several software tools can help improve camera quality. Apps like iGlasses can adjust brightness and contrast. You can also use FaceTime settings for basic adjustments. Zoom also offers features to enhance video quality. These settings are easy to use. They can significantly improve your video calls.
Credit: www.apple.com
Frequently Asked Questions
Where Is The Camera On Macbook Air?
The camera on MacBook Air is located at the top center of the screen bezel. It is a small, built-in camera.
How Do I Access The Camera On My Macbook Air?
To access the camera, open an application like FaceTime or Photo Booth. The camera will activate automatically.
Does Macbook Air Have A Front-facing Camera?
Yes, the MacBook Air has a front-facing camera. It is commonly used for video calls and selfies.
How Do I Turn On The Camera On Macbook Air?
You can’t manually turn on the camera. It automatically activates when you open an app that uses it.
Conclusion
Finding the camera on your MacBook Air is easy. It’s located at the top center of the screen. Look closely and you’ll see a small lens. Now you can make video calls or take pictures. Use this guide anytime you need help.
Enjoy using your MacBook Air’s camera. Stay connected with friends and family. Have fun capturing moments!
As an Amazon Associate, I earn from Qualifying Purchases.