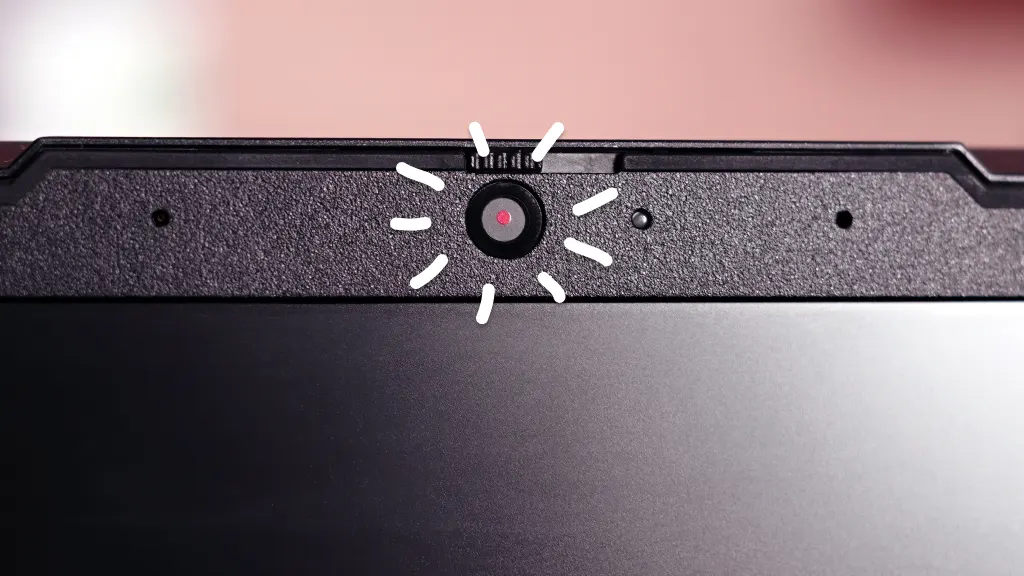
Most laptops have a built-in webcam at the top center of the display bezel.
I’ve spent years fixing and testing laptops for friends and clients, so I know exactly where to look when someone asks, Where Can I Find Camera in Laptop. This guide walks you through common camera locations, how to spot hidden or external cameras, how to test and fix them, and practical privacy tips. Read on for clear, hands-on steps and real-world tips that save time and worry.

Source: nexigo.com
Where to Find the Camera on a Laptop
Most consumer laptops place the camera in the thin plastic or metal frame above the screen. Look at the center of the top bezel. You will usually see a tiny round lens or a pinhole-sized opening. Some laptops hide the lens behind glass so it looks like a small dot.
Many business and privacy-focused laptops move the camera to different places. Check the bottom bezel, side edges, or even the keyboard area on certain models. If you have a detachable screen or 2-in-1, the camera might be on the tablet portion instead of the keyboard base.
Where Can I Find Camera in Laptop searches often expect this simple answer. Knowing the model name helps. If you tell me your laptop brand and model, I can give an exact location.

Source: shutterstock.com
Types and Common Placements of Laptop Cameras
Built-in top bezel camera
Most laptops use this as the standard. It provides a natural eye-level view for video calls.
Bottom bezel camera
Some budget models put the camera under the screen. This angle looks up at you and can be less flattering.
Keyboard or hinge-mounted camera
Convertible laptops sometimes place the camera in the hinge or keyboard area to capture different modes.
External USB webcams
These clip to the top of the screen or sit on the desk. They are easy to spot and plug in.
Privacy shutter or pop-up cameras
Higher-end models have a sliding shutter or a camera that pops up from the chassis. This gives clear physical privacy control.
Where Can I Find Camera in Laptop varies by design. Knowing these types helps you spot the camera quickly.
Source: youtube.com
How to Locate a Hidden or External Camera
Inspect visually first. Look for small holes, dark dots, or glass circles near the screen edges. Shine a flashlight across the bezel; reflections often reveal a lens.
Listen for mechanical movement. A pop-up camera makes a soft click when activated. Check the hinge and top edge for tiny seams.
Open Device Manager or system camera settings
Windows: Right-click Start, choose Device Manager, expand Cameras or Imaging Devices.
macOS: Open System Settings, go to Privacy & Security and check Camera access.
If you see an entry like Integrated Camera or USB Camera, the system recognizes it. That tells you where to look physically.
Where Can I Find Camera in Laptop may include external USB cams. Unplug suspicious USB devices and re-check Device Manager to identify them.

Source: hp.com
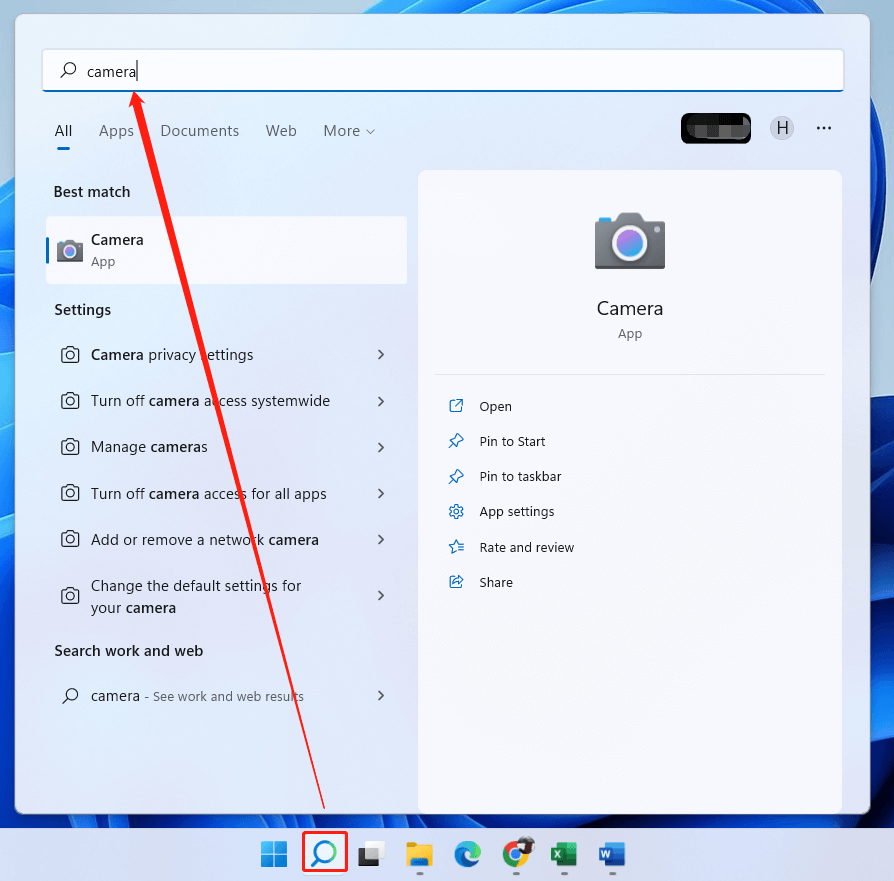
How to Test and Enable Your Laptop Camera
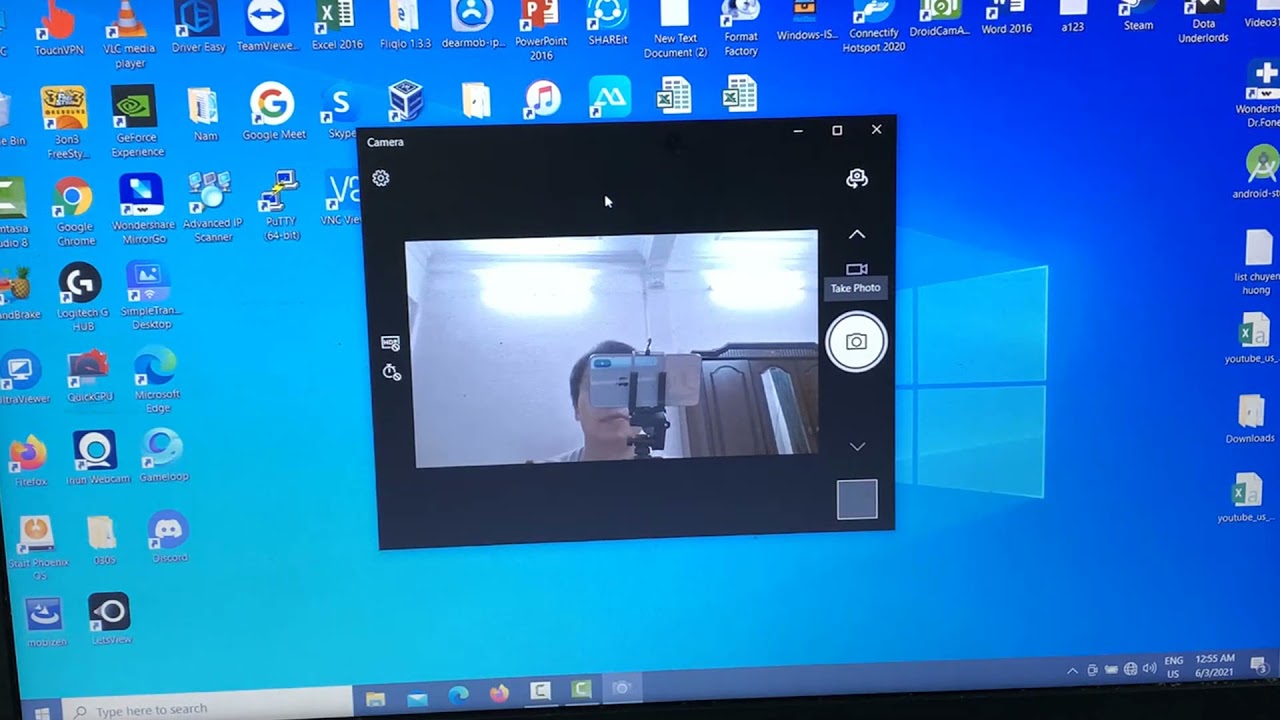
Quick manual check
Open the Camera app on Windows or FaceTime/Photo Booth on macOS. If you see video, the camera works.
Check permissions
Windows: Settings > Privacy & Security > Camera. Allow apps to use the camera.
macOS: System Settings > Privacy & Security > Camera. Enable permissions for apps.
Update drivers and firmware
Windows: In Device Manager, right-click the camera, choose Update driver.
macOS and firmware updates: Use Software Update. Firmware fixes can restore camera function.
Use a simple checklist
- Make sure the camera is not covered physically.
- Confirm the camera appears in Device Manager or system settings.
- Restart the laptop after changing settings.
- Test with a different app like Zoom or Skype.
From my experience, many camera issues come from app permissions or temporary driver glitches. A restart and permission check solve most problems.

Source: youtube.com
Troubleshooting Common Camera Issues
Black screen in the camera app
Permissions might be blocked. Also check if another app is using the camera.
Poor image quality
Clean the lens gently with a microfiber cloth. Low light causes grainy video; add more light behind the screen.
Camera not detected
Try these steps:
- Disconnect external USB devices and restart.
- Update or reinstall the camera driver in Device Manager.
- Reset camera app or reinstall the app you use for calls.
Camera activates by itself
This is rare but serious. Check app permissions and run an antivirus scan. Consider a physical camera cover until you find the cause.
Firmware and BIOS settings
Some laptops allow disabling the camera in BIOS. If the camera is missing from the OS, check BIOS/UEFI to see if camera hardware is disabled.
Where Can I Find Camera in Laptop troubleshooting often ends up being a permissions or driver problem. If hardware failure is suspected, a technician can open the bezel to inspect connectors.
Source: asurion.com
Privacy and Security: Covering or Disabling Your Camera
Physical covers offer peace of mind. Use a thin slide shutter or a sticker that you can remove. Avoid thick tape that leaves residue.
Software controls
Disable camera access for apps you don’t trust. On Windows and macOS, control permissions centrally. Some security suites include camera-blocking features.
Best practices
- Disable the camera when not in use.
- Keep system and security software updated.
- Use strong passwords and two-factor authentication for your accounts.
I once found a camera active because a background app had permission. A quick permission audit fixed it. Treat the camera like a microphone: only allow trusted apps.

Source: youtube.com
Frequently Asked Questions of Where Can I Find Camera in Laptop
Where is the webcam usually located on a laptop?
Most webcams sit in the top center of the screen bezel for a natural eye-level view. Some budget laptops place it in the bottom bezel or hinge.
How do I know if my laptop camera is built-in or external?
Open Device Manager or system camera settings. If it lists Integrated Camera, it’s built-in; if it shows a USB Camera, it’s likely external.
What if I can’t find the camera but the camera app shows nothing?
Check camera permissions, update drivers, and make sure no other app is occupying the camera. Restart your laptop and test again.
Can the camera be disabled in BIOS or UEFI?
Yes. Many business laptops let you disable onboard cameras in BIOS/UEFI. Check your BIOS settings under integrated peripherals or security.
How do I protect my privacy with a laptop camera?
Use a physical cover, audit app permissions, and keep software updated. Only grant camera access to apps you trust.
Conclusion
Finding and managing your laptop camera is simple once you know where to look and how to check settings. Most cameras sit at the top-center bezel, but variations exist. Test the camera with built-in apps, confirm permissions, update drivers, and use physical covers for privacy. Take a minute now to check your camera location and permissions. If you found this guide useful, try updating your camera driver or adding a physical shutter, and share your experience or questions below.
As an Amazon Associate, I earn from Qualifying Purchases.