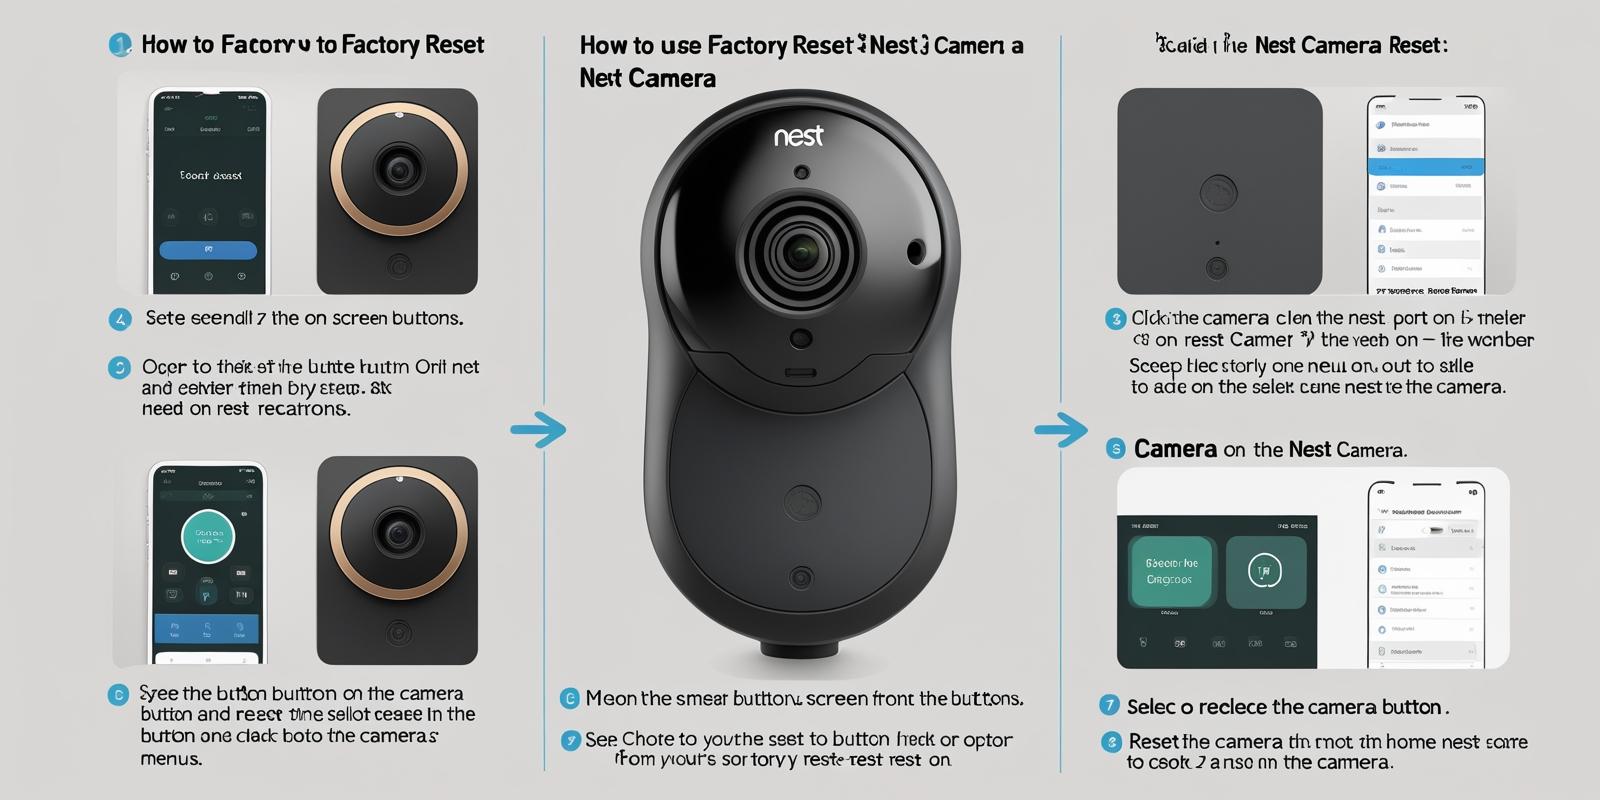
Resetting your Nest camera can be a simple yet essential task. Whether you’re troubleshooting issues or preparing to sell your device, knowing how to reset it is vital.
In this guide, we’ll walk you through the step-by-step process to reset your Nest camera. A reset can resolve connectivity problems, clear out old settings, or help you switch to a new Wi-Fi network. With a few easy steps, you can restore your camera to its factory settings.
This process can seem daunting, but it is straightforward. Understanding how to reset your device will help you maintain your home security effectively. Let’s dive into the steps to get your Nest camera back on track.
Introduction To Nest Camera Reset
Resetting your Nest Camera can be a necessary step to troubleshoot issues or to prepare the device for a new setup. Whether you’re dealing with connectivity problems, want to change your Wi-Fi settings, or are simply moving the camera to a different location, knowing how to reset your device is essential. This guide will walk you through the reasons for resetting your camera and the various methods available for different models.
Reasons For Resetting Your Nest Camera
- Troubleshooting: If your camera is not functioning properly, a reset can resolve glitches.
- Changing Networks: Switching to a new Wi-Fi network requires a reset to forget the old settings.
- Device Relocation: Moving your camera to a different location may necessitate a fresh setup.
Have you ever faced a situation where your camera just wouldn’t connect? I remember when I tried to reposition mine for better coverage, only to find it stuck on a connection error. A quick reset did the trick, allowing me to set it up in the new spot seamlessly.
Different Reset Methods For Various Models
Each Nest Camera model has its own reset method. Here’s a quick overview:
| Model | Reset Method |
|---|---|
| Nest Cam Indoor | Press and hold the reset button for about 10 seconds. |
| Nest Cam Outdoor | Press and hold the reset button for 10 seconds while plugged in. |
| Nest Cam IQ | Press and hold the reset button for 12 seconds until the status light flashes. |
Always ensure your camera is powered on when performing a reset. This small detail can save you time and frustration.
Ready to give it a try? Remember, after a reset, you’ll need to set your camera up again through the app. This process is straightforward, but it may feel daunting if it’s your first time.
Pre-reset Checklist
Preparing to reset your Nest camera is essential for a smooth process. Start by gathering necessary information, like your Wi-Fi network details. Ensure the camera is plugged in and functioning properly before beginning the reset steps. Following these simple preparations will help you reset your camera effectively.
When it comes to resetting your Nest Camera, a pre-reset checklist can save you a lot of hassle. It ensures that you have everything in order before diving into the reset process. This step is particularly important if you have important settings or footage that you don’t want to lose. By preparing beforehand, you can make the reset smoother and more efficient.
Ensure Camera Connectivity
Before resetting, check the camera’s connectivity. A stable Wi-Fi connection is crucial for your camera to function properly.
– Verify your Wi-Fi: Make sure your Wi-Fi network is active and working. You can do this by checking if other devices are connected without issues.
– Signal strength: Ensure your camera is within range of your Wi-Fi router. If the signal is weak, consider moving the router closer or using a Wi-Fi extender.
– App connection: Open the Google Home app and confirm that the camera is visible. If it’s showing as offline, there may be connectivity issues that need to be resolved first.
Taking these steps will help you avoid unnecessary complications during the reset. Have you ever faced connectivity issues when trying to reset a device? It can be frustrating, but a little preparation can go a long way.
Backup Important Data
Backing up your important data is essential before a reset. A factory reset may erase footage and settings you want to keep.
– Review recorded footage: Go through your saved videos and decide which clips are important. Save them to a cloud service or download them to your device.
– Save settings: If you’ve customized settings like motion detection zones or notifications, document these preferences. Write them down or take screenshots for easy reference.
– Check with family: If others use the camera, communicate your plans. They might have valuable footage or settings worth saving.
This preparation can save you from losing precious memories or critical security footage. Have you ever wished you had backed up something important before a reset? It’s a lesson learned the hard way for many!
Locating The Reset Button
Finding the reset button on your Nest camera is essential for troubleshooting. Look for a small button, often located on the back or bottom of the device. Press and hold it until the camera indicates that it is resetting.
Locating the reset button on your Nest camera can feel like a treasure hunt, especially if you’re not familiar with the device. This small yet essential button can be the key to troubleshooting issues or preparing your camera for a new setup. Let’s break down how to find the reset button on different models, so you can get your camera back to functioning smoothly.
Reset Button On Nest Cam (battery)
Finding the reset button on your Nest Cam (battery) is straightforward. Look for a small, circular button located on the back of the camera. It’s usually near the charging port, making it easy to spot.
To reset, press and hold this button for about 10 seconds until the status light flashes orange. This indicates that the camera is resetting. After a moment, you should see the light pulse white, signaling that it’s ready to be set up again.
Reset Button On Floodlight
The reset button on the Nest Floodlight is also easy to locate. It is typically found on the back of the device, near the mounting bracket.
To reset your Floodlight, press and hold the reset button for approximately 10 seconds. Watch for the light to blink amber, which means the reset process has started. Once the light turns white, your Floodlight is ready for reconfiguration.
What To Do For Models Without A Reset Button
If your Nest camera doesn’t have a reset button, don’t worry. You can still reset it through the Google Home app.
Open the app on your smartphone, select your camera, and navigate to the settings. Look for the option to factory reset the device. This will erase all settings and allow you to set up your camera as if it were brand new.
Have you ever faced issues with your camera that seemed unsolvable? Knowing how to reset your device can save you time and frustration. Make sure to keep this guide handy for your next troubleshooting session.

Credit: support.google.com
Steps To Manually Reset Your Nest Camera
Resetting your Nest Camera can solve many issues. Follow these steps to manually reset it. This process will help you restore your camera to factory settings. You might need to do this for various reasons, such as troubleshooting or changing networks.
Press And Hold The Reset Button
First, locate the reset button on your Nest Camera. This button is usually found at the back or bottom. Use a small tool, like a paperclip, to press the button.
Hold the reset button for about 10 seconds. You should see the camera’s LED light change colors. This indicates that the reset process has started. Wait until the camera fully resets before proceeding.
Confirming The Reset Process
After releasing the reset button, check the LED status light. A blinking white light means the camera is resetting. It may take a minute or two for the camera to finish.
Once the camera is reset, you can set it up again. Use the Google Home app to reconnect your camera to your Wi-Fi. Follow the on-screen instructions to complete the setup.
Troubleshooting Wi-fi Connectivity Issues
Wi-Fi connectivity issues can disrupt your Nest Camera’s functionality. A stable connection is essential for smooth operation. Follow these steps to solve common problems.
Reconnecting To Wi-fi After Reset
After resetting your Nest Camera, it needs to reconnect to Wi-Fi. First, open the Google Home app on your smartphone. Select your Nest Camera from the list of devices.
Next, tap on “Settings.” Scroll down to the Wi-Fi section. Choose “Forget Network” to remove old Wi-Fi settings. Now, tap “Set Up” to connect to a new network.
Follow the on-screen instructions to enter your Wi-Fi password. Ensure you enter it correctly. Wait for the camera to connect. This may take a few moments. Check the camera’s LED status light to confirm the connection.
Dealing With Network Interference
Network interference can affect your camera’s connection. Common sources include microwaves and cordless phones. Keep your camera away from these devices.
Also, ensure your router is centrally located. Avoid placing it in a corner or behind furniture. This improves Wi-Fi signal strength.
Consider changing your Wi-Fi channel. This can reduce interference from nearby networks. Log into your router settings to make this change.
If problems persist, try using a Wi-Fi extender. This boosts your signal in larger homes. A stronger signal helps keep your Nest Camera online.
Credit: www.youtube.com
Performing A Factory Reset Via App
Resetting your Nest Camera using the Google Home app is simple. This method helps clear all settings. It returns the camera to its original state. Follow the steps carefully to ensure success.
Accessing Camera Settings In The Google Home App
Open the Google Home app on your smartphone. Make sure you are signed in. Locate the Nest Camera in the list of devices. Tap on the camera to open its settings.
Look for the gear icon in the top right corner. This icon represents the settings menu. Tap on it to access various options for your camera.
Factory Reset Instructions
Scroll down until you find the option for “Remove device.” This option is usually at the bottom of the settings menu. Tap “Remove device” to start the reset process.
You will see a confirmation message. Confirm that you want to remove the device. This action will initiate the factory reset.
Wait for a few moments. The camera will reset and remove all settings. After the reset, the camera will appear as a new device in the app.
Now, you can set up your camera again. Follow the on-screen instructions in the app. Your Nest Camera is now ready for use.
Post-reset Configuration
After resetting your Nest camera, proper configuration is essential. Connect the camera to your Wi-Fi network and adjust settings through the app. Ensure all features are functioning correctly for optimal performance.
Post-reset configuration is a crucial step after resetting your Nest Camera. Once you’ve completed the reset process, you’ll need to get your camera back up and running. Whether you’re moving it to a new location or simply refreshing its settings, this phase ensures your camera functions properly and captures the security footage you need.
Setting Up The Camera Again
Start by reconnecting your Nest Camera to the power source. Make sure it is powered on and within range of your Wi-Fi network.
Next, open the Google Home app on your smartphone. If you haven’t installed it yet, download it from the App Store or Google Play.
Once in the app, tap on the “+” icon to add your device. Follow the prompts to select your camera model.
You’ll be asked to scan the QR code displayed on the camera. This step is essential for linking your camera to your account.
After scanning, connect the camera to your Wi-Fi network by entering the network password. This step can be frustrating if you’ve forgotten your Wi-Fi password, so double-check it before proceeding.
Once connected, give your camera a moment to initialize. It might take a few minutes before you can view the live feed.
Restoring Previous Settings
If you had specific settings before the reset, you might want to restore them now. In the Google Home app, navigate to the camera settings.
Look for options like motion detection, recording schedules, and notifications. Adjust these settings according to your preferences.
If you had set up specific zones for monitoring, you’ll need to redefine them. This is particularly useful if you want to focus on areas where activity is most likely.
One helpful tip is to document your settings before you reset the camera next time. This way, you won’t have to remember everything from scratch.
Are there any features you miss from your old setup? Now’s the time to experiment and fine-tune your camera settings for optimal performance.
With everything set, your Nest Camera should be back in action. Enjoy the peace of mind that comes with effective home monitoring!
Maintaining Your Nest Camera
Resetting your Nest Camera can solve many issues. To reset, locate the RESET button and press it while the camera is powered on. Follow the instructions in the Google Home app for a smooth setup after the reset.
Maintaining your Nest Camera is essential for ensuring it performs optimally and continues to keep your home secure. Regular maintenance can prevent issues and enhance its functionality. Let’s explore some key practices that will help you keep your camera running smoothly.
Regular Firmware Updates
Keeping your Nest Camera’s firmware updated is crucial. Updates often include important security patches and performance improvements.
To check for updates:
– Open the Google Home app on your smartphone.
– Select your Nest Camera from the list.
– Tap on Settings, and then look for Firmware Version.
If an update is available, simply follow the prompts to install it.
Not updating can lead to vulnerabilities. Think about it: would you leave your front door unlocked?
Regular updates help keep your camera secure and efficient.
Optimizing Wi-fi Performance For Your Camera
Wi-Fi connectivity is critical for your Nest Camera. A strong and stable connection ensures that your camera streams and records without interruptions.
Here are some tips to optimize your Wi-Fi performance:
– Position your router wisely: Place your router in a central location in your home. Avoid basements and corners.
– Reduce interference: Keep your router away from devices like microwaves or cordless phones. They can disrupt the signal.
– Upgrade your router: If your camera frequently disconnects, consider investing in a newer router. A router with dual-band capabilities can provide better performance.
– Use Wi-Fi extenders: If your home is large, Wi-Fi extenders can help boost the signal where your camera is located.
Have you noticed your camera lagging during peak usage times? This could be a sign of Wi-Fi congestion.
Taking these steps can enhance your camera’s reliability and performance. Your peace of mind is worth it.
Getting Professional Support
Professional support can simplify the process of resetting your Nest camera. Experts guide you through troubleshooting steps and help restore functionality. Whether you face connectivity issues or need a factory reset, assistance ensures you get your camera working smoothly again.
Getting professional support can be a game-changer when you’re facing issues with your Nest Camera. Sometimes, despite your best efforts, you might need expert assistance to get everything back on track. Knowing when and how to reach out to Nest Support can save you time and frustration.
When To Contact Nest Support
You should consider contacting Nest Support if you encounter persistent issues after attempting to reset your camera. If your device shows unusual behavior, like a blinking light that doesn’t resolve or if you can’t connect it to your Wi-Fi, it’s a clear sign for help.
Think about the last time you struggled with tech. I once faced a situation where my camera refused to reconnect after a reset. After several attempts, I reached out to support and discovered a simple firmware issue that I hadn’t considered. Their guidance was invaluable and got my camera back online swiftly.
If your camera is still under warranty, contacting support can also ensure you don’t void it. They can provide troubleshooting steps tailored to your specific model.
Additional Resources And Help
Nest offers a variety of resources to help you troubleshoot issues on your own. Check out their official help center online. You can find articles, video tutorials, and FAQs that address common problems.
You can also visit community forums where users share experiences and solutions. Sometimes, fellow users may have tackled the same issue and can offer insights that you might not find elsewhere.
For urgent issues, consider using the chat feature on the Nest support website. You’ll often receive real-time assistance, which can be more efficient than waiting for an email response.
In your quest for a solution, don’t hesitate to leverage these resources. They can empower you to resolve issues faster, leaving you more time to enjoy your Nest Camera’s features. Have you reached out for support in the past? What was your experience like?
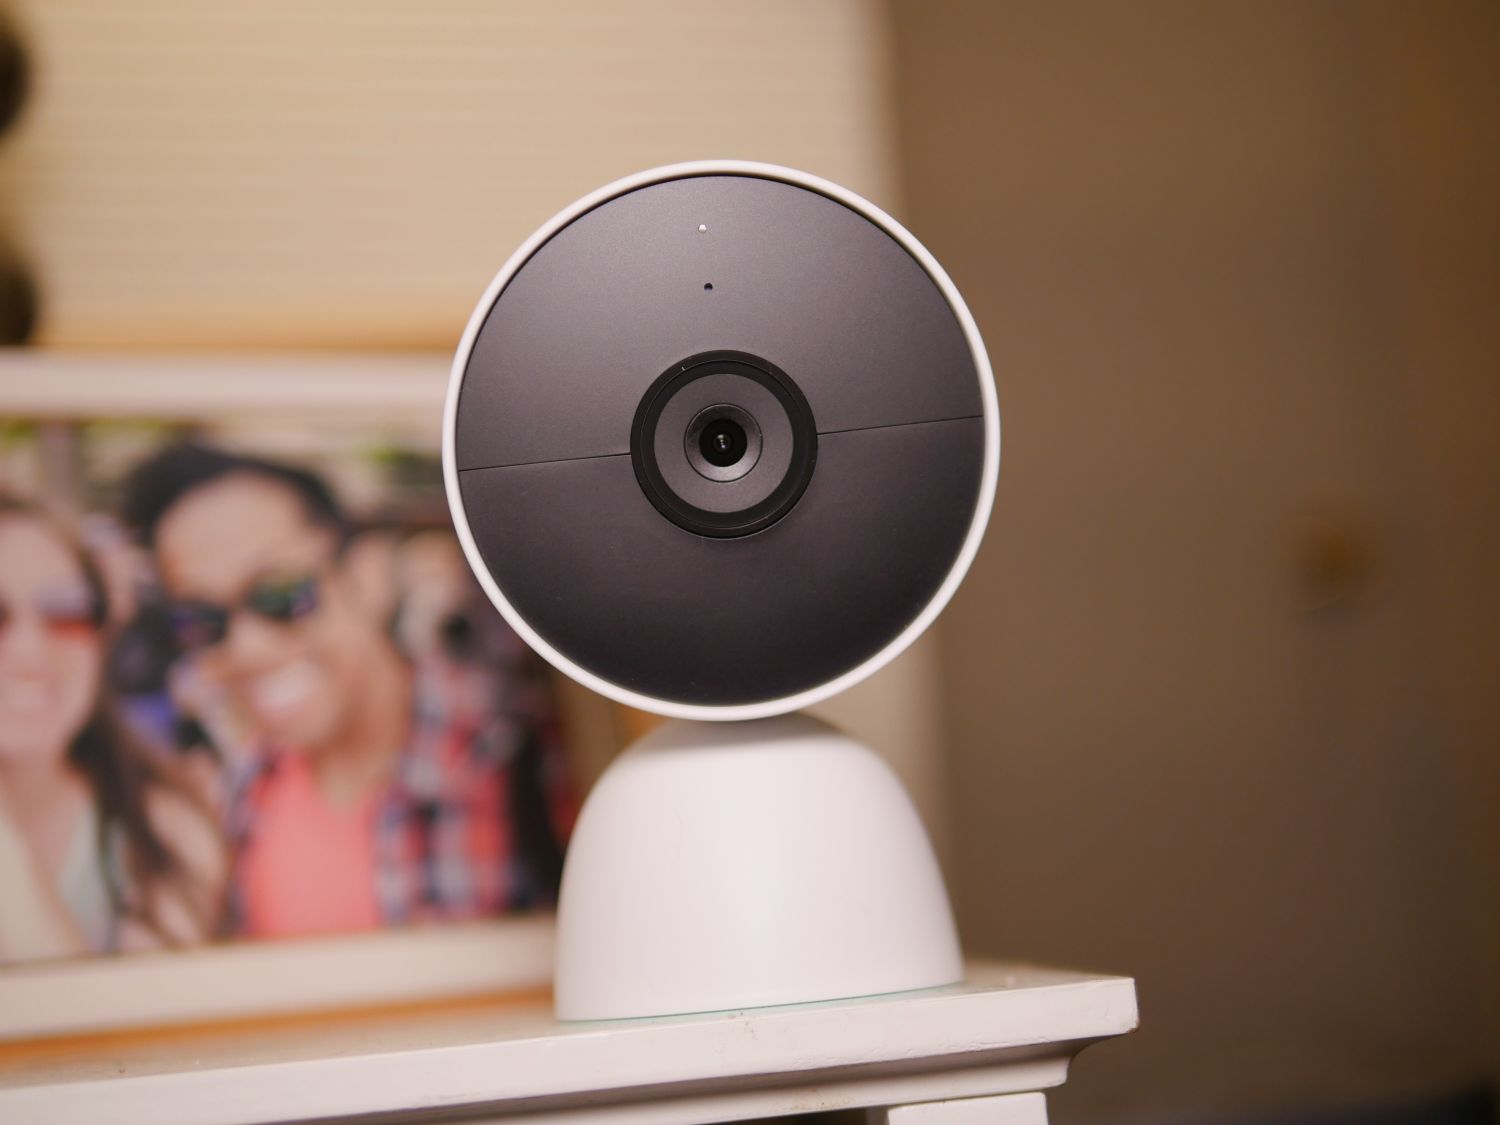
Credit: www.digitaltrends.com
Frequently Asked Questions
How Do I Manually Reset My Nest Camera?
To manually reset your Nest camera, locate the RESET button on the device. Press and hold the button for about 10 seconds. Release it when the status light flashes, indicating the camera is resetting. Wait for it to reboot, then set it up again via the app.
How Do I Factory Reset My Camera?
To factory reset your camera, locate the RESET button, if available. Power on the camera, then press and hold the RESET button for about 10 seconds. Release it when the indicator light blinks. Follow your camera’s specific instructions to complete the reset process.
How Do I Reset My Nest Cam Wi-fi?
To reset your Nest Cam Wi-Fi, open the Google Home app. Select the camera, go to settings, and tap on Wi-Fi. Choose “Forget” to remove the network. Follow the prompts to set up the camera on a new Wi-Fi network.
Your camera is now reset and ready to connect.
How Do I Get My Nest Camera Back Online?
To get your Nest camera back online, unplug the power adapter, wait a moment, and plug it back in. Restart your Wi-Fi router and modem, then check the camera’s status in the Google Home app. Ensure your Wi-Fi is working properly and the camera is within range.
Conclusion
Resetting your Nest camera is a straightforward process. It helps solve many common issues. Follow the steps outlined in this guide to reset your device. Always ensure the camera is powered on before starting. After the reset, you will need to set it up again in the app.
This will reconnect it to your Wi-Fi network. Keeping your camera updated is also important. Regular maintenance ensures it works well. Remember, a reset can improve performance and connectivity. Follow these tips for a better experience with your Nest camera.
As an Amazon Associate, I earn from Qualifying Purchases.