
Use better lighting, tweak settings, and upgrade to a quality external webcam.
I have spent years optimizing video for remote meetings, tutorials, and live streams, so I know what moves the needle on camera clarity. This guide explains practical, tested ways to improve camera quality on laptop models, from simple software tweaks to hardware upgrades, and gives step-by-step tips you can use today.
Source: youtube.com
Why laptop webcams often look poor
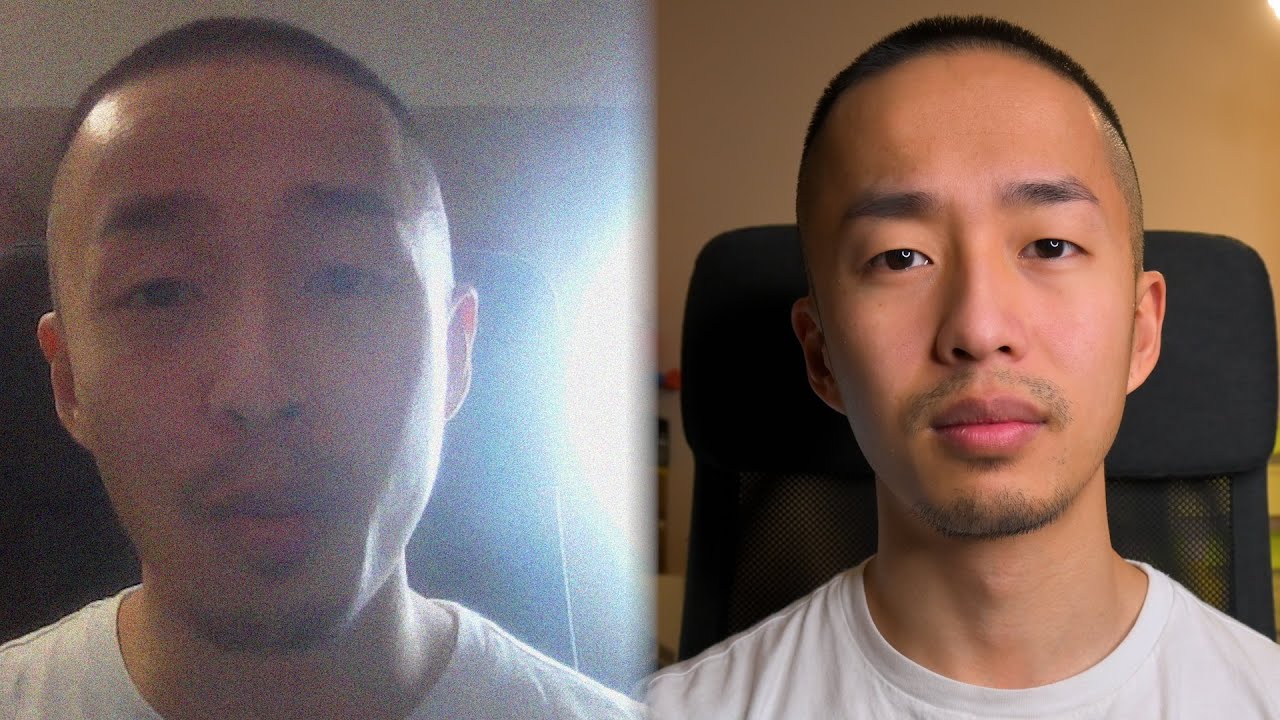
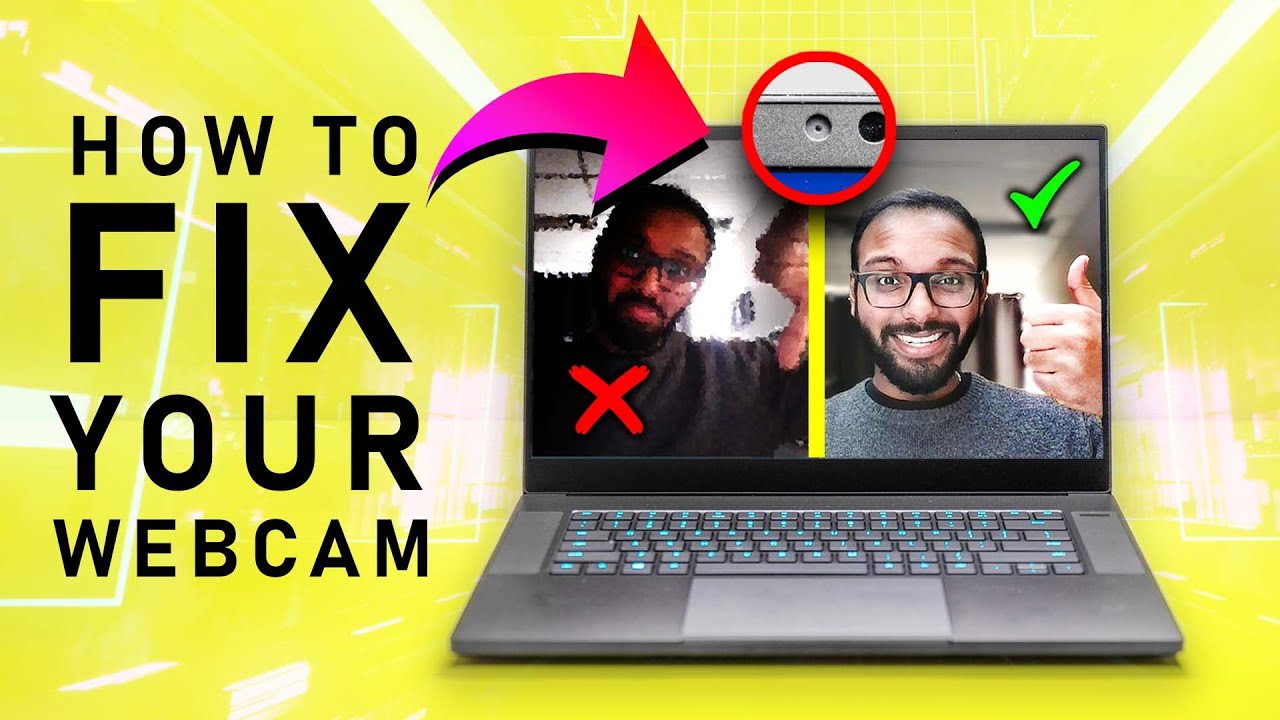
Most built-in laptop cameras use tiny sensors and cheap lenses. Small sensors capture less light. That creates grainy, soft images, especially in low light. Many laptop camera drivers also apply heavy compression and smoothing. Auto exposure and poor autofocus can make faces look washed out or blurry.
Understanding these limits helps you pick realistic fixes. Some improvements are free and fast. Others require gear or software. I will show what helps most, and what is mostly hype.
Source: fineshare.com
Quick software fixes to improve image instantly
Start with software before spending money. Small tweaks often give big visual gains.
- Update camera drivers and your OS. New drivers can fix exposure and focus bugs.
- Check privacy and app permissions to allow full camera resolution.
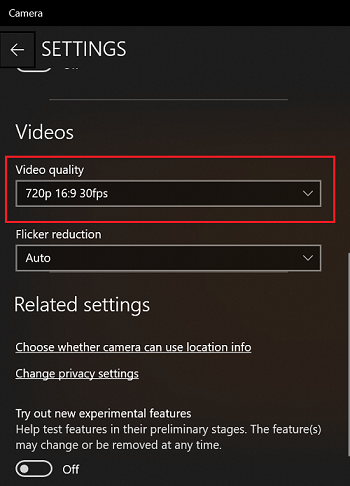
- Use the camera app that lets you set resolution and frame rate manually. Pick 720p at 30fps if 1080p causes lag.
- Turn off aggressive beauty filters. They smooth detail and reduce clarity.
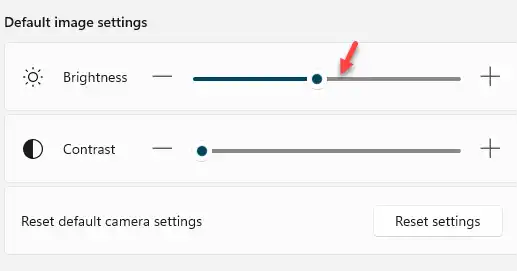
- Adjust exposure, contrast, and white balance in the camera app. A slight increase in exposure often beats digital brightening.
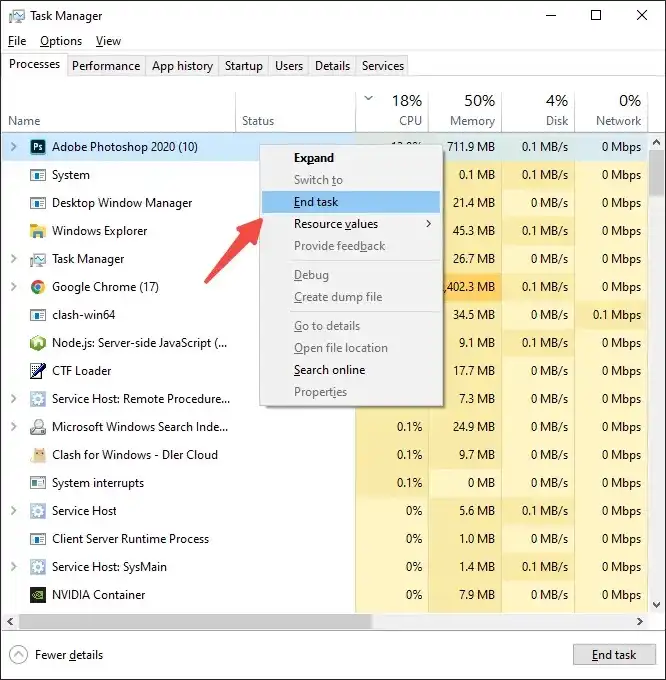
- Close other apps and browser tabs that use the camera or upload content. This frees CPU and bandwidth.
These steps usually yield the biggest return on time. Many people skip them and buy new gear unnecessarily.
Source: youtube.com
Improve lighting and composition for clear results
Lighting is the most important factor for camera quality on laptop. Better light gives cleaner images and makes colors pop.
- Face a soft window light when possible. Natural light is flattering and broad.
- Avoid bright backlights that put your face in shadow.
- Use a simple key light and a soft secondary fill light for balanced look.
- Diffuse harsh light with a white cloth or paper to avoid glare.
- Place the camera at eye level and keep the laptop a comfortable arm’s length away.
- Choose a plain or uncluttered background. Reduce busy patterns that distract or confuse auto-exposure.
In my tests, adding a single soft LED panel reduced image noise more than doubling the camera resolution. Good light saves you money and improves clarity far more than fancy settings.
Source: fineshare.com
Hardware upgrades and accessories that matter
If software and lighting can’t reach the quality you want, consider hardware. Choose upgrades that solve real limits: sensor size, optics, and capture path.
- External USB webcams. Look for 1080p at 30 or 60fps, good low-light performance, and autofocus. USB 3.0 ports reduce latency.
- Ring lights and LED panels. Adjustable color temperature helps match ambient light.
- Tripods or laptop stands. Stable framing and eye-level camera make you look more professional.
- Clip-on glass lenses rarely help. Optical quality matters; cheap lenses can add distortion.
- Use a DSLR or mirrorless with a capture card for broadcast-grade image quality. This is costlier but yields the best result.
- External microphones improve perceived quality. Clear audio makes video look sharper to viewers.
I switched to an external webcam and a small LED panel for remote teaching. The change was dramatic: clearer skin tones, less noise, and more natural focus.

Source: youtube.com
Advanced adjustments with third-party software
Third-party tools let you refine image processing and get creative control.
- Use OBS or similar apps to control resolution, bitrate, and filters. You can insert color correction and sharpening.
- Virtual camera tools let you apply LUTs (color profiles), denoising, and manual exposure.
- Many webcam manufacturer apps expose extra controls like gain and white balance. Learn them.
- Enable hardware acceleration in your streaming app to keep frames smooth.
- Avoid over-sharpening. Too much creates halos and can look artificial.
These apps bridge the gap between stock webcam output and professional look. I use color correction and mild denoise in every stream for consistent results.

Source: obsbot.com
Troubleshooting common camera problems
Identify the symptom first, then apply the right fix. Here are common issues and quick remedies.
- Grainy or noisy image: Add light or lower camera gain. Use denoise filter if necessary.
- Soft focus or blurred face: Clean the lens and check autofocus. Move slightly farther back if close focus fails.
- Lagging or choppy video: Lower resolution, switch to a USB 3.0 port, or close CPU-heavy apps.
- Wrong colors: Adjust white balance or color temperature in the camera app.
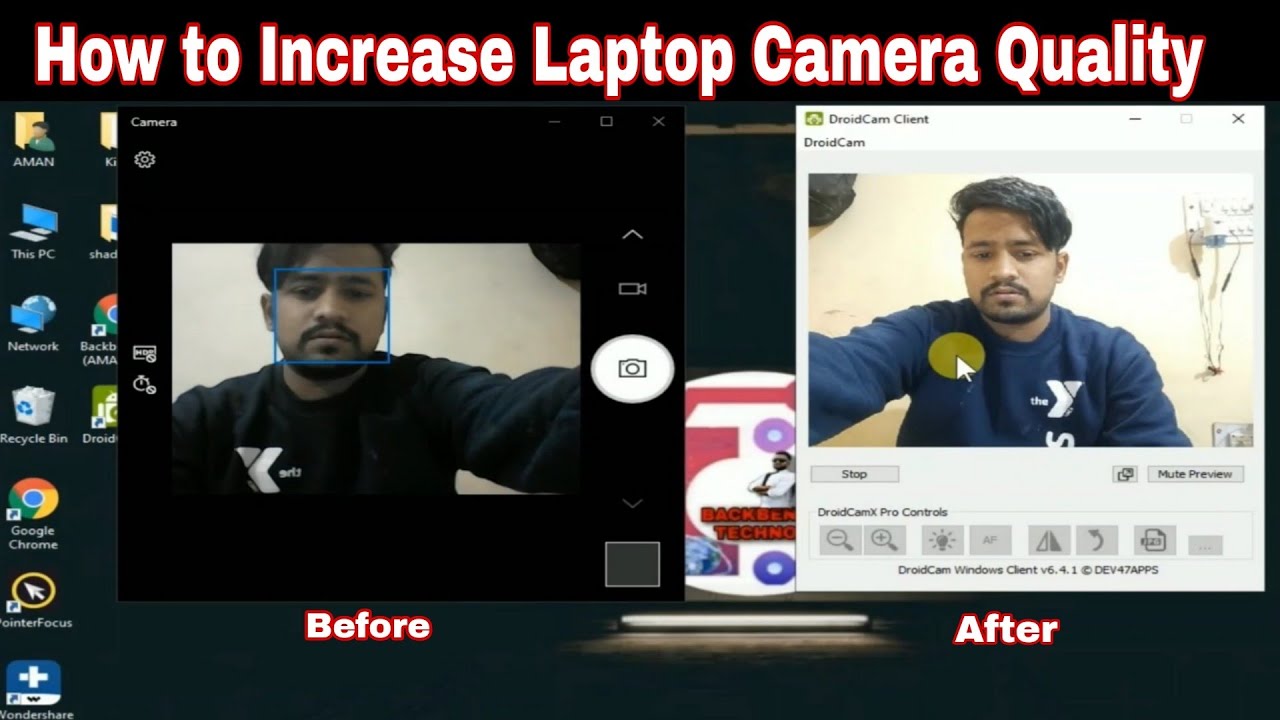
- Tiny webcam image in calls: Check app video settings and select the correct camera device.
Start simple. A clean lens and a brighter light often fix what feels like major problems.
Source: youtube.com
Practical setup checklist before any call
Run through this checklist five minutes before you start. It covers the high-impact items.
- Clean the camera lens with a microfiber cloth.
- Position the laptop at eye level and frame your head with a little space above.
- Set the camera app to your desired resolution and 30fps or 60fps.
- Turn on a key light and close blinds to avoid shifting sunlight.
- Mute background apps and test audio and video in the call software.
A short checklist prevents last-minute scrambles and keeps your image consistent.
Source: lenovo.com
Personal experience and lessons learned
I once spent hours tweaking settings and saw little change. The mistake was ignoring lighting and lens cleanliness. After switching to soft, frontal light and using a $70 webcam, my streams looked much better. I also learned that aggressive software sharpening can harm natural detail.
If you are on a tight budget, focus first on light, lens cleaning, and software settings. If you want a major upgrade, invest in a quality external webcam or a camera with a capture card. Small, smart changes beat random upgrades.

Source: youtube.com
Frequently Asked Questions of How to Improve Camera Quality on Laptop
How can I instantly improve camera quality on laptop without buying anything?
Clean the lens, increase room light, and close background apps. Adjust camera app exposure and resolution to get a clearer image.
Is an external webcam worth it for better quality?
Yes. External webcams usually have larger sensors and better lenses, which deliver clearer images and better low-light performance than most built-in laptop cameras.
Will software filters make my webcam look professional?
Software can help with color and noise, but it cannot replace good lighting and optics. Use filters sparingly and focus on natural results.
Can a smartphone act as a better webcam than my laptop camera?
Often yes. Many smartphones have superior sensors and lens systems. Use a reliable app and a stable mount to connect the phone as a webcam.
Why does my webcam look grainy on video calls but fine in the camera app?
Video call apps may auto-compress or reduce resolution to save bandwidth. Check the call app’s video settings and your internet upload speed.
Conclusion
Improving camera quality on laptop is mostly about light, clean optics, and sensible settings. Start with free fixes like cleaning the lens and adjusting exposure, then add an LED panel or external webcam if you need more. Take one step at a time and test changes to see real gains.
Try the checklist in your next call and note the difference. If this helped, subscribe for more tips or leave a comment with your setup and questions.
As an Amazon Associate, I earn from Qualifying Purchases.