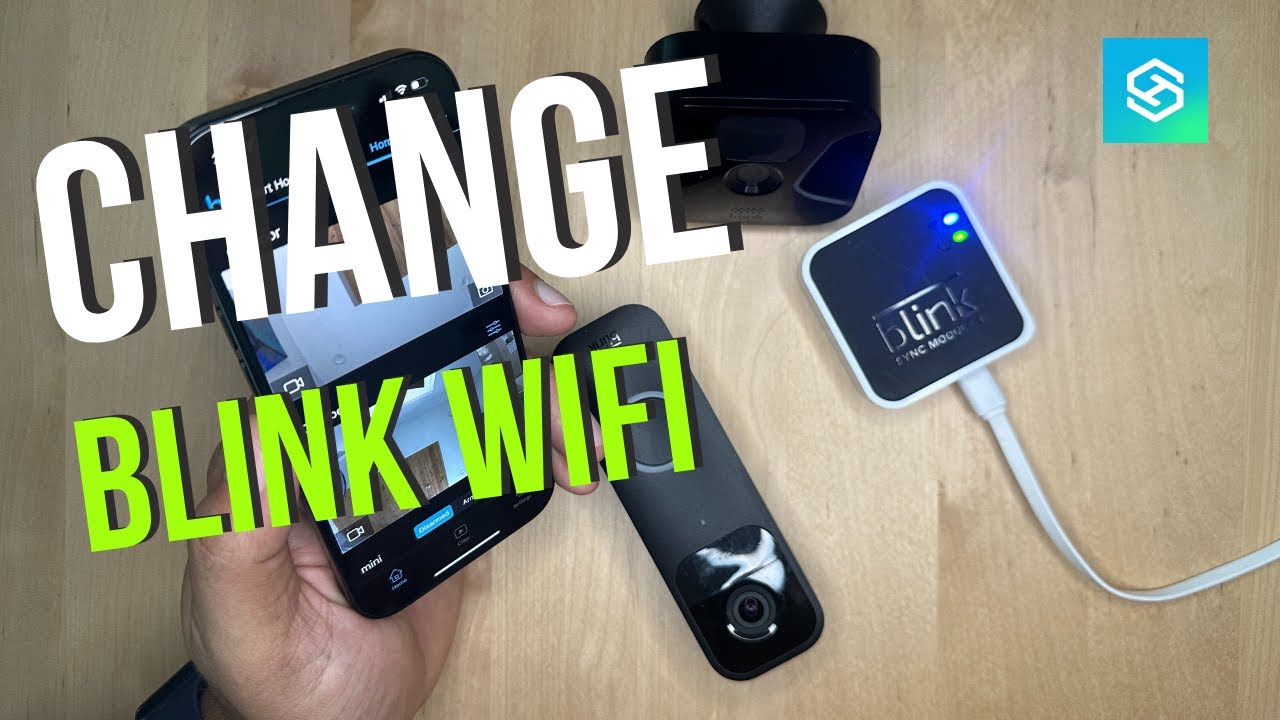
Connect your Blink camera by using the Blink app, joining a 2.4 GHz Wi‑Fi network, and following the in‑app setup steps.
I’ve helped dozens of people set up their Blink cameras at home and at work, so I know the common pitfalls and the fast path to success. This article walks you through how do I connect my Blink camera to my Wi‑Fi network with step‑by‑step instructions, clear troubleshooting tips, and practical network advice. You’ll learn what to check before you start, exact setup flows for Blink Mini and battery models with a Sync Module, and real-world fixes I’ve used when a camera refuses to join the network. Read on to get your Blink camera online and recording in minutes.
What you need before you start: quick checklist and requirements
Before you ask "How do I connect my Blink camera to my Wi‑Fi network?" gather these items and settings so setup goes smoothly.
- A smartphone or tablet with the Blink app installed and updated.
- A working Amazon/Blink account (sign up in the app if needed).
- Your Wi‑Fi network name (SSID) and password accessible.
- A 2.4 GHz Wi‑Fi network. Most Blink cameras require 2.4 GHz to connect reliably.
- For battery Blink models, a Sync Module (if your camera uses one), plus fresh batteries.
- Good Wi‑Fi signal where you plan to place the camera; within 30–40 feet of the router is ideal.
If you’re curious about the difference between models: Blink Mini is plug‑in and often can join 2.4 or 5 GHz networks depending on firmware, while Blink Outdoor and XT‑series commonly need 2.4 GHz and use a Sync Module for multi‑camera setups. Confirm your camera model and read the label or QR code for model-specific directions.

Step‑by‑step: How do I connect my Blink camera to my Wi‑Fi network
This section shows clear steps for the two common workflows: direct camera setup (like Blink Mini) and Sync Module workflows (battery cameras). Follow only the steps for your device type.
Direct setup (Blink Mini and plug‑in cameras)
- Plug the Blink camera into power and wait 10–20 seconds for the LED to blink.
- Open the Blink app and sign in to your account.
- Tap the plus icon to add a device, select your camera type, and follow on‑screen prompts.
- Use the app to scan the camera QR code or enter the camera serial number manually.
- When prompted, confirm your phone is connected to your Wi‑Fi network and enter the Wi‑Fi password.
- Wait while the app sends Wi‑Fi credentials and the camera confirms connection. The LED will turn solid when connected.
If the app asks for permissions, allow Bluetooth and location temporarily. The app uses these to detect devices and handle network handoffs.
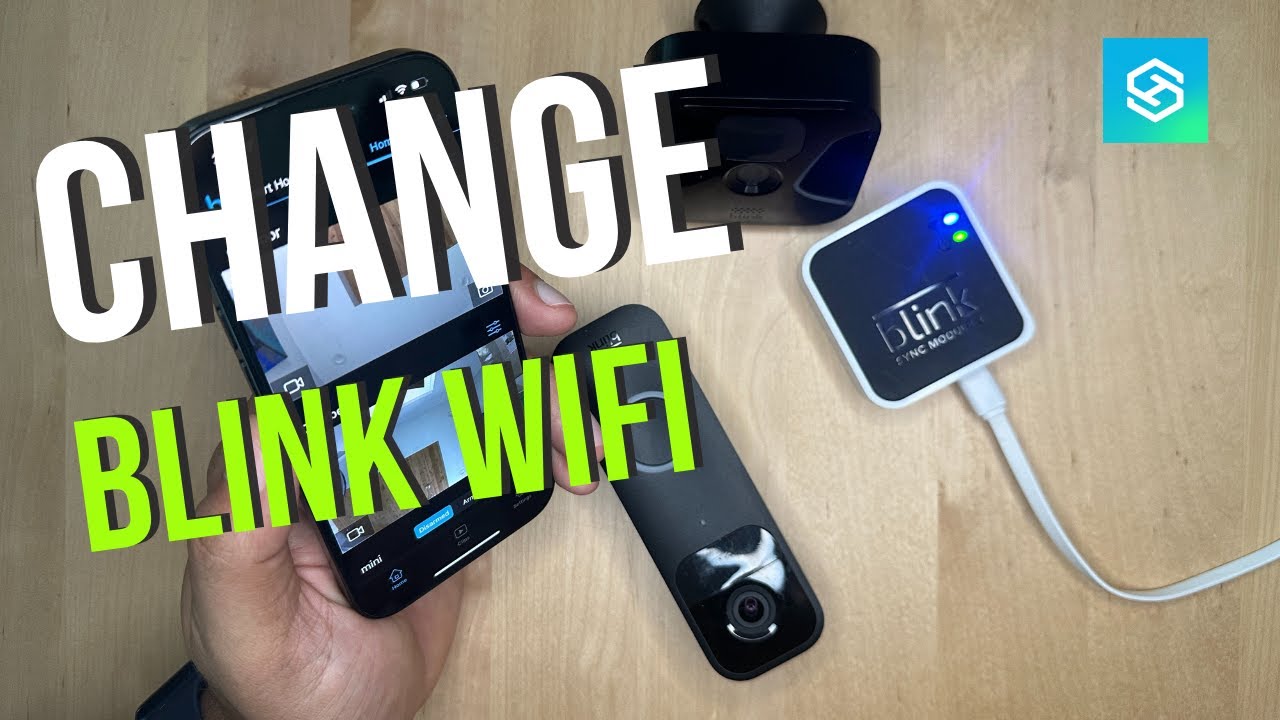
Sync Module setup (Blink Outdoor, XT, or multi‑camera systems)
- Plug in the Sync Module and wait for the LED to flash blue.
- Open the Blink app, tap the plus icon, and choose Sync Module.
- Scan the Sync Module QR code or enter the serial number.
- When asked, confirm your phone’s Wi‑Fi network and enter the password. The Sync Module will join the Wi‑Fi network first.
- After the Sync Module is online, add each camera by powering it on, scanning its QR code, and pressing the camera’s sync button when instructed.
- Wait for each camera to show online in the Blink app.
Sync Module acts as a bridge between battery cameras and your router. Keep it near the router during initial setup, then move it to its final location if needed.

Troubleshooting common connection problems
If your camera won’t connect, try these concise checks and fixes. I’ve used each of these with stubborn devices.
- Confirm you are connected to the same Wi‑Fi network on your phone that you want the camera to use.
- Use a 2.4 GHz network. If your router combines bands under one SSID, temporarily separate them to force 2.4 GHz.
- Reboot your router and camera: unplug for 10 seconds, then plug back in.
- Move the camera closer to the router during setup to avoid weak signal issues.
- Double‑check the Wi‑Fi password. Typing errors are the most common cause of failure.
- Disable VPN or security apps on your phone while setting up; they can block the app.
- Turn off MAC filtering or add the camera’s MAC address in your router if MAC filtering is enabled.
- Check router security: Blink devices often require WPA2 (not WEP) and standard encryption.
- Factory reset the camera only as a last resort: press and hold the camera’s reset or sync button until LED indicates a reset, then set up again.
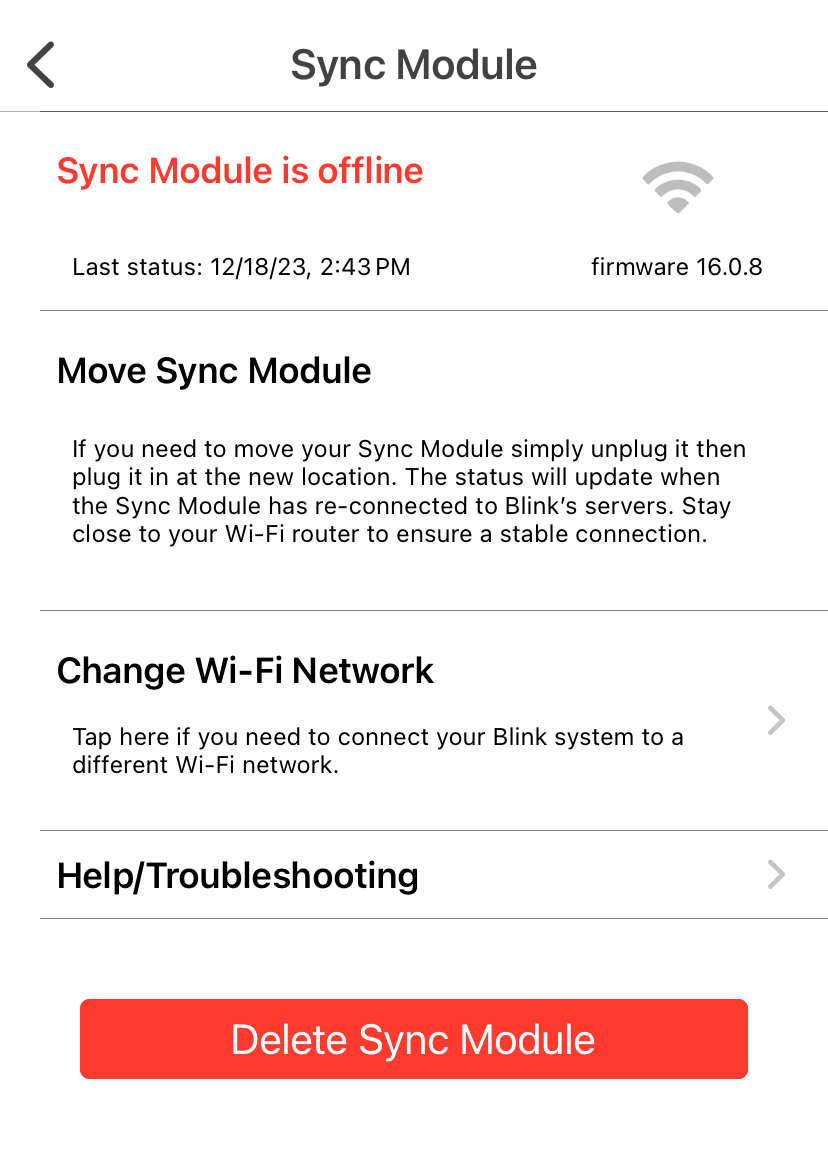
If the Sync Module shows offline, power cycle it and make sure it’s within range of the router. If nothing works, try setting up the camera on a different Wi‑Fi (like a phone hotspot) briefly to rule out router issues.

PAA‑style quick questions
Why won’t my Blink camera find my Wi‑Fi network?
Often your phone is on 5 GHz while the camera needs 2.4 GHz. Also check the router is broadcasting SSID and is not hiding the network.
Can distance cause setup failure?
Yes. Weak signal or many walls can stop setup. Move the camera closer during setup and then reposition it after it’s online.
Network tips and best practices
Good Wi‑Fi hygiene saves time and prevents drops.
- Put your camera on a dedicated IoT Wi‑Fi network or guest SSID to isolate devices and improve security.
- Use WPA2 personal or WPA3 where supported. Avoid WEP and open networks.
- If your router combines bands under one name, temporarily separate 2.4 GHz and 5 GHz SSIDs during setup.
- Reserve a static IP or DHCP reservation for your camera via the router to reduce reconnect issues.
- For large homes, use a mesh Wi‑Fi system with strong 2.4 GHz coverage or place a secondary access point near cameras.
- Keep firmware updated for both router and camera; updates fix bugs and add stability.
I once helped a neighbor who had four Blink Outdoors drop every night. The fix was moving the Sync Module to a lower shelf closer to the main router and assigning static IPs for stability. After that the cameras stayed online.
Advanced setup notes and limitations
- VPNs and some firewall rules can block Blink app traffic. Temporarily disable these during setup.
- Some routers block multicast or UPnP by default; enabling them may help device discovery and reliability.
- Blink cameras do not stream locally without the cloud (unless using supported local storage features), so stable internet matters.
- Blink’s reliance on 2.4 GHz can limit bandwidth in crowded networks. Limit heavy devices on the same band for better camera performance.
- If using professional NVR or home automation, check compatibility; Blink is primarily designed for use with the Blink/Amazon cloud and app.
Be transparent about limits: Blink is optimized for ease and cloud features, not for local LAN‑only setups. If you need full local control, review device specs first.

Frequently Asked Questions of How do I connect my Blink camera to my Wi-Fi network
How do I connect my Blink camera to my Wi‑Fi network if it won’t find my router?
Ensure your phone is on the same Wi‑Fi, use a 2.4 GHz network, and move the camera closer to the router during setup. Double‑check SSID and password.
How do I connect my Blink camera to my Wi‑Fi network when using a Sync Module?
First add the Sync Module to the Blink app, connect it to Wi‑Fi, then add each camera by scanning QR codes and pressing the camera’s sync button.
How do I connect my Blink camera to my Wi‑Fi network if I have MAC filtering enabled?
Add the camera or Sync Module MAC address to your router’s allowed list, or temporarily disable MAC filtering during setup.
How do I connect my Blink camera to my Wi‑Fi network with a mesh system?
Ensure the mesh node supporting your camera broadcasts a stable 2.4 GHz signal; you may need to place the camera near the node and separate bands for setup.
How do I connect my Blink camera to my Wi‑Fi network after changing my Wi‑Fi password?
Open the Blink app, go to device settings, and follow prompts to update Wi‑Fi credentials; if that fails, re-add the camera or Sync Module following initial setup steps.
Conclusion
You can connect your Blink camera to your Wi‑Fi network reliably by preparing the right items, using the Blink app, and following the model‑specific steps above. Start by confirming you have a 2.4 GHz network (or the correct band for your model), keep devices close during setup, and use the troubleshooting checklist when things go wrong. Take action now: pick up your phone, open the Blink app, and follow the steps for your camera—if you hit a snag, refer back to the troubleshooting tips and network best practices. Share your setup story or questions below, and consider subscribing for more practical smart‑home guides.
As an Amazon Associate, I earn from Qualifying Purchases.