
Finding the camera settings on a Chromebook can be confusing. This guide helps you locate and adjust them easily.
Chromebooks are user-friendly devices, but navigating their settings can sometimes be tricky. If you need to adjust your camera settings, whether for video calls, photos, or other uses, knowing where to find these options is essential. This blog will walk you through the exact steps to locate and customize your camera settings.
By the end, you’ll be able to manage your Chromebook’s camera like a pro, enhancing your overall user experience. Let’s get started!
Locating Camera Settings
Knowing how to find and adjust your camera settings on a Chromebook is essential. Whether you need to tweak the resolution or change other settings, it’s all accessible with just a few clicks. This guide will help you locate and navigate your camera settings easily.
Accessing The Settings Menu
First, open your Chromebook and sign in. You need to access the settings menu where all the system preferences are found.
- Click on the time in the bottom-right corner of the screen.
- A menu will pop up. Click on the gear icon to open the settings.
Now, you are in the settings menu. This is where you can access all the controls for your Chromebook.
Navigating To Camera Options
Next, you need to find the camera settings.
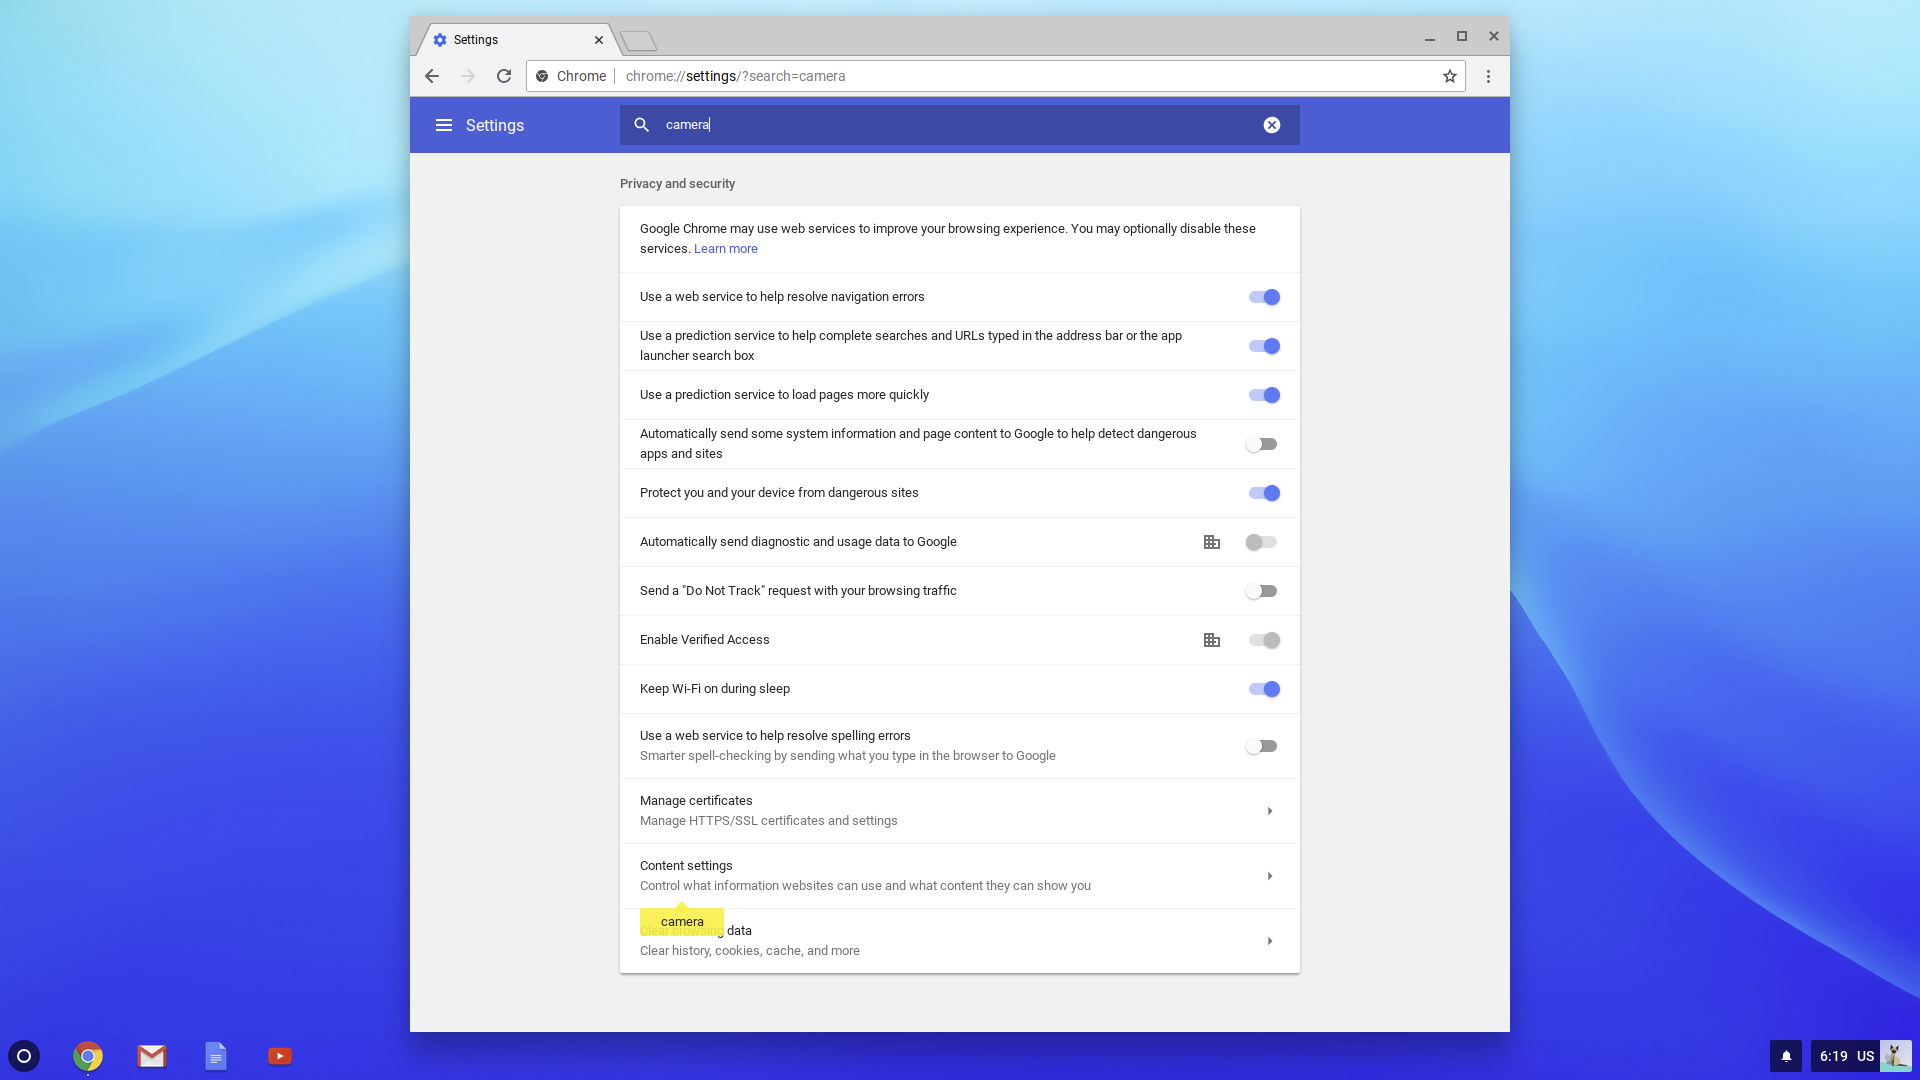
- In the settings menu, look for the Search bar at the top.
- Type Camera in the search bar.
- Click on the Camera option from the search results.
This will take you directly to the camera settings. Here, you can adjust the resolution, brightness, and other settings to your preference.
Making adjustments to your camera settings is straightforward and helps ensure your video calls and photos are of the best quality possible. Follow these steps, and you will be able to locate and customize your camera settings on your Chromebook with ease.
Credit: www.youtube.com
Adjusting Camera Settings
Chromebooks offer a straightforward way to adjust camera settings. Whether you’re in a video call or taking a photo, tweaking these settings can enhance your experience. Let’s dive into the key adjustments you can make.
Brightness And Contrast
Adjusting brightness can help if your camera feed appears too dark or too bright. Open the Camera app. Click on the settings icon. You’ll find sliders for brightness and contrast. Move them to see changes in real-time. Find the balance that works best for your lighting.
Resolution And Quality
Resolution impacts the clarity of your video and images. In the Camera app settings, look for resolution options. Higher resolution provides better quality but may use more resources. Choose a resolution that suits your needs. For video calls, medium resolution often works well.
Using Camera Apps
Using camera apps on a Chromebook can enhance your photography experience. You might want to take selfies, conduct video calls, or capture important moments. Knowing where to find and how to use these apps is key.
Built-in Camera App
The built-in camera app on a Chromebook is easy to find and use. Open the launcher by clicking the circle icon at the bottom-left of your screen. Type “Camera” in the search bar. Select the Camera app from the search results. Once open, the app provides basic features. You can take photos, record videos, and flip the camera view. Adjusting settings like timer and grid can improve your shots.
Third-party Camera Apps
For more features, third-party camera apps are a great choice. Open the Google Play Store from your Chromebook. Search for camera apps like “Snap Camera” or “Open Camera”. Install the app of your choice and open it. These apps often provide advanced features. Filters, manual controls, and editing tools are common. Using third-party apps can give you more control over your photos and videos.
Troubleshooting Common Issues
Troubleshooting common camera issues on a Chromebook can be simple. Sometimes, the camera may not work. Other times, the image quality might be poor. Below are solutions to common problems you might face.
Camera Not Working
First, check if another application is using the camera. Close other apps that might be using it. Restart your Chromebook to refresh its system. If the camera still does not work, ensure it is enabled. Go to Settings > Privacy and Security > Site Settings. Scroll down to Permissions and click on Camera. Ensure that the toggle switch is turned on.
Check for any software updates. An outdated system might cause problems. Go to Settings > About Chrome OS and click on “Check for updates.” Install any available updates. If the camera still does not work, there might be a hardware issue. Contact Chromebook support for further assistance.
Poor Image Quality
Clean the camera lens using a soft cloth. A dirty lens can affect image quality. Adjust the lighting in your environment. Poor lighting can make images look grainy or dark. Ensure that the room has adequate light.
Check the camera settings. Go to the camera app and click on the settings icon. Adjust the resolution and other settings to improve image quality. If the problem persists, update your Chromebook. This might fix any bugs affecting the camera.
Disable any extensions that might interfere with the camera. Some extensions can cause issues. Go to Settings > Extensions and disable them one by one. Check if the image quality improves after disabling each one.
Tips For Optimal Camera Use
To get the best out of your Chromebook camera, you need to use it right. Here are some tips for optimal camera use that will enhance your video calls and recordings.
Lighting Tips
Proper lighting is key for clear video. Use natural light where possible. Sit facing a window for the best light. Avoid having a bright light source behind you. It will create shadows on your face. Use a lamp if natural light is not available. Place it in front of you for even lighting.
Positioning Tips
Position your camera at eye level. This creates a more natural look. Use a stack of books or a stand to adjust your Chromebook’s height. Ensure the camera points straight at your face. Avoid tilting the camera up or down. Sit about an arm’s length away from the camera. This keeps your face in focus and avoids distortion. Keep a clean background. It reduces distractions and keeps the focus on you.

Credit: www.youtube.com
Privacy And Security
Maintaining privacy and security is crucial when using a Chromebook’s camera. Knowing how to manage camera settings can help protect your personal information. We’ll guide you through adjusting camera permissions and disabling the camera.
Camera Permissions
Chromebooks allow you to control which apps can access your camera. This ensures that only trusted apps can use it. Follow these steps to manage your camera permissions:
- Click the clock in the bottom-right corner.
- Select Settings from the menu.
- Scroll down and click Advanced.
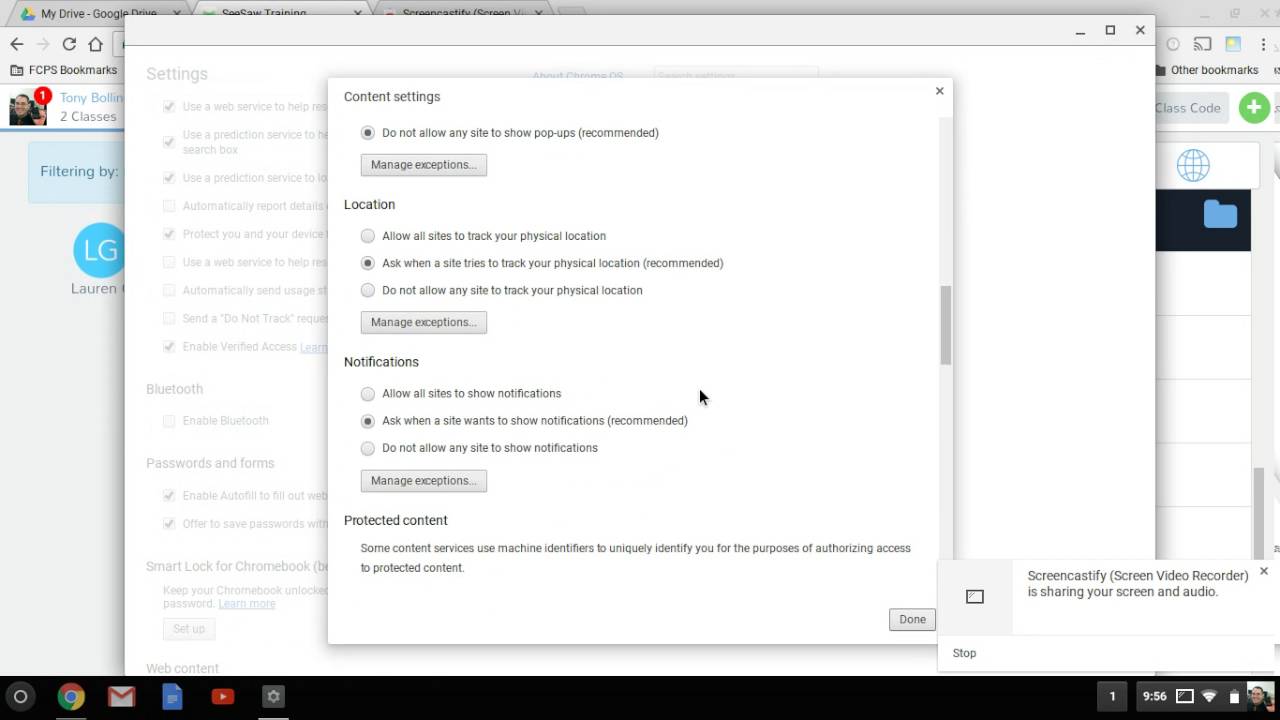
- Under the Privacy and Security section, click Content Settings.
- Click Camera.
- Toggle permissions for each app as needed.
By managing these settings, you can ensure that only approved apps have access to your camera.
Disabling The Camera
If you want to completely disable the camera on your Chromebook, you can do so easily. Disabling the camera ensures that no apps can use it. Here’s how:
- Open the Settings menu.
- Navigate to Privacy and Security.
- Select Site Settings.
- Find and click Camera.
- Toggle the switch to Block sites from using the camera.
Disabling the camera can provide extra peace of mind. It ensures that no app can access your camera without your permission.
Managing your camera settings on a Chromebook is simple and effective. Protecting your privacy and security should always be a top priority.
Credit: meldcx.zendesk.com
Frequently Asked Questions
How To Access Camera Settings On Chromebook?
To access camera settings on a Chromebook, open the Camera app. Click on the gear icon to view and adjust settings.
Where Is The Camera Icon On A Chromebook?
The camera icon is usually found in the app launcher or by searching “Camera” in the search bar.
Can I Adjust Resolution On Chromebook Camera?
Yes, you can adjust the resolution. Open the Camera app and go to settings to select your preferred resolution.
Why Can’t I Find Camera Settings?
If you can’t find the camera settings, ensure your Camera app is updated. Restart your Chromebook if needed.
Conclusion
Finding camera settings on a Chromebook is straightforward. Follow the steps mentioned. You can adjust your camera settings easily. This helps you use your camera better. Keep exploring Chromebook features. Enjoy your device with confidence. Happy capturing moments!
As an Amazon Associate, I earn from Qualifying Purchases.