
Using the camera in your MacBook is easy and convenient. Whether you need it for video calls, recording videos, or taking pictures, the built-in camera, also known as the FaceTime HD camera, can be a useful tool.
The camera in your MacBook lets you connect with friends, family, and colleagues through video calls. It’s also perfect for online meetings and creating content. Many people don’t realize how easy it is to use. This blog post will guide you through the steps.
You’ll learn how to turn on the camera, use it with different apps, and troubleshoot common issues. By the end, you will be comfortable using your MacBook camera for various tasks. Let’s get started and explore its features!
Introduction To Macbook Camera
The MacBook camera is a handy tool for many tasks. From video calls to taking pictures, it offers convenience and quality. Understanding its features can help you use it more effectively. This guide will introduce you to the MacBook camera.
Built-in Features
The MacBook camera comes with several built-in features. It integrates seamlessly with apps like FaceTime and Photo Booth. The camera activates automatically when needed. No manual setup is required. It also has a green light indicator. This shows when the camera is in use. This ensures privacy and security.
Quality And Specifications
The camera quality on a MacBook is impressive. It offers clear and sharp images. Most models feature a 720p HD camera. Recent models have a 1080p resolution. This is great for video calls and online meetings. The camera also adjusts to lighting conditions. It performs well in different environments.
:max_bytes(150000):strip_icc()/002-how-to-turn-on-camera-on-mac-4175436-35d5f72c3bbb4843ae92f52832f40a7e.jpg)
Credit: www.lifewire.com
Accessing The Camera
Accessing the camera on your MacBook can enhance your productivity. Whether for video calls, taking pictures, or recording videos, knowing how to access and use the camera is essential.
Opening The Camera App
The default camera app on MacBook is Photo Booth. Follow these steps to open it:
- Click on the Launchpad icon in the Dock.
- Type Photo Booth in the search bar.
- Click on the Photo Booth app to open it.
Once the app is open, you can take photos or record videos. Use the buttons at the bottom of the window.
Using Third-party Apps
Sometimes, you may need more features than the default app offers. In such cases, third-party apps can be helpful. Here are some popular third-party apps:
- Zoom – Ideal for video conferencing and meetings.
- Skype – Great for video calls and chats.
- OBS Studio – Perfect for recording and live streaming.
To use these apps:
- Download and install your chosen app from the official website or App Store.
- Open the app and sign in.
- Grant the necessary permissions to access your camera.
Now, you can use the camera with advanced features that suit your needs.
| App | Use Case |
|---|---|
| Zoom | Video conferencing and meetings |
| Skype | Video calls and chats |
| OBS Studio | Recording and live streaming |
Adjusting Camera Settings
Adjusting your Macbook camera settings can significantly enhance your video quality. Fine-tuning the camera settings can make a big difference in how you look on video calls or recordings. Let’s dive into the details of adjusting some key camera settings.
Resolution Settings
Choosing the right resolution is crucial for clear and sharp video. Here’s how you can adjust it:
- Open the Camera app.
- Navigate to Settings.
- Select Resolution.
Higher resolution means better video quality, but it also requires more bandwidth. Adjust the resolution according to your internet speed.
Lighting Adjustments
Proper lighting can dramatically improve your video quality. Follow these steps to adjust lighting:
- Ensure you are in a well-lit room.
- Avoid direct sunlight or bright lamps directly behind you.
- Use the Camera app’s Lighting settings.
Adjust the brightness and contrast until you are satisfied with the lighting. A well-lit face is key to a professional appearance on video.
Enhancing Image Quality
Enhancing the image quality on your MacBook camera can make a big difference. Whether you are on a video call or taking a quick photo, better image quality matters. Here are some tips to help you get the best image quality possible.
Using Filters
Filters can change the look of your photos and videos. Your MacBook camera has several built-in filters. Open the camera app and click the filter button. Try different filters to see which one you like best. Some filters can brighten your image. Others can give a cool or warm tone. Experiment to find the best filter for your needs.
Editing Tools
Editing tools can enhance your photos after you take them. Use the Photos app on your MacBook. Open the photo you want to edit. Click the “Edit” button. You can adjust the brightness, contrast, and more. Use the “Auto Enhance” feature for quick improvements. For finer control, use the individual sliders. Cropping can also help focus on the main subject. Remember to save your changes.
Taking Photos
Using your MacBook’s camera to take photos can be fun and easy. Whether it’s a quick selfie or a photo for a project, your MacBook has all the tools you need. Let’s dive into how you can capture perfect shots and make the most of the timer function.
Capturing Perfect Shots
To start taking photos, open the Photo Booth app on your MacBook. It’s a simple and user-friendly app. Just follow these steps:
- Launch the Photo Booth app from your Applications folder or Dock.
- Position yourself in front of the camera.
- Click the red camera icon to take a photo.
Here are some tips to capture the best shots:
- Ensure there is good lighting.
- Keep your background clean and clutter-free.
- Use the grid lines to help with alignment.
Using these tips can help you take clearer and more attractive photos.
Using Timer Function
The timer function in Photo Booth allows for hands-free photos. This can be useful for group shots or self-portraits. Here’s how you can use it:
| Step | Action |
|---|---|
| 1 | Open the Photo Booth app. |
| 2 | Click the timer icon at the bottom left. |
| 3 | Select a 3-second or 10-second timer. |
| 4 | Click the red camera icon. |
The timer will start, giving you time to get into position. Once the timer ends, the photo will be taken automatically. This feature ensures you have time to pose or arrange your shot perfectly.
Credit: support.apple.com
Recording Videos
Easily record videos using your MacBook’s built-in camera. Open the Photo Booth app, then click the video icon to start recording. Save and share your videos seamlessly.
Recording videos on your MacBook is simple and fun. The built-in camera and software make it easy to capture moments. Whether you want to create a tutorial, vlog, or record a meeting, the MacBook has you covered. Let’s dive into the steps.Setting Up For Recording
First, ensure your MacBook is charged or plugged in. Open the Photo Booth or QuickTime Player app. These apps are pre-installed and easy to use. In Photo Booth, click the video icon on the lower left. In QuickTime, go to File, then select New Movie Recording. Adjust the camera angle and lighting. Natural light works best. Position yourself in the center of the frame. Make sure your background is not cluttered. This keeps the focus on you.Editing Video Clips
Once you finish recording, open the iMovie app. This is also pre-installed on your MacBook. Import your video by clicking the Import Media button. Drag your video to the timeline below. Trim unwanted parts by selecting the clip and using the trim tool. You can also add transitions, titles, and sound effects. These features help make your video more engaging. Once you are happy with the edits, click the Share button. Choose the format you need and save your video. Your video is now ready to share with the world.Using Camera For Video Calls
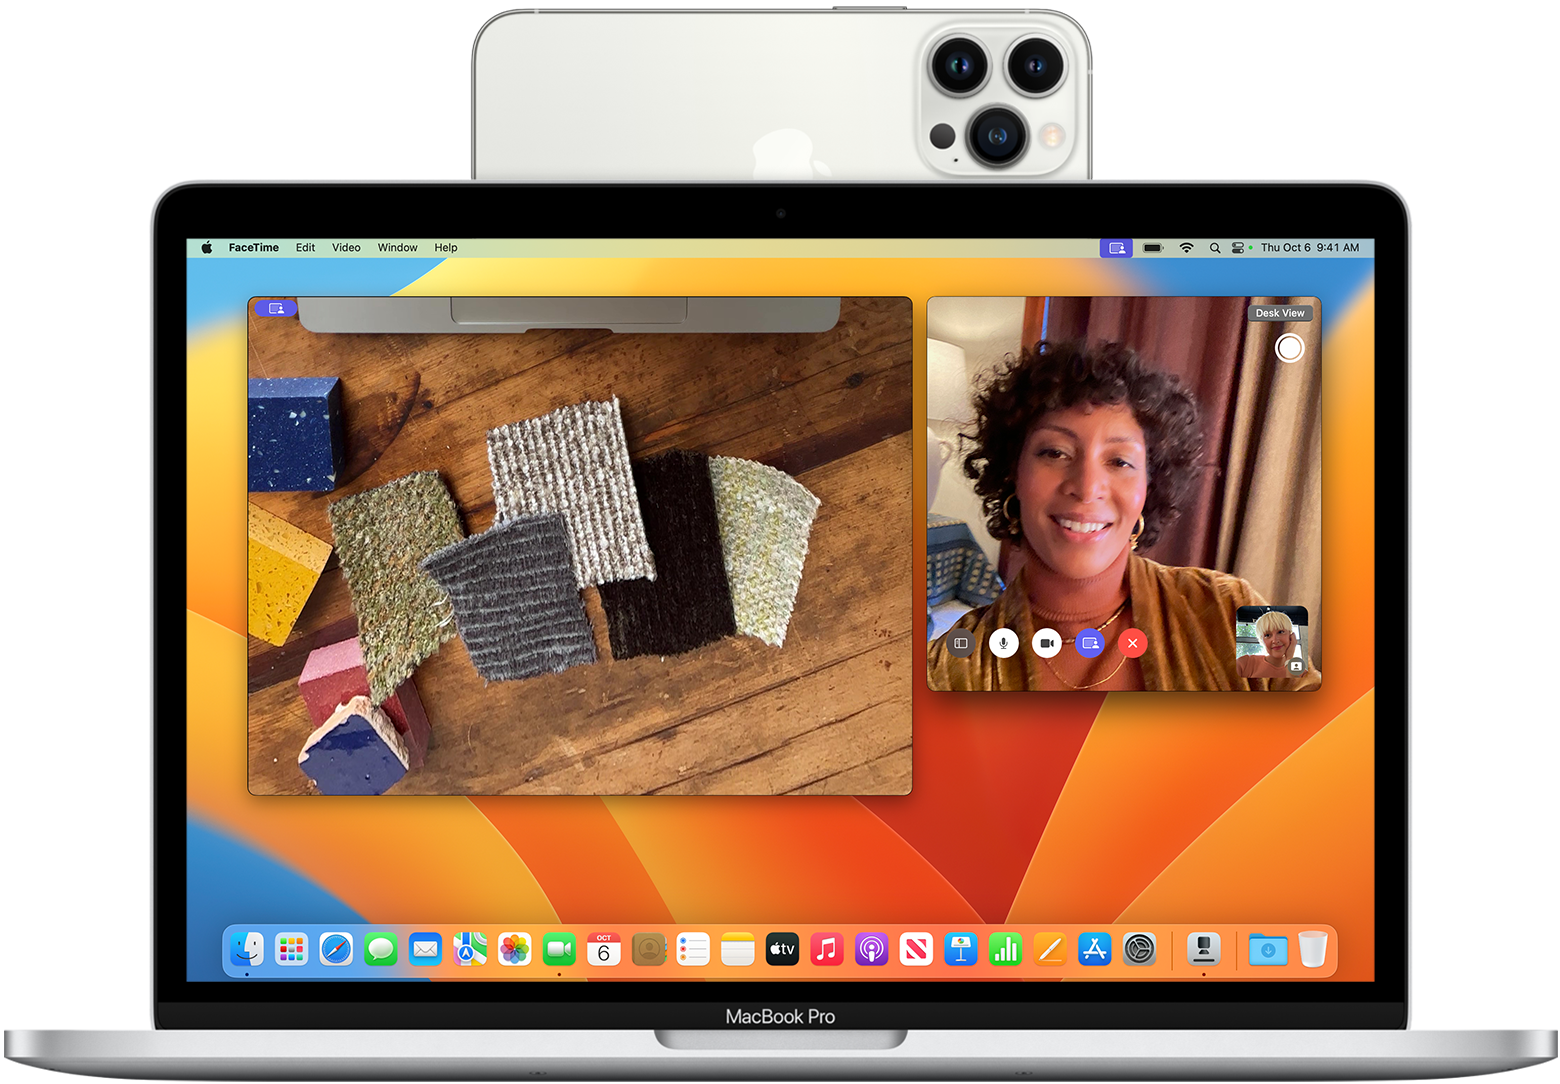
Using the camera on your MacBook for video calls can enhance your communication. Whether connecting with family, friends, or colleagues, the built-in camera provides good quality and convenience. Here’s how to use it effectively.
Optimizing Video Call Quality
To ensure your video calls are clear, follow these tips:
- Lighting: Ensure your face is well-lit. Natural light works best.
- Background: Choose a simple background. It avoids distractions.
- Positioning: Place the camera at eye level. It provides a more natural view.
- Cleaning: Clean your camera lens regularly. It prevents blurry images.
Here’s a quick table to help:
| Tip | Details |
|---|---|
| Lighting | Use natural light or a desk lamp. |
| Background | Keep it simple and tidy. |
| Positioning | Align the camera with your eyes. |
| Cleaning | Wipe the lens with a soft cloth. |
Integrating With Apps
The MacBook camera integrates with many video call apps. Here’s how to use it with popular apps:
- Zoom: Open the Zoom app. Click “New Meeting” or join a meeting. The camera activates automatically.
- FaceTime: Open FaceTime. Select a contact. Click the video icon. The call starts with the camera on.
- Skype: Open Skype. Choose a contact. Click the video call button. The camera turns on.
- Google Meet: Open Google Meet in your browser. Start or join a meeting. The camera activates automatically.
For a better experience:
- Close unnecessary apps. It frees up resources.
- Use headphones. It improves audio quality.
- Update your apps. It ensures compatibility.
Troubleshooting Camera Issues
Many MacBook users rely on their built-in camera for video calls, meetings, and capturing moments. But sometimes, the camera may not function properly. Understanding common issues and knowing how to fix them can save you time and frustration.
Common Problems
MacBook cameras can face various issues. Here are some common problems:
- Camera not detected: The system does not recognize the camera.
- Blurry or dark image: The picture quality is poor.
- Camera in use by another app: Another application is using the camera.
- Software update required: Outdated software might be causing issues.
Simple Fixes
Here are some easy steps to resolve camera issues on your MacBook.
Check Camera Permissions
Ensure the app has permission to use the camera.
- Go to System Preferences.
- Click Security & Privacy.
- Select the Privacy tab.
- Choose Camera from the left sidebar.
- Ensure the app is checked.
Restart Your MacBook
A simple restart can fix many issues. Click the Apple menu and choose Restart.
Update macOS
Outdated software can cause camera problems. Update to the latest version.
- Open the Apple menu.
- Go to System Preferences.
- Click Software Update.
- Install any available updates.
Close Other Applications
Only one application can use the camera at a time. Close any other apps that might be using it.
Use Activity Monitor to check running applications:
- Open Finder.
- Go to Applications and then Utilities.
- Launch Activity Monitor.
- Look for any apps using the camera and close them.
Reset SMC and NVRAM
Resetting the System Management Controller (SMC) and Non-Volatile Random-Access Memory (NVRAM) can solve camera issues.
Reset SMC:
- Shut down your MacBook.
- Press and hold Shift + Control + Option and the Power button for 10 seconds.
- Release all keys and press the Power button to turn on your MacBook.
Reset NVRAM:
- Shut down your MacBook.
- Turn it on and immediately press and hold Option + Command + P + R.
- Hold the keys for about 20 seconds, then release them.

Credit: support.pitchvantage.com
Frequently Asked Questions
How Do I Turn On The Camera On My Macbook?
To turn on the camera, open an app that uses it, like FaceTime or Photo Booth. The camera will activate automatically.
Why Is My Macbook Camera Not Working?
Your MacBook camera might not work due to software issues. Restart your MacBook or check for system updates to fix it.
Can I Use My Macbook Camera For Zoom?
Yes, you can use your MacBook camera for Zoom. Simply open the Zoom app and start or join a meeting.
How Do I Test My Macbook Camera?
To test your MacBook camera, open Photo Booth or FaceTime. You should see your video feed appear automatically.
Conclusion
Using your MacBook camera is simple and convenient. Follow the steps mentioned to get started. Open apps like FaceTime or Photo Booth to access the camera. Adjust settings for better quality. Keep your MacBook updated for the best performance. Practice using the camera for different tasks.
Soon, you will feel confident and comfortable. Enjoy video calls and capturing moments with ease. Your MacBook camera is a great tool for everyday use.
As an Amazon Associate, I earn from Qualifying Purchases.