
Using a trail camera can enhance your outdoor adventures. It captures wildlife moments you might miss.
Trail cameras are essential tools for outdoor enthusiasts. These devices help monitor wildlife, secure properties, and even capture nature’s beauty. They are easy to set up and provide valuable insights into animal behaviors. Whether you’re a hunter, a nature lover, or a property owner, understanding how to use a trail camera effectively is crucial.
This guide will walk you through the basics, ensuring you get the most out of your trail camera. From selecting the right location to setting up and maintaining your camera, you’ll learn everything you need to know. Let’s dive into the exciting world of trail cameras and discover how they can benefit you.
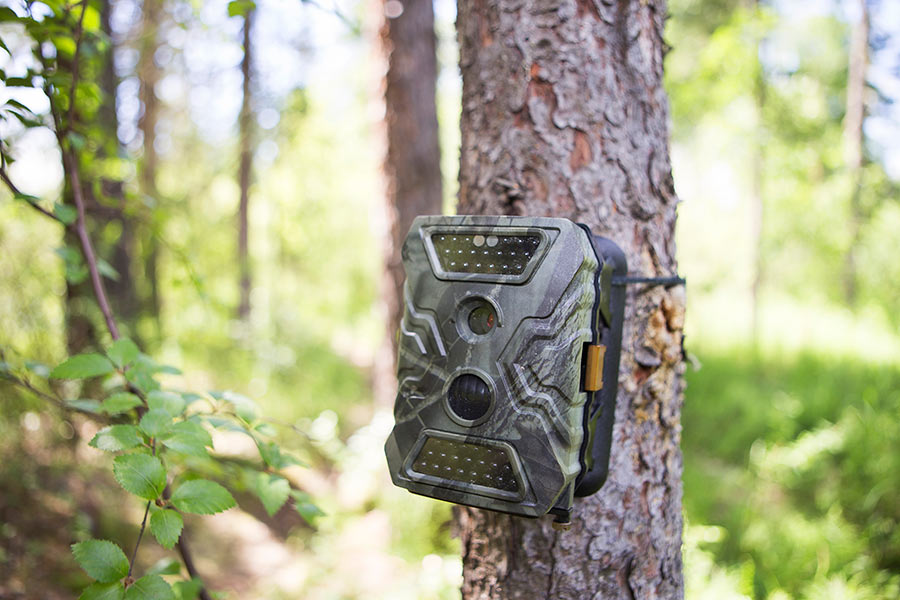
Credit: wildlife.utah.gov
Choosing The Right Trail Camera
Selecting the perfect trail camera can be overwhelming. With so many options, it’s crucial to know what to look for. This guide will help you choose the right trail camera for your needs.
Types Of Trail Cameras
There are various types of trail cameras. Knowing the differences helps in making an informed choice.
Standard trail cameras are the most common. They capture photos and videos when triggered by motion. Cellular trail cameras send images directly to your phone or email. This feature is useful for remote monitoring. Wi-Fi trail cameras connect to a local network. You can access images without physically visiting the camera.
Each type has its pros and cons. Choose the one that fits your requirements.
Key Features To Look For
Several features are essential for a good trail camera. The camera’s resolution is crucial. Higher resolution means clearer images and videos. Look for cameras with at least 12 megapixels.
Detection range is another important feature. This is the distance at which the camera detects motion. A longer detection range covers more area. Trigger speed determines how quickly the camera captures an image after detecting motion. Faster trigger speed means you won’t miss any action.
Battery life is also key. Longer battery life means less frequent changes. Look for cameras with long-lasting batteries. Night vision capabilities are vital for low light conditions. Infrared LEDs provide clear images at night.
Consider the storage options. Some cameras use SD cards, while others have internal memory. Ensure the camera has enough storage for your needs.
Durability is important. The camera should withstand harsh weather conditions. Look for weatherproof and rugged designs.
Selecting The Best Location
Proper placement of a trail camera is crucial for capturing stunning wildlife images. Selecting the best location ensures you do not miss any action. This section will guide you in identifying the perfect spot for your camera.
Identifying Animal Trails
Start by identifying animal trails. These trails are paths animals frequently use. Look for signs such as:
- Footprints
- Droppings
- Broken branches
- Worn-out grass
These signs indicate animals’ movement patterns. Place your camera along these paths for the best results.
Considering Camera Height
Camera height impacts the quality of your shots. Here is a quick guide:
| Animal Type | Recommended Camera Height |
|---|---|
| Small Animals (e.g., rabbits) | 1-2 feet |
| Medium Animals (e.g., deer) | 2-3 feet |
| Large Animals (e.g., bears) | 3-4 feet |
Adjusting the height ensures you get clear and centered images.
Also, place the camera at an angle. This captures a broader view of the trail. Avoid placing it directly in the animals’ path. This prevents spooking them.
By selecting the best location, your trail camera can capture amazing wildlife moments.
Setting Up Your Trail Camera
Setting up your trail camera correctly is essential for capturing clear images. Proper setup ensures you get the best results. You’ll need to focus on a few key aspects. Let’s dive into the details.
Mounting Techniques
Start by choosing the right location. Look for areas with high animal activity. Attach the camera to a sturdy tree or post. Use a mounting strap for secure attachment. Make sure the camera is at the right height. Typically, 3 to 4 feet off the ground works well. Adjust the angle to cover the desired area. Avoid pointing the camera directly at the sun.
Ensuring Stability
Stability is crucial for clear images. Ensure the camera does not wobble. Use a tripod if necessary. Check the mounting strap for tightness. Make sure the camera is level. Use a small bubble level if needed. Test the stability by gently shaking the tree or post. If the camera moves, tighten it further. Double-check the angle and height after securing.
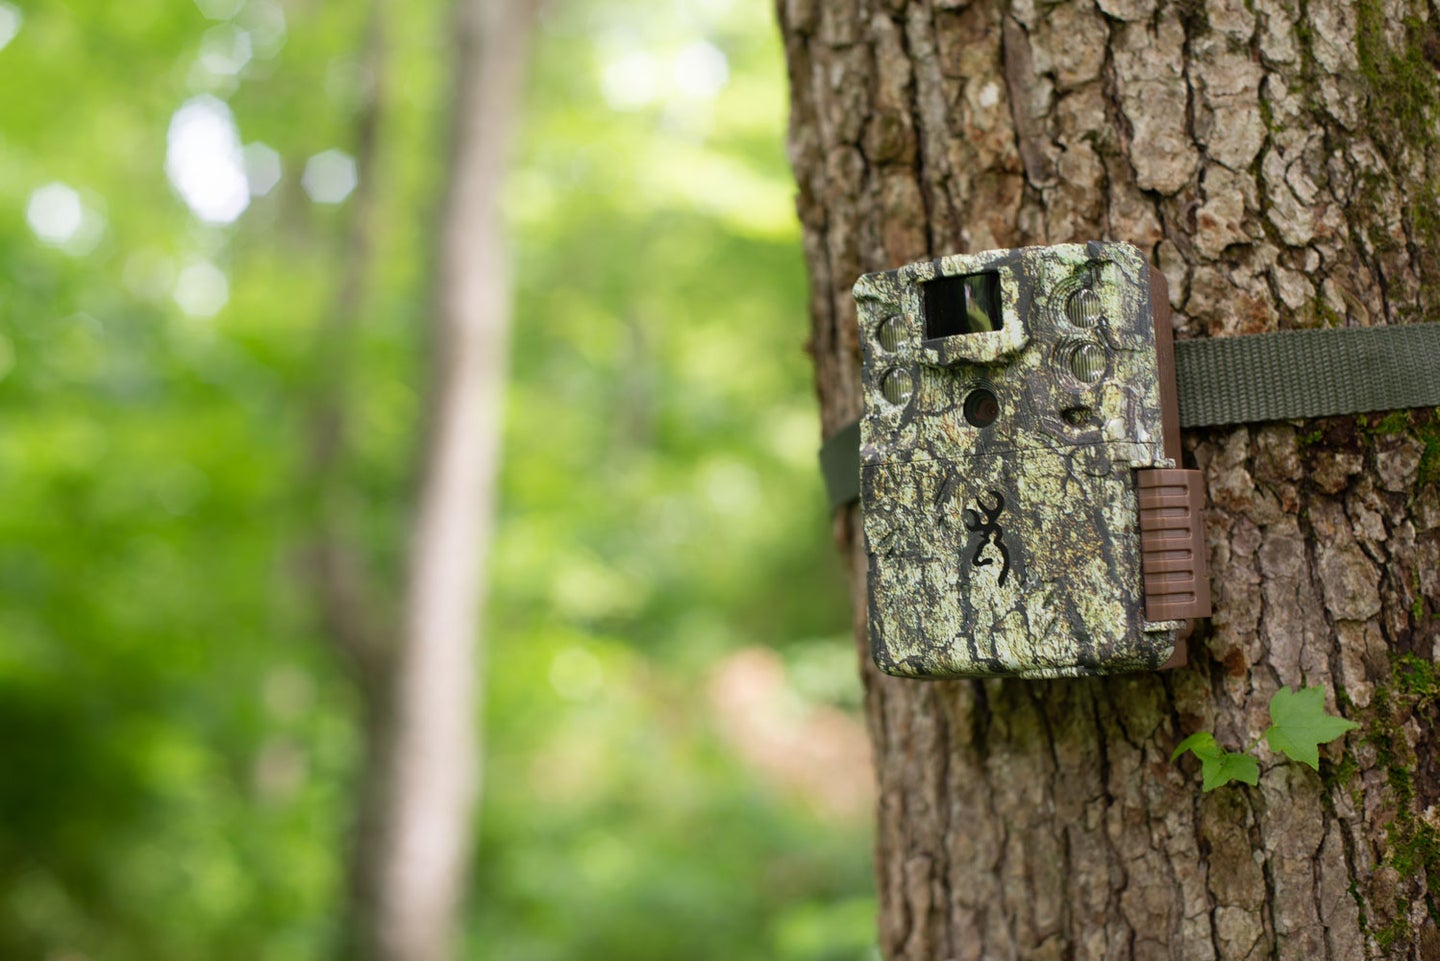
Credit: www.popphoto.com
Optimizing Camera Settings
Optimizing your trail camera settings can greatly enhance your wildlife photography. By fine-tuning the resolution and trigger speed, you can capture clearer and more detailed images. Here, we will guide you through the essential steps to optimize your trail camera settings.
Adjusting Resolution
The resolution of your trail camera determines the clarity of the images. Higher resolution means more detail but also larger file sizes. To adjust the resolution:
- Access the camera menu settings.
- Select the Resolution option.
- Choose from available resolutions (e.g., 8MP, 12MP, 16MP).
- Higher resolution for detailed close-ups, lower for longer battery life.
Higher resolutions are ideal for capturing fine details, such as fur textures or antler points. For general surveillance, a lower resolution might suffice, conserving storage space and battery life.
Setting Trigger Speed
Trigger speed is the time it takes for the camera to capture an image once it detects motion. A faster trigger speed ensures you capture more dynamic and active wildlife moments. To set the trigger speed:
- Navigate to the camera’s settings menu.
- Select Trigger Speed or Trigger Time.
- Choose a desired speed (e.g., 0.2 seconds, 0.5 seconds).
For fast-moving animals, opt for a quicker trigger speed. This minimizes the chance of missing an important moment. A slower trigger speed can be suitable for areas with less activity or where animals move slowly.
| Setting | Recommended Use |
|---|---|
| High Resolution (16MP) | Detailed images, closer subjects |
| Low Resolution (8MP) | General surveillance, longer battery life |
| Fast Trigger Speed (0.2s) | Capturing fast-moving wildlife |
| Slow Trigger Speed (0.5s) | Monitoring slow-moving areas |
By carefully adjusting the resolution and trigger speed, you can capture high-quality images and videos. This makes your trail camera more effective and efficient in documenting wildlife activity.
Managing Battery Life
Managing battery life is crucial for getting the most out of your trail camera. Proper battery management ensures your camera captures every moment without interruptions. Here are some tips to help you get the best performance from your trail camera.
Choosing The Right Batteries
Selecting the right batteries is the first step to managing battery life. Use high-quality lithium batteries for the best performance. They last longer and work well in various temperatures. Alkaline batteries are cheaper but drain faster, especially in cold weather. Here’s a quick comparison:
| Battery Type | Pros | Cons |
|---|---|---|
| Lithium | Long-lasting, performs well in cold | More expensive |
| Alkaline | Inexpensive, easy to find | Shorter life, poor in cold |
Conserving Power
Conserving power helps extend battery life. Adjust your trail camera settings for better efficiency. Use the following tips to save power:
- Reduce the number of photos taken per trigger. Set it to one or two photos.
- Lower the resolution of the images. High-resolution images drain more power.
- Set the camera to capture only during peak activity times. Turn it off during low activity hours.
- Use a solar panel if your camera supports it. This can keep your batteries charged longer.
Regularly check your batteries and replace them before they drain completely. This ensures your trail camera is always ready to capture those critical moments. Following these tips can significantly improve your trail camera’s battery life.
Understanding Animal Behavior
Understanding animal behavior is crucial for using a trail camera effectively. Knowing how animals act and move helps you capture better images. You can predict where and when animals will appear. This knowledge increases your chances of getting great shots.
Identifying Patterns
Animals often follow specific patterns. They have routines based on seasons, food sources, and safety. By studying these patterns, you can place your trail camera in the best spots. Look for signs like tracks, droppings, and feeding areas. These clues indicate the paths animals use frequently. Observing these signs helps you understand their behavior better.
Use your trail camera to monitor these spots over time. Review the footage to see common routes and habits. This way, you can identify peak times and locations for animal activity. Adjust your camera’s position accordingly to capture the best images.
Best Times For Capturing
Different animals are active at different times. Some are nocturnal, while others are diurnal. Knowing the best times for capturing these animals is essential. Most animals are active during dawn and dusk. These periods are ideal for capturing wildlife photos. Set up your trail camera to record during these hours.
Monitor the footage regularly to see if there are any changes in activity. Adjust your camera settings and positions based on what you observe. This way, you can maximize your chances of capturing clear and exciting wildlife images.
Reviewing And Organizing Footage
Reviewing and organizing footage from your trail camera is a crucial step. Properly managed images and videos can help you track wildlife patterns. This process involves downloading images, categorizing wildlife, and storing files efficiently.
Downloading Images
First, remove the SD card from your trail camera. Insert it into your computer’s card reader. Open the folder to view your images. Copy all files to a dedicated folder on your computer. This keeps your original data safe and organized.
Categorizing Wildlife
Now, sort your images by the type of animal. Create separate folders for deer, birds, and other animals. This makes it easier to find specific images later. Use descriptive names for your folders. It helps you remember what’s inside.
Tag each image with relevant details. Include the date, time, and location. This information is vital for tracking patterns. Consistent naming and tagging save time. They also make your data more useful.

Credit: gearjunkie.com
Enhancing Your Wildlife Shots
Using a trail camera can capture amazing wildlife moments. But how do you make those shots truly stand out? Enhancing your wildlife shots is key. This section will guide you through some practical tips to polish your photos and share them effectively.
Editing Tips
Editing can make a big difference. Start with basic adjustments. Adjust the brightness and contrast to make your photos pop.
- Brightness: Increase brightness for a clearer view of your subject.
- Contrast: Enhance contrast to give your images depth.
- Saturation: Boost colors to make the wildlife look vibrant.
Next, crop your image to remove unnecessary elements. Focus on the animal. This draws the viewer’s attention to the main subject.
Sharing Your Photos
Once your photos are edited, share them with others. There are many platforms available.
- Social Media: Platforms like Instagram and Facebook are great for sharing.
- Online Forums: Join wildlife photography forums to get feedback.
- Personal Blog: Create a blog to showcase your best shots.
Each platform has its own audience. Choose the one that fits your style. Use hashtags and tags to reach a broader audience.
In summary, enhancing your wildlife shots involves careful editing and strategic sharing. Follow these tips to make your wildlife photography stand out.
Frequently Asked Questions
What Is A Trail Camera Used For?
A trail camera is used to capture images and videos of wildlife. It’s often utilized by hunters and researchers to monitor animal activity in a specific area.
How Do You Set Up A Trail Camera?
To set up a trail camera, choose a strategic location. Secure it to a tree or post. Adjust the settings based on your preferences. Ensure the camera is camouflaged to avoid detection by animals.
How Long Do Trail Camera Batteries Last?
Trail camera battery life varies based on usage and settings. On average, batteries can last from a few weeks to several months. Using energy-efficient settings can extend battery life.
Can Trail Cameras Work At Night?
Yes, trail cameras can work at night. They use infrared technology to capture images and videos in low light conditions without startling the animals.
Conclusion
Trail cameras are great tools for nature lovers. They capture amazing wildlife moments. Follow the steps for setup and usage. Check camera settings regularly. Be patient; wildlife can be unpredictable. Remember to respect nature and animals. Happy trail camera adventures!
As an Amazon Associate, I earn from Qualifying Purchases.