
A camera cage can enhance your filming experience. It offers better stability and protection.
In this blog post, we’ll explore how to use a camera cage. Whether you’re a beginner or a seasoned videographer, understanding the benefits and uses of a camera cage can improve your shooting skills. Camera cages provide extra mounting points for accessories and improve grip, making your camera setup more versatile.
By the end of this guide, you’ll know how to properly set up and use a camera cage to achieve better shots. Dive in to learn how this tool can make a difference in your videography.

Credit: apalmanac.com
Introduction To Camera Cages
Camera cages are essential for any filmmaker or videographer. They provide extra protection and functionality for your camera. If you’re new to camera cages, this guide will help you understand their benefits and uses.
What Is A Camera Cage?
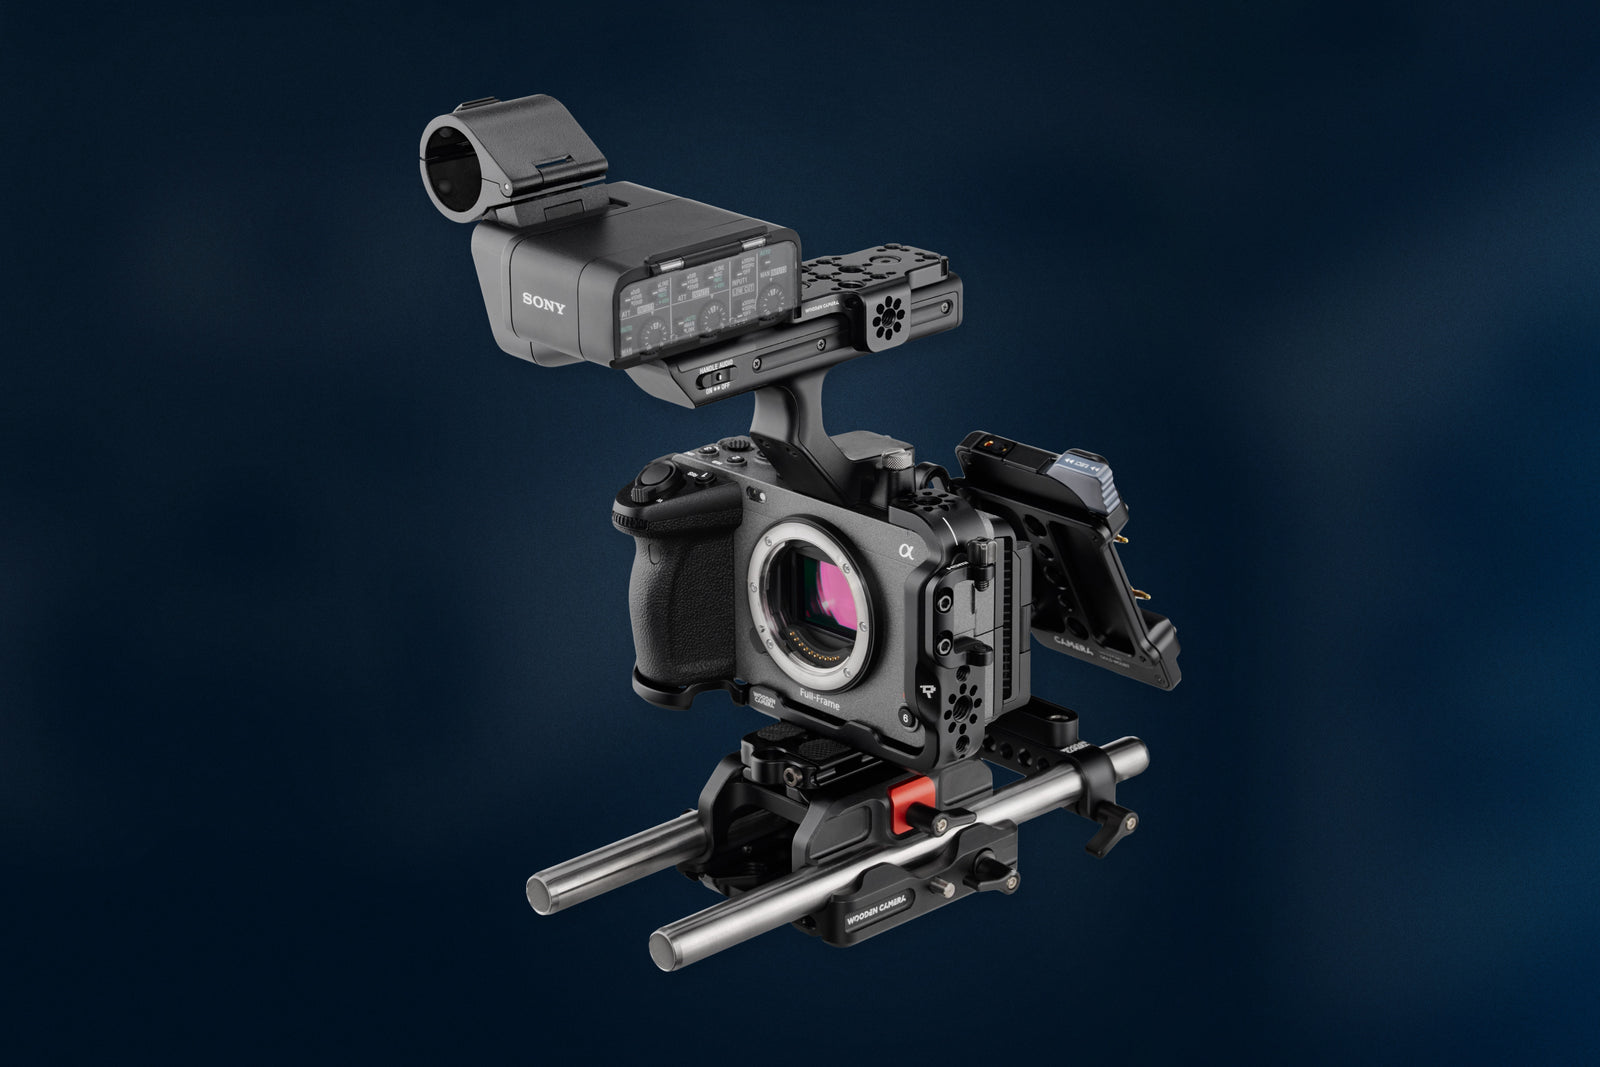
A camera cage is a metal frame that surrounds your camera. It offers mounting points for various accessories. These can include lights, microphones, and monitors. The cage protects the camera from damage. It also helps in organizing your gear efficiently.
Benefits Of Using A Camera Cage
Using a camera cage has several advantages. One major benefit is added protection. The cage absorbs shocks and impacts. This keeps your camera safe during shoots.
Another benefit is better handling. The cage provides additional grip points. This makes it easier to hold and maneuver the camera. You can achieve smoother shots with less effort.
A camera cage also increases your setup options. You can attach various accessories directly to the cage. This eliminates the need for extra stands or mounts. It keeps your setup compact and organized.
Finally, a camera cage enhances the overall durability of your setup. The robust construction ensures that your gear can withstand rigorous use. This is especially useful for outdoor shoots or challenging environments.
Credit: store.sirui.com
Selecting The Right Camera Cage
Choosing the right camera cage is crucial for improving your filming experience. A camera cage offers protection and support for your camera. It also provides mounting options for various accessories. This section will guide you through the factors to consider when selecting the perfect camera cage.
Compatibility With Your Camera
The first thing to check is the compatibility of the camera cage with your camera. Not all cages fit all cameras. Ensure that the cage is designed for your specific camera model.
- Check the dimensions of your camera.
- Look for cages that mention your camera model.
- Ensure easy access to all camera controls.
Material And Build Quality
The material and build quality of the camera cage are also important. A well-built cage offers better protection and durability. Common materials include aluminum and stainless steel.
| Material | Pros | Cons |
|---|---|---|
| Aluminum | Lightweight, durable | Can be expensive |
| Stainless Steel | Very strong, corrosion-resistant | Heavier |
Consider the environment where you will use the cage. For outdoor shoots, durable materials are essential.
Setting Up Your Camera Cage
Setting up your camera cage can seem daunting. But with a few simple steps, you can get it right. A camera cage helps in protecting your camera and adding accessories. This guide will help you set it up in no time.
Attaching The Camera
First, align your camera with the cage. Make sure the lens faces forward. Check that all controls are accessible.
Next, use the mounting screws. Insert them through the base plate of the cage. Tighten the screws securely. The camera should not move or wobble.
Finally, double-check the alignment. Ensure that the camera is centered in the cage. Verify that you can reach all buttons and dials easily.
Securing Accessories
Now, it’s time to add accessories to your camera cage. Common accessories include microphones, lights, and monitors.
Start with the top handle. Attach it using the provided screws. This handle helps in carrying and stabilizing the camera.
Next, add a microphone. Use a cold shoe mount or a dedicated microphone holder. Ensure the microphone is secure and won’t move.
Then, attach a monitor. Use a monitor mount and position it for easy viewing. Make sure all cables are connected properly.
Finally, add any other accessories you need. These could be lights, external recorders, or wireless transmitters. Secure them with screws or mounts as needed.
With these steps, your camera cage setup is complete. Enjoy the added stability and protection it offers.

Credit: store.sirui.com
Enhancing Stability With A Camera Cage
A camera cage can significantly improve the stability of your shooting setup. It is an essential accessory for filmmakers and photographers. By providing a sturdy framework around your camera, a cage helps to reduce shake and enhance stability. This added stability is crucial for producing high-quality, professional footage.
Using Handles And Grips
One of the key features of a camera cage is the ability to attach various handles and grips. These accessories offer more control over your camera movements. Handles can be positioned at the top, sides, or even bottom of the cage. This flexibility allows you to find the most comfortable and stable grip.
Top handles are particularly useful for low-angle shots. Side handles can aid in maintaining steady shots, especially during long filming sessions. Adding a bottom grip can help with handheld shots, reducing the strain on your hands and arms.
| Handle Type | Best For |
|---|---|
| Top Handle | Low-Angle Shots |
| Side Handle | Steady Shots |
| Bottom Grip | Handheld Shots |
Balancing Your Setup
Balancing your setup is another critical aspect of using a camera cage. A well-balanced rig reduces fatigue and improves shot stability. Start by mounting your camera in the cage. Ensure it is centered and secure.
Next, add your accessories, such as microphones, monitors, or lights. Distribute the weight evenly across the cage. This balance helps to avoid tilt and makes the rig easier to handle. Use counterweights if needed to achieve a perfect balance.
Consider using a tripod for added stability. Mount the cage on the tripod and check for any imbalance. Adjust as needed to ensure your setup remains steady. A balanced rig leads to smoother camera movements and better footage.
Increasing Versatility
Increasing Versatility is one of the key benefits of using a camera cage. A camera cage can transform your basic camera setup into a full-fledged production rig. This section focuses on how you can enhance your camera’s functionality with a cage. Let’s explore how you can mount external monitors, add microphones, and integrate lights to create the perfect setup.
Mounting External Monitors
Attaching an external monitor can improve your shooting experience. It offers a larger, clearer view of your subject. Camera cages usually come with multiple mounting points. These points are compatible with industry-standard accessories.
Use the following steps to mount an external monitor:
- Choose the right mounting point on your camera cage.
- Attach a monitor mount to the chosen point.
- Secure the monitor to the mount.
- Connect the monitor to your camera using an HDMI or SDI cable.
Now, you have a larger screen to view your shots. This setup helps in framing and focusing.
Adding Microphones And Lights
Sound and lighting are crucial in filmmaking. A camera cage makes it easy to add microphones and lights to your setup. These additions can significantly enhance your video quality.
| Accessory | Mounting Method |
|---|---|
| Microphone | Cold shoe mount or 1/4″ screw |
| Light | Cold shoe mount or magic arm |
To add a microphone:
- Find a cold shoe mount on the cage.
- Attach the microphone to the cold shoe mount.
- Connect the microphone to your camera using the appropriate cable.
To add lights:
- Locate a mounting point on the cage.
- Use a magic arm or cold shoe mount to attach the light.
- Secure the light and adjust its position as needed.
Adding these elements can improve your audio and lighting quality, making your videos more professional.
Tips For Effective Use
Using a camera cage can enhance your filming experience. It provides better stability, protection, and flexibility. Here are some tips for effective use to help you get the most out of your camera cage.
Cable Management
Proper cable management is crucial. It keeps your setup clean and functional. Here’s how to manage your cables effectively:
- Use Velcro straps or cable ties to secure loose cables. This prevents tangling and damage.
- Route cables through the cage’s built-in channels. This helps keep them out of your way.
- Label your cables. Knowing which cable connects to what makes setup faster.
A tidy setup is easy to adjust and move. It also looks more professional.
Quick Release Mechanisms
Quick release mechanisms save time. They allow you to swap gear quickly. Consider these tips:
- Choose a reliable quick release system. Compatibility with your camera and accessories is key.
- Practice using the quick release. Familiarity ensures you can change setups fast during shoots.
- Regularly check for wear and tear. Worn-out parts can fail at critical moments.
With a good quick release system, you can switch between handheld and tripod setups in seconds.
In conclusion, these tips can make your filming more efficient. By managing cables well and using quick release mechanisms, you can focus more on capturing great footage.
Maintenance And Care
Proper maintenance and care are essential for the longevity of your camera cage. It ensures that your equipment remains in top condition, ready for any shoot. Follow these steps to keep your camera cage in excellent shape.
Cleaning The Cage
Regular cleaning prevents dust and dirt buildup. Use a soft, dry cloth to wipe down the cage.
If there are stubborn spots, dampen the cloth slightly with water. Avoid using harsh chemicals or cleaners, as they can damage the finish.
For small crevices, use a soft brush or compressed air. This helps remove dust from hard-to-reach areas.
Regular Inspections
Inspect your camera cage regularly for any signs of wear and tear. Look for loose screws, cracks, or bends in the metal.
If you find loose screws, tighten them with an appropriate tool. Check the integrity of all mounting points to ensure they are secure.
Monitor for any rust or corrosion, especially in humid environments. If rust is present, clean it immediately to prevent further damage.
| Inspection Area | What to Check | Action |
|---|---|---|
| Mounting Points | Security and tightness | Tighten if loose |
| Metal Surface | Cracks, bends, rust | Clean or repair as needed |
| Screws | Loose or missing | Replace or tighten |
By taking these steps, your camera cage will stay in great condition. It will be ready for any shooting scenario.
Frequently Asked Questions
What Is A Camera Cage?
A camera cage is a protective frame for your camera. It provides additional mounting points for accessories. It also enhances stability and versatility.
Why Use A Camera Cage?
Using a camera cage enhances camera protection and stability. It allows for easy attachment of accessories like microphones, lights, and monitors.
How To Mount A Camera In A Cage?
To mount a camera in a cage, align the camera with the baseplate. Secure it using the provided screws, ensuring a snug fit.
Can A Camera Cage Improve Video Quality?
A camera cage can improve video quality by providing stability. It reduces unwanted camera movements and allows for better accessory attachment.
Conclusion
Using a camera cage enhances your filming experience. It provides better stability and flexibility. Attach accessories like lights and microphones easily. Protect your camera from accidental drops. Improve your shots with smoother panning and tilting. Experiment with different angles confidently.
A camera cage is a valuable tool for filmmakers. It’s simple, effective, and worth the investment. Start using a camera cage today for better videos. Happy filming!
As an Amazon Associate, I earn from Qualifying Purchases.