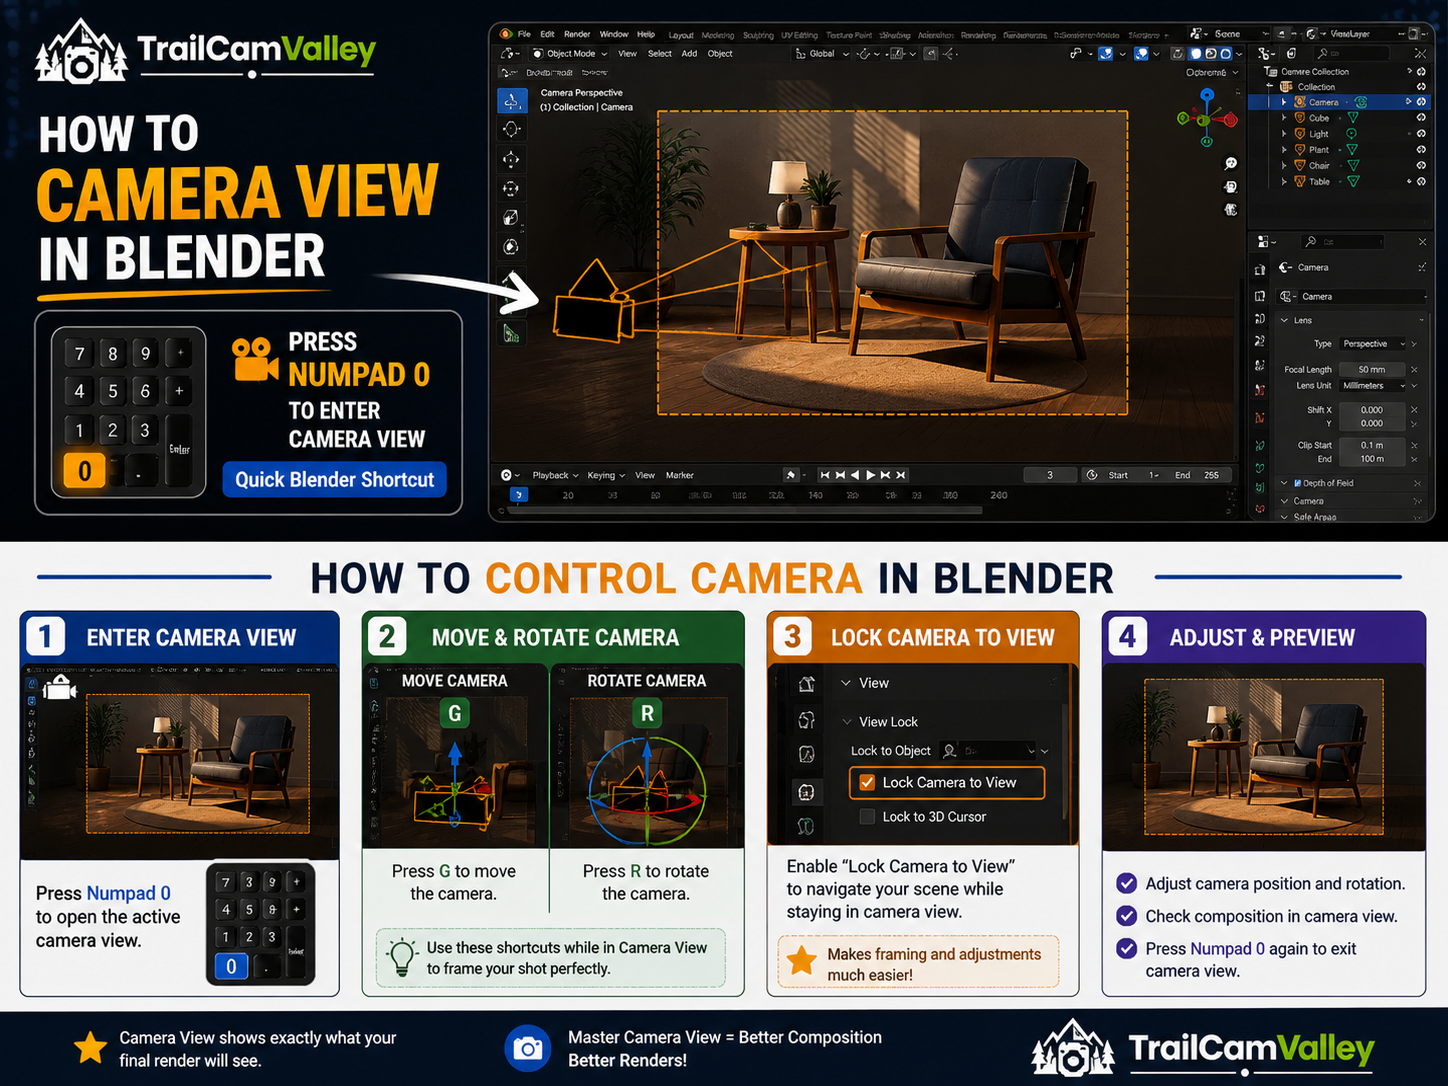
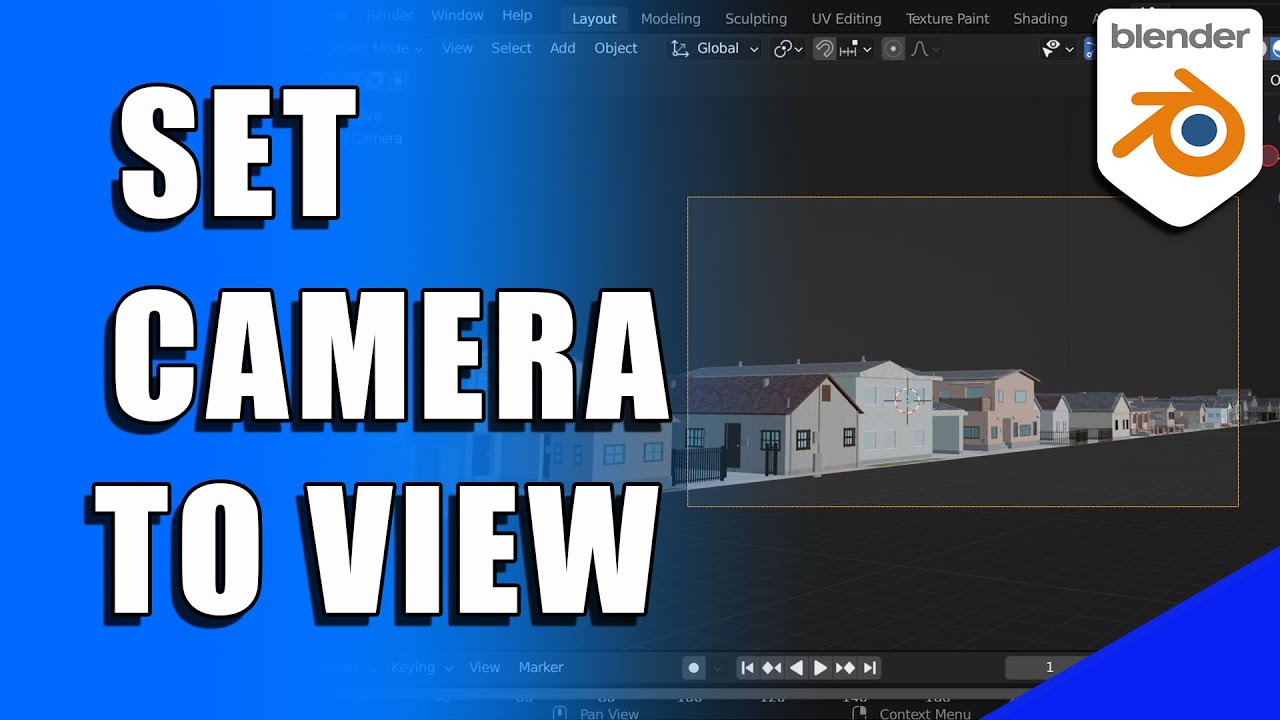
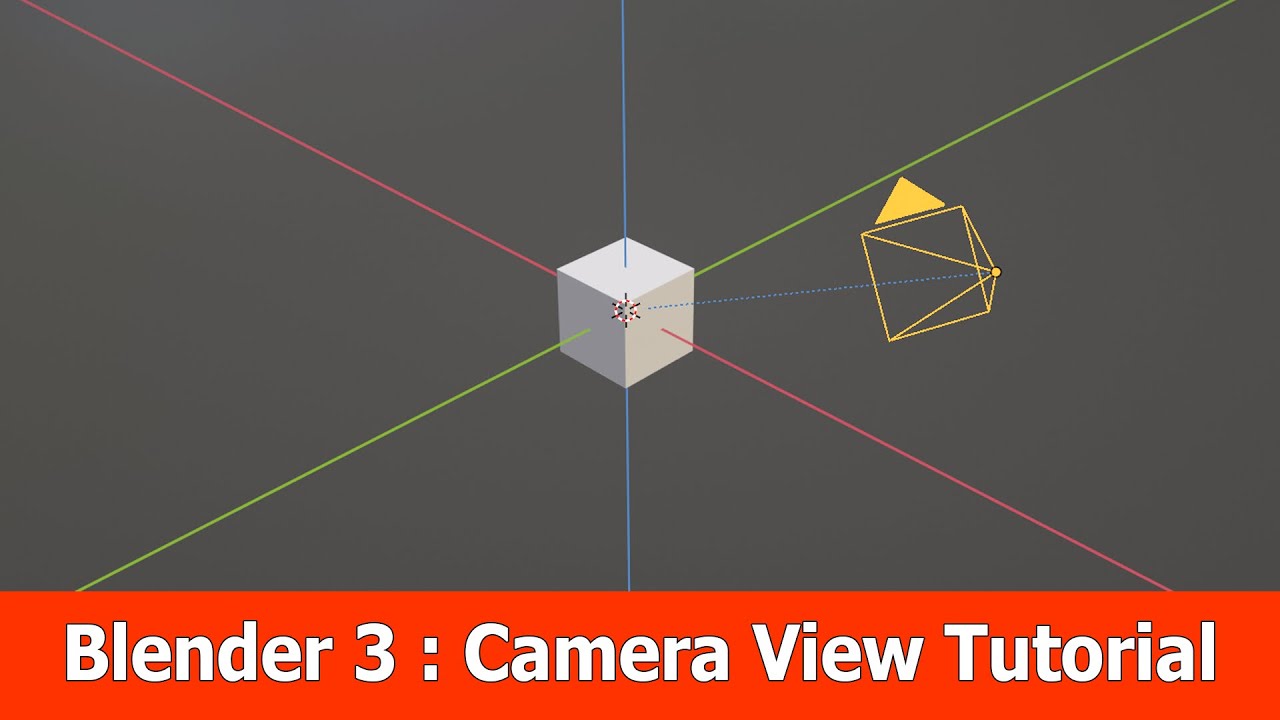
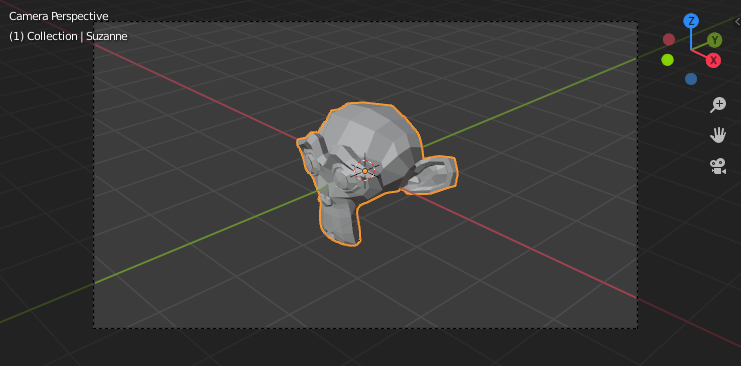
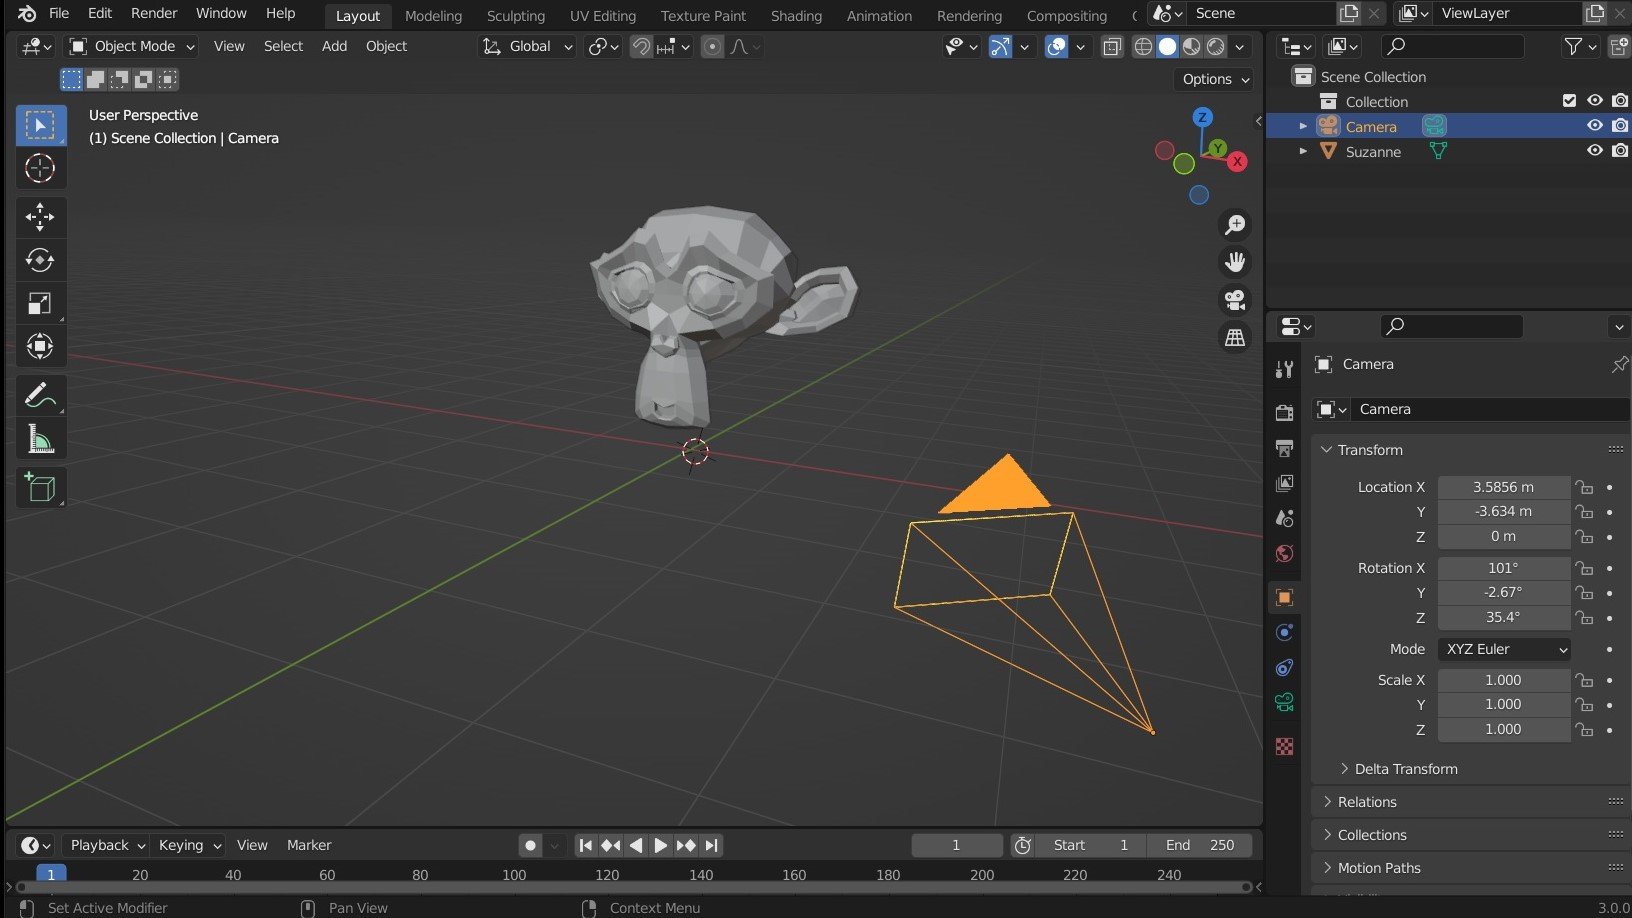
To view through the camera, press Numpad 0 or choose View → Cameras → Active Camera.
I have used Blender for years and taught many artists how to frame scenes. This guide on How to Camera View in Blender will show clear steps, tips, and fixes to get you working fast. I explain how to enter camera view, move the camera, lock the view, match keyframes, and set up a render-ready shot. Read on to learn practical tricks I use daily.
Source: youtube.com
Understanding Blender’s Camera View and Why It Matters
Blender’s camera view shows what the final render will capture. Mastering How to Camera View in Blender helps you frame shots, set composition, and preview lighting. The camera view matches render resolution and aspect ratio. That means what you see is what you get when you render.
Why this matters:
- Composition: The camera defines your scene layout.
- Framing: You control what fits in the shot.
- Preview: Lighting and focal length show in camera view.
When learning How to Camera View in Blender, start with the simple keypresses. They save time when blocking shots or iterating on a scene.
Source: blenderartists.org
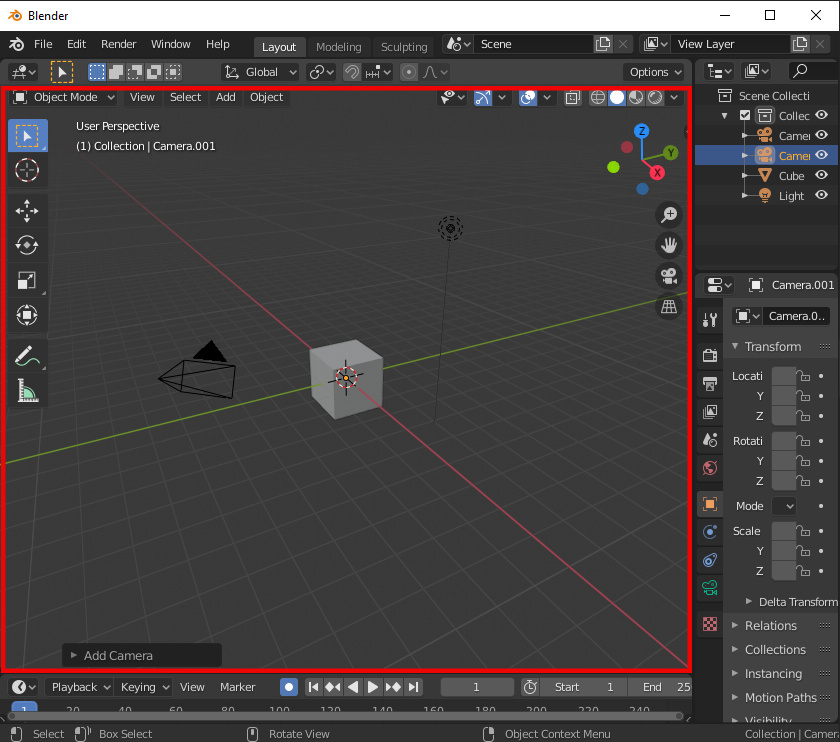
How to Enter Camera View in Blender
There are a few fast ways to open camera view. Use whichever fits your workflow.
Steps to enter camera view:
- Press Numpad 0 to switch to camera view instantly.
- Use View > Cameras > Active Camera from the 3D View header if no numpad exists.
- Click the camera icon in the viewport overlays to show the active camera.
If you use a laptop without a numpad:
- Enable Emulate Numpad in Edit > Preferences > Input to map numbers.
- Or add a shortcut in Preferences for Numpad 0.
Practicing How to Camera View in Blender with these methods will make switching fast and natural.
Source: youtube.com
Navigating and Adjusting the Camera While in Camera View
Once in camera view, you often need to nudge or move the camera. Blender gives several controls.
Quick camera navigation:
- Press Shift + F to enter fly mode for free movement and WASD controls.
- Press G to grab and move the camera, then Z twice for local Z movement.
- Press R to rotate the camera; use X, Y, or Z to constrain axes.
Fine tune with settings:
- Open the camera properties to adjust focal length and sensor size.
- Use the lock camera to view toggle in the N panel View tab to pan the viewport without moving the camera.
I like to use Shift + F for rough layout and G, R for precise framing. Learning these shortcuts speeds up How to Camera View in Blender.
Source: blenderartists.org
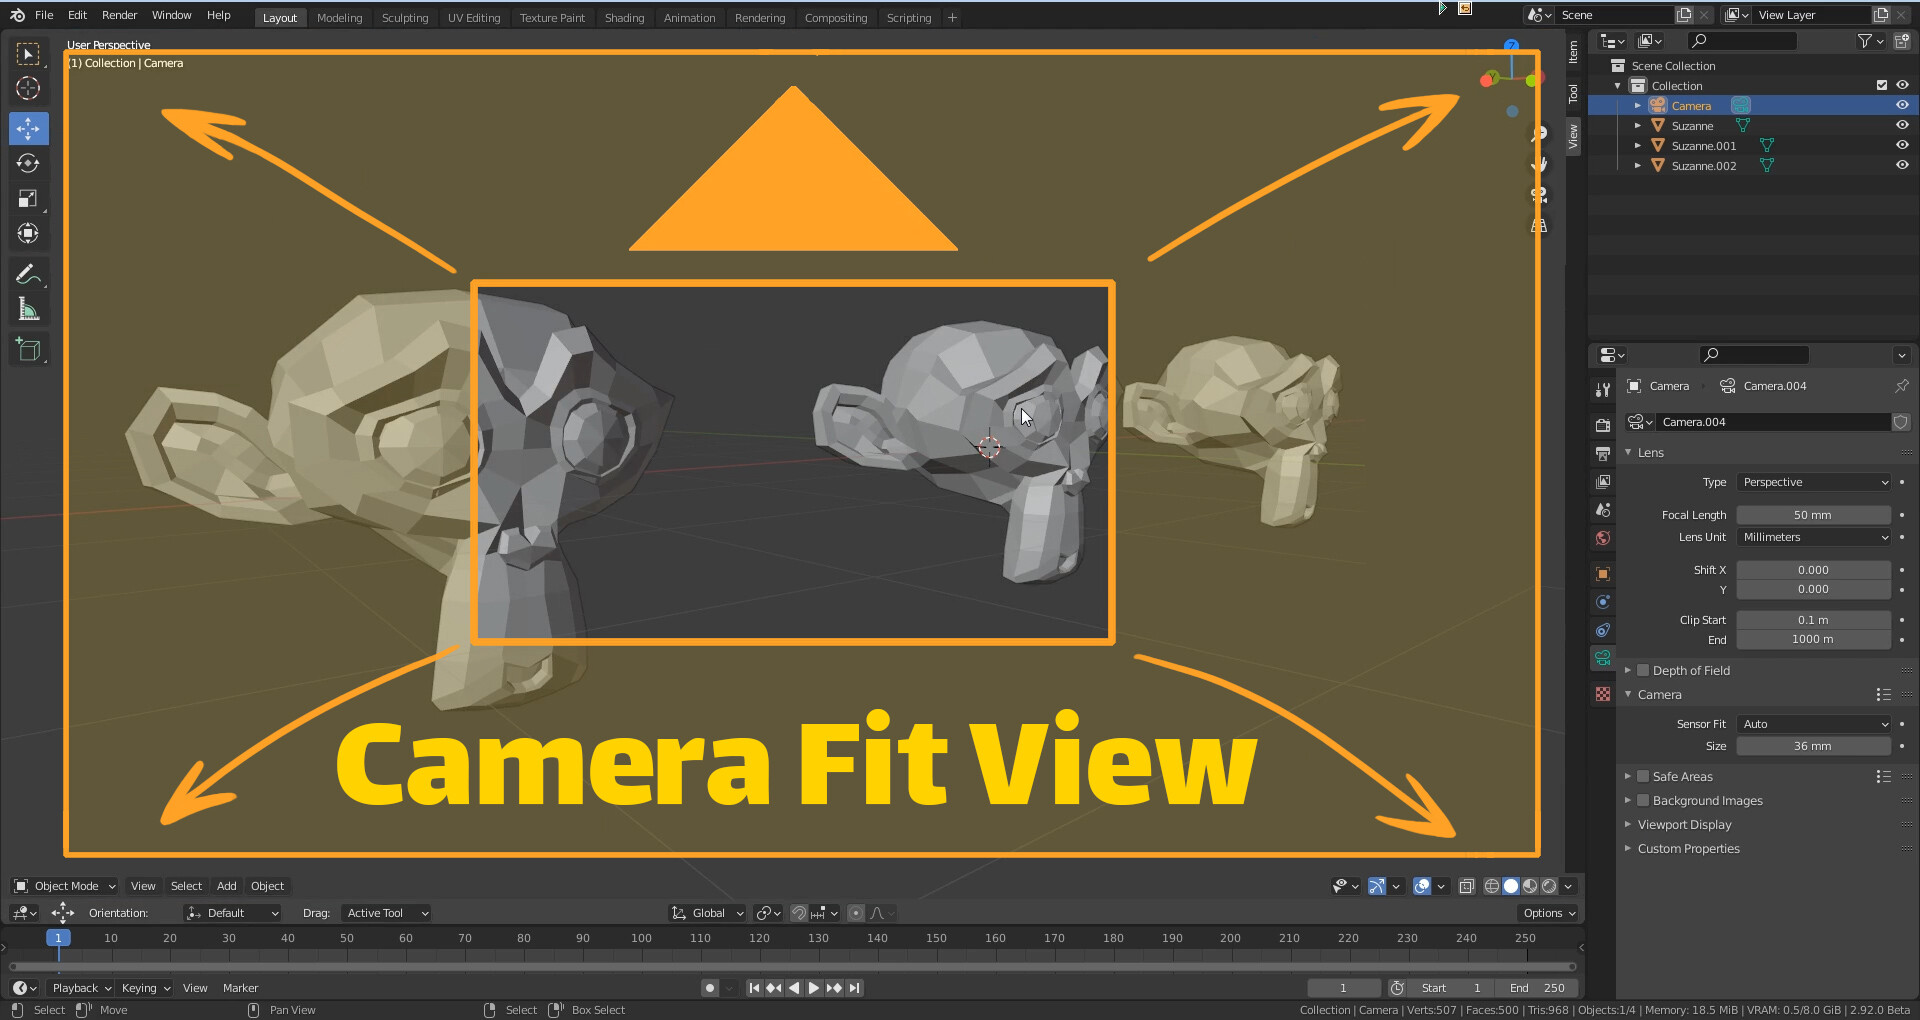
Locking Camera to View and Using Viewport Controls
Locking the camera to the viewport makes framing intuitive. You can pan and orbit while keeping the camera active.
How to lock camera to view:
- Press N to open the sidebar in the 3D View.
- Go to the View tab and enable Lock Camera to View.
- Now orbit, pan, and zoom to change the camera frame directly.
Viewport controls that help:
- Middle mouse button to orbit.
- Shift + middle mouse button to pan.
- Scroll wheel to zoom or use Ctrl + middle mouse to dolly.
Locking the camera to the view is a simple trick I use to match reference images and block scenes quickly when working on How to Camera View in Blender.
Source: youtube.com
Setting Camera Properties for Better Results
Camera properties affect perspective, field of view, and depth of field. Tweak these for a professional shot.
Key camera settings:
- Focal length: Lower values widen the view; higher values compress space.
- Sensor size: Change to match real-world lenses if needed.
- Depth of field: Enable and set focus distance for cinematic blur.
- Clipping: Adjust start and end clip to avoid clipping near objects.
Practical tip: Use focal lengths between 24mm and 85mm for most scenes. I often switch focal length while previewing How to Camera View in Blender to see which lens fits the story.
Source: blender.org
Animating the Camera and Matching Keyframes
Animating the camera can tell your scene’s story. Blender makes it easy to keyframe moves and match timing.
Basic animation steps:
- Select the camera and press I to insert a keyframe for Location/Rotation.
- Move the timeline, reposition the camera, then press I again.
- Use the Graph Editor to smooth interpolation or add easing.
Match cuts and camera paths:
- Use Follow Path constraints for smooth tracking shots.
- Parent the camera to an empty for controlled pivoting and complex rigs.
I often record a rough camera move with Shift + F, then clean keyframes afterward. This saves time and keeps How to Camera View in Blender workflows flexible.

Source: youtube.com
Compositing Tips and Camera View for Rendering
The camera view affects final render output. Set render resolution and safe areas before finalizing.
Render setup checklist:
- Set the resolution and aspect ratio in Output Properties.
- Use the Render Border (Ctrl + B) to test small areas quickly.
- Enable Safe Areas in the overlays for broadcast framing.
Compositing note:
- Use the camera pass for depth-based effects like fog or DOF.
- Match post effects to the camera settings to avoid mismatches.
I always preview renders from the camera view at lower samples first. That keeps iterations fast while testing How to Camera View in Blender.
Source: blender.org
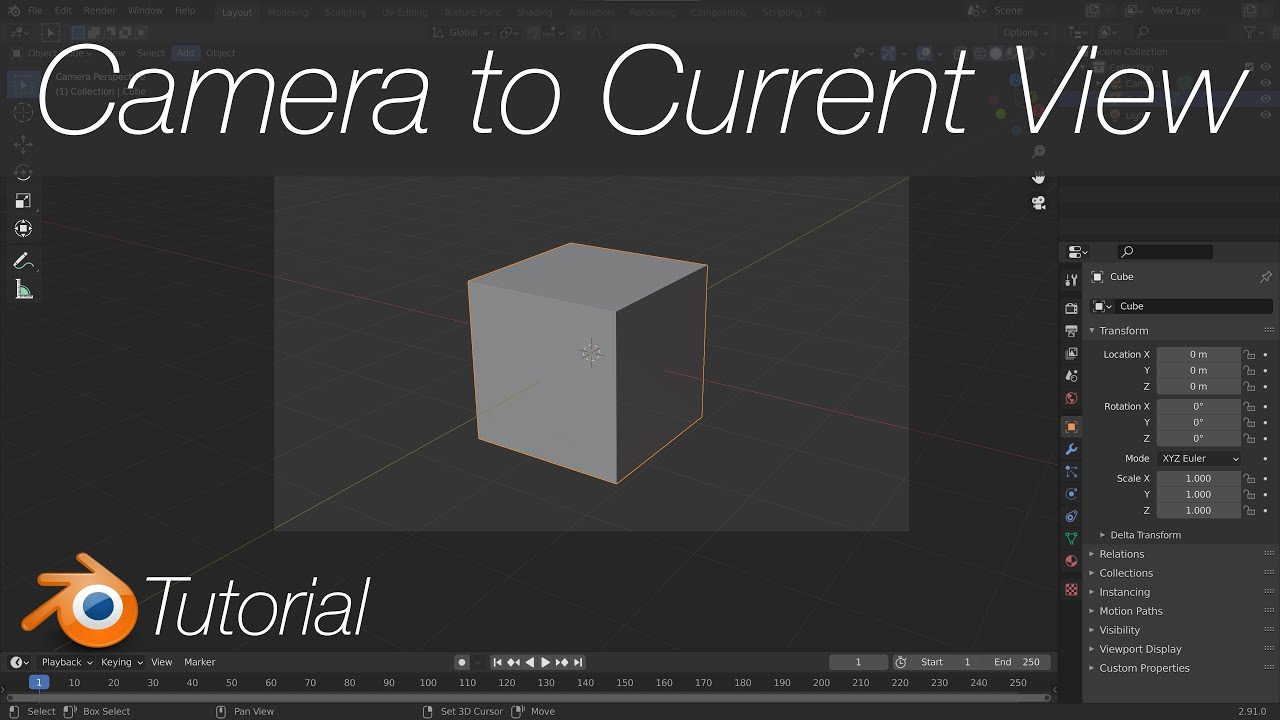
Advanced Camera Tools and Add-ons
Blender has advanced tools and many add-ons to extend camera control. They can speed up complex tasks.
Useful tools and add-ons:
- Camera to View: quickly match camera to current view.
- Dolly and crane rigs: create cinematic moves with constraints.
- Add-ons for film grids and lens info to mimic real cameras.
Pro tip: Try the Camera Lister add-on to manage multiple cameras. It helped me switch shots on complex scenes when working on How to Camera View in Blender.
Source: all3dp.com
Personal Experience, Mistakes to Avoid, and Practical Tips
I learned camera work the hard way. I missed shots by not checking aspect ratio and by moving the camera after keyframes. These are common traps.
Lessons from real work:
- Always set render resolution first to avoid crop surprises.
- Lock the camera to prevent accidental moves during layout.
- Use empties for complex rigs instead of editing the camera directly.
- Save incremental files before big camera changes.
A simple fix that saved me time: name each camera by shot number. This makes it clear which camera you render and avoids wrong renders when working with multiple cameras in How to Camera View in Blender.
Frequently Asked Questions of How to Camera View in Blender
How do I enter camera view in Blender?
Press Numpad 0 to switch to the active camera. If you lack a numpad, use View > Cameras > Active Camera from the 3D View header.
How can I move the camera without leaving camera view?
Enable Lock Camera to View in the N sidebar View tab, then orbit and pan to adjust the camera frame. This updates the camera while staying in camera view.
What if my camera view looks different from the final render?
Check Output Properties for resolution and aspect ratio, and ensure safe areas and render overlay match the camera. Also verify camera focal length and sensor size match your intended look.
How do I animate a camera smoothly in Blender?
Insert Location/Rotation keyframes with I and refine motion in the Graph Editor. Use Follow Path or parent the camera to an empty for smooth, controlled moves.
Can I use depth of field in camera view?
Yes. In Camera Properties, enable Depth of Field, set the focus object or distance, and adjust the aperture for blur. Preview in Rendered view to see final DOF effects.
Conclusion
Mastering How to Camera View in Blender gives you control over framing, composition, and final output. Practice entering camera view, locking the camera, adjusting properties, and animating moves. Try the simple tips here and build your own camera workflow. Share your results, ask questions, or subscribe for more Blender tips and tricks.
As an Amazon Associate, I earn from Qualifying Purchases.