
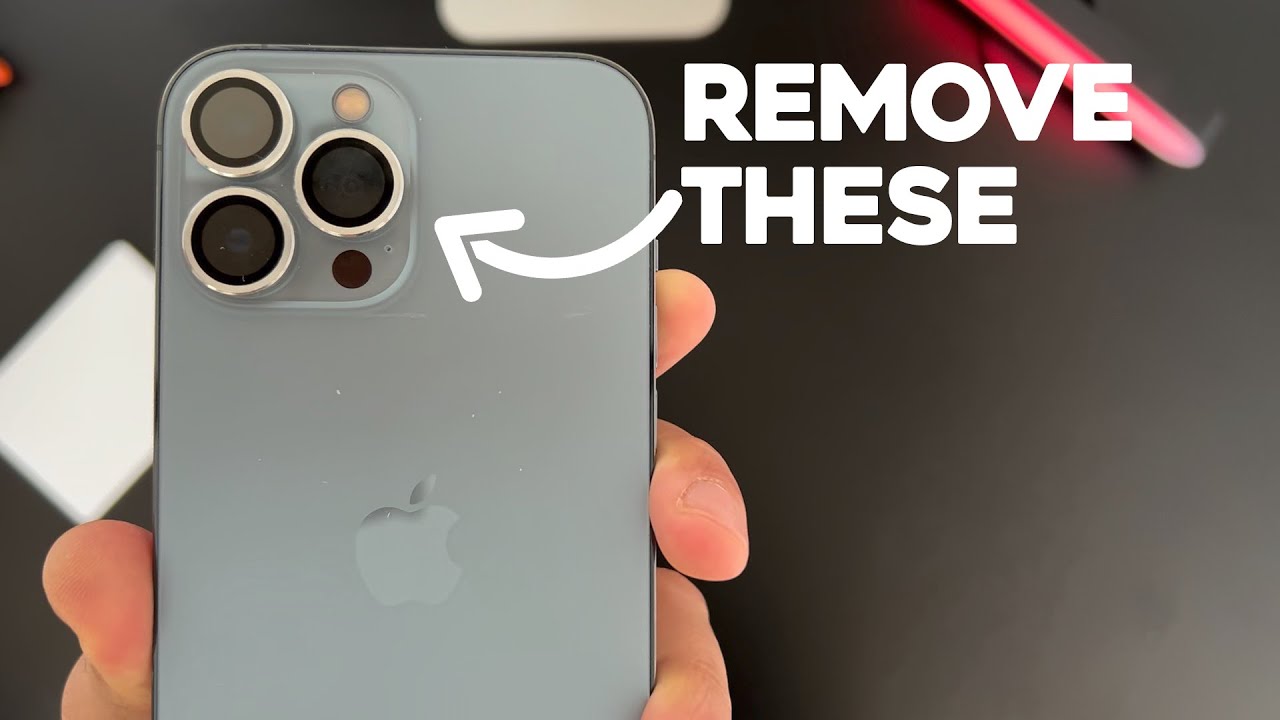
Removing a camera protector from your iPhone can seem tricky. But it’s simple with the right steps.
Many iPhone users install camera protectors to keep their lenses safe. Over time, the protector may get scratched or dirty. This affects photo quality. You might feel it’s time to remove it. But how do you do it without damaging your phone?
This guide will help you remove the protector safely. Follow these steps to ensure your iPhone’s camera stays in top shape. No need for special tools or skills. Just a careful approach and a bit of patience. Let’s dive in and get your camera looking crystal clear again!

Credit: www.reddit.com
Choosing The Right Tools
Choosing the right tools is essential for safely removing the camera protector from your iPhone. Using the wrong tools can damage your device. This section will guide you through the essential and optional tools you need for this task.
Essential Tools
First, gather a few key tools. A microfiber cloth is necessary. It keeps dust and scratches at bay. Next, you will need a plastic spudger. This tool helps to lift the protector gently. Tweezers can also be useful. They help you remove the protector without leaving fingerprints.
Optional Tools
Optional tools can make the job easier. A small suction cup can help lift the edges of the protector. A hairdryer can soften the adhesive. Use it on a low setting. An alcohol wipe can clean the lens after removal. This ensures your camera remains clear and clean.

Credit: www.reddit.com
Preparing Your Workspace
Removing the camera protector from your iPhone can be a delicate process. Preparing your workspace is crucial to avoid any mishaps. A clean and well-lit area ensures you can see what you’re doing. It also helps you keep track of small parts. Let’s get your workspace ready for this task.
Clean Surface
Start by choosing a flat surface. Wipe it down with a clean cloth. This removes dust and debris. A clean surface prevents scratches on your iPhone. It also helps keep the protector free from dirt.
Good Lighting
Good lighting is essential. Position a lamp or work near a window. Natural light is ideal, but any bright light will do. Proper lighting helps you see small details. It makes the removal process easier and safer.
Powering Off Your Iphone
Powering off your iPhone is a crucial step before removing the camera protector. This ensures the device is safe and prevents any accidental damage. Follow these steps to power off your iPhone properly.
Why It’s Important
Turning off your iPhone protects its internal components. It helps avoid accidental touches on the screen. This step also prevents unexpected software issues. It ensures that no apps are running in the background. It is a simple safety measure that makes the process smoother.
How To Power Off
Press and hold the side button and either volume button. Hold them until the power off slider appears. Drag the slider to turn off your iPhone. Wait for a few seconds until the screen goes completely black. Now, your iPhone is powered off and ready for the next step.
Removing The Case
To remove the camera protector from your iPhone, you first need to remove the case. This step might sound simple, but different case types require different techniques. Here’s a guide to help you navigate through the process smoothly.
Different Case Types
| Case Type | Method of Removal |
|---|---|
| Soft Silicone Case | Peel back the corners gently. |
| Hard Plastic Case | Use a plastic card to pry it open. |
| Wallet Case | Open the magnetic flap, then slide out the phone. |
Tips For Easy Removal
- Turn off your iPhone before removing the case.
- Use a plastic card to avoid scratches.
- Start from the corner of the case.
- Avoid using sharp objects.
- Keep your hands clean and dry.
Taking off the case safely ensures you can easily reach the camera protector. Follow these tips to make the process smooth and simple. This helps to avoid any damage to your iPhone.
Loosening The Protector
Removing the camera protector from your iPhone can be tricky. To prevent damage, you need to loosen the protector first. This ensures a smoother removal process. Below are some methods to help you.
Using Heat
Heat can make the adhesive less sticky. Use a hairdryer on low setting. Aim it at the edges of the protector. Do this for about 30 seconds. Keep the hairdryer moving to avoid overheating one spot.
After heating, the protector should loosen. Be careful not to overheat your phone. Too much heat can damage it.
Applying Gentle Pressure
Once heated, apply gentle pressure. Use your fingernail or a plastic card. Start at one corner of the protector. Lift it slowly, applying steady, gentle pressure.
Work your way around the edges. If you feel resistance, stop and reheat. This ensures you do not crack the protector or scratch the camera.
Patience is key. Rushing can cause damage. Take your time and be gentle.
Peeling Off The Protector
Removing the camera protector from your iPhone can be easy. It helps to understand the steps. Here’s how to do it smoothly without damage.
Starting At The Corner
Begin at one corner of the protector. Use your fingernail or a soft plastic tool. Gently lift the edge. Be careful not to scratch the lens.
Slow And Steady
Once the corner is lifted, pull the protector slowly. Do it at a steady pace. This prevents any residue from staying on the lens.
If it feels stuck, do not pull hard. Use a soft cloth to clean the edges. This can help loosen the protector.
| Step | Action |
|---|---|
| 1 | Start at one corner with your fingernail or a soft tool. |
| 2 | Lift the edge gently, avoiding any scratches. |
| 3 | Pull the protector slowly and steadily. |
| 4 | If stuck, use a soft cloth to clean the edges. |
Following these steps ensures your iPhone camera stays clean and scratch-free.
Cleaning The Camera Lens
Cleaning the camera lens is vital for clear photos and videos. Dust, fingerprints, and smudges can affect the quality of your shots. Regular cleaning helps maintain the lens in top condition. Here’s how you can clean the camera lens after removing the protector.
Using A Microfiber Cloth
A microfiber cloth is the best tool for cleaning the camera lens. These cloths are soft and designed to lift dust and oils without scratching the surface.
- Gently wipe the lens in a circular motion.
- Ensure you cover the entire surface of the lens.
- Repeat until the lens is spotless.
Avoiding Liquids
Liquids can damage the camera lens and seep into the phone. Avoid using water or cleaning solutions directly on the lens.
| Dos | Don’ts |
|---|---|
| Use a dry microfiber cloth | Spray liquids on the lens |
| Blow off dust gently | Use harsh chemicals |
If necessary, lightly dampen a corner of the cloth with water. Wipe the lens, then dry it with a dry part of the cloth.
Credit: www.youtube.com
Applying A New Protector
Applying a new protector to your iPhone can feel daunting. But with the right steps, it becomes easy. Follow these steps to ensure a flawless application.
Aligning Correctly
First, clean your iPhone camera lens with a microfiber cloth. This removes dust and fingerprints. Hold the new protector by its edges. Align it with the camera lens. Take your time. Ensure the protector fits perfectly over the camera.
Ensuring No Bubbles
Press the center of the protector gently. Use a clean, soft cloth to push out any air bubbles. Move the cloth from the center to the edges. This helps to remove bubbles without damaging the protector.
Frequently Asked Questions
How Do You Safely Remove Iphone Camera Protector?
To safely remove the camera protector, use a plastic card. Gently lift the edge and peel it off. Avoid using sharp objects to prevent scratches.
Can You Reuse A Camera Protector After Removal?
No, it’s not recommended to reuse a camera protector. Once removed, the adhesive may lose its effectiveness. It may not stick properly again.
Do I Need Tools To Remove The Camera Protector?
No, you don’t need any special tools. A plastic card or your fingernail can help lift the edge and remove it safely.
Will Removing The Protector Damage My Iphone Camera?
No, removing the camera protector won’t damage your iPhone camera. Just be gentle and avoid using sharp objects to prevent scratches.
Conclusion
Removing your iPhone camera protector is simple with the right steps. First, gather your tools. Next, carefully lift the edge of the protector. Peel it off slowly to avoid damage. Clean the camera area gently afterward. These steps ensure your iPhone stays safe and functional.
Always handle your device with care. Now, your camera is free from any obstructions. Enjoy clearer photos and videos. Keep your iPhone clean for the best performance.
As an Amazon Associate, I earn from Qualifying Purchases.