Viewing pictures from a Browning trail camera is usually straightforward, but the correct method depends on the camera family and the equipment you have with you. Some Browning models include a color viewing screen, non-cellular models normally save full files to an SD card, and Defender cellular models can deliver images through Browning’s mobile service. The safest universal method is to stop the camera, power it off, remove the SD card, and read that card on a computer or compatible mobile device.
This guide explains each practical route, how to avoid corrupting files, what to do when images will not open, and how to preserve an original archive. Browning changes controls, supported card capacities, and app features between model years, so first identify the model number printed on the rear of the camera or inside its front door. Browning’s official support pages organize manuals by model and year; use the matching manual whenever a button sequence or menu label differs from the examples below.
Choose the right viewing method
There are four common ways to see Browning trail-camera photos:
- Use the camera’s built-in display. This is convenient for checking aim or confirming that the camera captured activity. Screen size and playback controls vary, and not every model offers full on-camera review.
- Read the SD card on a computer. This is the most dependable method for reviewing full-resolution images, copying video, creating backups, and sorting a large set.
- Connect the SD card to a phone or tablet. A compatible Lightning, USB-C, or micro-USB card reader can provide field access without a laptop. Compatibility depends on the mobile device, reader, card format, and file type.
- Use a Browning cellular app or web account. This applies to supported Defender cellular cameras. Transmitted previews are not necessarily identical to every original file stored on the camera’s card.
Do not assume that a method shown for one Browning model applies to all of them. A current Recon Force or Spec Ops camera may have a color screen and different navigation keys from an older Command Ops unit. A cellular Defender adds account, signal, and data-plan considerations that do not exist on a standard SD-card camera.
Before removing the SD card
Walk to the camera from outside its detection path if practical so you do not fill the card with close-up approach photos. Open the housing, move the operating switch out of the armed position, and wait for any status light or saving activity to finish. Then turn the camera off before ejecting the card. Removing storage while a photo or video is being written can damage the newest file and, in some cases, the card’s file system.
Handle the card by its edges. If the camera uses a full-size SD card, press it inward gently and release it according to the slot mechanism. Do not force a card that does not spring free. MicroSD cards should be used only when the camera supports them; an adapter adds another contact point that can fail in damp or dirty conditions.
A useful field routine is to carry a second known-good, empty card in a protective case. Power the camera off, swap cards, confirm that the replacement is seated in the correct orientation, and restart the camera. After startup, verify the date, time, remaining capacity, and a successful test photo before leaving. That keeps the site operating while you review the first card elsewhere.
Method 1: View pictures on a Browning camera screen
First confirm that your exact camera has a playback-capable color screen. Browning’s current product pages list display specifications, and its manuals show the menu for each model. A screen used for setup does not always provide the same playback functions on every camera.
With the camera safely accessible, stop recording and enter its setup mode rather than leaving it armed. Look for a playback, gallery, review, or image-view option, then use the navigation buttons indicated in the manual. If thumbnails appear, move through them slowly; video files may show a movie icon or separate file type. Exit playback and return the camera to its operating mode only after you have finished reviewing.
On-camera review is best for a quick question: Is the camera aimed too high? Are animals centered? Is the infrared illumination reaching the trail? It is not the ideal place to judge fine sharpness, compare hundreds of frames, or make your only copy. Small displays can hide motion blur and compression artifacts that become obvious on a monitor.
Avoid deleting individual files in the field unless you are certain about the controls and have a backup. A mistaken selection may remove useful evidence, and repeatedly managing files on multiple devices can create a confusing card structure. When the card needs to be cleared, copy its contents first and use the camera’s own format command if the manual recommends it. Formatting erases the card, so it should never be used as a troubleshooting experiment before the files are backed up.
Method 2: View the SD card on Windows or macOS
After powering off the camera and removing the card, insert it into the computer’s SD slot or a reputable USB card reader. If you are reviewing rather than organizing, move the card’s small lock tab to the locked position before insertion. The tab is a write-protect request interpreted by the reader; it helps reduce accidental deletion, although it is not a substitute for a backup.
On Windows, open File Explorer and select the removable drive under This PC. On macOS, open Finder and select the card under Locations. Browse the folders rather than accepting any prompt to erase or initialize the card. Trail cameras generally store still images and videos in a camera-created folder structure. Names and folders vary, so sort by date only after checking that the camera’s clock was set correctly.
Copy the entire camera folder to a new folder on the computer before editing, renaming, or deleting anything. A practical folder name is the camera location plus the pull date, such as North-Creek_2026-10-18. Keep the original filenames at first; consecutive names can help reconstruct capture order even if timestamps are wrong.
Open a sample from the beginning, middle, and end of the copied set. Confirm that still images display, videos play with the expected duration, and file sizes are plausible. Only then should you eject the card using the operating system’s eject command. Physically pulling a mounted card while the computer is writing thumbnails or indexing files can cause trouble.
If you need a clean card for redeployment, put it back in the correct Browning camera and use the model’s format function after verifying the backup. Formatting in the camera gives that model the opportunity to create the structure it expects. Before returning to the field, take test images and read them back again.
Method 3: View pictures on an iPhone, iPad, or Android device
Use a card reader made for the connector on your device: USB-C on many recent phones and tablets, Lightning on older Apple devices, or an appropriate adapter for other hardware. The mobile operating system must support external storage and the recorded file type. Connect the reader first if its instructions say so, then insert the powered-off camera’s SD card.
On iPhone or iPad, the Photos import interface or Files app may recognize the card. On Android, use the system file manager or a trusted local file application. Import or copy a small selection before trying to preview a long video. Large video clips can take time and use significant device storage.
Do not let an unfamiliar utility “repair,” “optimize,” or automatically reorganize the card. If the phone reports that the storage is unsupported, cancel the prompt. Move the card to a computer or try a different known-compatible reader rather than formatting it. A phone that can read photos from one camera card may still reject a different capacity, file system, or video codec.
For repeated field checks, a dedicated SD-card viewer is often simpler than exposing a primary phone to mud, rain, and repeated connector use. Browning lists a Picture and Video Viewer manual in its official accessory documentation. Confirm that the viewer supports the card capacity and media produced by your exact camera before buying or relying on it.
Method 4: View pictures from a Browning cellular camera
Supported Defender cellular cameras use Browning’s app and account system. The basic workflow is to install the official app, sign into the account associated with the camera, choose the camera, and open its transmitted image gallery. Exact labels, subscription requirements, live-view availability, and remote controls change by model and service plan, so follow the current official manual and app instructions.
Remember that cellular delivery is a second path, not proof that the SD card is empty or full. The camera may retain original images locally while transmitting previews or selected files. Weak signal, an inactive plan, account pairing, power level, antenna placement, and upload schedules can affect what appears remotely. If the app lacks an expected image, inspect the physical SD card before concluding that the camera never recorded it.
When reviewing security-related images, protect the account with a unique password and use any available account-security features. Download evidence to controlled storage without publicly sharing precise camera coordinates, access routes, or identifying details that are not necessary.
How to organize a Browning photo pull
Create two copies before culling. Keep one untouched archive and use a second working folder for selecting, cropping, or renaming. If the pictures matter for research, property incidents, or a long-term wildlife survey, record the camera model, site, card identifier, deployment dates, time-zone setting, and any clock error you notice.
Sort cautiously. Capture time is useful only when the camera clock is accurate. File sequence may be more trustworthy after a dead-battery event or daylight-saving change. For burst sequences, keep adjacent frames together; the best behavioral context can be in the images before and after the most dramatic frame.
Use descriptive copies rather than renaming the only original. A working filename such as north-creek_whitetail_2026-10-12_0315 is searchable, while the untouched archive preserves the camera’s original sequence. Back up irreplaceable sets to a second physical drive or reputable cloud service before erasing the field card.
Why Browning pictures may not appear
The computer asks to format the card
Cancel the prompt. Try a different reader or USB port, then test the card on another computer. Inspect the lock tab and contacts without using liquids or abrasives. If the files are important, avoid writing anything to the card; writing can overwrite recoverable data. Card-recovery work is outside normal viewing, and professional help may be justified for evidence or unique research.
The folders are visible but look empty
Check all camera-created folders and confirm that the file manager is not filtering by file type. Compare used and free space reported for the card. A large amount of used space with no visible files can indicate hidden files, directory damage, or an incompatible reader. Do not assume the pictures were deleted until you inspect the card on another system.
Still images open but videos do not
The device may lack the required video decoder even though the file is intact. Copy the video to a computer and try a current player that supports common camera formats. Compare file size and duration with clips that do work. A zero-byte or unusually small file may have been interrupted by low power, removal during writing, or a card error.
New files overwrite old files
Check whether SD Card/Memory Management is enabled. On supported Browning models, this setting can delete the oldest files when space is needed, allowing continued capture. That behavior is useful for unattended operation but unsuitable when every historical file must remain until retrieval. Our guide to Browning SD management explains the tradeoff in detail.
Night pictures are black, bright, or blurry
Viewing equipment cannot restore detail that was not captured. Check the original at full resolution, then review mounting distance, vegetation close to the infrared LEDs, reflective objects, battery condition, and model-specific night settings. The explanation of Browning Dark Ops and night modes can help distinguish a camera type from a simple exposure problem.
The card works intermittently
Back up readable files immediately. Then compare the card’s capacity and speed class with the table in the manual for your exact camera. Browning’s support guidance points owners to model-specific manuals for card size. Replace suspect storage rather than continuing to trust a card that repeatedly disconnects, produces corrupted files, or requires reinsertion.
A reliable field-to-screen workflow
- Identify the exact Browning model and download its official manual.
- Stop the camera and wait for saving activity to end.
- Power it off before removing the SD card.
- Install a verified spare card if the camera must keep operating.
- Copy the complete folder to a dated location folder.
- Open sample photos and videos from across the set.
- Create a second backup before deleting or formatting.
- Eject the card cleanly from the viewing device.
- Format only after backup, preferably in the target camera.
- Take and verify a test image before redeployment.
If the camera or card continues to misbehave, work through our broader Browning trail camera troubleshooting guide. Change one variable at a time—reader, card, batteries, settings, or camera—so the test reveals the real cause.
Frequently asked questions
Can I view Browning trail camera pictures without removing the SD card?
Sometimes. A model with a playback-capable screen can show stored images, and a supported Defender cellular model can show transmitted images through the official service. For full-resolution review and a dependable backup, reading the SD card remains the most universal method.
Can I put the SD card directly into my phone?
Yes, when the phone, operating system, reader, card format, and file type are compatible. Use the correct external card reader, copy files instead of editing the camera card, and cancel any request to format unsupported storage.
Should I delete pictures one by one or format the card?
After making and checking backups, formatting in the camera is generally the cleaner way to prepare a field card when the matching manual supports that procedure. Formatting erases the card. Never do it before copying important files, and do not use it as the first response to a card that a computer cannot read.
Are app pictures the same as the originals on the card?
Not necessarily. Cellular systems may transmit previews or selected resolutions while retaining local files. Model, settings, service plan, and current app behavior determine what is available remotely. Check the card when original quality or completeness matters.
Why are the dates wrong when I sort the pictures?
The camera clock may have been unset, reset after power loss, assigned the wrong time zone, or affected by a daylight-saving change. Preserve original filenames and sequence, document the offset, and correct dates only in working copies.
Official Browning references
- Browning Trail Cameras Support Center and model-year manuals
- Recon Force Elite HP5 Ultra official instruction manual page
- Strike Force Pro X 1080 official instruction manual page
- Browning guidance on choosing SD-card capacity
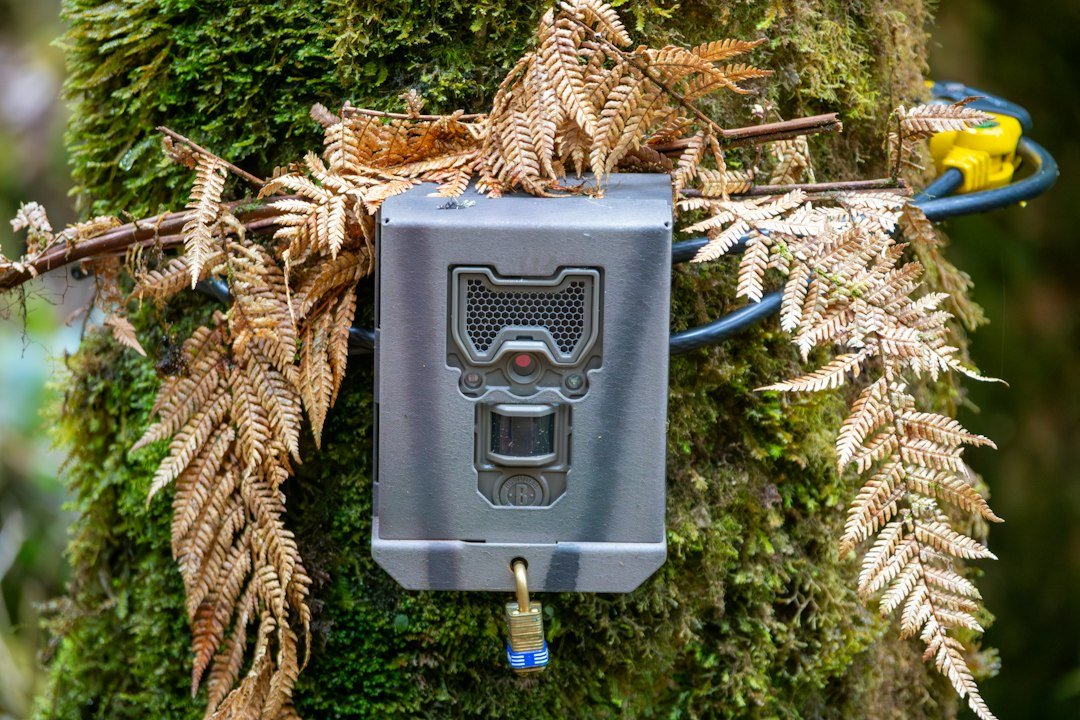
Featured-image credit: Bernd Dittrich via Unsplash, used under the Unsplash License. The image depicts a generic camera trap and is not presented as a Browning product.
As an Amazon Associate, I earn from Qualifying Purchases.