
Is your iPhone camera not capturing clear photos? You can fix it quickly.
The iPhone camera is known for its high quality and sharp images. But sometimes, the camera may not perform as expected. Blurry photos, poor lighting, or grainy videos can be frustrating. Thankfully, there are several simple steps to improve camera quality.
This guide will help you understand and fix common issues. Whether it’s adjusting settings or cleaning the lens, you’ll find easy solutions to enhance your camera performance. Dive in and discover how to make every shot crisp and vibrant. Your iPhone photography will shine once more!
Common Camera Issues
iPhones are known for their excellent camera quality. Yet, common camera issues can affect photo quality. Many users face problems that can be easily fixed. Understanding these issues is the first step towards better photos.
Blurry Photos
Blurry photos are a common issue. This can happen if the camera moves while taking a photo. Steady your hands or use a tripod. Check the lens for dirt or smudges. Clean it with a soft, dry cloth. Also, ensure the camera app is updated.
Low Light Problems
iPhone cameras may struggle in low light. Use the Night Mode feature. It enhances photo quality in dark environments. Increase the exposure manually in the camera settings. Avoid digital zoom as it reduces image quality. Use natural light whenever possible.
Focus Errors
Focus errors can ruin a perfect shot. Tap on the screen where you want to focus. The camera will adjust automatically. Check for any obstructions on the lens. Clean it if needed. Restart the camera app if the problem persists.

Credit: www.iphonelife.com
Cleaning The Lens
Your iPhone camera may not work well if the lens is dirty. Dust, smudges, and fingerprints can affect photo quality. Clean the lens to improve your photos.
Proper Cleaning Tools
Using the right tools is crucial. Here are some tools you can use to clean your iPhone camera lens:
- Microfiber Cloth: This soft cloth is perfect for cleaning delicate surfaces.
- Lens Cleaning Solution: Special liquid made for lenses. It removes smudges.
- Blower Brush: This tool helps remove dust without touching the lens.
Never use paper towels or your shirt. They can scratch the lens.
Cleaning Techniques
Cleaning the lens properly ensures it stays in good condition. Follow these steps:
- Turn off your iPhone. This prevents accidental touches.
- Use the blower brush to remove loose dust.
- Apply a small amount of lens cleaning solution to the microfiber cloth.
- Gently wipe the lens in a circular motion. Avoid pressing too hard.
- Check the lens for any remaining smudges. Repeat if needed.
These steps ensure your camera lens is clean and ready for great photos.
Adjusting Camera Settings
Sometimes, the camera on your iPhone might not perform as expected. By adjusting certain settings, you can significantly improve the quality of your photos. Here are some tips to help you get the best out of your iPhone camera.
Resolution Settings
The resolution of your photos plays a key role in their quality. Higher resolution means more detail. To adjust your resolution settings:
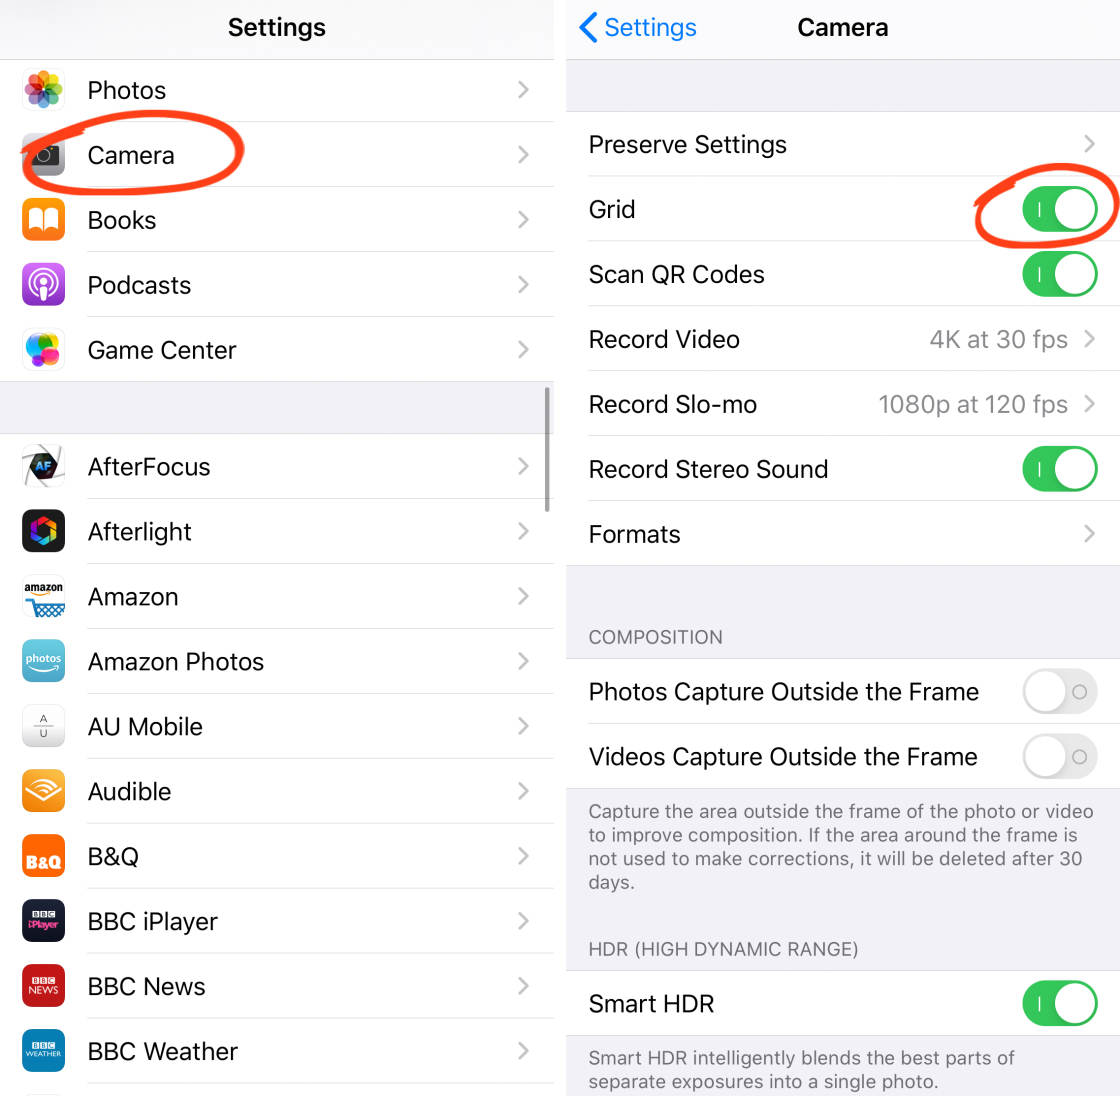
- Open the Settings app on your iPhone.
- Scroll down and tap on Camera.
- Select Record Video or Record Slo-mo.
- Choose a higher resolution option like 4K at 30 fps.
Using a higher resolution will use more storage space. Ensure you have enough storage available.
Hdr Mode
HDR (High Dynamic Range) mode helps in capturing more detail in bright and dark areas. To enable HDR mode:
- Open the Camera app.
- Tap on the HDR button at the top of the screen.
- Set it to Auto or On.
HDR combines multiple exposures into one photo, resulting in better detail and color. It is especially useful in high-contrast scenes.
Exposure Control
Adjusting exposure can make a big difference in photo quality. To control exposure:
- Open the Camera app.
- Tap on the screen to focus on your subject.
- Swipe up or down to adjust the exposure slider.
Increasing exposure makes the image brighter, while decreasing it darkens the image. Find the right balance to enhance your photo.
Using Third-party Apps
Improving your iPhone’s camera quality can be achieved by using third-party apps. These apps often offer advanced features not available in the default camera. By exploring these options, you can enhance your photos and videos.
Top Camera Apps
There are several high-rated camera apps available. Some popular choices include Camera+, ProCamera, and Halide. These apps provide more control over camera settings. Users can access features like manual focus and exposure adjustments.
App Features
Third-party camera apps come packed with useful features. You can find options like RAW photo support, which helps in preserving image quality. Many apps offer advanced editing tools. These tools help you fine-tune your images with precision. Night mode and HDR options are also commonly available. These features improve photo quality in low light.
Installation Tips
Installing third-party camera apps is simple. Visit the App Store on your iPhone. Search for the app you want and tap ‘Get’ to install. Make sure your iPhone is updated to the latest iOS version. This ensures compatibility with the new apps. Allow the app to access your camera and photos. This is necessary for the app to function properly.
Updating Ios
Keeping your iPhone’s iOS up to date is crucial for maintaining optimal camera quality. Updates often include fixes for bugs, improvements in software, and enhancements that can significantly boost your camera’s performance. In this section, we will guide you through the process of updating your iOS to ensure that your camera works at its best.
Checking For Updates
First, you need to check if there are any available updates for your iPhone. Follow these steps:
- Open the Settings app on your iPhone.
- Scroll down and tap on General.
- Tap on Software Update.
If an update is available, you will see a notification. This notification will prompt you to download and install the update.
Installing Updates
Once you have checked for updates, follow these steps to install them:
- Ensure your iPhone is connected to a stable Wi-Fi network.
- Make sure your iPhone is charged or connected to a power source.
- In the Software Update section, tap on Download and Install.
- Follow the on-screen instructions to complete the installation process.
After the update is installed, restart your iPhone. This ensures that all new settings are applied properly.
Updating your iOS can resolve many camera issues. It can also enhance the overall performance of your device.
Credit: www.tiktok.com
Resetting Camera Settings
Sometimes, you may notice your iPhone camera quality isn’t what it used to be. Resetting your camera settings can help. It can fix many common issues. Let’s explore how to do this effectively.
Default Settings
Resetting to default settings can often improve your camera quality. Here’s how:
- Open Settings on your iPhone.
- Scroll down and tap on Camera.
- Tap on Preserve Settings.
- Toggle off Camera Mode, Filter, and Live Photo.
This will reset the camera to its original settings. Sometimes, custom adjustments can degrade quality. Default settings can provide a fresh start.
Custom Settings
Custom settings can be helpful. Follow these steps to personalize your camera settings:
- Go to Settings.
- Tap on Camera.
- Select Preserve Settings.
Here you can adjust:
| Setting | Description |
|---|---|
| Camera Mode | Preserve the last camera mode used. |
| Filter | Keep the last filter applied. |
| Live Photo | Maintain the Live Photo setting. |
These adjustments let you customize your camera. You can keep your preferred settings each time you open the camera app.
Hardware Checks
Having trouble with your iPhone camera quality? Sometimes, the issue isn’t with the software. It could be a hardware problem. Let’s explore some essential hardware checks to improve your camera quality.
Inspecting For Damage
First, check your iPhone for any visible damage. Look at the camera lens. Is it scratched or cracked? Even small scratches can affect photo quality. Use a soft cloth to clean the lens. Dirt and smudges can lower image clarity.
Next, inspect the camera bump. Is it bent or misaligned? This can also affect the camera’s focus. A damaged camera bump may need professional repair. Don’t forget to check for internal damage. Sometimes, a drop can harm internal components. If you suspect this, visit an Apple store for a detailed inspection.
Replacing Parts
Some issues may need part replacements. A damaged lens often requires a new one. You can buy replacement parts online. But be careful. Only use high-quality parts designed for your iPhone model.
Consider replacing the camera module if the issue persists. This is more complex but can solve many camera problems. It’s best to have this done by a professional. Attempting it yourself can cause more damage. Always back up your data before any repair work. This ensures you don’t lose important information.
Professional Help
Fixing camera quality on an iPhone can be done with professional help. Skilled technicians can identify and resolve common issues. Enhance your photo experience with expert support.
Sometimes, fixing camera quality issues on an iPhone requires professional help. When basic troubleshooting fails, it’s crucial to seek expert advice. Professional technicians have the tools and knowledge to diagnose and fix complex problems. Here’s how to know when to seek help and how to find a reliable technician.
When To Seek Help
Seek professional help if your camera remains blurry after cleaning the lens. Also, if the camera app crashes frequently, a technician might be needed. Strange noises from the lens area can also indicate a hardware issue. You should also contact a professional if your iPhone has suffered physical damage.
Finding A Technician
Look for certified technicians to ensure quality service. Apple Authorized Service Providers are a reliable choice. Check reviews and ratings online before selecting a technician. Ask friends or family for recommendations. Verify that the technician has experience with iPhone camera repairs. Always check if the repair service offers a warranty. This guarantees you peace of mind.
“`
Credit: iphonephotographyschool.com
Frequently Asked Questions
Why Is My Iphone Camera Quality Poor?
Your iPhone camera quality might be poor due to software issues, dirty lens, or incorrect settings. Clean the lens, update the software, and adjust camera settings to improve quality.
How Can I Clean My Iphone Camera Lens?
To clean your iPhone camera lens, use a microfiber cloth. Gently wipe the lens to remove any fingerprints, dirt, or smudges.
What Settings Improve Iphone Camera Quality?
To improve iPhone camera quality, use HDR mode, adjust exposure, and enable grid lines. Make sure to use the highest resolution settings.
Does Updating Ios Improve Camera Quality?
Yes, updating iOS can improve camera quality. Software updates often include camera improvements, bug fixes, and new features to enhance performance.
Conclusion
Improving your iPhone camera quality doesn’t have to be hard. Follow these steps, and you’ll see better photos quickly. Clean your lens, adjust settings, and use good lighting. Simple changes can make a big difference. Practice often to get the best results.
With patience and these tips, your photos will shine. Enjoy capturing your favorite moments in high quality.
As an Amazon Associate, I earn from Qualifying Purchases.