Setting the camera timer on your iPhone is easy. It helps you take great photos without needing someone else.
Many people love taking photos with their iPhones. Sometimes, you want to be in the picture too. This is where the camera timer comes in handy. It allows you to set a delay before the photo is taken. This feature is perfect for group photos, selfies, or creative shots.
In this guide, we will show you how to set the camera timer on your iPhone. It’s simple and quick. Let’s get started!

Credit: www.macrumors.com
Accessing The Camera App
Setting up a timer for your iPhone camera is simple. The first step involves accessing the camera app. Many users might overlook the various features hidden in plain sight. Let’s dive into how you can easily access and navigate the camera app to set a timer.
Opening The Camera
First, locate the Camera app on your iPhone. You can find it on your home screen. The icon looks like a black camera on a gray background.
Tap the icon once. This action will open the camera. If your phone is locked, swipe left on the lock screen. This shortcut also opens the camera app quickly.
Navigating The Interface
Once the camera app is open, you will see various options. You will find the camera mode settings at the bottom. Above that, you have quick access to features like flash and filters.
To set the timer, look at the top of the screen. You will see icons representing different settings. Tap on the clock icon. This action opens the timer options. Choose between a 3-second or 10-second delay. Your camera is now ready to capture photos with a timer.

Credit: www.youtube.com
Finding The Timer Feature
Setting a timer on your iPhone camera can help you take better photos. Whether you want to be in the shot or ensure the camera is steady, the timer feature is quite handy. Let’s explore how to find this useful tool on your iPhone.
Locating The Timer Icon
First, open the Camera app on your iPhone. Look at the top of the screen. You will see several icons. The timer icon looks like a clock. Tap it to access the timer settings.
Understanding Timer Options
Once you tap the timer icon, you will see different options. You can choose a 3-second delay or a 10-second delay. Select the one that suits your needs. Then, press the shutter button to start the timer.
Setting The Timer
Setting the timer on your iPhone camera can be quite useful. Whether you’re taking a group photo or a selfie, using the timer ensures everyone gets in the shot. Let’s walk through the steps to set the timer on your iPhone camera.
Choosing Timer Duration
First, you need to choose the timer duration. Open the Camera app on your iPhone. Look at the top of the screen. You’ll see a clock icon. Tap on this icon. A menu will appear with timer options.
- 3 seconds – This is ideal for quick shots.
- 10 seconds – Use this for larger groups or more complex setups.
Select the duration that best fits your needs by tapping on it.
Activating The Timer
Now that you’ve chosen the timer duration, it’s time to activate it. Position your iPhone where you want it. Frame your shot. Make sure everyone is in the picture. Tap the shutter button. The timer will start counting down.
A series of beeps or flashes will indicate the countdown. This helps everyone know when the photo will be taken. Once the timer reaches zero, the camera will automatically take the picture.
Review the photo to ensure it turned out well. If needed, adjust the position and retake the photo.
Using the timer on your iPhone camera is simple. It helps you capture perfect group photos and selfies with ease.
Positioning Your Iphone
Setting a timer on your iPhone camera is easy. But to get a great shot, you need to position your iPhone correctly. This ensures your photos are clear and well-composed. Here are some tips to help you do that.
Using A Tripod
A tripod can help you keep your iPhone steady. It’s one of the best tools for positioning your phone. With a tripod, you can set the height and angle of your iPhone. This is great for group photos or selfies.
Here are some benefits of using a tripod:
- Stability: Keeps your iPhone steady, reducing blur.
- Flexibility: Allows you to adjust the angle and height.
- Hands-free: Perfect for timer shots, as you don’t have to hold the phone.
Finding A Stable Surface
If you don’t have a tripod, you can use any stable surface. A table, shelf, or even a stack of books can work. The goal is to keep your iPhone still while the timer counts down.
Here are some tips for using a stable surface:
- Find a flat surface that is at the right height.
- Make sure the surface is not wobbly.
- Use objects to prop your iPhone at the right angle.
Positioning your iPhone correctly is key for great photos. Whether you use a tripod or a stable surface, the goal is to keep your phone steady. This helps you get the best shot possible.
Framing Your Shot
Set your iPhone camera timer by opening the Camera app. Tap the clock icon at the top. Choose 3 or 10 seconds for the delay.
Setting a timer on your iPhone camera can be a great way to capture perfect moments. But before you click, it’s crucial to frame your shot. Proper framing ensures that every detail is captured just right. This section will guide you through essential steps to achieve the best composition.Adjusting Composition
Composition is all about placing elements in your photo. Start by choosing a focal point. This could be a person, object, or scene. Make sure your subject stands out. Avoid cluttered backgrounds. Simplicity often makes a photo more appealing.Next, think about balance. Try to have elements on both sides of your frame. This creates harmony. You can also play with symmetry. Symmetrical shots can be very pleasing to the eye.Using Gridlines
Gridlines can help you improve your composition. They divide your screen into nine equal parts. This is known as the rule of thirds. Place your subject along these lines or at their intersections. This creates a balanced and interesting photo.To enable gridlines, go to Settings. Scroll down and tap on Camera. Toggle the Grid switch to on. Now, you will see gridlines every time you open your camera. Use these lines as a guide. They make it easier to align your shot.Remember, great photos start with great framing. Adjust your composition and use gridlines. These simple steps can make a big difference. Happy shooting! “`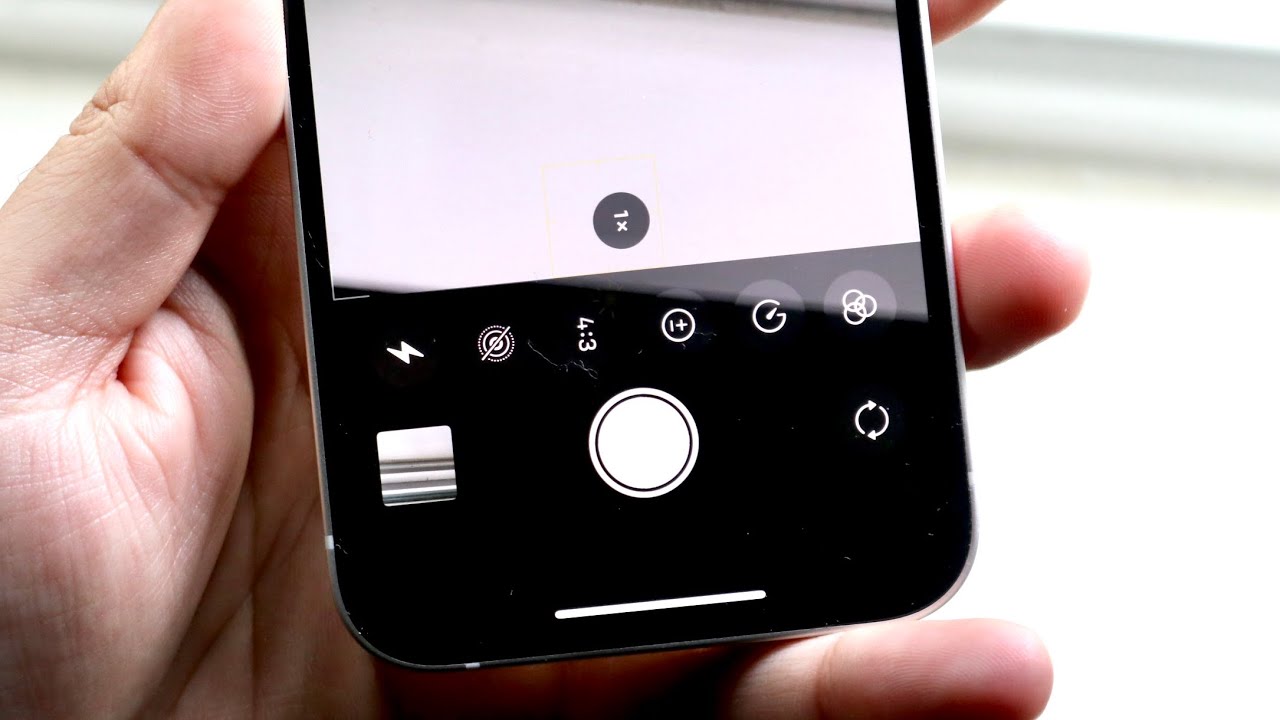
Credit: www.youtube.com
Taking The Photo
Taking a photo with a timer on your iPhone can be incredibly useful. It allows you to be in the photo without needing someone else to take it. Whether you’re capturing a family photo, a selfie, or a group shot with friends, setting a timer ensures everyone is included.
Starting The Countdown
Open your camera app on your iPhone. Locate the timer icon at the top of the screen. It looks like a clock. Tap on the timer icon to see the available options.
You can select a 3-second or 10-second timer. Choose the one that suits your needs. Once selected, the timer icon will change to show the countdown duration.
Capturing The Image
Now that the timer is set, position your iPhone. Place it on a stable surface or use a tripod. Make sure everyone is in the frame.
Tap the shutter button to start the countdown. You will see the countdown on the screen. The camera will flash as the timer counts down.
Smile and get ready. The iPhone will capture the photo at the end of the countdown. Check the photo to ensure it turned out well.
If needed, adjust your position and try again. Setting the timer is a simple way to take great photos without help.
Reviewing Your Photo
After setting a timer on your iPhone camera, it’s important to review your photo. This step ensures you capture the perfect moment. With a few simple steps, you can access and check the quality of your photo.
Accessing The Gallery
Once you have taken your photo, open the Photos app. It’s usually on your home screen. Tap on the thumbnail at the bottom left corner of the Camera app. This will take you directly to your recent photos.
Checking Photo Quality
To check the quality, zoom in on your photo. Look at the details and ensure they are clear. You can use the pinch-to-zoom gesture for this.
- Make sure the lighting is good.
- Check for any blurriness.
- See if the colors are accurate.
If the photo meets your expectations, you’re good to go. If not, you can retake the photo and adjust the settings as needed.
Advanced Timer Tips
Using the camera timer on your iPhone can help capture better photos. Sometimes, you need more advanced tips to get the perfect shot. Let’s explore some advanced timer tips to enhance your iPhone photography.
Using Burst Mode
Burst mode captures multiple photos in quick succession. This mode is useful when photographing moving subjects. Enable the timer and select burst mode. The camera will take several shots, increasing your chances of getting the perfect picture. You can later choose the best shot from the series.
Experimenting With Angles
Experimenting with different angles can result in unique photos. Use the timer to set up your shot. Try placing your iPhone at different heights and angles. This allows you to capture various perspectives. A new angle can make a familiar scene look fresh and interesting.
Frequently Asked Questions
How Do I Set A Timer On My Iphone Camera?
To set a timer on your iPhone camera, open the Camera app. Tap the timer icon at the top. Choose either 3 or 10 seconds. Position your phone, press the shutter button, and the countdown will start.
Where Is The Timer On Iphone Camera?
The timer icon is at the top of the Camera app screen. It looks like a clock. Tap it to set the timer for 3 or 10 seconds.
Can You Set A Photo Timer On Iphone?
Yes, you can set a photo timer on an iPhone. Open the Camera app, tap the timer icon, and choose between 3 or 10 seconds.
How Do I Take Delayed Photos On My Iphone?
To take delayed photos, open the Camera app, tap the timer icon, select a time delay (3 or 10 seconds), then press the shutter button.
Conclusion
Setting a timer on your iPhone camera is simple and helpful. This feature allows you to take better photos without rushing. Just follow the steps, and you’ll capture perfect moments. Practice will make it easier over time. Now, you can take group photos, selfies, and more with ease.
Enjoy experimenting with your iPhone camera’s timer. Happy photographing!
As an Amazon Associate, I earn from Qualifying Purchases.