Setting up your camera for streaming can make a big difference. Good positioning creates a better viewer experience.
In this guide, we’ll explore the best places to put your camera for streaming. Finding the right camera placement can enhance your stream’s quality. It helps you look professional and keeps your audience engaged. Whether you’re a gamer, vlogger, or educator, the position of your camera matters.
We’ll cover tips to make you look your best. Proper lighting, angles, and backgrounds will also be discussed. By the end, you’ll know how to set up your camera like a pro. Let’s dive in and improve your streaming setup!
Choosing The Right Camera
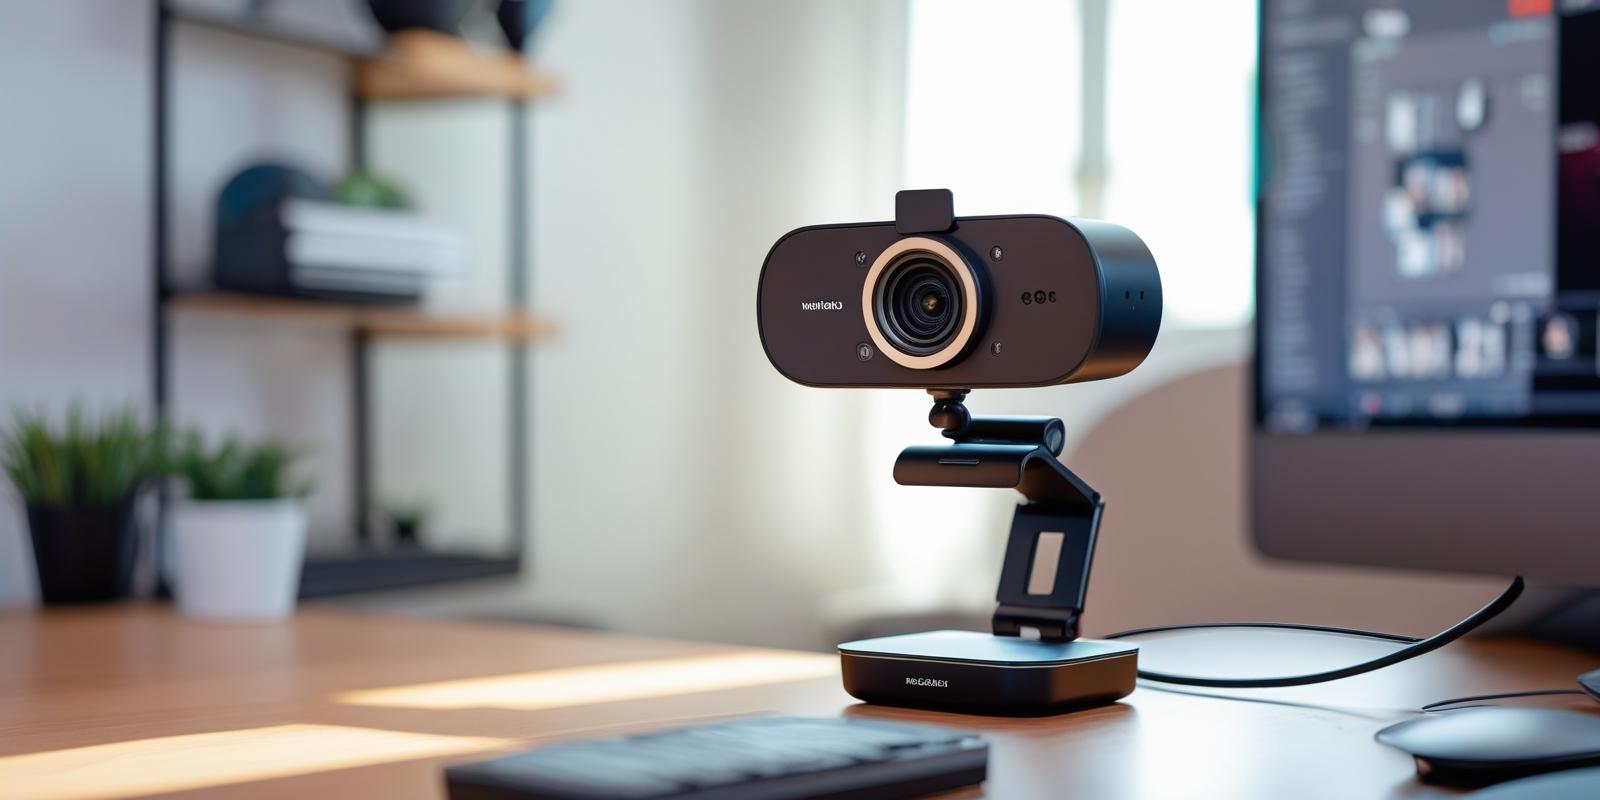
Choosing the right camera is crucial for a successful streaming experience. The camera you select can impact the quality of your stream. It can also influence how your audience perceives you. A good camera can make your stream look professional and engaging.
Types Of Cameras
There are various types of cameras available for streaming. Webcams are popular and affordable. They are easy to use and ideal for beginners. DSLR cameras offer better image quality and more control. They are great for professional streamers. Mirrorless cameras are compact and provide excellent image quality. They are a good middle ground between webcams and DSLRs.
Key Features To Consider
When choosing a camera, consider its resolution. Higher resolution means clearer video. Most streamers prefer at least 1080p. Frame rate is another key feature. A higher frame rate results in smoother video. Look for cameras that offer 30fps or higher. Low-light performance is also important. Good low-light performance ensures clear video even in dim lighting. Autofocus capability can help keep you in focus during the stream. Connectivity options like USB or HDMI are also essential. They determine how you will connect the camera to your streaming setup.

Credit: www.youtube.com
Lighting Essentials
Good lighting is crucial for quality streaming. It enhances your appearance and makes the video clear. The right lighting setup can make your stream look professional and engaging. Below, we’ll explore how to use light effectively for your streaming setup.
Natural Light Vs. Artificial Light
Both natural and artificial light have their pros and cons.
| Type of Light | Pros | Cons |
|---|---|---|
| Natural Light |
|
|
| Artificial Light |
|
|
Best Lighting Positions
Positioning your lights correctly is vital for a professional look. Here are some tips:
- Key Light: Place this main light source at a 45-degree angle from you. This light should be at your face level.
- Fill Light: Set this light opposite the key light. It softens shadows created by the key light.
- Back Light: Position behind you to separate you from the background. This adds depth to your video.
Remember, the goal is to create a balanced and well-lit scene. Proper lighting makes your stream clear and professional.
Optimal Camera Placement
Choosing the best place to put your camera for streaming is crucial. It affects the quality and engagement of your content. Optimal camera placement ensures that your audience connects with you. Below are some key positions to consider for the best streaming experience.
Eye-level Position
Placing your camera at eye level creates a more personal connection. It makes the viewers feel like you are speaking directly to them. This position also helps you maintain good posture.
Here are some tips for setting up your camera at eye level:
- Use a tripod to adjust the height easily.
- Place the camera on a stack of books if you don’t have a tripod.
- Ensure the camera is stable to avoid shaky footage.
Overhead Angle
An overhead angle gives a unique perspective. It is perfect for streaming tasks like cooking or crafting. This angle allows your audience to see your work clearly.
Consider these points when using an overhead angle:
- Mount the camera securely to avoid accidents.
- Use a wide-angle lens to capture more area.
- Ensure proper lighting to avoid shadows.
Backdrop And Environment
Choosing the right backdrop and environment is crucial for streaming success. A well-thought-out background can make your stream look professional. It also keeps your audience engaged. Let’s explore some tips to create the perfect streaming backdrop.
Clutter-free Background
A clutter-free background is essential. It keeps the focus on you. Too much clutter can distract your viewers. Remove unnecessary items from your background. Keep it simple and clean. Use neutral colors that do not clash with your setup. A tidy space makes your stream more enjoyable.
Using Green Screens
Green screens offer great flexibility. They allow you to change your background easily. You can add any virtual background to suit your content. Ensure your green screen is wrinkle-free. Proper lighting is also important. Even lighting prevents shadows and ensures a smooth effect. Green screens can elevate your streaming quality significantly.
Audio Quality
When setting up your streaming camera, audio quality is just as important as video quality. Good audio can make or break your streaming experience. Let’s dive into some tips on how to achieve the best audio setup for your streams.
Built-in Microphone Vs. External Mic
Choosing between a built-in microphone and an external mic can be challenging. Built-in microphones are convenient and easy to use. They are already part of your camera, so you don’t need extra equipment. But they often lack the quality needed for professional streams.
External microphones offer superior audio quality. They can capture clearer and more detailed sound. Here’s a quick comparison:
| Feature | Built-in Microphone | External Microphone |
|---|---|---|
| Sound Quality | Basic | High |
| Ease of Use | Very Easy | Moderate |
| Cost | Included | Additional Expense |
Reducing Background Noise
Background noise can be distracting for your viewers. Reducing it is crucial for a professional stream. Here are some tips:
- Use a pop filter: It helps reduce plosive sounds.
- Invest in soundproofing: Foam panels or curtains can absorb noise.
- Choose a quiet room: Select a room away from traffic and other noises.
- Mute unnecessary devices: Turn off fans, air conditioners, and other noisy equipment.
By focusing on these aspects, you can greatly improve your stream’s audio quality. Clear, crisp audio will keep your audience engaged and coming back for more.

Credit: restream.io
Internet Connection
Choosing the right internet connection is crucial for smooth streaming. A stable connection ensures your audience experiences no interruptions. Let’s explore the options.
Wired Vs. Wireless Connection
A wired connection offers stability and reliability. It connects directly to your router. This reduces the chances of interference. Wireless connections use Wi-Fi. They offer convenience and flexibility. But, they can suffer from signal interference. Walls and other devices can weaken the signal.
Bandwidth Requirements
Streaming requires a good amount of bandwidth. Higher resolution streams need more bandwidth. For 720p, aim for at least 5 Mbps upload speed. For 1080p, 10 Mbps is ideal. Always test your speed before streaming. Consistent speed is key for quality streams.
Software And Tools
Finding the best place to put your camera for streaming is crucial. Equally important are the software and tools you use. These tools enhance the streaming experience and ensure smooth operation. Let’s explore the essential software and plugins for streaming.
Streaming Software Options
Choosing the right streaming software can make a big difference. Below are some popular options:
- OBS Studio: Free and open-source. Highly customizable.
- Streamlabs OBS: User-friendly. Perfect for beginners.
- XSplit: Offers both free and premium versions. Great for professional streamers.
- vMix: Powerful but requires a license. Ideal for high-end streams.
Each software comes with unique features. OBS Studio is highly customizable but may need more setup. Streamlabs OBS is more user-friendly and integrates well with other tools. XSplit offers professional features, while vMix supports high-end streaming needs.
Essential Plugins
Plugins can enhance the functionality of your streaming software. Here are some must-have plugins:
- StreamFX: Adds cool effects and filters to OBS Studio.
- Move Transition: Smooth scene transitions with customizable animations.
- VST Plugins: Enhance audio quality with professional tools.
- DeepBot: Chatbot for engaging with your audience.
Using these plugins can greatly improve the quality of your streams. StreamFX allows you to add unique visual effects. Move Transition offers smooth scene changes. VST Plugins enhance audio, making your stream sound professional. DeepBot keeps your chat engaged and interactive.
Incorporating the right software and plugins is vital for a successful streaming setup. They not only improve the technical aspects but also enhance the viewer experience. Choose the tools that best suit your needs and start streaming like a pro!

Credit: www.youtube.com
Testing And Adjustments
Testing and adjustments are crucial for finding the best place to put your streaming camera. It ensures optimal quality and viewer engagement. A few trial runs and real-time tweaks can make a significant difference.
Trial Runs
Before you start streaming, perform several trial runs. Set up your camera in different positions. Test each setup thoroughly. Notice the lighting and background in each trial. Pay attention to any shadows or glares. Ensure your face is well-lit and clear.
Check the framing and composition. Make sure you are centered in the frame. Avoid having too much headroom or cutting off parts of your head. Experiment with different angles. Find the one that captures your best side.
Making Real-time Adjustments
During your trial runs, make real-time adjustments. Move the camera slightly to see the effects. Adjust the lighting if necessary. Try changing the height of the camera. Sometimes, a higher or lower angle works better.
Listen to feedback from viewers. They can offer valuable insights. Notice their comments about your visibility and quality. Make adjustments based on their suggestions. Small tweaks can greatly improve your stream quality.
Keep refining your setup. Regularly check your camera position. Ensure everything looks professional and appealing. A well-placed camera enhances viewer experience and engagement.
Frequently Asked Questions
Where Should I Place My Streaming Camera?
Place your camera at eye level for the best angle. This helps create a natural, engaging view.
Is Lighting Important For Camera Placement?
Yes, lighting is crucial. Ensure your face is well-lit from the front. Avoid backlighting.
Can I Use A Tripod For My Streaming Camera?
Absolutely, a tripod provides stability and flexibility. It allows you to adjust the height and angle easily.
Should The Background Matter For Camera Placement?
Yes, a clean, clutter-free background is important. It keeps the focus on you and looks professional.
Conclusion
Choosing the right camera placement is key for great streaming quality. Position your camera at eye level for a natural look. Good lighting matters too. Experiment with angles to find what works best. Consistent setup creates a professional appearance. Make small adjustments as needed.
Happy streaming!
As an Amazon Associate, I earn from Qualifying Purchases.